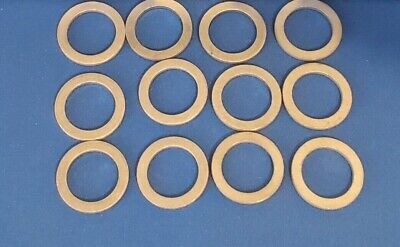
Part showed up for rear diff water intrusion issue I posted in a few back here
 mazdas247.com
Sorry... terrible pics... probably won't get to this until January though.
Not sure if everyone has read that TSB but the issue is
"The breather pipe grommet (A), located in the trunk, may be submerged in water that penetrated through the rear ABS wheel-speed sensor harness grommet (B) during a high pressure car wash. The water then enters the coupling unit (C) through the breather pipe (D). This creates rust inside the coupling unit, which causes internal wiring harness damage, setting the DTC and/or the coupling unit noise due to increased rotational resistance."
2013-2016 CX-5 AWD vehicles with VINs lower than JM3KE******837718 (produced before July 1, 2016)


2013~2016 - CX-5 Rear Diff and Transfer Case Fluid Change: Tools, Parts and Links
I would ask what the viscosity will tell you or what path of research you are headed down? Andnope, no one on the internet's most busy oil forum have not chimed in. https://www.bobistheoilguy.com/forums/threads/mazda-long-life-hypoid-gear-oil-sg1.291007/post-4784389 And I would caution of...
Sorry... terrible pics... probably won't get to this until January though.
Not sure if everyone has read that TSB but the issue is
"The breather pipe grommet (A), located in the trunk, may be submerged in water that penetrated through the rear ABS wheel-speed sensor harness grommet (B) during a high pressure car wash. The water then enters the coupling unit (C) through the breather pipe (D). This creates rust inside the coupling unit, which causes internal wiring harness damage, setting the DTC and/or the coupling unit noise due to increased rotational resistance."
2013-2016 CX-5 AWD vehicles with VINs lower than JM3KE******837718 (produced before July 1, 2016)
")