rednecks_r_us
Member
- :
- 2003 Laser Blue Protege5
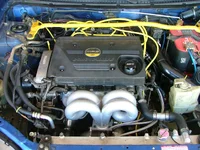
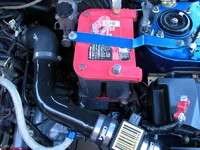
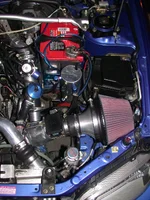
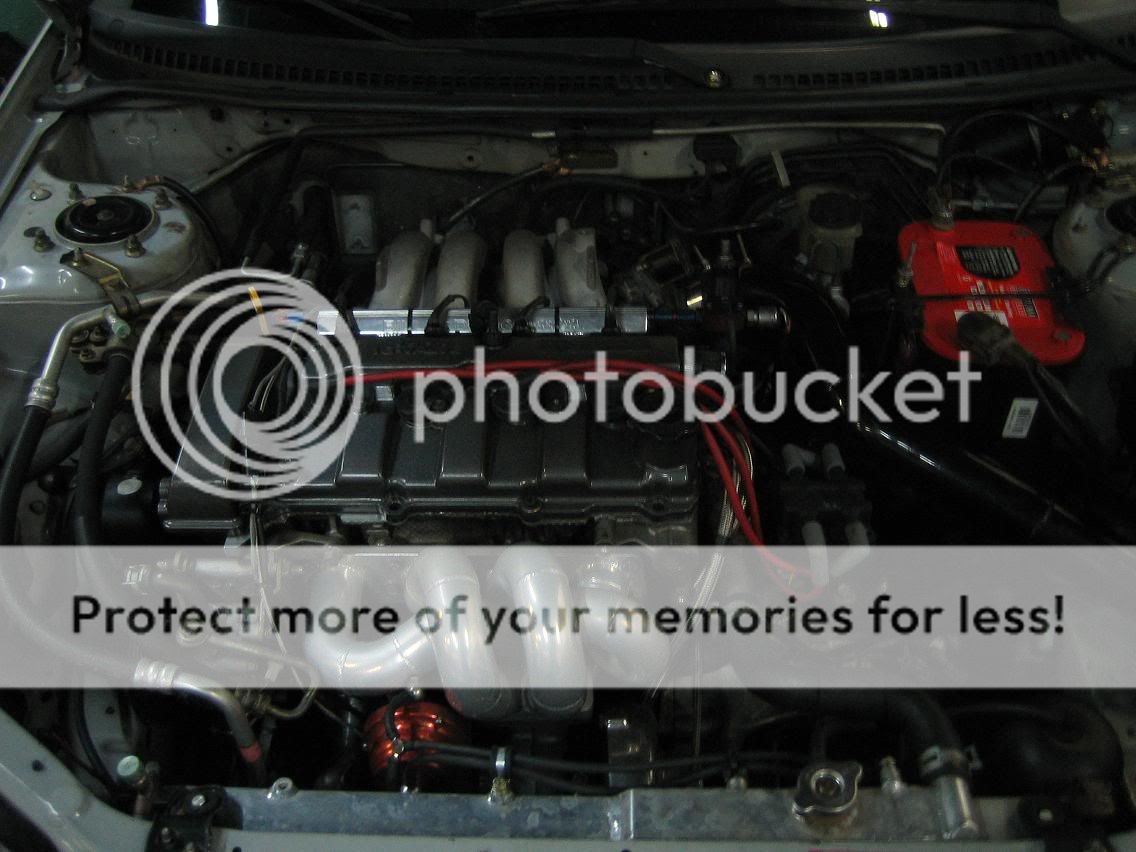
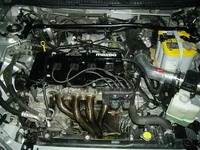
sephiroth said:cardboard, the optima was too short to reach the stock battery clamp so I put some under there until I could get something that looks better.
That is why I made my own battery tie down. Go to home Depot and get a flat steel strip. If you don't have a lot of tools a hacksaw will cut it.
Cut it to what ever length you need and bend it down as it leaves the strut tower then bend it level when it reaches the battery.
Drill holes for the mounts and paint it.

") What coolant do we recommend around here for the P5?
What coolant do we recommend around here for the P5?