You AMaff... The black miata, i guess those are the Jongbloeds... What size are they?
Ah! You didn't specify so I wasn't sure. They are the Jongbloed 15x10 +15, IIRC in silver.

You AMaff... The black miata, i guess those are the Jongbloeds... What size are they?


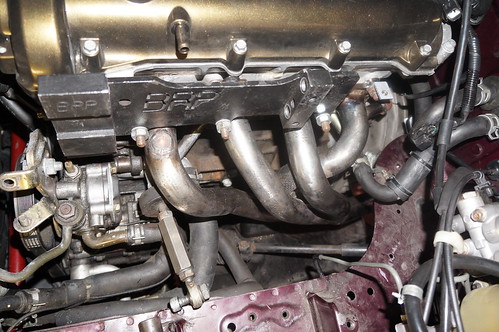
Ordered some new parts to hopefully fix the misfire issue the msm was having after the rebuild last year. Looks like it only had 3 of the 4 teeth on the timing wheel, no clue how I missed that one was broken off before I reinstalled it but yeah...
Ordered some new parts to hopefully fix the misfire issue the msm was having after the rebuild last year. Looks like it only had 3 of the 4 teeth on the timing wheel, no clue how I missed that one was broken off before I reinstalled it but yeah...
Ouch, yeah, that would be problematic.
I'd be more curious as to how it happened.
")