
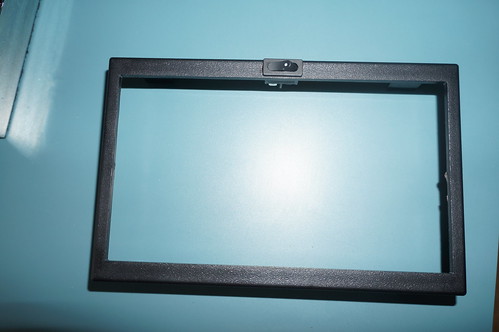
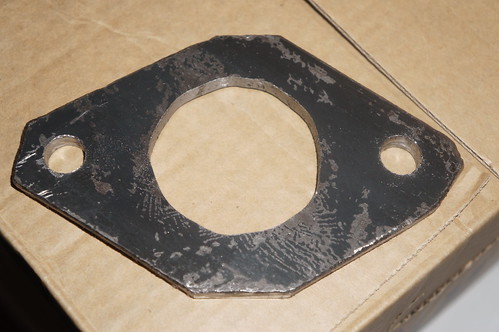
Small project for today. You may recall the new radio has power to the antenna constantly, so it is always in the raised position. Someone on Miata.net said he installed a switch to handle this so I decided to go that route. I found a SPST (single pole single throw) switch on Amazon, got 10 of them for $12 shipped. I was thinking about installing it in the radio surround but it didn't look like it would fit. I prepared everything to install it in the ashtray, but while I had things out I made some templates so I can replace the plastic side radio mounts with metal ones. With the surround in hand I took some measurements and was pleasantly surprised to find the switch would fit. A little work with a drill bit, a razor knife and a file and I ended up with this:
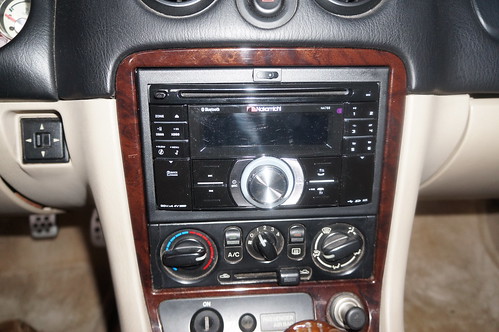
Works great, now I won't have the antenna up creating drag if I'm listening to a CD or using the BlueTooth.
Works great, now I won't have the antenna up creating drag if I'm listening to a CD or using the BlueTooth.


")
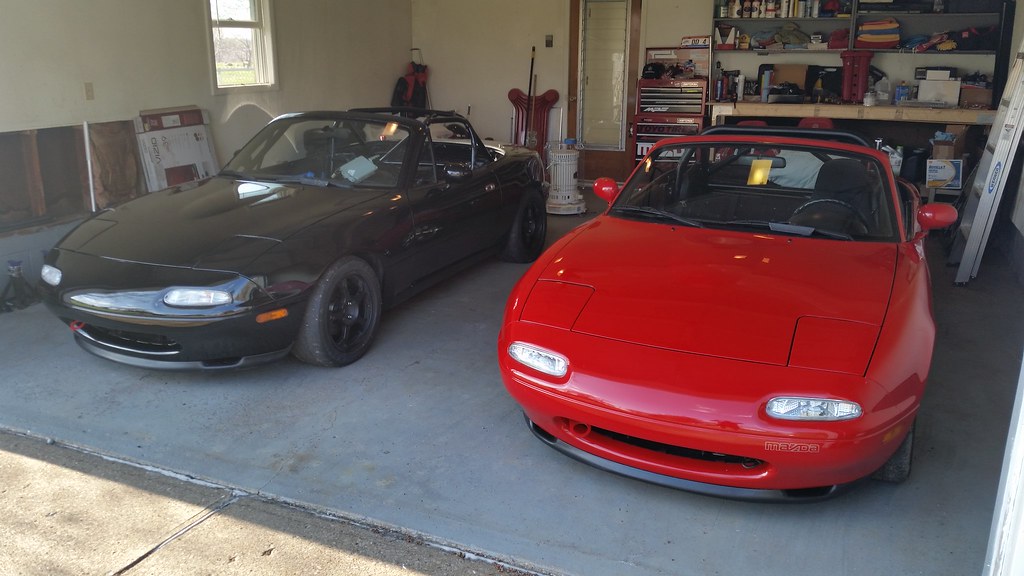
") Great progress on the new car Will.
Great progress on the new car Will.


