ROTAg and His FC3S Build
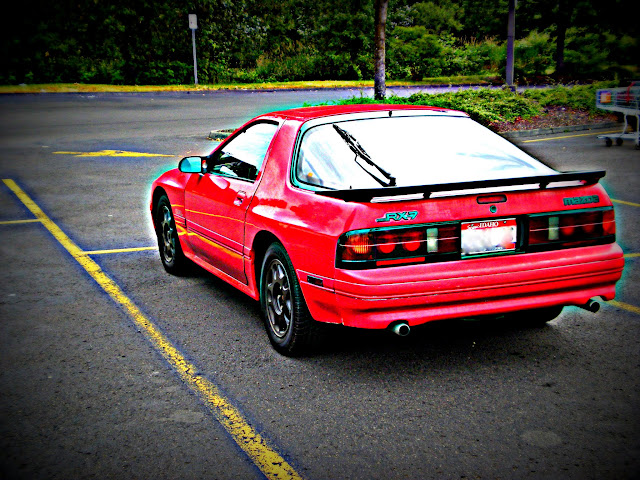
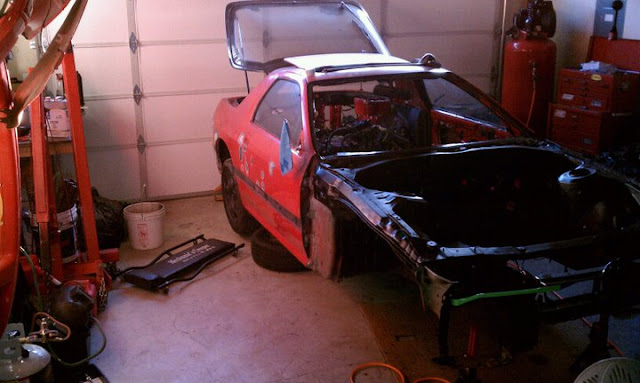
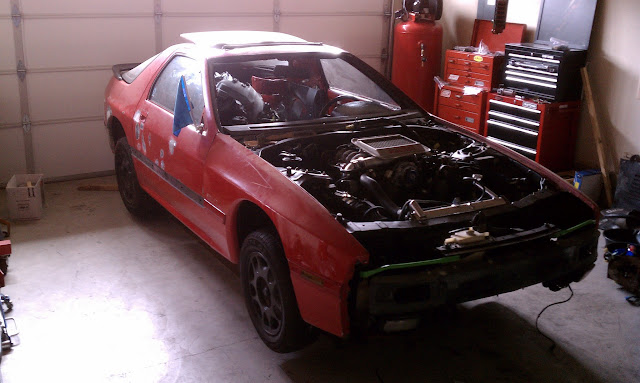
Hey all, here is my photo log of my TurboII swap. just to preface this, the original goal was a basic rebuild of the sixport 13b. After deliberation I decided to buy the TurboII motor and tranny, being that my current transmission was shot and the price for the combo is pretty decent with a little gamble. The motor I received was basically a treasure trove of goodies, most notably the amount of Knights Sports gear equipped. Well, here she is to this point in time.
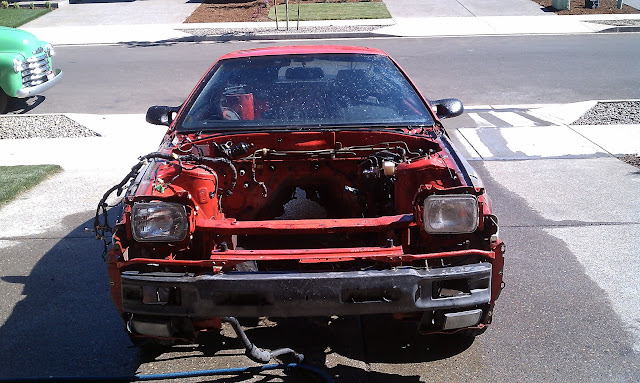
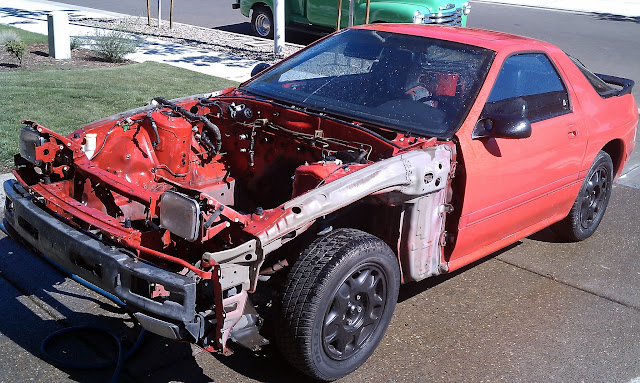
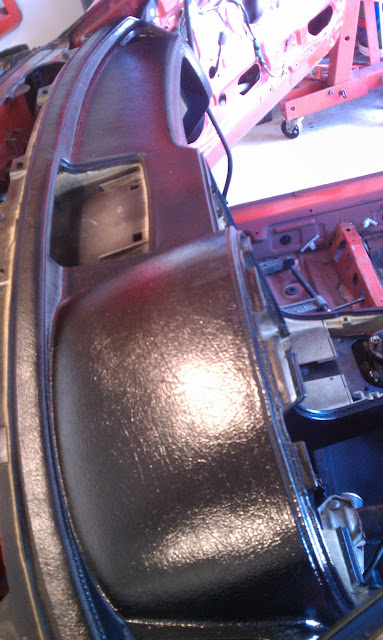
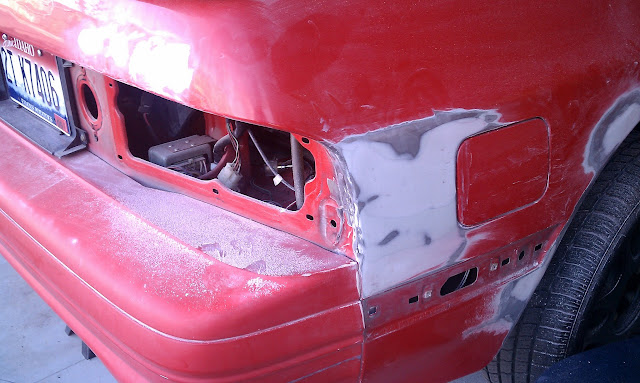
now a little body work, shave badges ect.
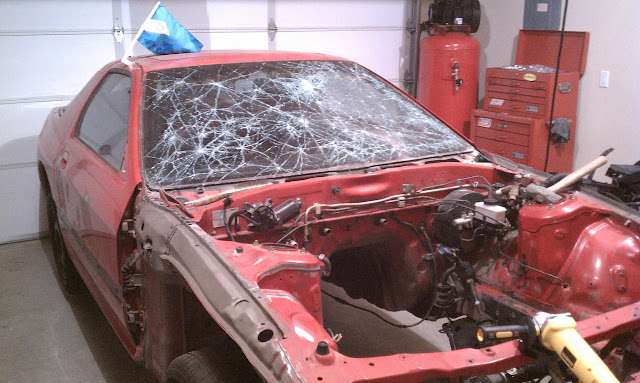
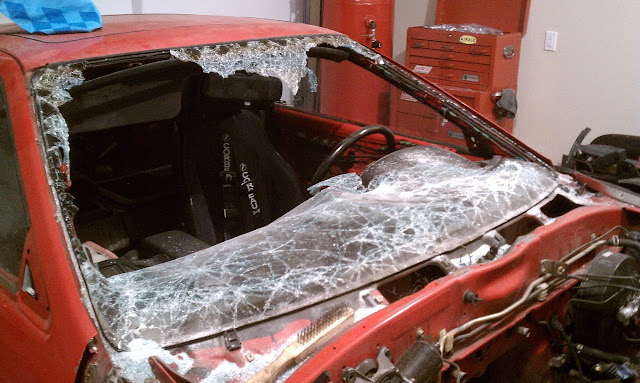
Time to smash this cracked windshield out. Heat guns help, or just a box knife and gloves to remove the rubber sealant. clean up with a wirewheel
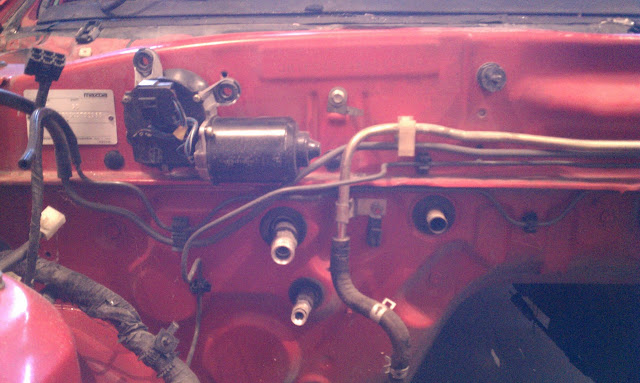
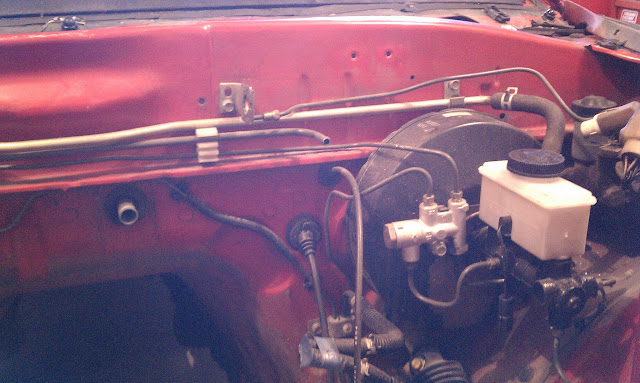
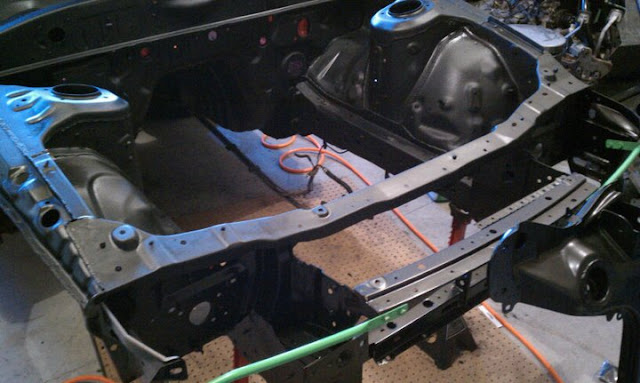
let's not forget all the firewall plumbing, seeing how this project just gets bigger daily....
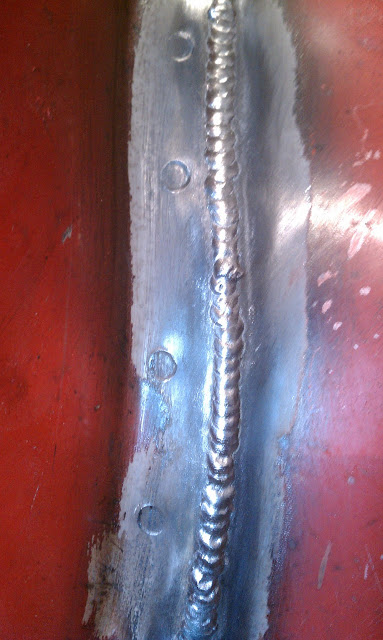
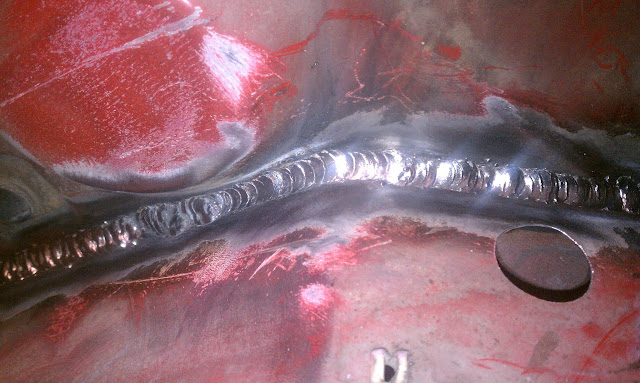
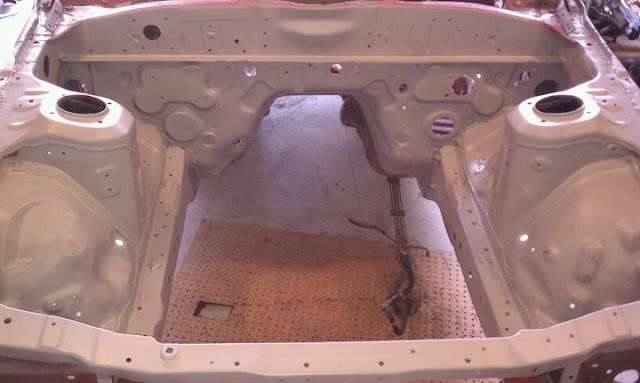
Why wouldn't I fully seam weld this chassis? Spot welding is good, but let's go overboard, if not for anything but to test out the new welder.
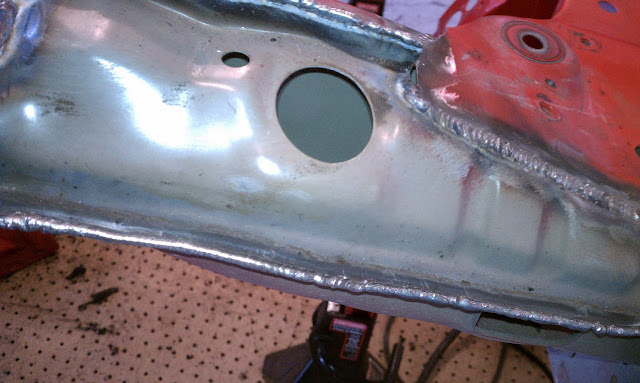

A little rust proofing with primer and Por-15, the absolute BEST rust stopper.
The engine waiting game.....
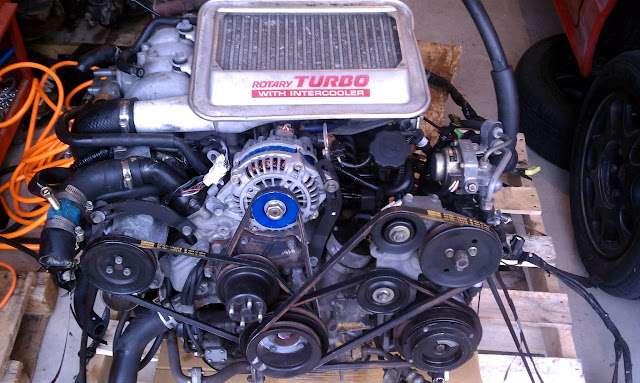
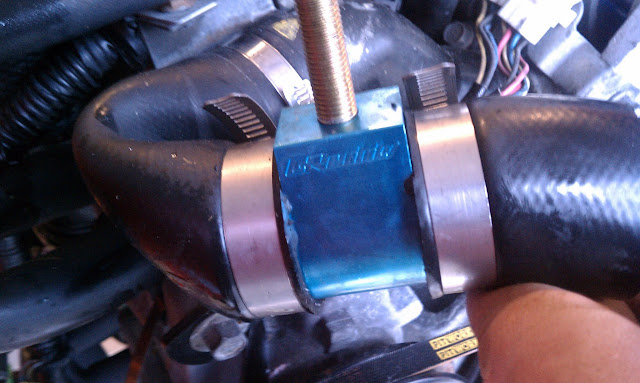
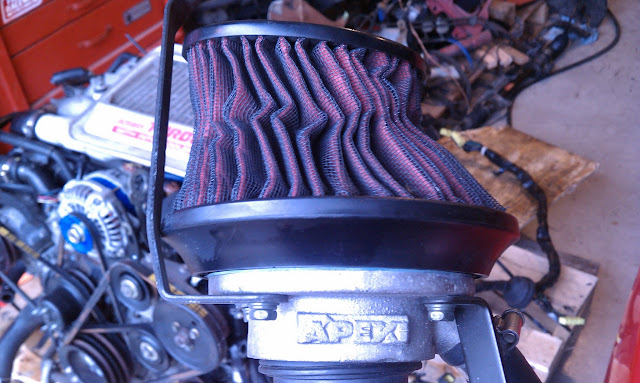
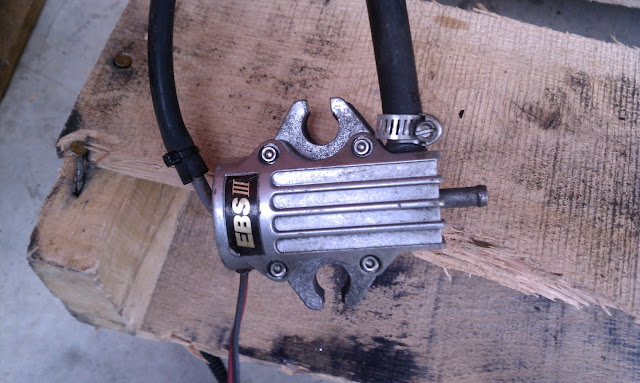
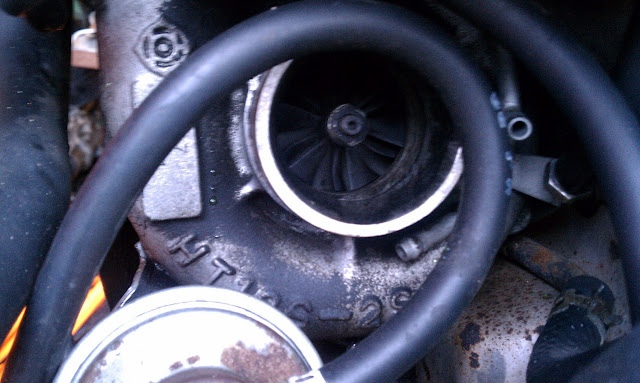
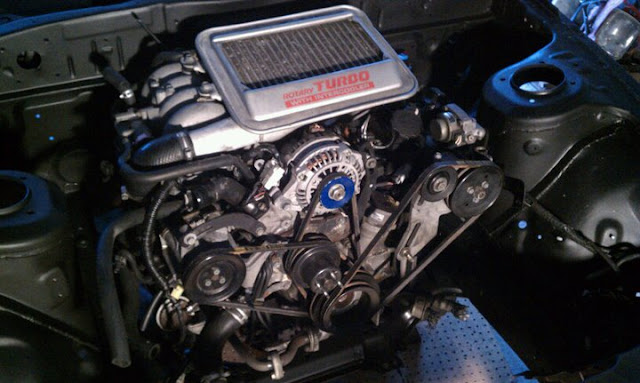
HOORAY SHE CAME. Fancy underdrive pully kit, greddy coolant kit/oil catchcan random parts, Knights Sports ESB mechanical boost controller, Apexi Intake, Chipped and tuned ECU By DMY Japan Tuning, and an oil pan full of golden hued oil. Turbo with ZERO play in the bearings.
As we all know, these engines can come with, or without some critical components. So budget accordingly. Here are a few of the things I ended up needing.
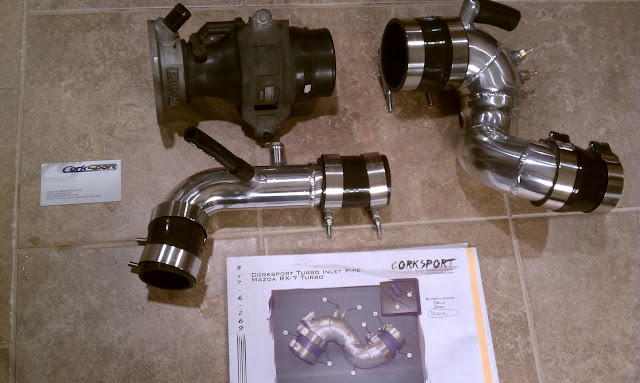
Bonez 2.5" Down Pipe

Corksport Charge tube (came with a broken plastic one) and intake pipe
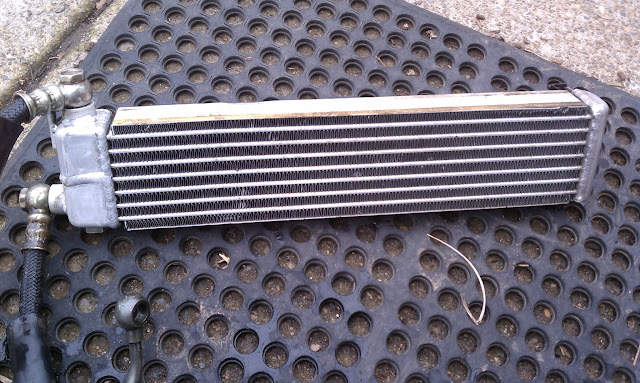
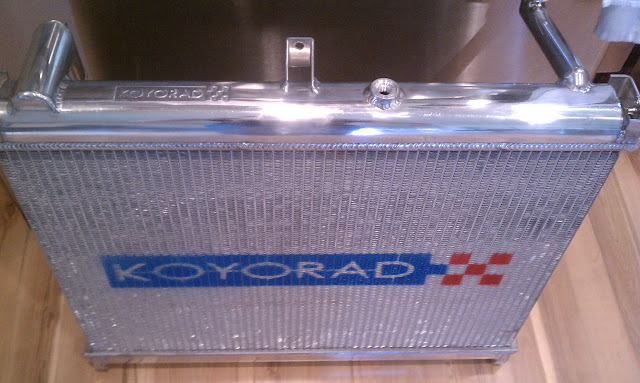
a good radiator, stock ones blooooooow. Koyo N-flow
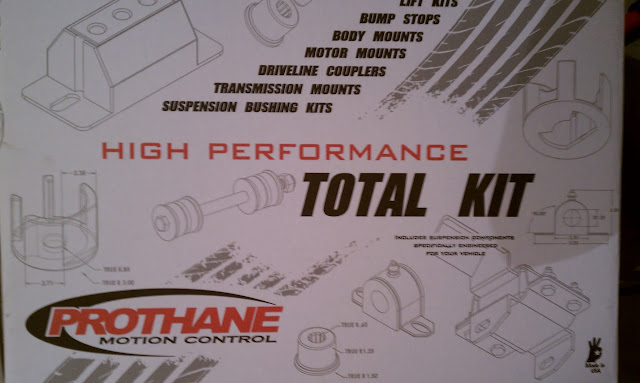
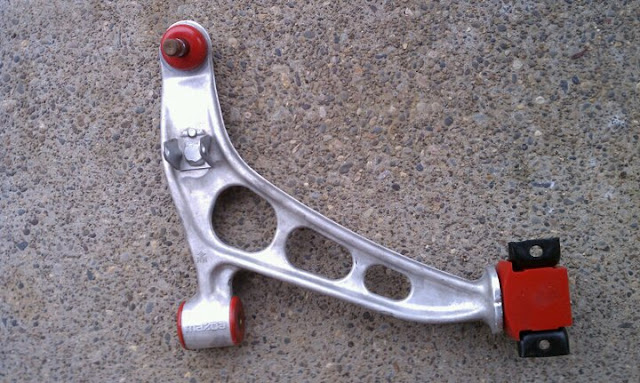
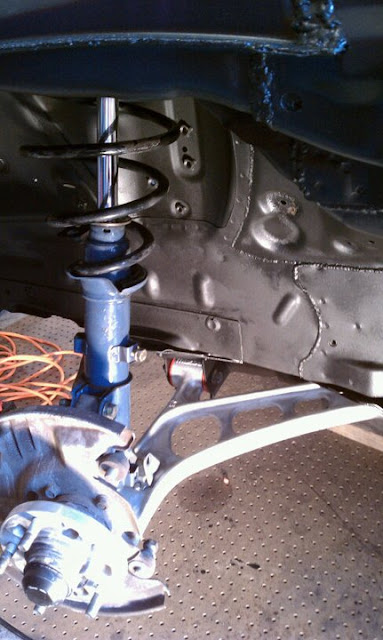
While all this is going on, why would I reuse the factory bushings. At this point the word 'bushing' is a little generous. I rather call them 'crumbly oreo cookies.' The Tokico blues are still good, but I will want something adjustable latter on. But lets stay focused..... get engine running.
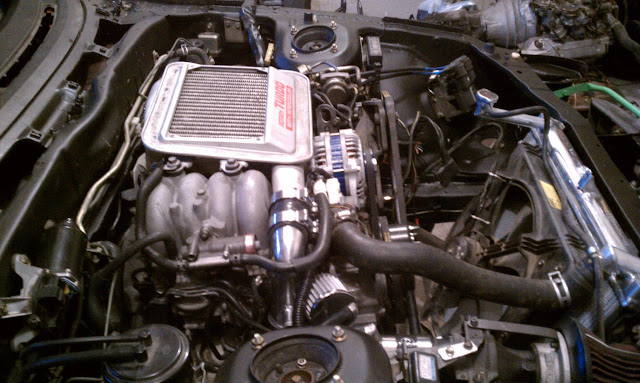
MOUNTED
Hooked up like Voltron. I am using the facotry JDM ECU, no word yet on success, but I will keep you all posted, so far though it requires you splice every connection 5.5 feet and make damn sure you water proof the hell outta it. I used plasti-dip and then wrapped in electrical tape, cased in plastic weather tubing. The throttle cable is another issue with the JDM engine, the throttle cams rock the opposite direction, being the cable comes out of the right hand side of the firewall. You can just buy a aftermarket cable designed for this swap, but it loops around the engine and I didn't feel like spending 60 bucks on something that wouldn't be as effective as a straight line from point A-B. I got a little creative and flipped the cam upsidedown and backwards, then ran the factory N/A throttle cable to it and mounted the Cable catch to the firewall. No Pics yet but I will post some soon if it requires a more visual take on it. Mechanically it all works great, you just can't use the cruise control anymore, but seriously. Have you not seen what I have done already..??
That is all I have for the moment, kind of at a standstill being that my wife wants me to take her on a vaction, and Leguna Seca doesn't count she says. For the record, I am one Walboro Fuel Pump and a custom drive line away from a car that moves under it's own power. Just wish I would have read into the N/A drive line not being compatible with the turbo transmission, but meh. Mazdatrix offers a good part designed for this issue but i'd rather have the gearing of the turbo. Either way it's around 350 bucks to get the rear wheels spinning. Hope you all find a little inspiration behind my work, it's a fun process, and please don't hesitate to ask questions!
Hey all, here is my photo log of my TurboII swap. just to preface this, the original goal was a basic rebuild of the sixport 13b. After deliberation I decided to buy the TurboII motor and tranny, being that my current transmission was shot and the price for the combo is pretty decent with a little gamble. The motor I received was basically a treasure trove of goodies, most notably the amount of Knights Sports gear equipped. Well, here she is to this point in time.
now a little body work, shave badges ect.
Time to smash this cracked windshield out. Heat guns help, or just a box knife and gloves to remove the rubber sealant. clean up with a wirewheel
let's not forget all the firewall plumbing, seeing how this project just gets bigger daily....
Why wouldn't I fully seam weld this chassis? Spot welding is good, but let's go overboard, if not for anything but to test out the new welder.
A little rust proofing with primer and Por-15, the absolute BEST rust stopper.
The engine waiting game.....
HOORAY SHE CAME. Fancy underdrive pully kit, greddy coolant kit/oil catchcan random parts, Knights Sports ESB mechanical boost controller, Apexi Intake, Chipped and tuned ECU By DMY Japan Tuning, and an oil pan full of golden hued oil. Turbo with ZERO play in the bearings.
As we all know, these engines can come with, or without some critical components. So budget accordingly. Here are a few of the things I ended up needing.
Bonez 2.5" Down Pipe
Corksport Charge tube (came with a broken plastic one) and intake pipe
a good radiator, stock ones blooooooow. Koyo N-flow
While all this is going on, why would I reuse the factory bushings. At this point the word 'bushing' is a little generous. I rather call them 'crumbly oreo cookies.' The Tokico blues are still good, but I will want something adjustable latter on. But lets stay focused..... get engine running.
MOUNTED
Hooked up like Voltron. I am using the facotry JDM ECU, no word yet on success, but I will keep you all posted, so far though it requires you splice every connection 5.5 feet and make damn sure you water proof the hell outta it. I used plasti-dip and then wrapped in electrical tape, cased in plastic weather tubing. The throttle cable is another issue with the JDM engine, the throttle cams rock the opposite direction, being the cable comes out of the right hand side of the firewall. You can just buy a aftermarket cable designed for this swap, but it loops around the engine and I didn't feel like spending 60 bucks on something that wouldn't be as effective as a straight line from point A-B. I got a little creative and flipped the cam upsidedown and backwards, then ran the factory N/A throttle cable to it and mounted the Cable catch to the firewall. No Pics yet but I will post some soon if it requires a more visual take on it. Mechanically it all works great, you just can't use the cruise control anymore, but seriously. Have you not seen what I have done already..??
That is all I have for the moment, kind of at a standstill being that my wife wants me to take her on a vaction, and Leguna Seca doesn't count she says. For the record, I am one Walboro Fuel Pump and a custom drive line away from a car that moves under it's own power. Just wish I would have read into the N/A drive line not being compatible with the turbo transmission, but meh. Mazdatrix offers a good part designed for this issue but i'd rather have the gearing of the turbo. Either way it's around 350 bucks to get the rear wheels spinning. Hope you all find a little inspiration behind my work, it's a fun process, and please don't hesitate to ask questions!
")