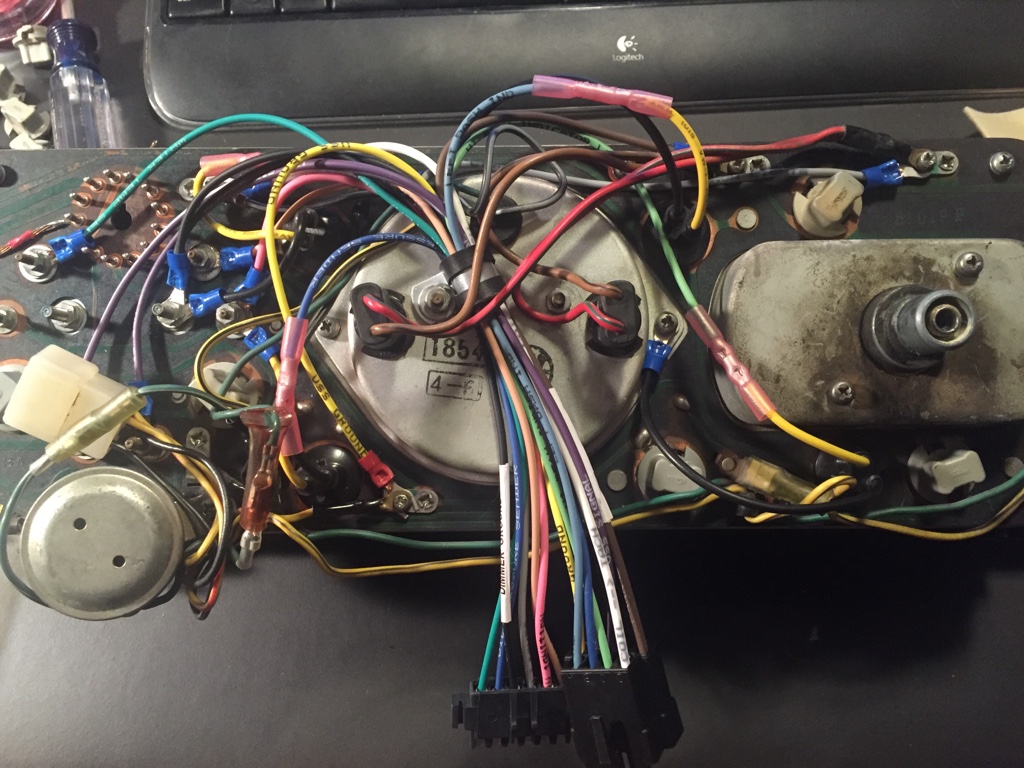
Witing kit looks great thank you! Fuel sending unit info anyone?
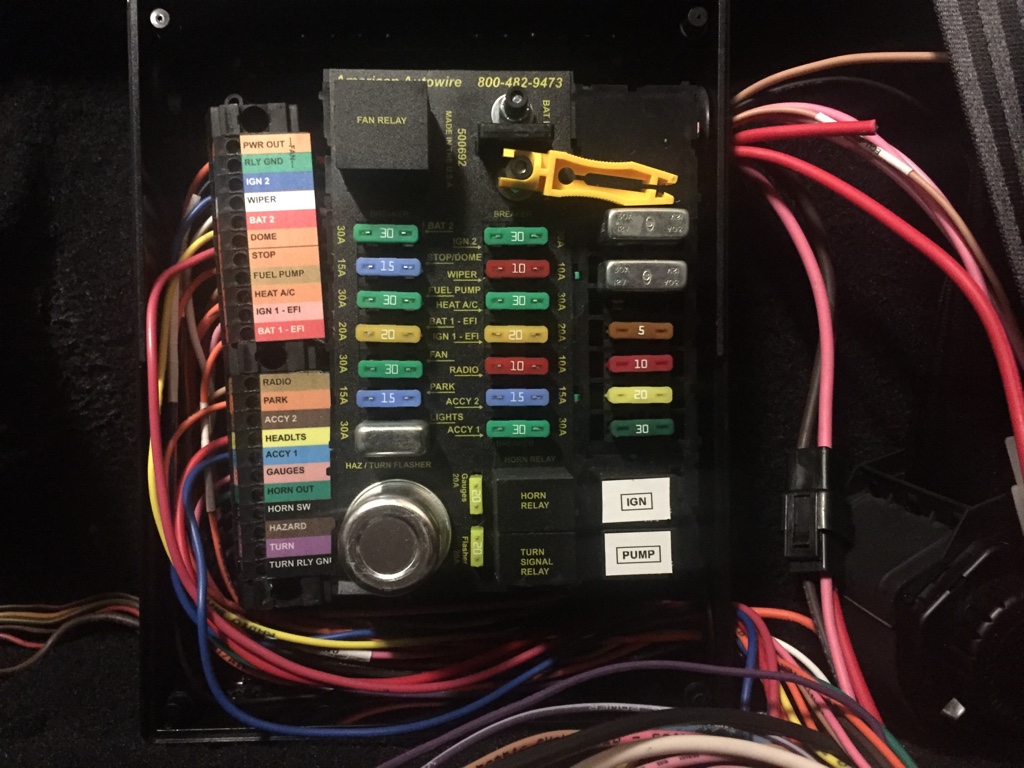
Thank you for the information. I am restoring mine as well. Great page thanks. I am struggling to find the fuel tank sending unit. Looked in the classified and even the ford courier parts but nothing.It was the highway 22 system from American Auto Wire.
http://www.americanautowire.com/products/customstreet-rod/