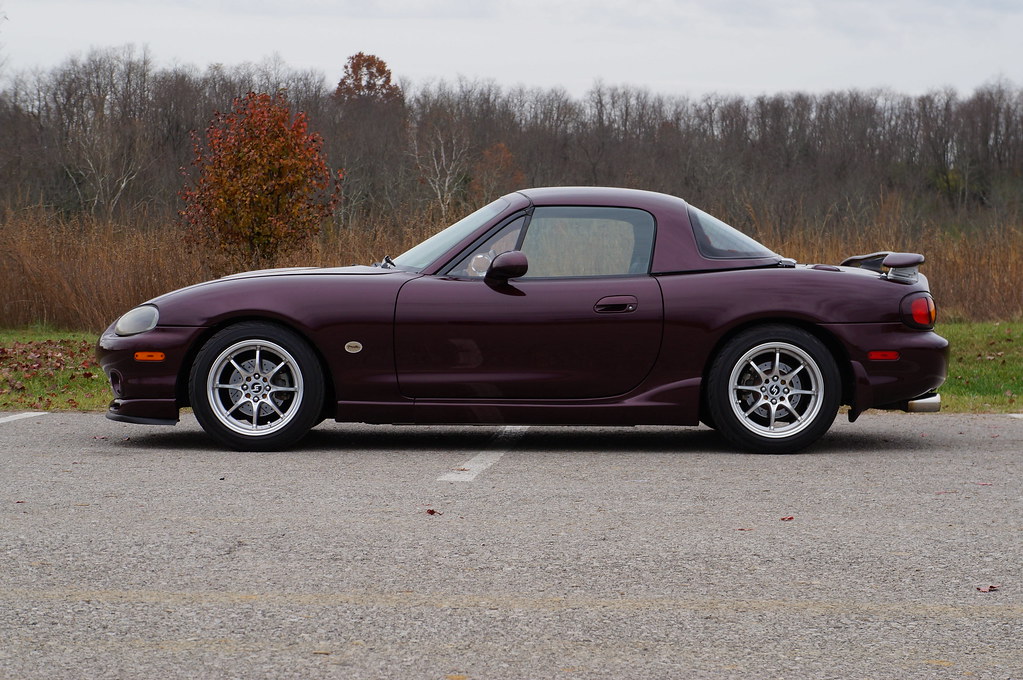
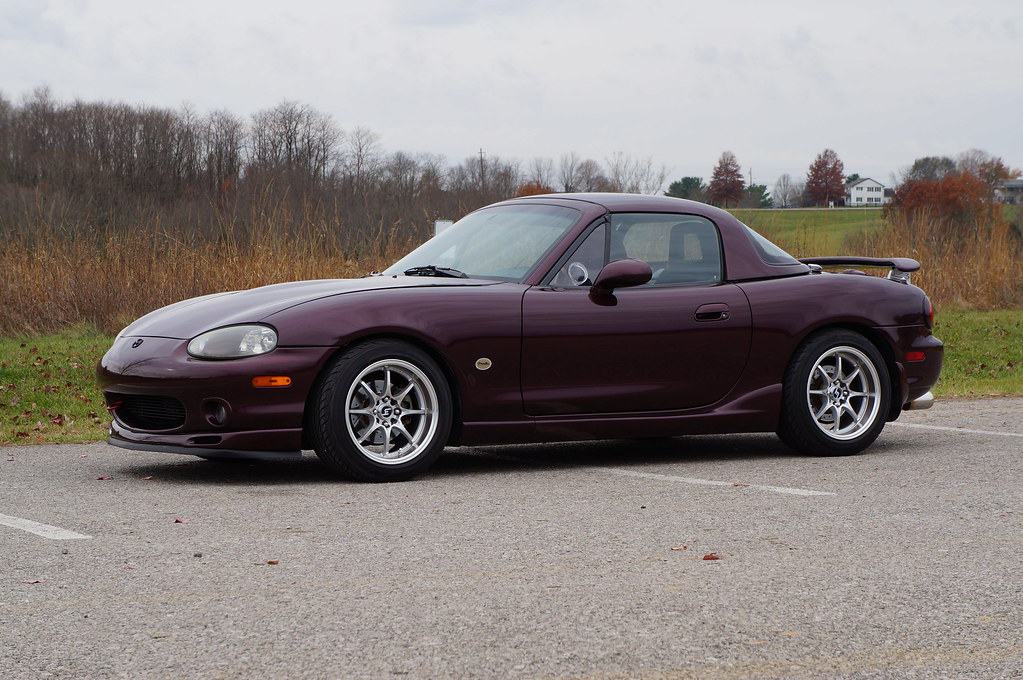
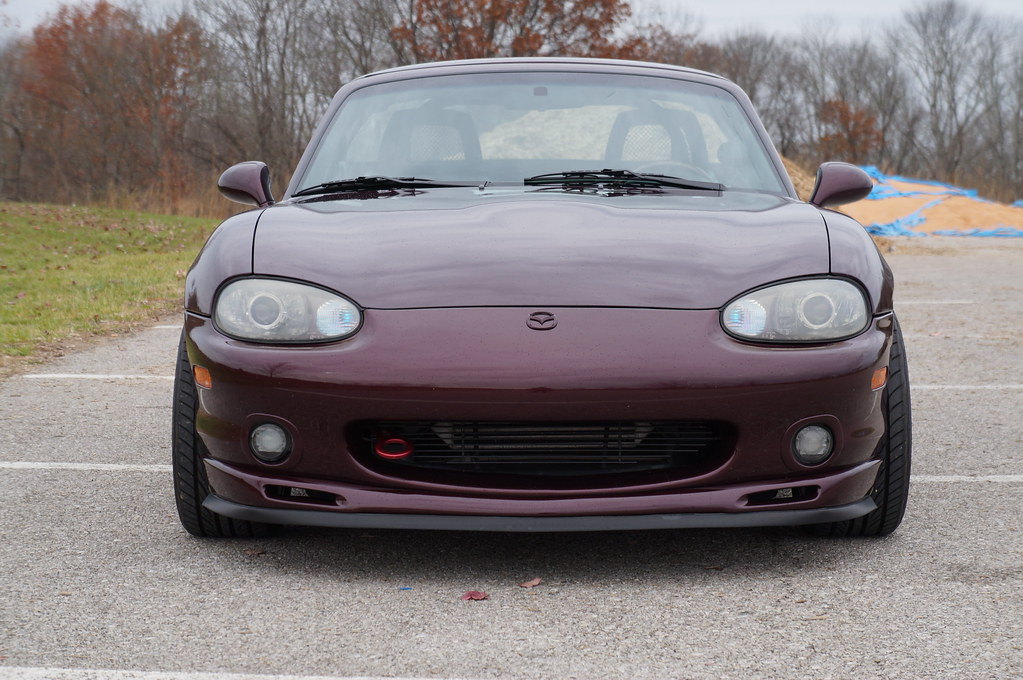
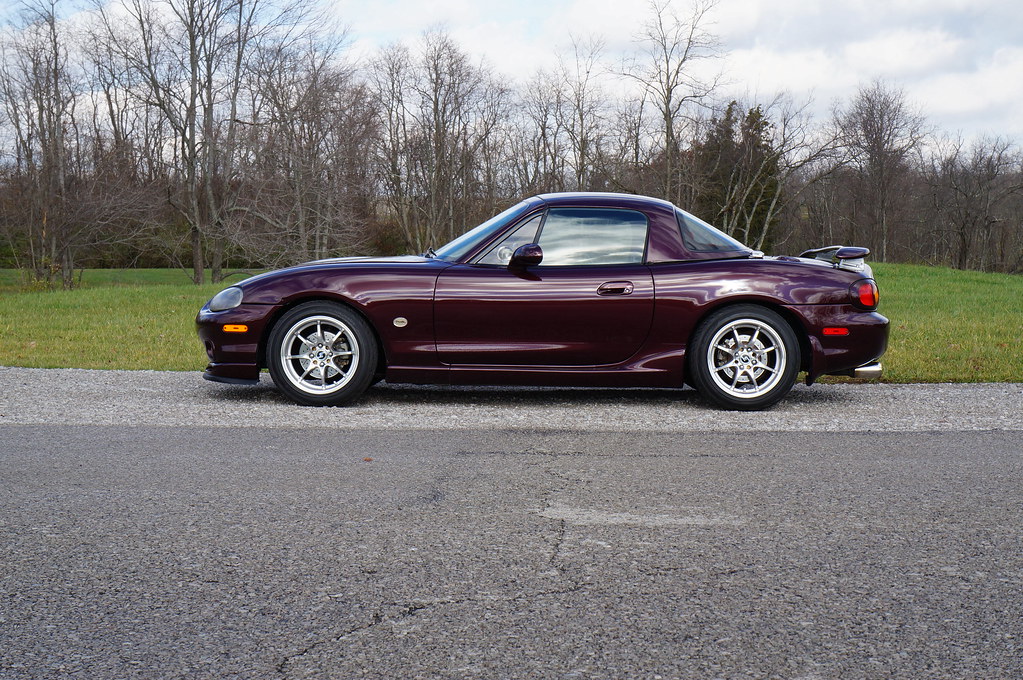
What have you done to your Miata today?

Working on V2.0 of my splitter mounts. A bit of evolutionary engineering. The new version of the splitter mounts will be stronger at the chassis and have easily made & replaced "sacrificial" hooks in the event of a off course excision or a particularly vigorous cone strike.
The tube will be cross drilled, but this is the basic shape of version 2.0.


V1.0 is bent along its spine which is not irrecoverable, but way harder to fix in the field.


V1.5 is a quick bit I threw together from scrap to experiment with and see if I could make what I have in my head work in the real world:


V2.0 The tube really wants to be between the legs as if it was welded to the inside it would interfere (or near enough) to the swaybar, and on the outside it would possibly interfere with the tire. In the middle is perfect. Plus, it's nice and strong. Load won't be offset from the legs so they're not likely to bend. Ideally, the hook will be bent, and I can really easily and cheaply make a couple spare sets of those that very easily can be replaced.


I'm considering having the rear leg at an angle, kicking forward, and shortening the tube overall, but this is it more or less.

 
Last edited:
Maff givin' it the business. Looks really good. I really need to get myself a welder so I can have some fun with metal.

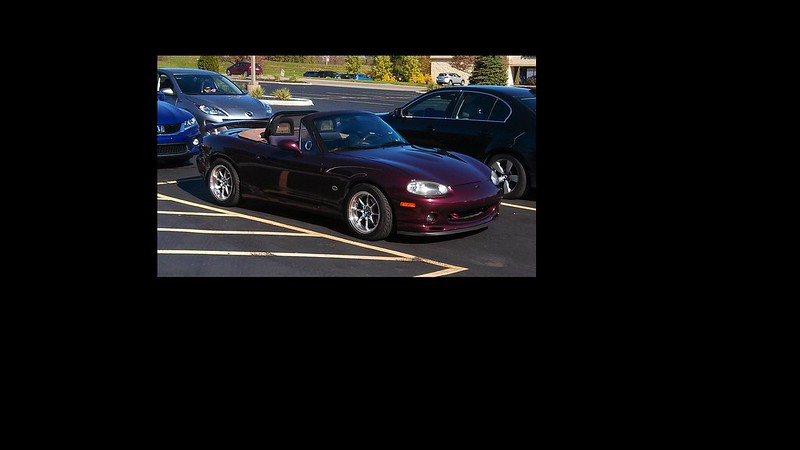
Have done some tuning over the past week. Swapped over to the S-Drives on Friday, with temperatures being consistently lower the Rivals weren't happy. While I love my special wheels better, I have to admit the silver ones are growing on me:

22790863248_3b9c58515b_c.jpg


Had to wash her, before I did that I got underneath to find out if there was any residue from a dead animal I had to run over the other day. It cleared in the front but I heard/felt a good whack from the rear. I thought it had hit the exhaust, but looking between the 949 subframe brace and the factory bracing I saw a blocked area. Ended up having to work a piece of stiff plastic in there to get the chunk out. Lesson learned on that one.

Thanks to my wonderful wife I got the go-ahead to try something. It's going to take some work and I'm not even sure if it will be a success or not, but watch this space...
 
I've been having some trouble while filling up with gas with the nozzle shutting off. I've read there is a problem over time with a check-valve located in the fuel filler pipe. I ordered one the other day, it came in yesterday so I went to put it in today. Found out I don't have one so that shoots that theory in the foot. I'm going to do some more research to see if I should install it or not.

While I was working on her I delved into the fueling problem (which reared its head again a few days ago). I decided to swap out injectors to see if that solved the problem. When I pulled the fuel manifold I notice some residue on the connector for the #1 injector. Turned out the O-ring on the top of the spacer that plugs into the manifold was slightly damaged. It wasn't leaking much but maybe enough to cause a problem. No pictures as it was hard to see where the damage was. I replaced the O-ring and buttoned everything back up. Short drive didn't reveal much although I didn't see the problem. Longer drive to follow as soon as I can.

My surprise noted previously was a driver's seat from a ND (Launch Edition). I set it in place, if I'm going to make it work I will have to figure out how to modify the mounting brackets as the factory ND ones won't line up. It sure did look pretty sitting in there though, I'm hopeful I'll be able to make it work.
 
Even small leaks at the rail/ejector O rings will cause afr issues, I had several on the p5! I had forgot to lightly oil the O rings and ripped several, so minor but the leaks caused havoc!
 
Got started making new front-mounts for the splitter. Compared to the original version I made, these should be much easier to locate (D-rings instead of a single 6mm hole), allow for shorter struts (which won't bend as much), and still allow for deflection from hitting s***.

30773124430_fc22ff5c54_h.jpg
 
Interesting. I am curious to see just how you attach the stays to the D-rings.

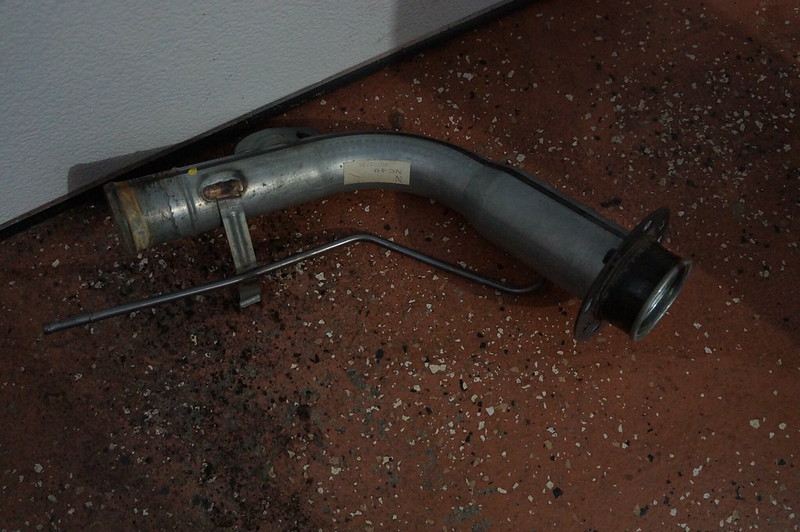
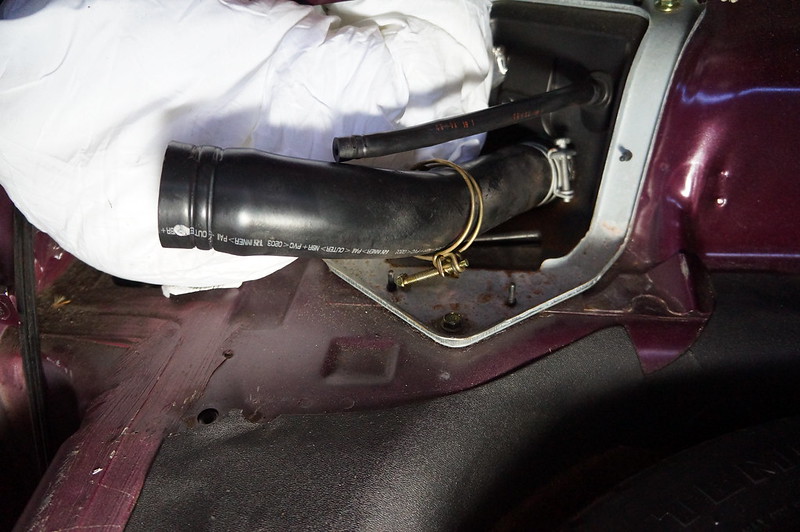
Apparently Mazda did not include the check valve in the fuel filler pipe on my car. I pulled the fill pipe out this morning and there were no signs of anything ever having been in it (and based on diagrams I saw on line the type of pipe I have did not have one installed). While I was in there I removed the vent pipe to check it. Blew through in one direction and had no flow. Blew through in the other and had flow. Blew through it from the original way and had flow. Hmmm. Shot a light through the hose and it was clear. I didn't hear anything hit the floor when I blew through it the second time, but it appears something was blocking it. I'll find out next time I fill up if the problem is solved or not. Here is my filler pipe, and the small hose on top in the other picture is the vent hose:

30351858903_88e7ab7fea_c.jpg


30791651400_3c53ff8d0f_c.jpg


I also swapped the Delrin door bushings side to side to see if the doors would close better. Seemed to make a difference in the passenger side while not changing the driver's side. I'll see how my passengers do with it before I decide if I need to shave the passenger one or not.
 
Interesting. I am curious to see just how you attach the stays to the D-rings.

Same as they were before, just with shorter rods. I have a couple of these that I modify for my purpose. I punch the clevis pin hole out to 1/4" (which is the size of the quick release pins I use), then remove the nut from between the 2 main pieces and the collet that would secure that to a piece of wire rope, weld the outer sleeve to the inner so it's 1 piece, feed the rod from the turnbuckle in and then weld that to it. I'll get a close-up here shortly that'll probably make more sense.

But instead of trying to line up 3 fairly small holes, I have a MUCH bigger target to hit w/ the D-rings.

(I know, it looks like they're crooked as all hell, but that's because the splitter is bent to s*** on the driver's side)
30339699424_247996f0cc_h.jpg
 
Last edited:
Spent some quality time with the drill press. I kinda wish I'd have thought of weighing them before and after before being basically done with them, but they're definitely lighter. "Air" tends to be lighter than "steel", so...

Before:

30831860761_a15f694d9c_h.jpg


After:

31162474015_9bfceb0f83_h.jpg
 
Last edited:
Chief:

Here's the bottom. Uses elevator bolts through the bottom of the splitter, and then these with nylock nuts so that I have just a little bit of slack in it so they can swivel up and down:

30355874233_20e9b1cb65_h.jpg


And for the top, I just have a quick disconnect pin (with a ball-detent):

30341894144_15daeafcce_h.jpg
 
Did some prep work yesterday for installing my hard top. Cut the trim panels for the side strikers and put those on, along with my F-bolts. Went to my storage, dug the top out and put it on. When I got home I looked at installing the Beatrush latches. I thought they used the factory striker plates but they don't. So those came back off. Got the Beatrush parts installed, also replaced the rubber isolater on the right side rear latch (that fits over the F-bolt). Those are side specific and when I first ordered replacements I was sent two of the same. The JIS screwdrivers I bought from Revlimiter proved their worth yet again, as the screw holding the top cover on the rear latch gave me a hard time the last go-around when I used a standard size Philip's. Everything is all fitted up and secure.

I didn't take any pictures of the Beatrush install as there are plenty of those floating around. I'll get a picture of the hard top in place with my present configuration soon.
 
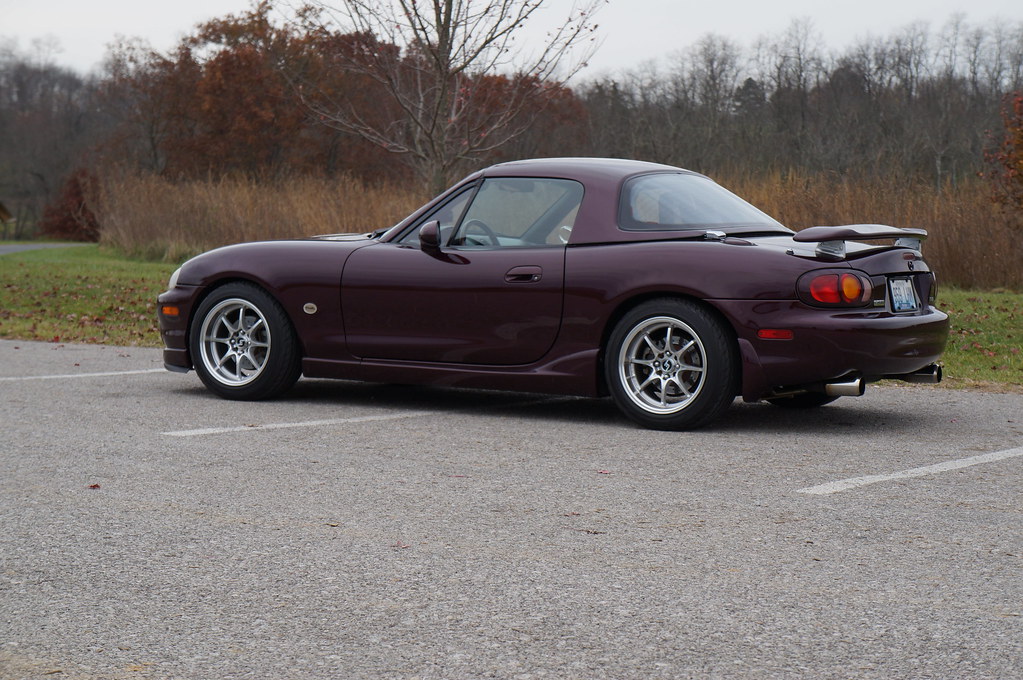
Another shot from today, this time with sun. Top came off after this.

31207758081_bcd99d6b85_b.jpg
 

New Threads and Articles

Back