So.
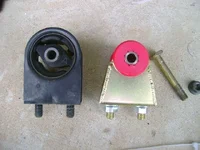
How do you install those nice red poly-whatever they are bushings from AWR?
I know!
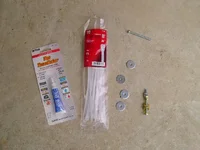
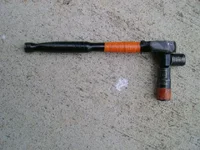
Tool List
14mm socket
17mm socket
Rachet
Extension (s)
14mm Wrench
Locktite
Socket Swivel
Pry-thing (flat head screw driver)
Elbow Grease
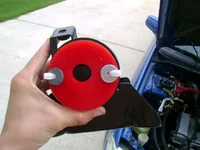
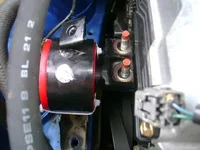
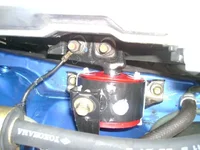
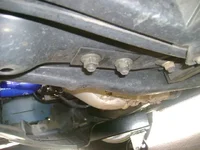
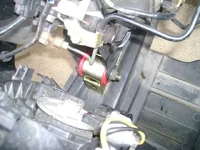
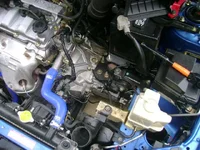
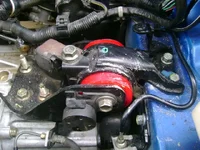
Passenger side mount.
1. Jack, or lift the engine to take stress off of bolts you will be removing
2. Remove Hardware securing mount to frame using 17mm socket
3. Remove Hardware securing mount to engine using 17mm socket
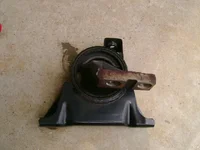
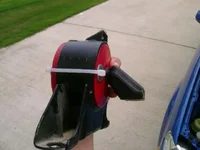
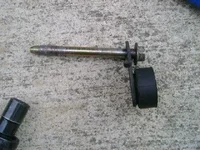
4. Without ripping a A/C hose, remove mount from engine.
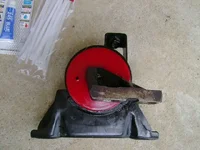
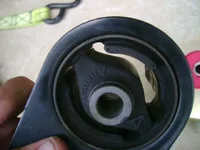
5. It should look like this---->
How do you install those nice red poly-whatever they are bushings from AWR?
I know!
Tool List
14mm socket
17mm socket
Rachet
Extension (s)
14mm Wrench
Locktite
Socket Swivel
Pry-thing (flat head screw driver)
Elbow Grease
Passenger side mount.
1. Jack, or lift the engine to take stress off of bolts you will be removing
2. Remove Hardware securing mount to frame using 17mm socket
3. Remove Hardware securing mount to engine using 17mm socket
4. Without ripping a A/C hose, remove mount from engine.
5. It should look like this---->