FSZE Protege5 Track Build

Fast forward..... I had a little accident this weekend... :(


_DSC6545.jpg
_DSC6550.jpg
_DSC6552.jpg
 
I’ll get to the crash later...

51215804361_54d21bbac0_c-e1624333627605.jpg


I have been wanting to install the Mazdaspeed Protege Racing beat front sway bar on the P5. This requires you to either remove or lower the subframe.

51216010168_4045ab0b01_c.jpg


Bushing are original from 2002, so they were not doing much...

51216010193_02fc564801_c.jpg


I had gotten a low mileage subframe from Mazmart about a year ago, so swapping it out was made sense at the time.

51215084572_8617b58f35_c.jpg


Bushings were still fresh, but no reason not to upgrade while there were accessible. So I went with some 25mm Energy suspension bushings.

51216560214_5354a92f36_c.jpg


Cleaned up and ready to go back in...

51244961742_b3436e06ce_c-e1624333666746.jpg


These are the subframe and control arm bolts. These bolts were in pretty rough condition, no way I could put these back in.

51245874563_7de9d09d9f_c.jpg


51244961867_fc16d45cb8_c.jpg


I had to wait a few days to get them from Mazda, but the piece of mind was worth the $40 in bolts…

51244961722_b3bc7974fd_c-e1624333687395.jpg


Bolts in...

51245874438_b2e3fe8b2a_c-e1624333705782.jpg


Subframe tucked back in..

51246434034_feb285629e_c.jpg
51245874533_1b0b7671da_c.jpg


I have also had this Corksport shifter bushing for a long time... but never installed it. Probably because its kind of annoying to get the old one out. The only way to remove it seems to be to trim the edges and press it out, simple process just annoying..

51246729390_29035dea88_c.jpg
51246433474_319c0a0ffb_c.jpg


While the car was down, I wanted to get the header wrap off the car, and have it properly cerakoted. The header is a cheap no name brand, but it has held together and gotten the job done. 2 years ago Icoated it with some sort of heat paint, and wrapped it. I am surprised it hasnt rusted through.

51244961767_2c59c14db3_c.jpg


Once again my good friend assisted me with stripping the header in the sand blaster, and cerakoting it..

51245671136_e79f50ef24_c.jpg


Once cured, it looked much better, and that crusty wrap was gone...

51245874323_1724f9d741_c.jpg


The heat dramatically decreased from before. The header was not cool enough to touch, but the heat wasn't overwhelming in the engine bay. And it looked a million times better..

51246729300_19a79d85c6_c-e1624334004962.jpg


51244961352_02ee4bdeb5_c-e1624334059935.jpg


I hadnt gotten the VTCS to work properly on the FSZE intake manifold so while the intake manifold was out to access the rear engine mount bolts. I removed the VTCS and plugged the holes. Typically its good to have it in for lower end torque.. but not working it was better to just remove it rather then have the restriction..

51245874498_7a325ef0a2_c-e1624334117298.jpg


Late Subday afternoon after having the header done, I could not resist with putting a little coat of paint on the manifold while it was apart..

51246433599_d440566fd6_c.jpg
51245874333_e097fbe743_c.jpg


Much nicer...

51245874203_5c3f4d6199_c.jpg


Also while everything was out the way, I took some time to clean up some wiring from the jdm harness. I this point I had removed emissions and only had 3 sensors going to the intake mainfold and the rest were crank sensor, coil packs, temps sensor, o2 sensor and a few grounds. So i wanted to simplify things..

51245670881_4d223005e0_c-e1624334213146.jpg


Wrapped the harness in Tessa tape ..

51246433654_035f20a5ec_c.jpg


Everything back in. Im working on the coil on plug conversion, and converting the power steering lines to AN fittings just because it looks way nicer..
 
Ooofff, hope you weren't too shaken by that crash! Car looks relatively straight underneath the panel damage?

Also, perfect writeup of the swaybar and subframe swap. That engine bay looks great!
 
Aside from the accident news :( great update! Looks like you got a lot done. Engine bay looks nice and roomy.
 

So back out at Road Atlanta, my biggest fear with Road Atlanta is the sway bars making the rear too stiff, and the car being sketchy at high speeds during turn-in. Which is why I had to upgrade the front sway bar to match the rear. My first session the car was super neutral and it didnt too much of anything unless I wanted it to. I experimented with Turn 1 by braking early and downshifting and powering up the hill. It worked, but coming down the front straight and braking hard I felt like I was losing so much speed to prepare just to accelerate up the hill. And if I waited to late I can feel the rear get a little light. So I started to hold 4th at a slightly higher speed and turn in early, and push out to the outer apex. It gave the car much more speed up the hill, but I had a small window to hit it right before it pushed me out too far. But the car felt much more stable. I did manage to get a new personal best of 1:54.1 early in the day.

51263751879_3bd3bf09b3_c-1-e1624931480658.jpg


I am sure I would have gotten it down more later, but after lunch I lost my power steering belt , and it was a workout on a some of the longer turns. So before it started to rain I never got a chance to get any good laps in..

51264051860_937571f149_c.jpg


Speaking of rain...around 2pm it started to rain pretty steady. Usually I dont have much trouble in the rain, and it allows me to keep up with some of the faster cars. And its a bit fun as long as I am careful. Well I had been out for about 3 laps. And decided to take one more lap. And I came around turn 3 and lost traction in the rear and the car spun around, and pancaked the tire wall. By the time I hit the wall I could not have been going but 10-15mph at the most. I was uninjured, and the car drove the same, but was a bit bruised as you can see...

51263751904_49dc90cc0a_c.jpg


The car drove back home fine, and did not feel out of the ordinary.. I can maybe salvage the front bumper, but the side loops that held it up did break.. so that maybe an issue.

51263007781_8dd97a39cd_c.jpg


Did not realize that I was missing my side skirt until I got home. But the doors are dented pretty bad. Glass held up..

51263751894_6bb217d9b5_c.jpg


The worst part is the rear quarter panel, which can not be bolted on and off. Once the other panels are replaced I may see how much of it can be pulled and or repaired..just so its not as ugly.

51258076446_5c4e010c6c_b.jpg


51257349952_30c1f4b474_b.jpg


51258076436_cf8bda6199_b.jpg


With every big milestone, I like to take nice photos with the camera as a memory of the journey. I cant lie it sucks to see the car get damaged. But I am glad its still able to keep going. Next stop is Barber Motorsports park in August, lets see how much I can get repaired by then...
 
Ooof, the nice photos really offset the damage to the side!
Amazed that the glass didn't break as well. Glad to hear you're OK, that's the most important thing.

I reckon a slide hammer with those little weld on studs will pull most of the rear quarter straight again, the challenge will be the creased section by the tail light.

Otherwise rattle can black and full Mad Max style?
There are a few P5s at the pull apart, i am going to go when i have time and grab new panels.
 
Photos from the event photographer
 

Attachments

  • 06-19-21 Jzilla-279.jpg
    06-19-21 Jzilla-279.jpg
    83.5 KB · Views: 374
  • 06-19-21 Jzilla-5474.jpg
    06-19-21 Jzilla-5474.jpg
    87.1 KB · Views: 209
  • 06-19-21 Jzilla-6157.jpg
    06-19-21 Jzilla-6157.jpg
    78.1 KB · Views: 223
Time to see the extent of the damage...

51278368814_758109da7c_c.jpg


The positive part of all this is that there didnt seem to look like there was any damage hidden behind the dented panels. My wheels are a little scrapped and damaged, but nothing structural.

51278368679_51d62dbb81_c-e1626157373843.jpg


I was worried about by the headlight socket being damaged and it never fitting properly again, but visually I didnt notice anything major.

51277647491_b8858c6e2a_c.jpg


Good news is that the new taillight fits in its place still... which is a good sign.

51277814913_0b92974aae_c.jpg


Fender and bumper removed...

51277647486_516e4ab2d7_c.jpg


There was a slight crease here were the intake pipe goes through. I managed to straighten it out with a few taps of a mallet. It also pushed the side headlight mount back in its place as well...

51277647546_e1f7be8424_c.jpg


Here is a photo of the side headlight mount that was pushed in slightly.

51278668365_bdb2849b42_c.jpg


I had a headlight shell to test fit in its place to see how much it was pushed in. You can see its off by about 2 inches..

51278368794_027917b8a0_c.jpg


Took some pliers and maneuvered it back in place, so the bolt should fill in the gap..

51277647631_604b3964d3_c.jpg
51277647566_4f2f0fbc80_c.jpg


I went ahead and started to remove the doors to get practice for having to remove doors at the pull a part..

51277647556_d4db70d6c7_c.jpg
51276896697_7f5c8ccdd9_c.jpg
51278668360_28a8e450b1_c.jpg
51278368759_b777ef12fc_c.jpg


The car doesnt have a radio and or power windows anymore. So i just had the wires zip tied in the door, but I found out that the door wiring has a quick release at the body panel. So it made that much easier..

51276896742_866662b9e5_c.jpg


51278668505_9b7b206229_c-e1626157608207.jpg


Door off, glass , handle regulator all removed...

51272064257_927c56e176_c.jpg
51273541514_b339bb141e_c.jpg
51272064242_7017033de7_c.jpg
51272064237_464499b103_c.jpg


My floor in the garage was full of gravel and dirty so I put the P5 outside so I can clean up.
 
Pro5 Kart? That's one way to reduce weight!
Damage looks minor, which is great news, looking forward to more progress on this car :)
 
51323015486_a1f23cf27a_c.jpg


I had found 2 P5s at a local Pull A Part, but they were marked black. I had planned on getting those body panels from those cars and just having a mismatched car for awhile. But I checked another yard that had a P5 listed, but no color. I decided to check it first to see the condition and or if it was silver. I was pleased to see it was silver, and all the panels I needed were still in perfect condition..

51324009995_d81ba2d386_c.jpg


Its pretty simple to get the doors and fender off, but I did need to gut the door internals so I would not be charged for things I did not need..

51323217018_e19823e68c_c.jpg


Made out like a bandit..

51323731074_0603443d76_c.jpg


What was left...

51323731069_727bdb0503_c.jpg


Since I gutted the doors, everything was only $139 out the door. The fender itself was the most expensive part.

51324010170_7d561485cd_c.jpg


The only thing I will need to do is remove the side molding later..

51323217298_4a01807caf_c.jpg


Upon further inspection it looked like the fender was replaced and the car was repainted at one point. There was runs of clear on the inside of the door, and the fender was black on the inside, compared to my old one.

51323015546_677ccea03b_c.jpg


Fit like a glove... almost like it never happened.

51323731154_894ff65ae2_c.jpg


Extremely pleased and thankful that the damage was not worse. The panels went back on and lined up perfectly. The only sign of damage is to the rear quarter..

DSC6889-1.jpg


Still a little bruise on the bumper...

51323731089_ce6d2a441b_c-e1626752723799.jpg


Hopefully this is the last time I have to deal with this...

51323015361_3a18a4b7be_c.jpg


Now, ill see what I can do with this damage to the quarter..

51324010110_c30f57151e_c.jpg


The car is gutted so I can access the dent on the back side. I took a rubber mallet, and used it as a tool to push the crease out..

51323731304_d6a1cc8f59_c.jpg
51323217273_09a051f536_c.jpg


A few taps, and it was much better. I am going to try to get some proper dent tools and see what I can do to the damage instead of just beating on it with a mallet .
 
51429099748_808f4779c0_b.jpg


51429603814_40e8184763_b.jpg


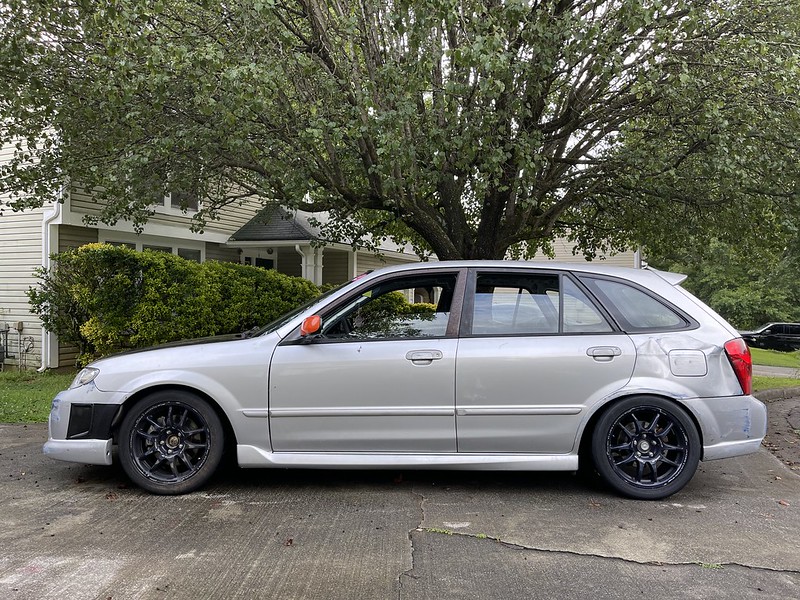
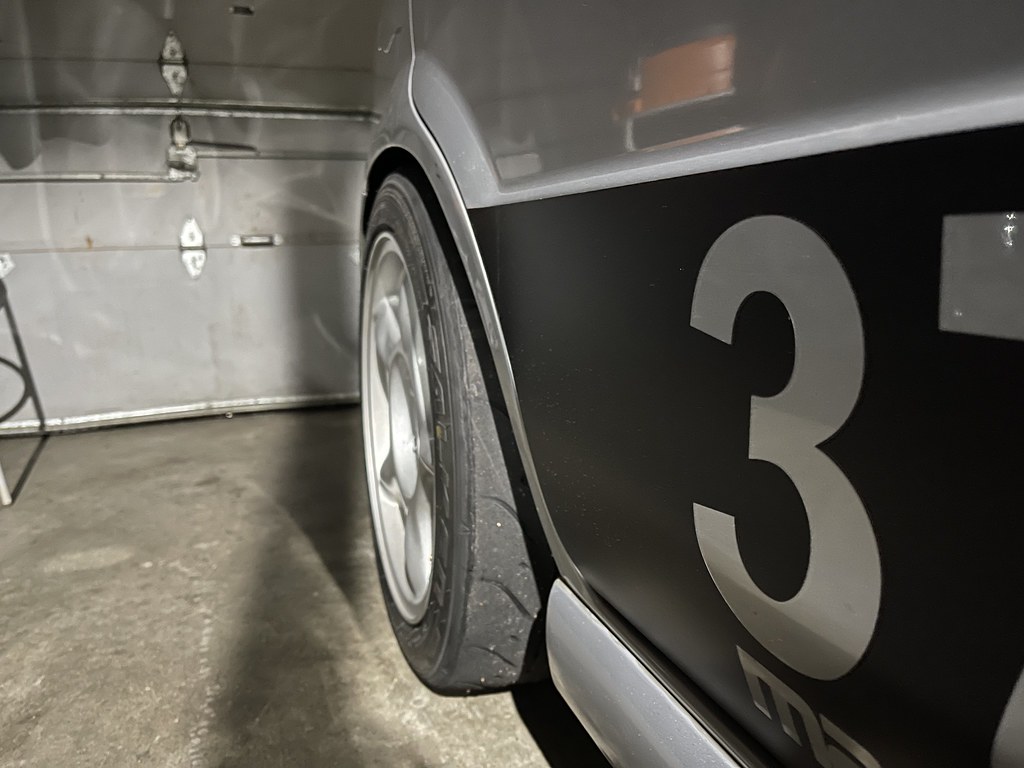
It has been awhile since I have updated the build process, so there is a lot to catch up on. First thing is selling the Work Emotions, and getting a set of FD wheels to try and save some more weight. The FD Wheels are a popular choice for Proteges due to their spec 16x8 , but their high offset and the lip on their hub makes it require a minimum 3mm spacer.


51643263689_b08e16e6f8_b.jpg


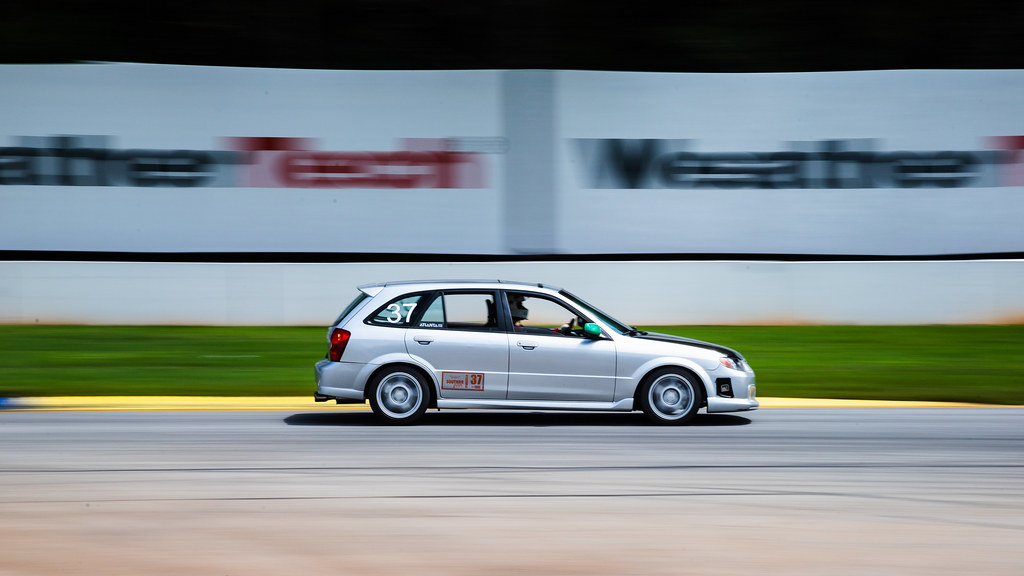
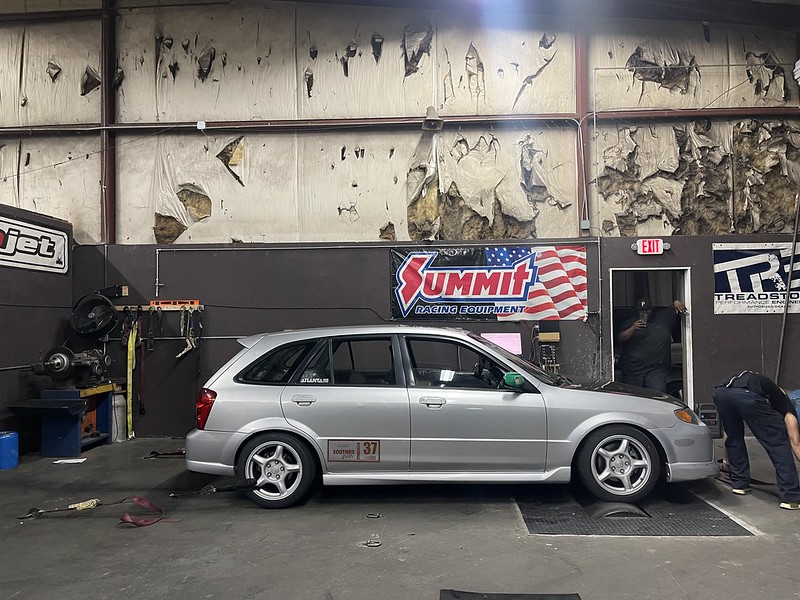
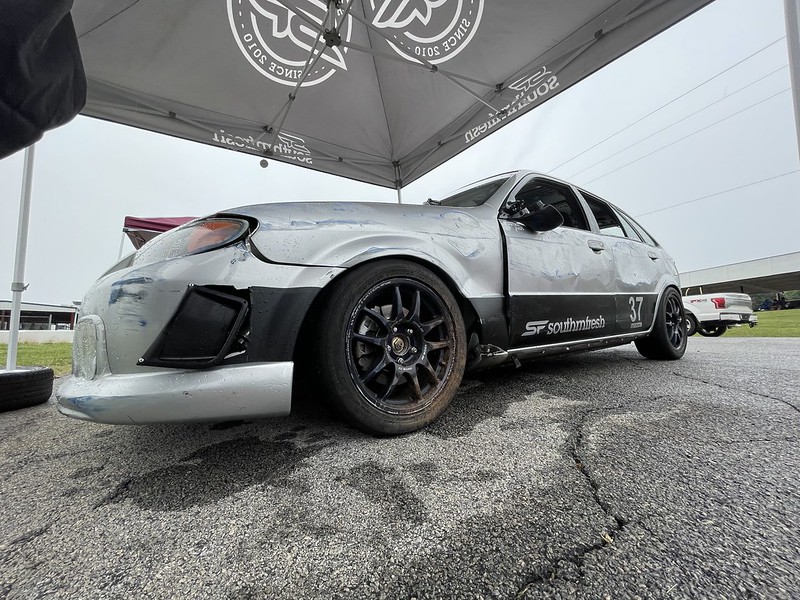
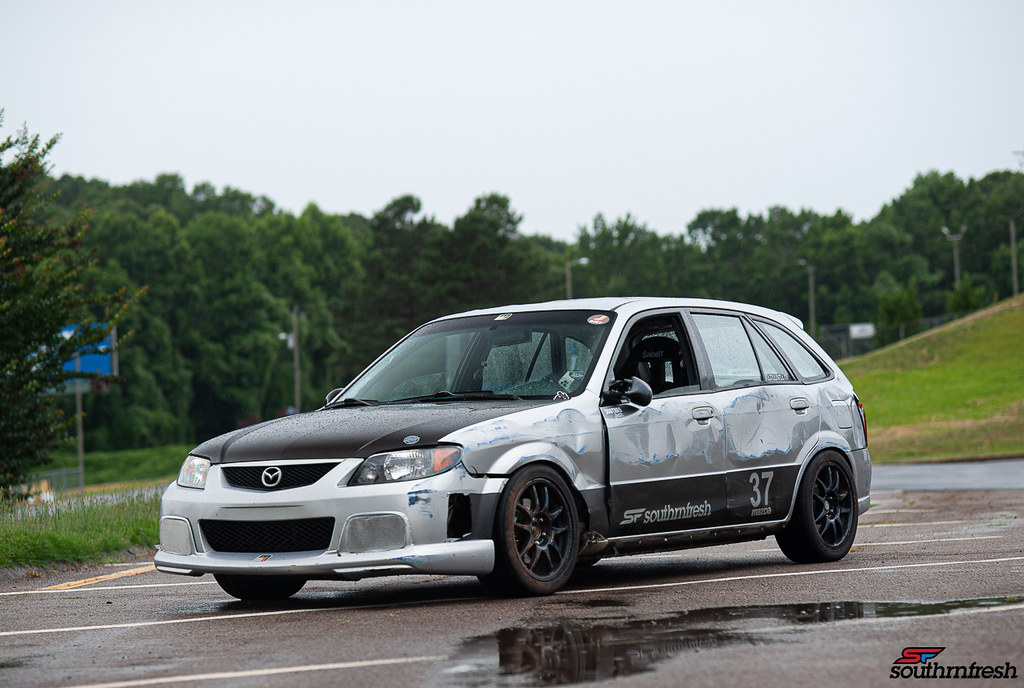
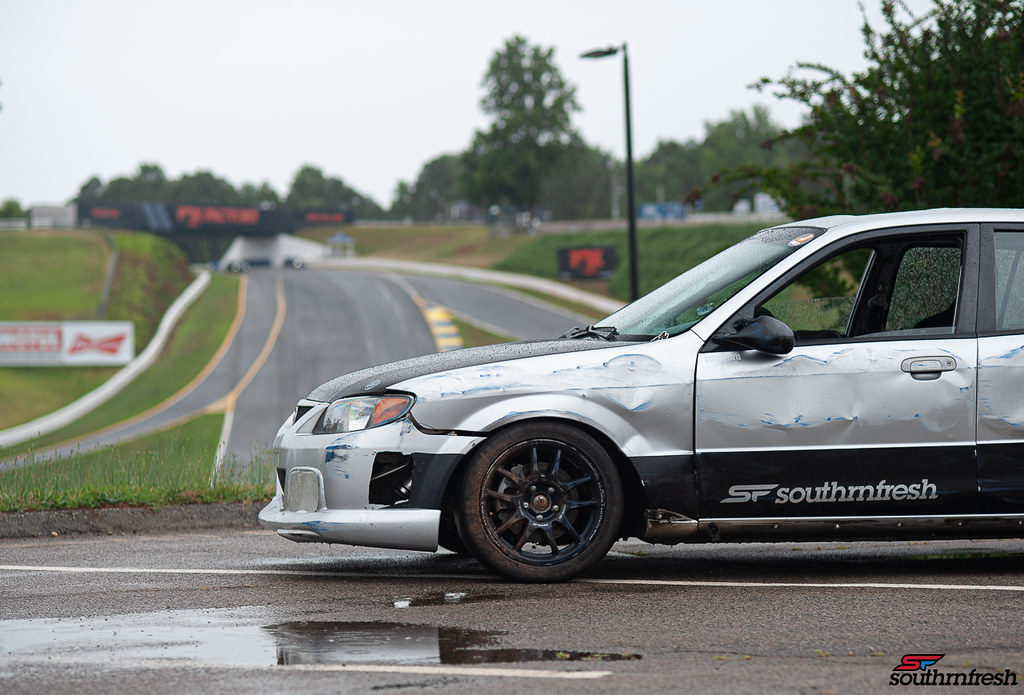
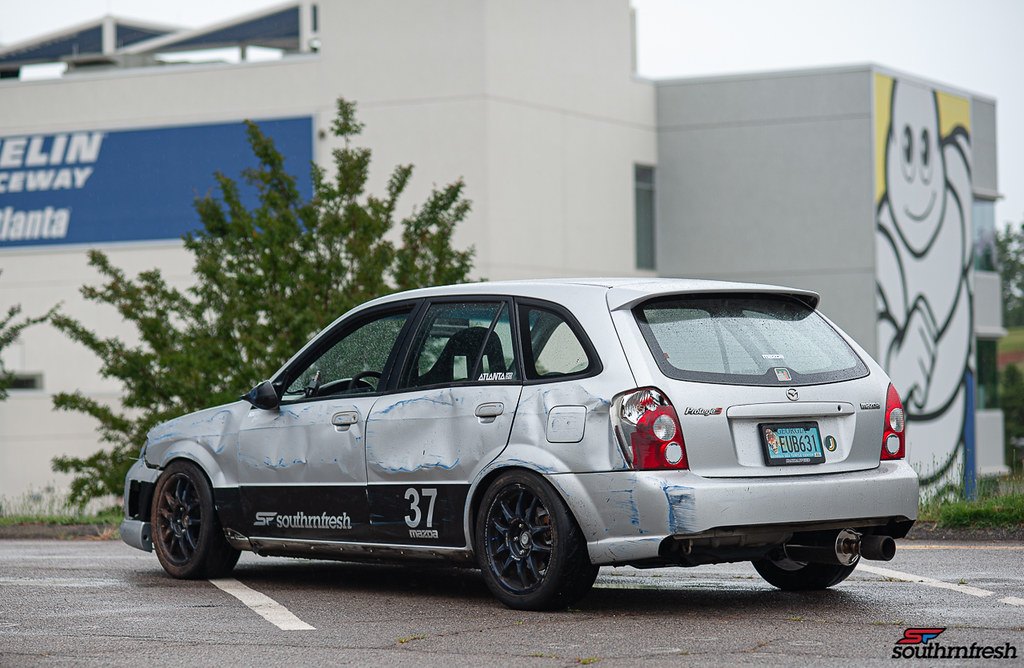
Back out at Road Atlanta with the FD wheels. I also got the idea of sealing off the foglight covers to help me with any sort of restriction. I cant say it helped at all, or made a difference, but I liked the look..


51642614026_cfd85a7ac7_b.jpg


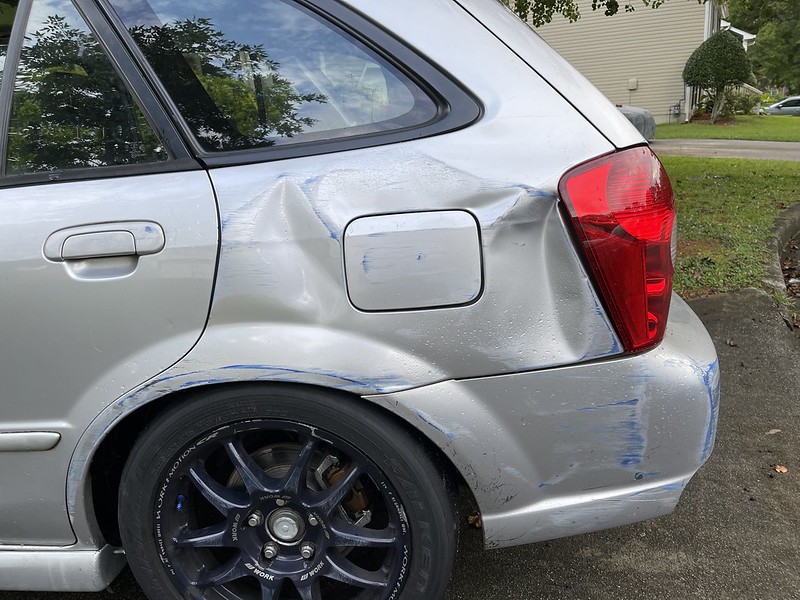
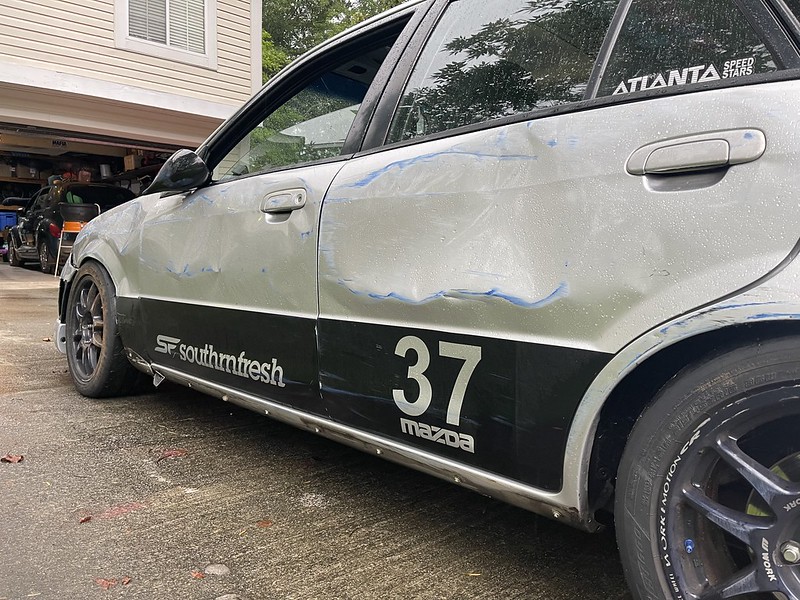
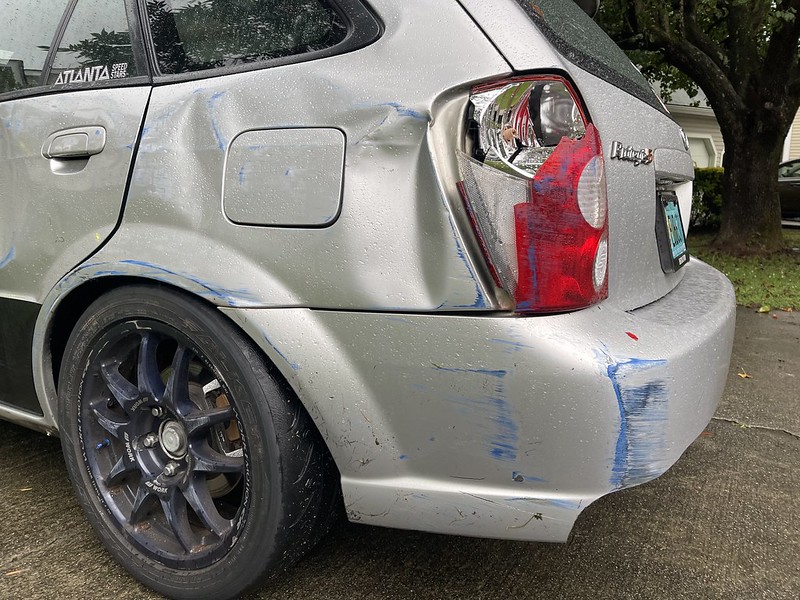
I had a pretty good consistent event, but under hard turning I kept getting a light squeal. I kept checking and checking, and I had attributed it to the pads, and the brake dust plate toughing my warped rotors.


51642830623_0538a66c87_b.jpg


I was not in a push hard mood because it was my first event back at Road Atlanta since hitting the wall. But being dry i had nothing to worry about, but I was more concerned about the car being the same as it was before. The scrubbing squealing noise really got in my head so I could never fully relax. I did manage to get 8mph faster around the track, but still lacked in some areas. I think if i would had been able to focus on driving instead of the noise I could have done a new Personal best, but I did not wanna take any chances pushing too hard.


Here is a video of one of the laps from the day.


51429828135_2c81b8433d_c.jpg


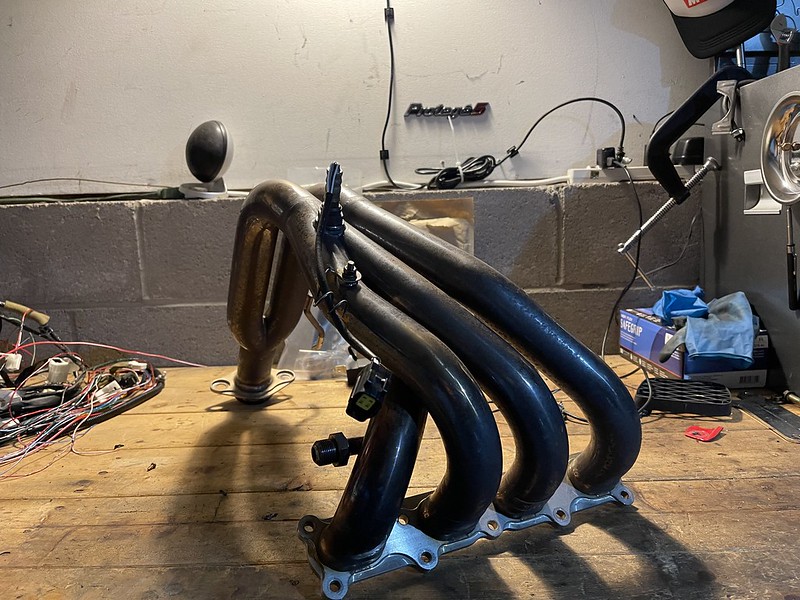
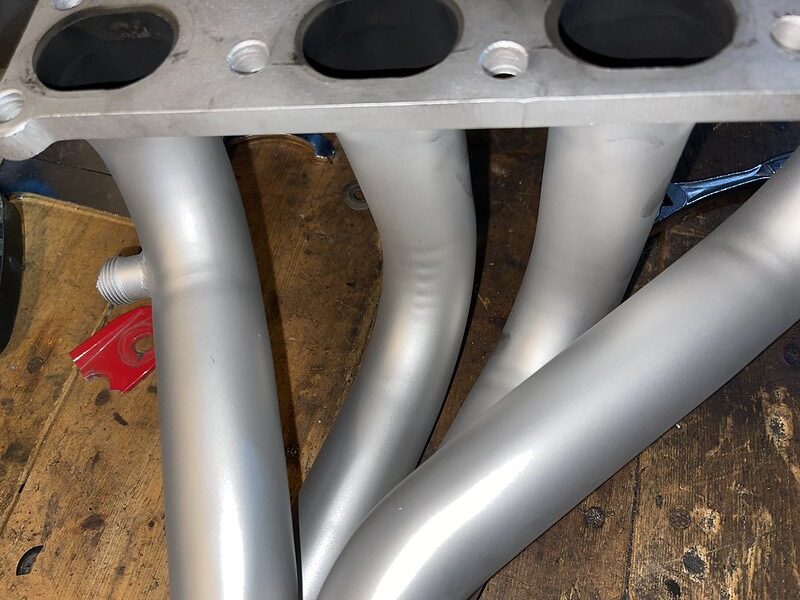
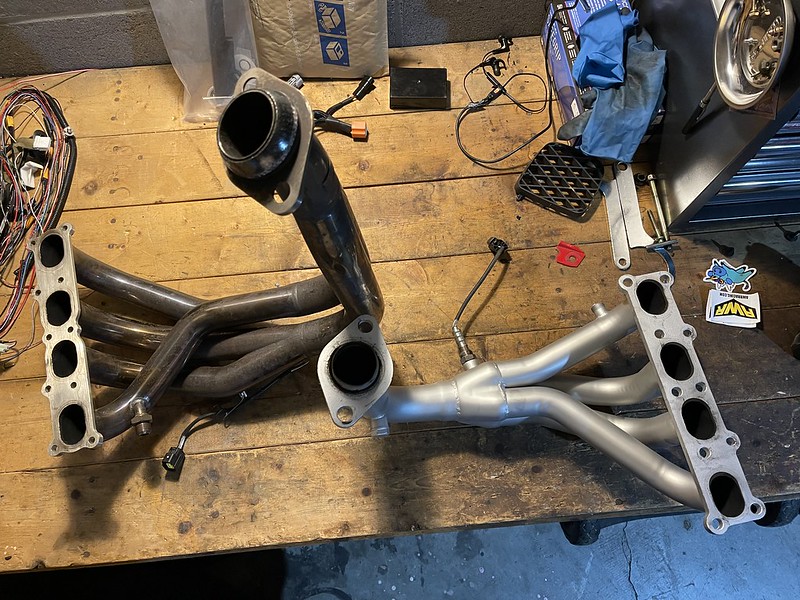
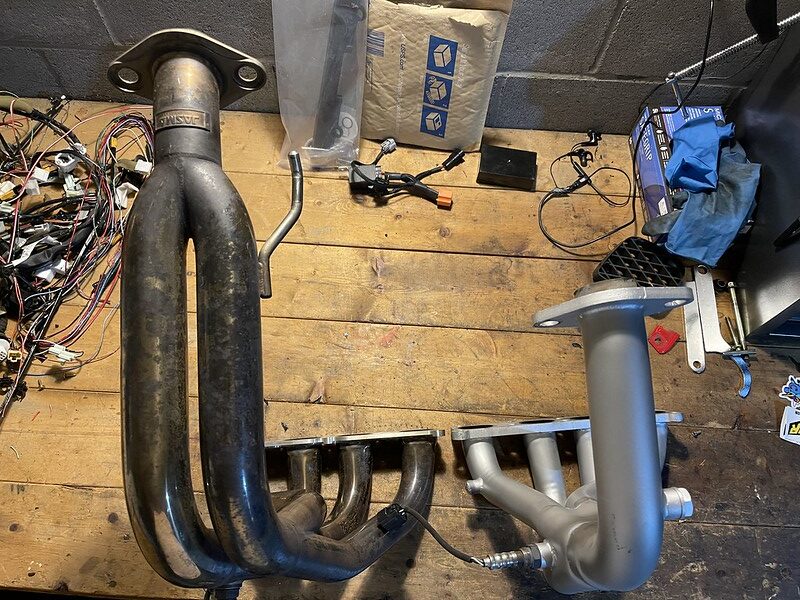
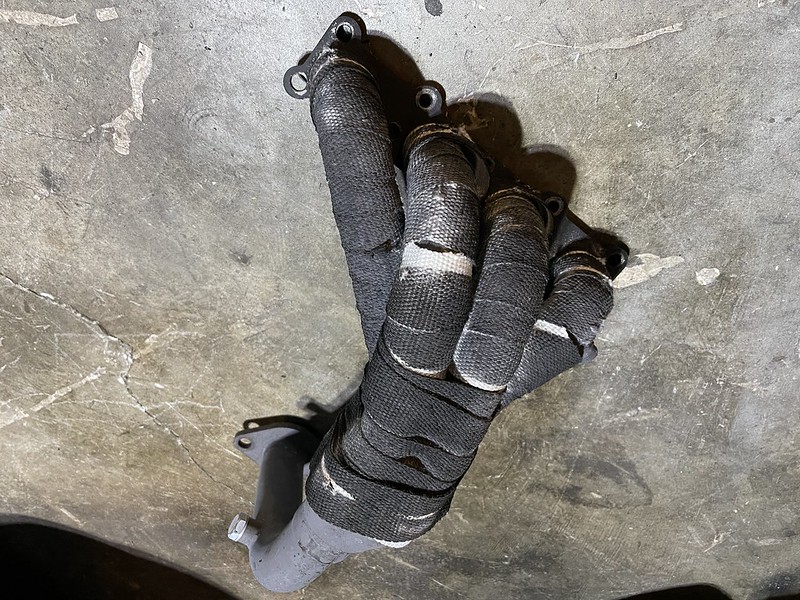
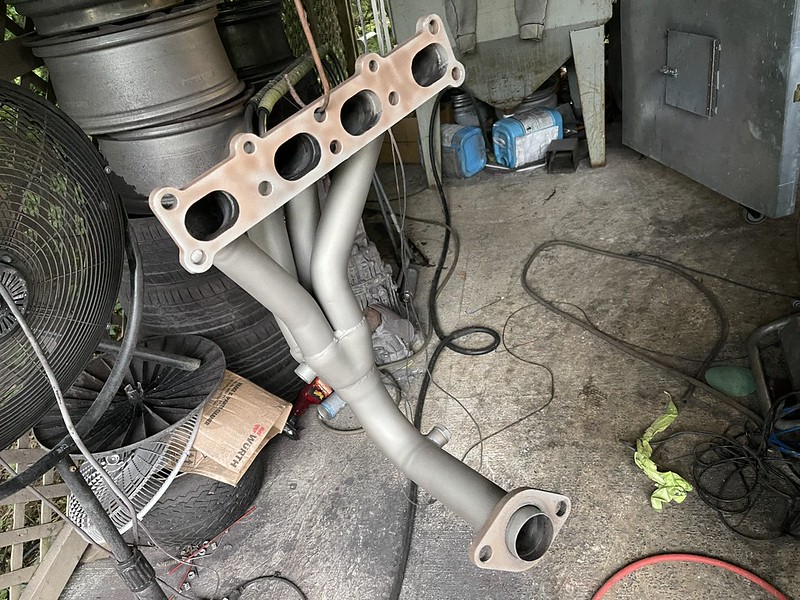
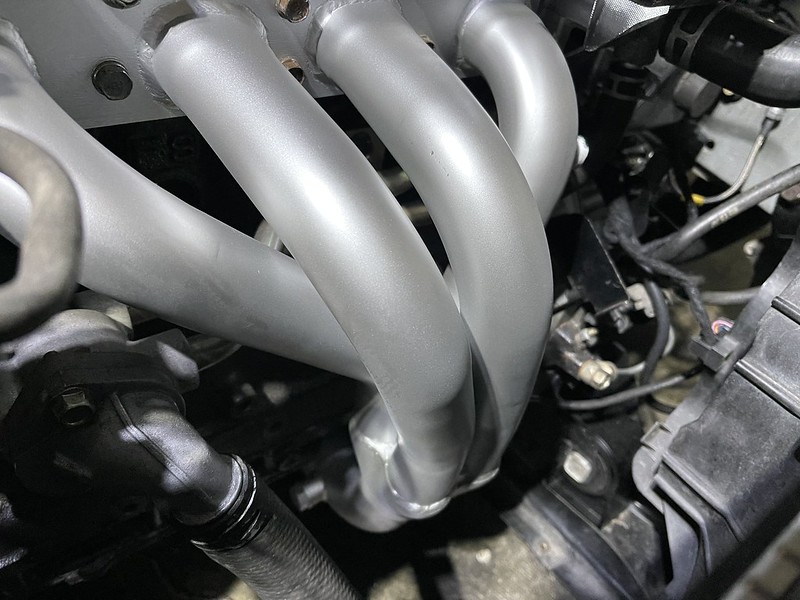
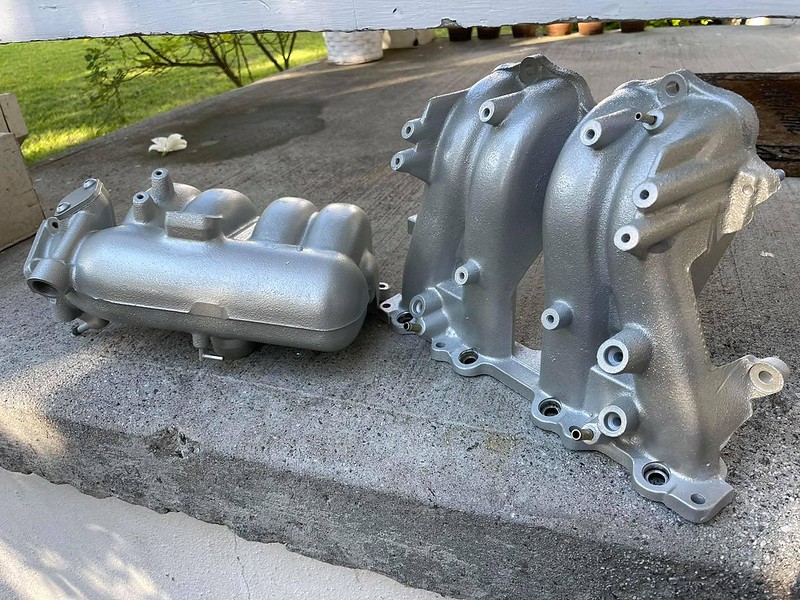
A late night Yahoo Auction Japan search granted me these rare and discontinued Autoexe / Maxim Works 4-2-1 header.


51428857561_618196e2e2_c.jpg


51429099553_c35dffa9f1_c-e1635642112536.jpg
51429099563_93ea4c034a_c-e1635641986274.jpg


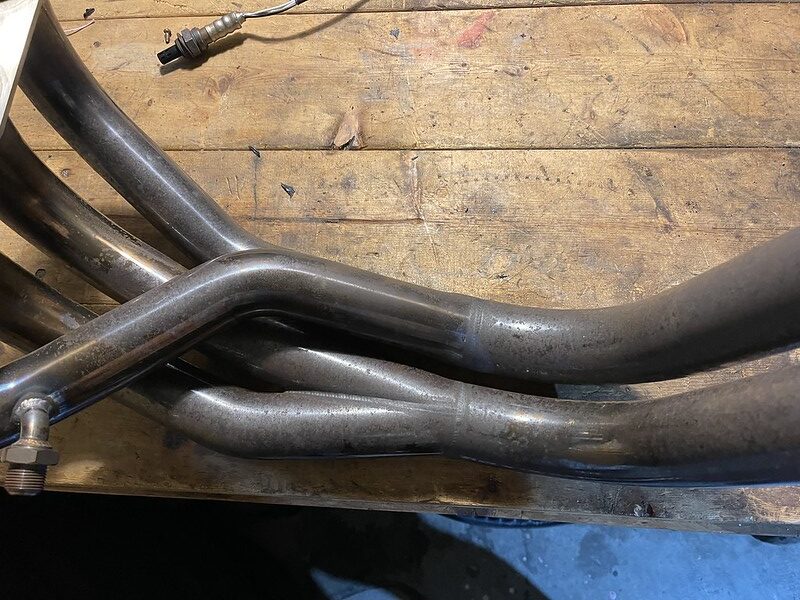
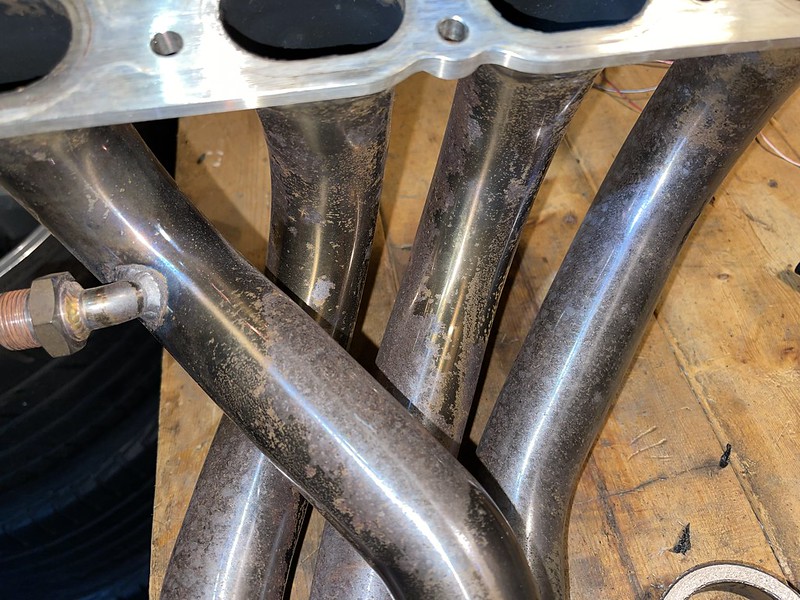
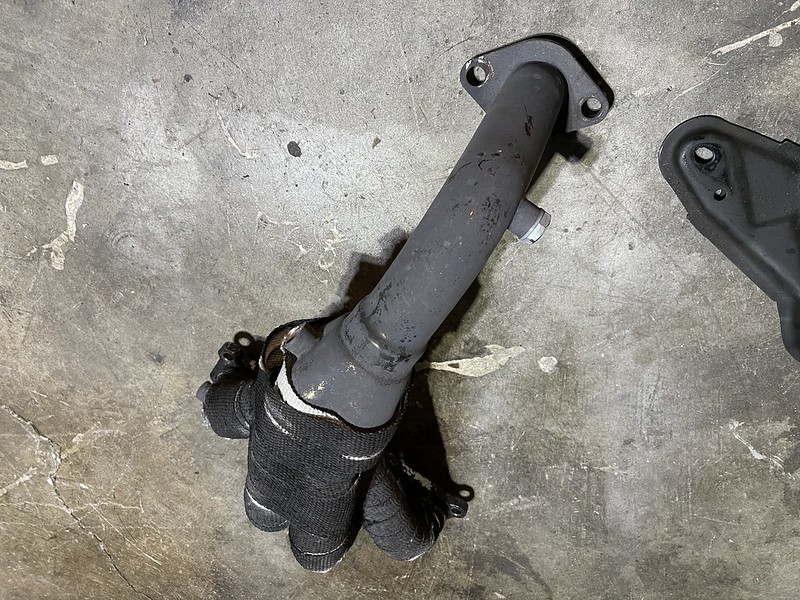
Quick comparison of the 2. You can see the difference in the OBX header and the Maxim Works header. The small wrinkles in the OBX header is minimal, but at this point everything counts.


51429604209_2ff8e719a6_c.jpg
51428101107_444870d4e6_c.jpg


51429099353_4206a058ea_c-e1635642075232.jpg


In order to run this header I will need to have my midpipe shortened to fit properly.


51493838667_f7b70de01e_c-e1635643034834.jpg


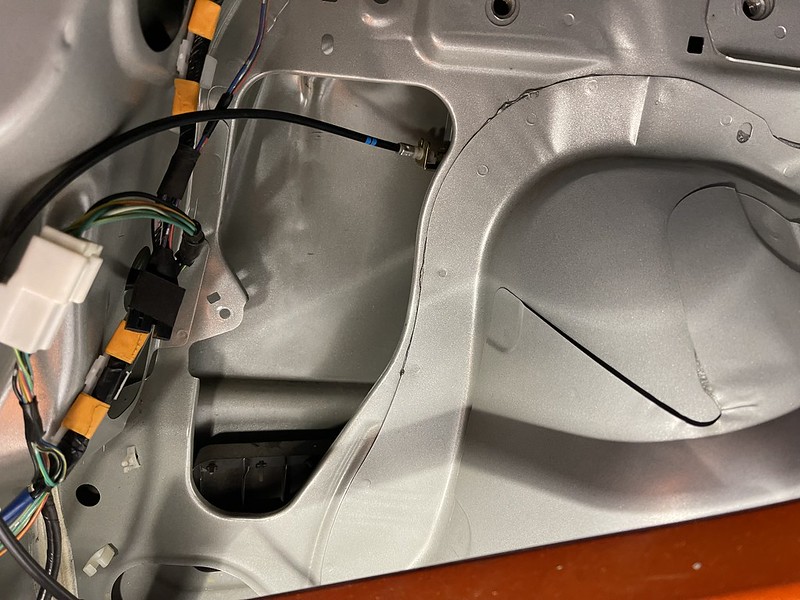
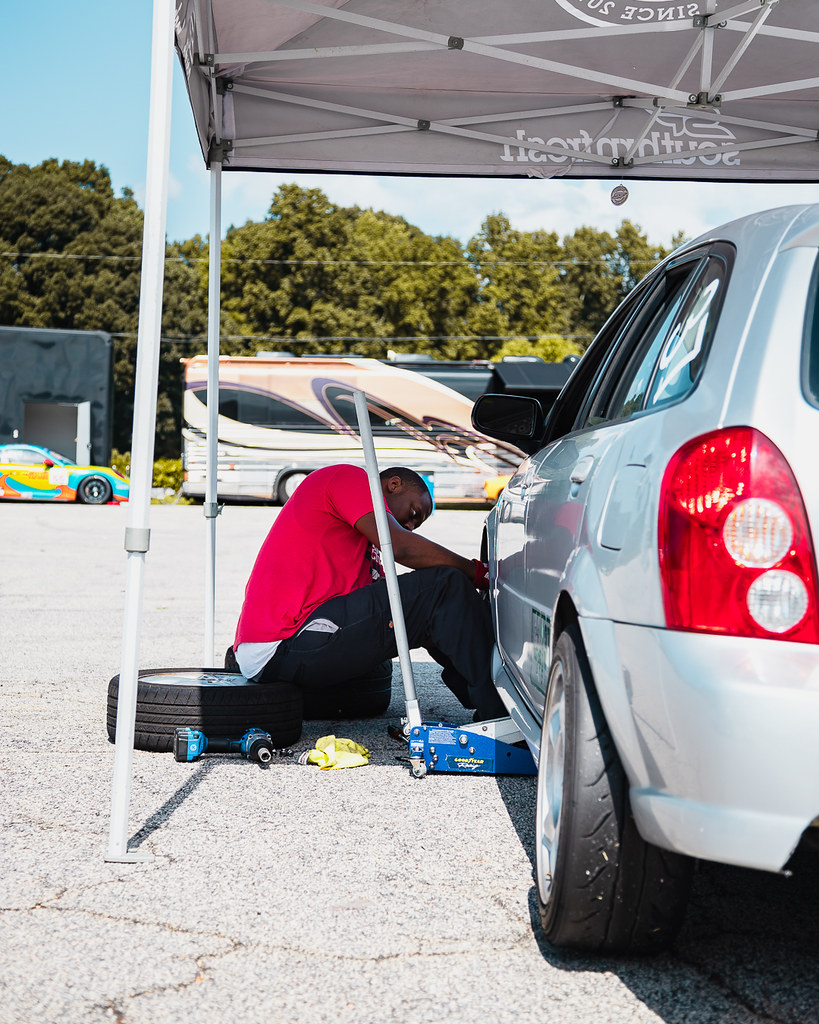
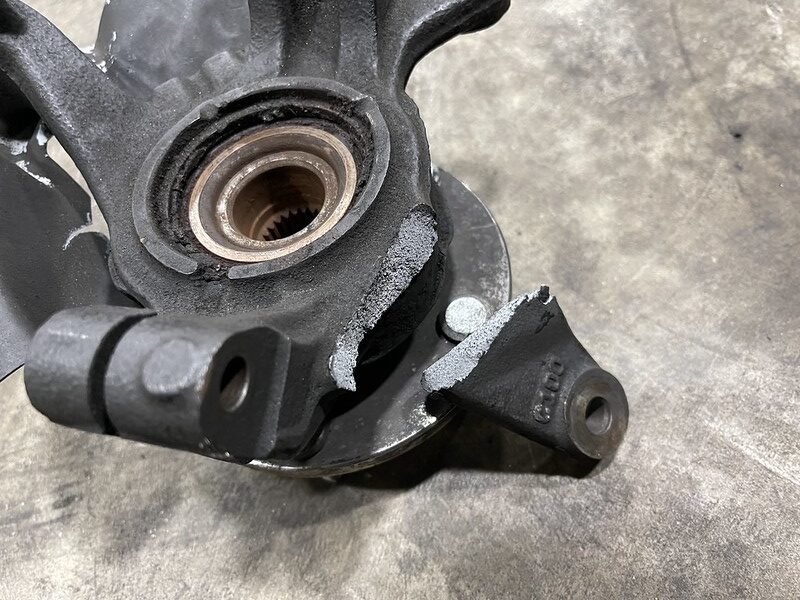
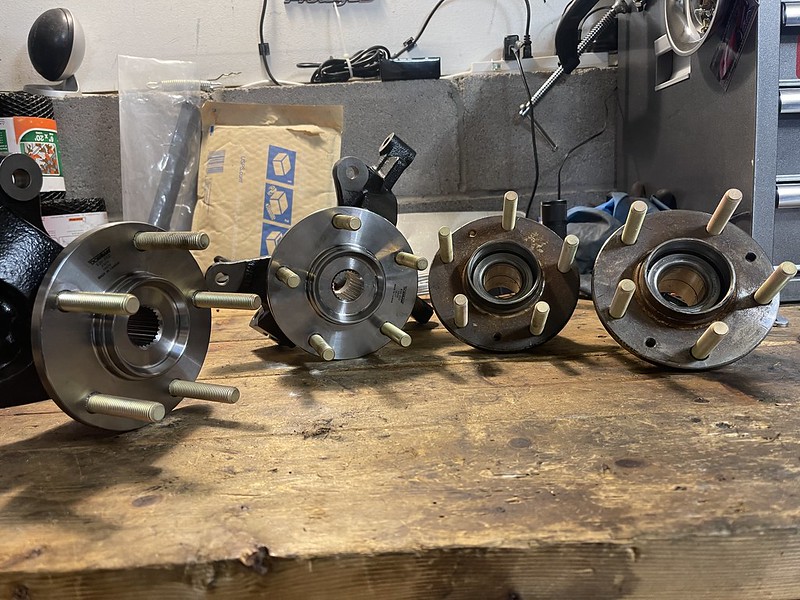
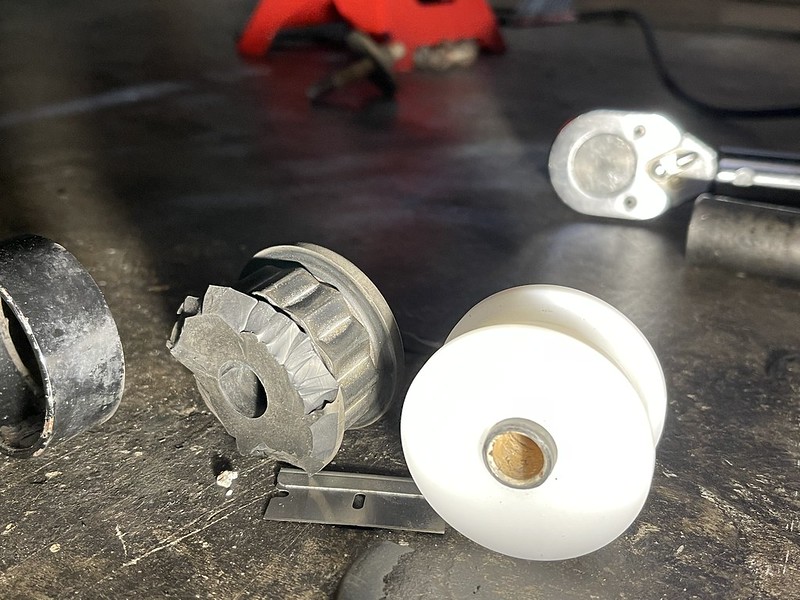
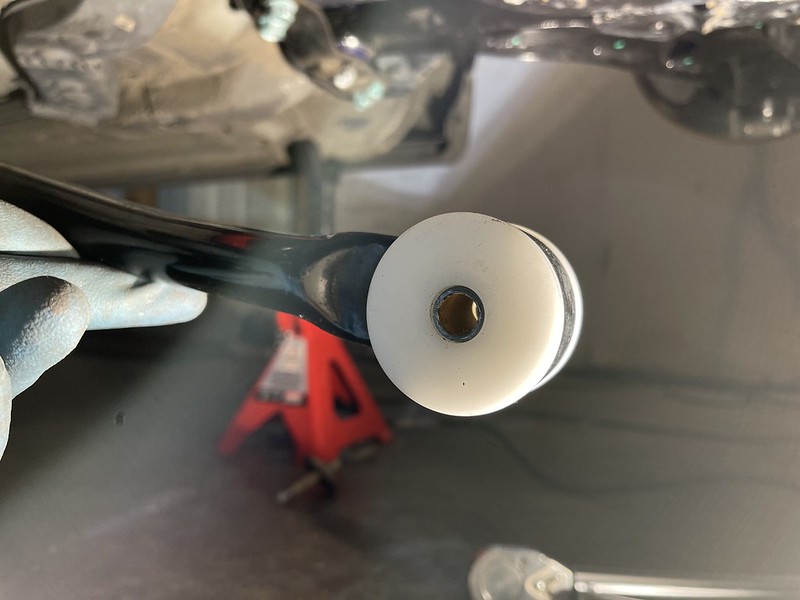
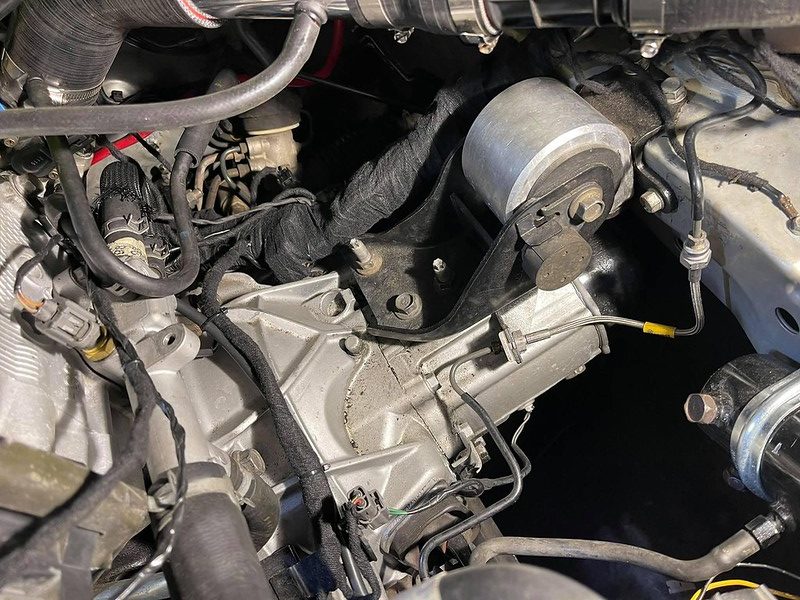
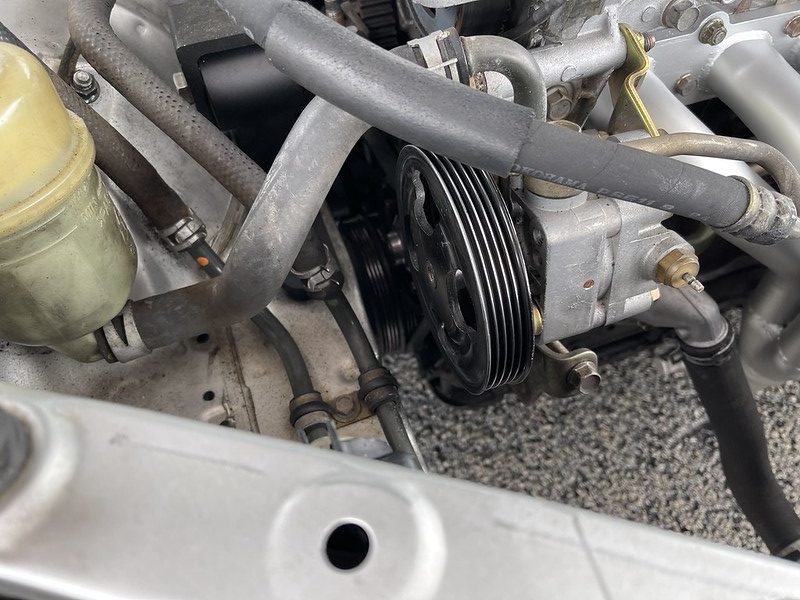
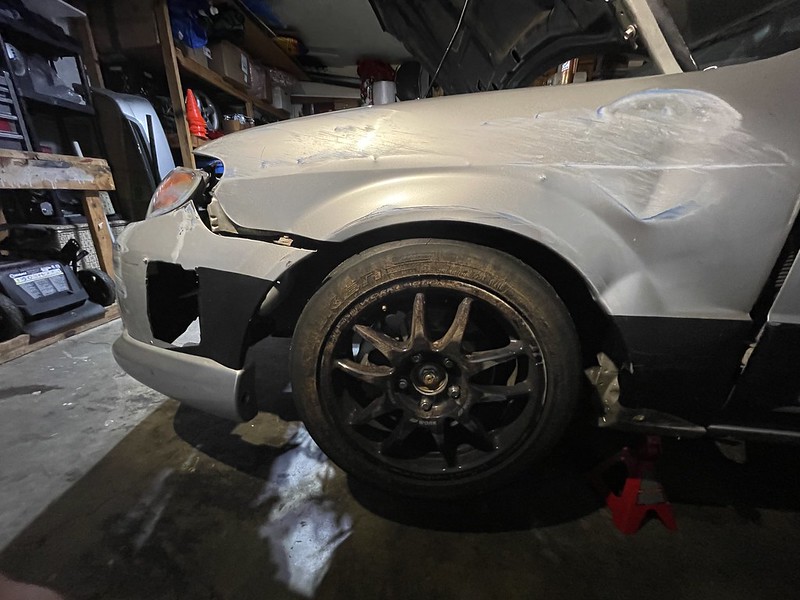
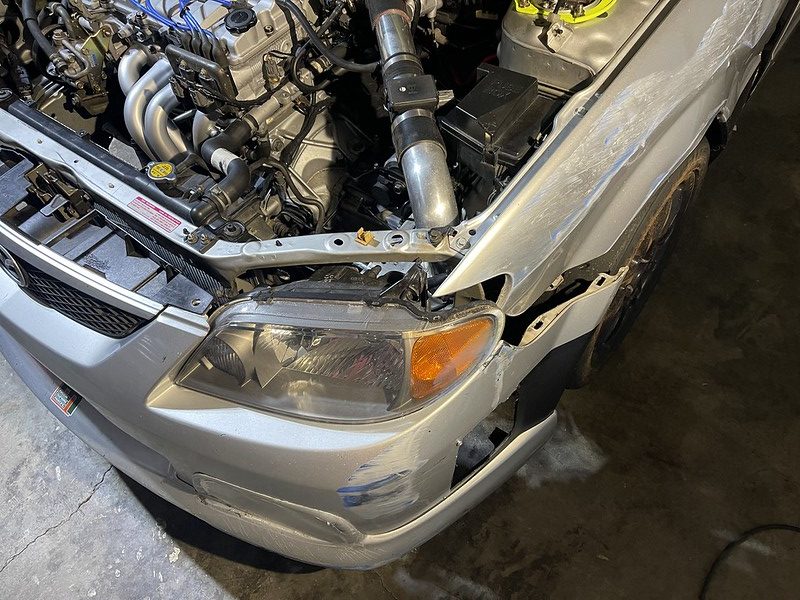
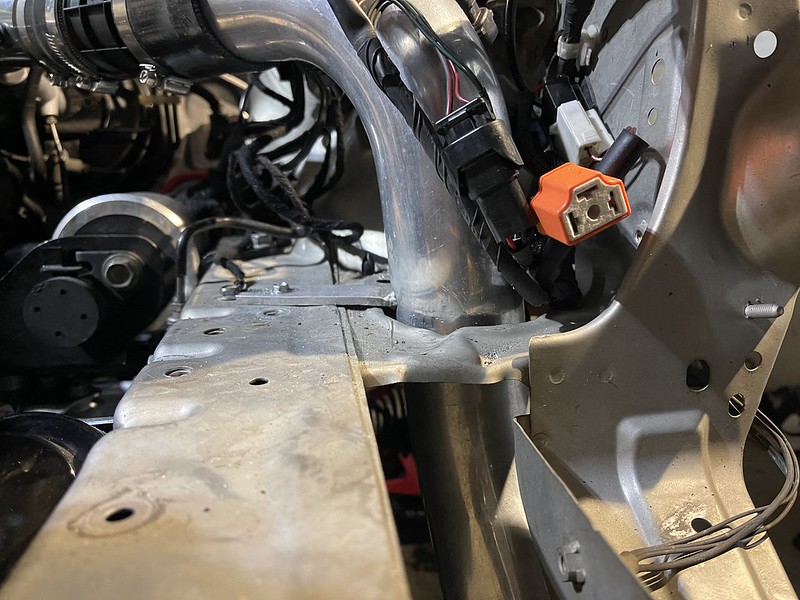
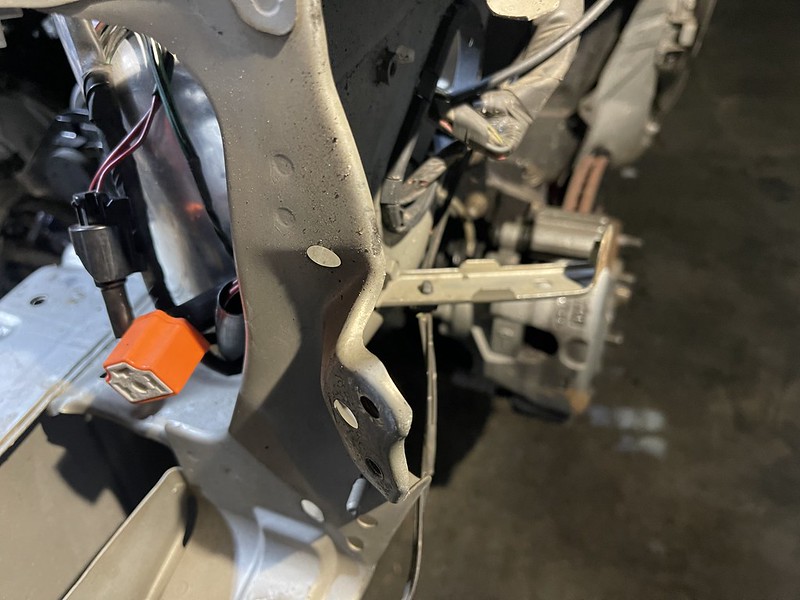
So I was able to finally find the source of the squealing noise on the front of the car. It was the front driver side wheel bearing. I had replaced it when I first got the car, but on Proteges' its a high failure point, so it was no surprise. But I did want to show a photo of the broken knuckle from me trying to press out the hub bearing without removing the retaining ring clip. The worst part about it is that I managed to break both of them, before a friend of mine saw my silly mistake..


51495346729_034361f30b_c-e1635643122396.jpg


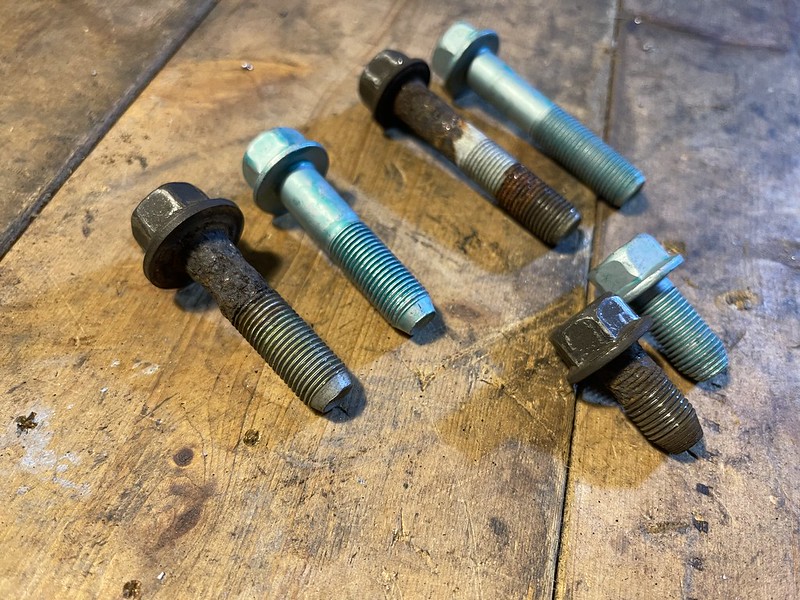
New Dorman Hub Bearing. Side note, about these hub bearings. When I installed the FD Wheels, I only had about 4 turns on the lug nuts. So I ordered extended studs. But the hubs I had on the car had a crazy size stud that was not OEM, after days of trying to find a matching extended wheel stud I gave up. Coincidentally I found out that my front wheel hub was bad, so it gave me the chance to replace it with a Dorman hub bearing which does carry the proper OE size wheel studs. I purchased the other set of hubs from Rock Auto, and at the time it was the cheapest brand, I would not advise them, because if you ever break a stud you can not replace it.


51495347014_614cbd4771_c.jpg


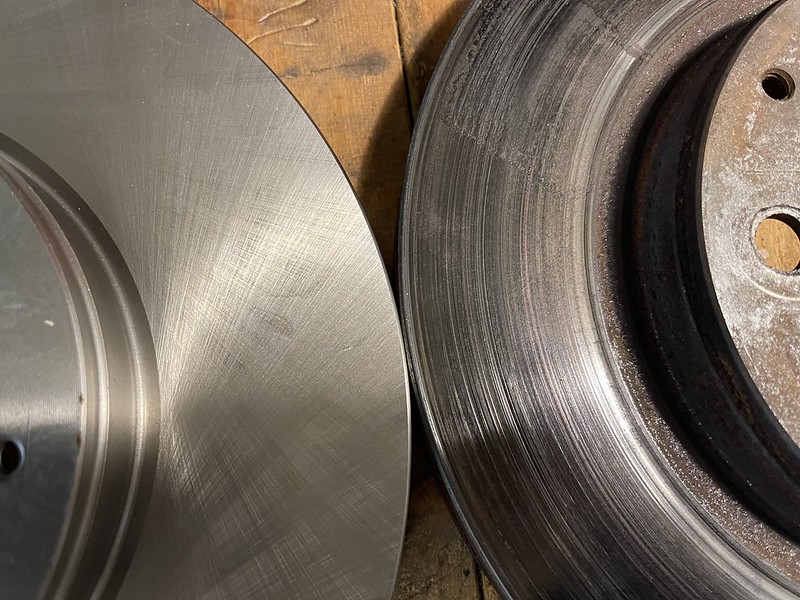
2 years of abuse on these rotors, it was way overdue.


51495564460_48df7df28a_c.jpg


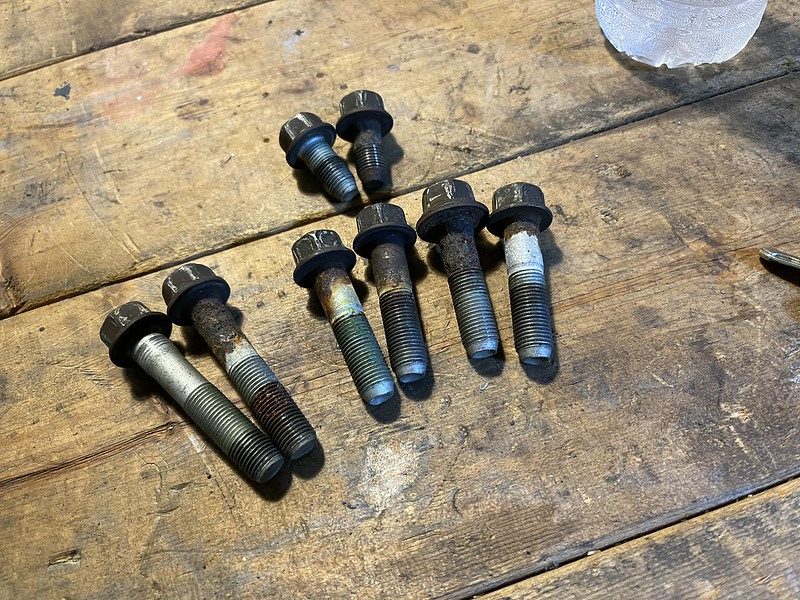
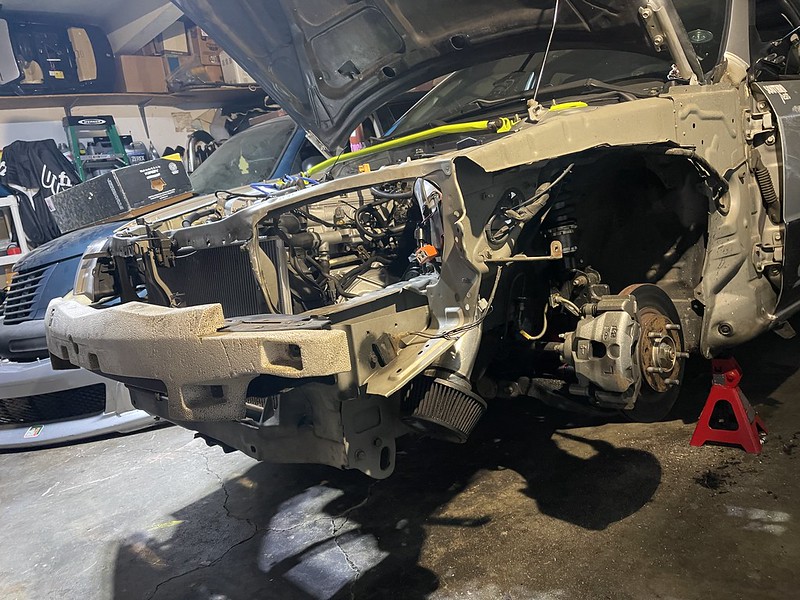
New Front Knuckles , bearings, hubs, and extended studs.


51495347019_eb30a1a70a_c.jpg


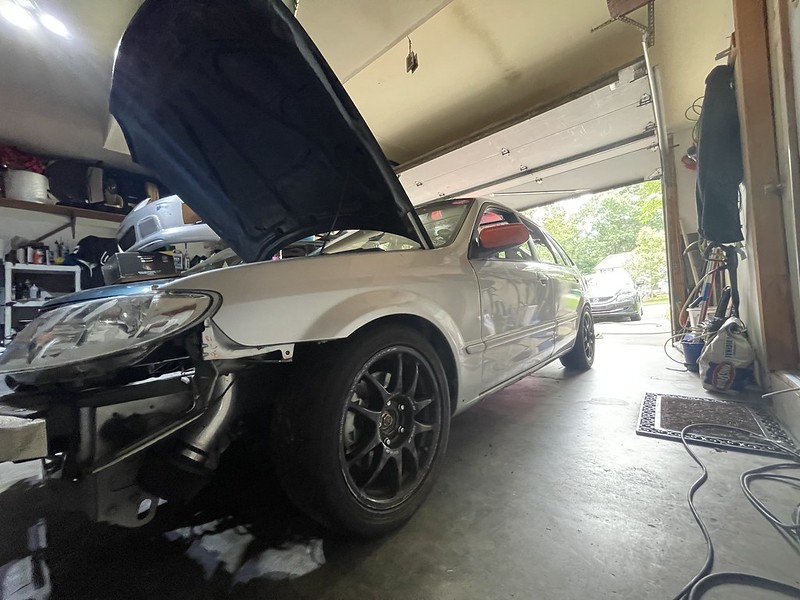
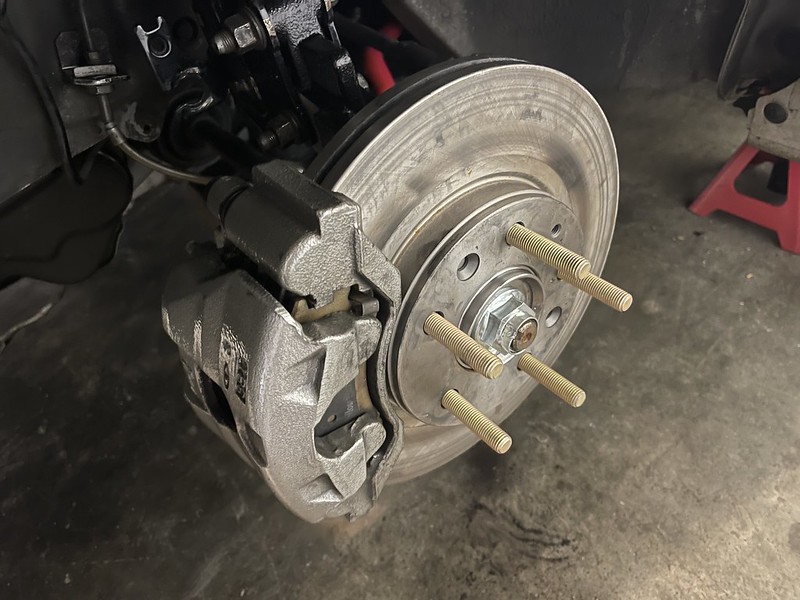
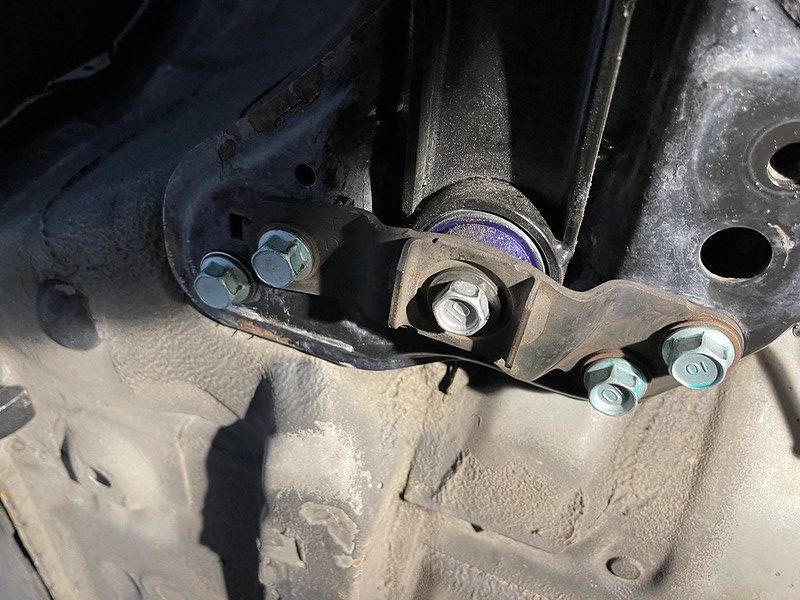
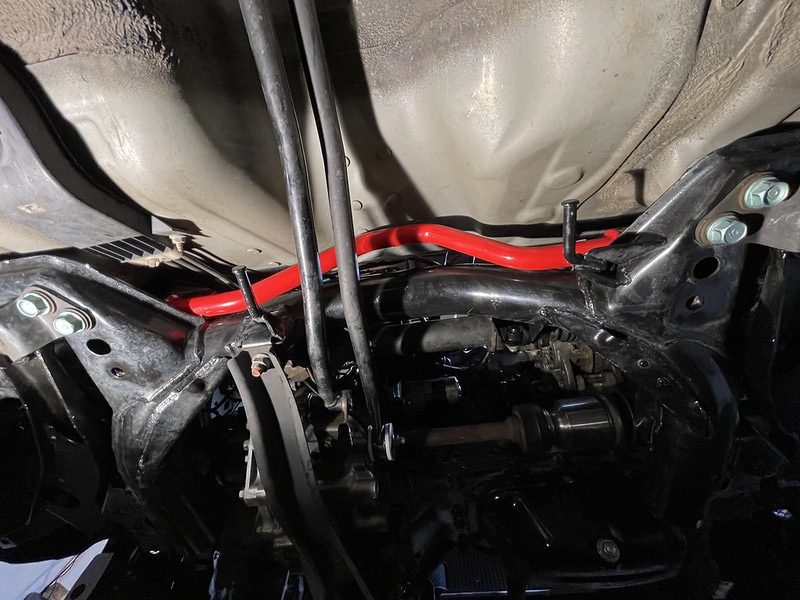
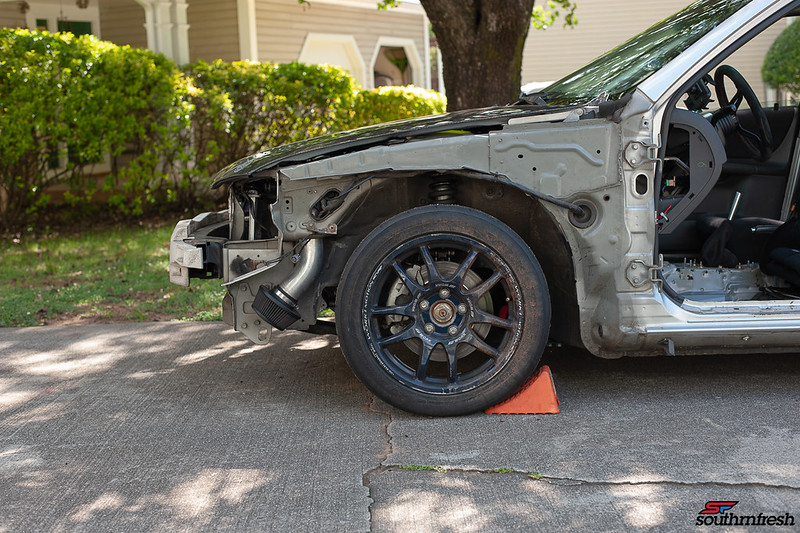
Everything installed back on, as well as the hub centric H&R 5mm wheel spacer so the FD wheels can sit flush on the hub.


51552890149_9abb0ed72e_c.jpg


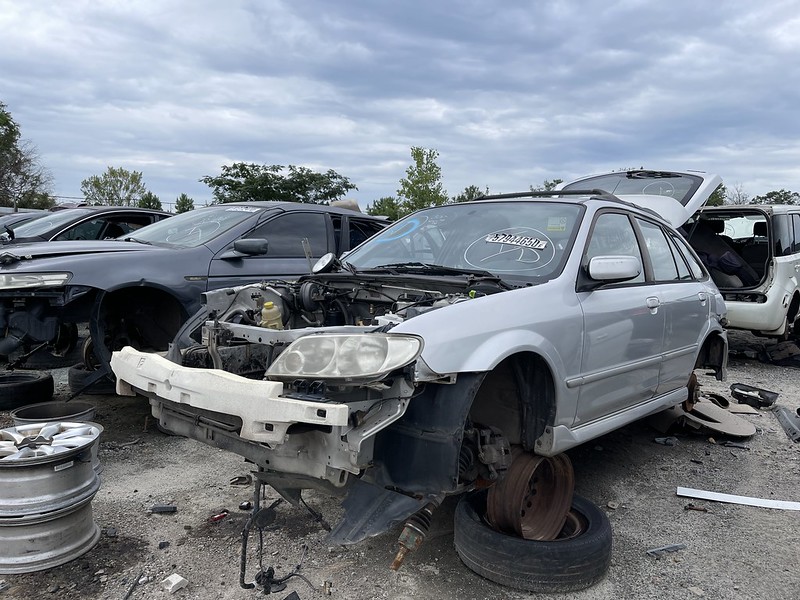
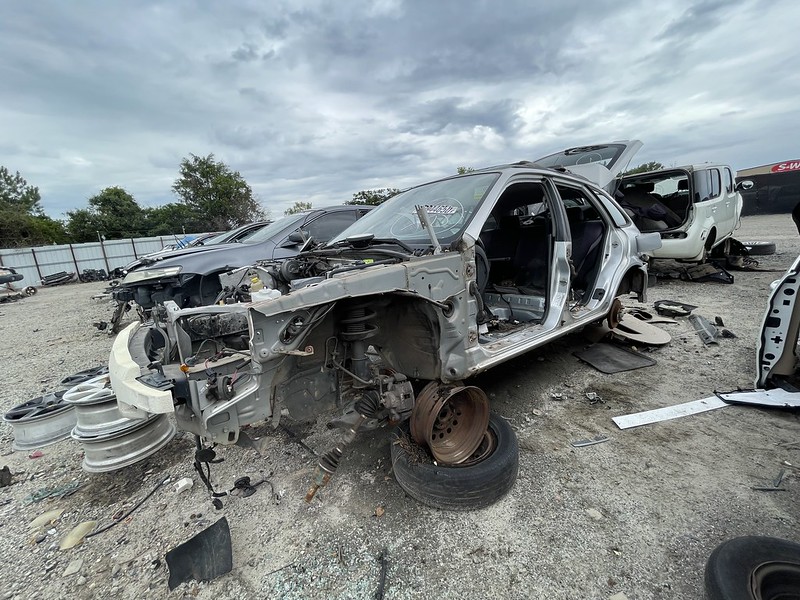
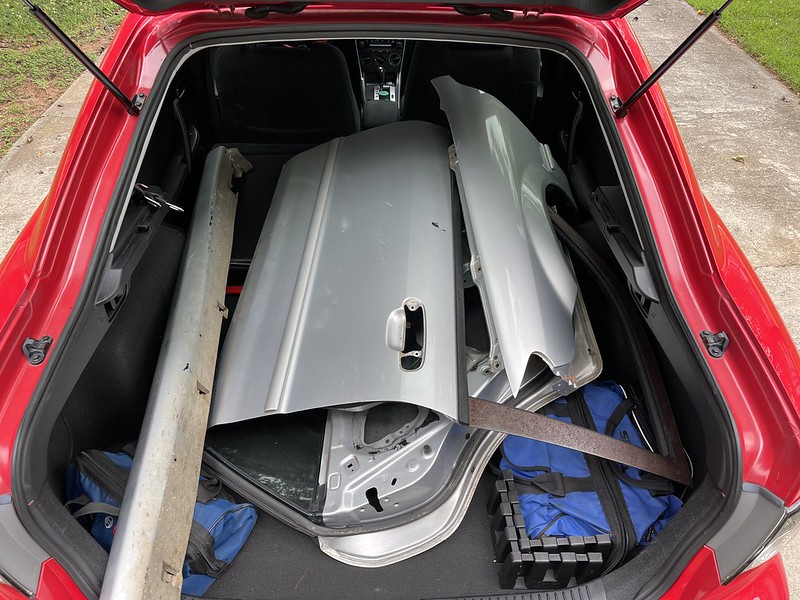
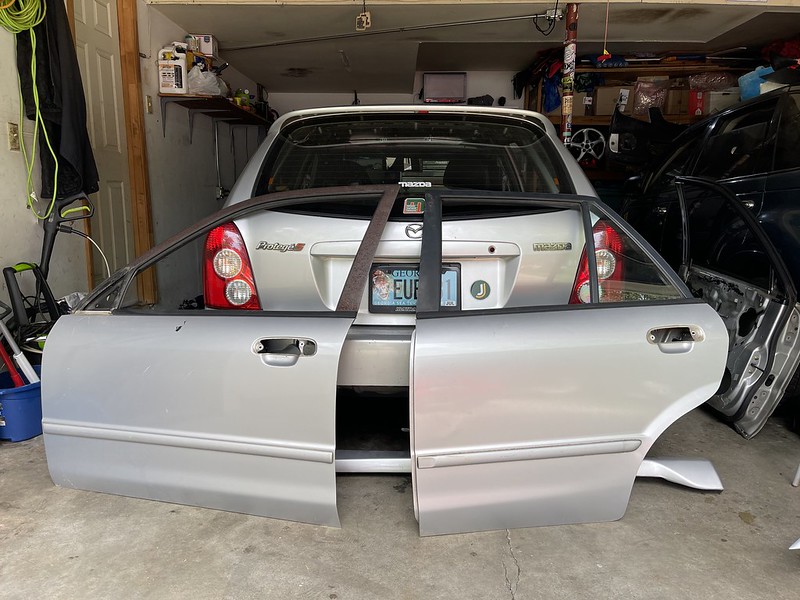
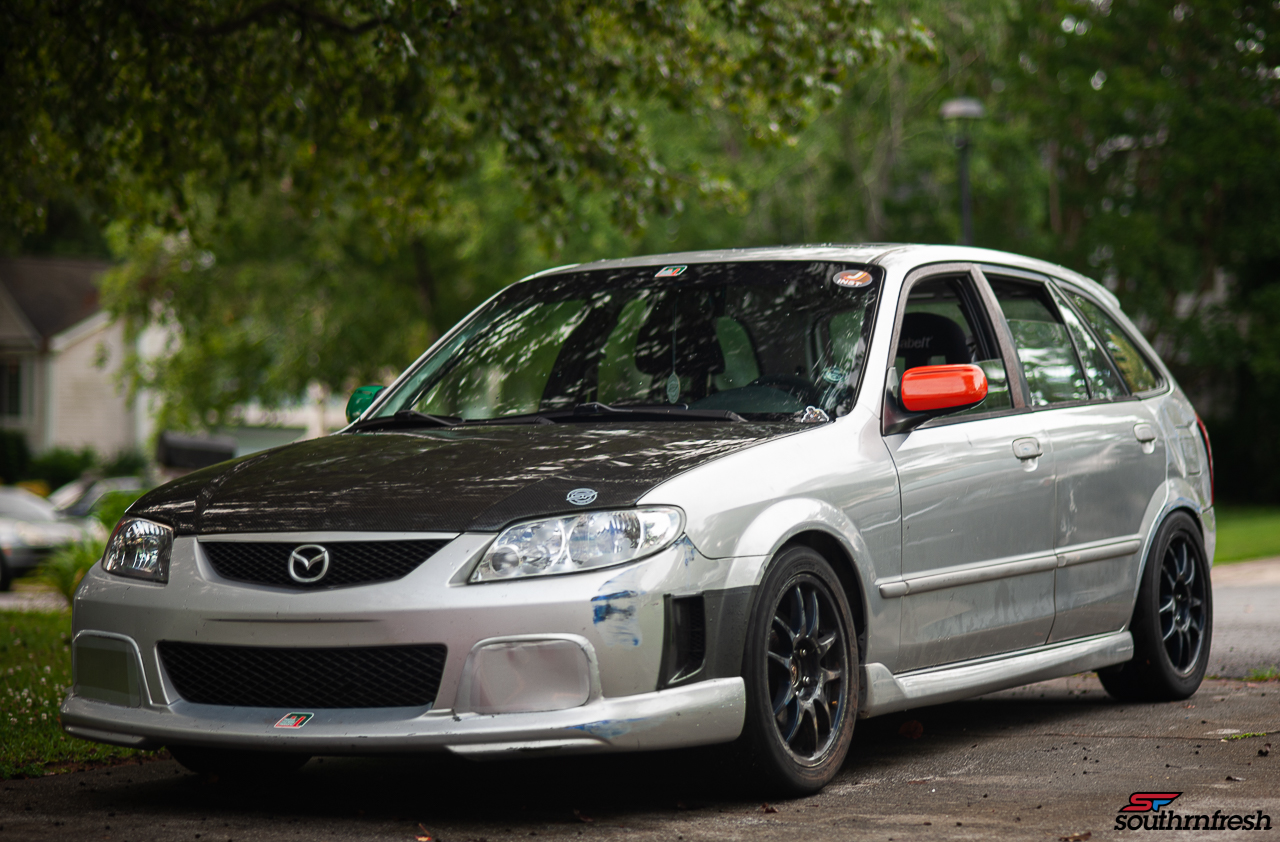
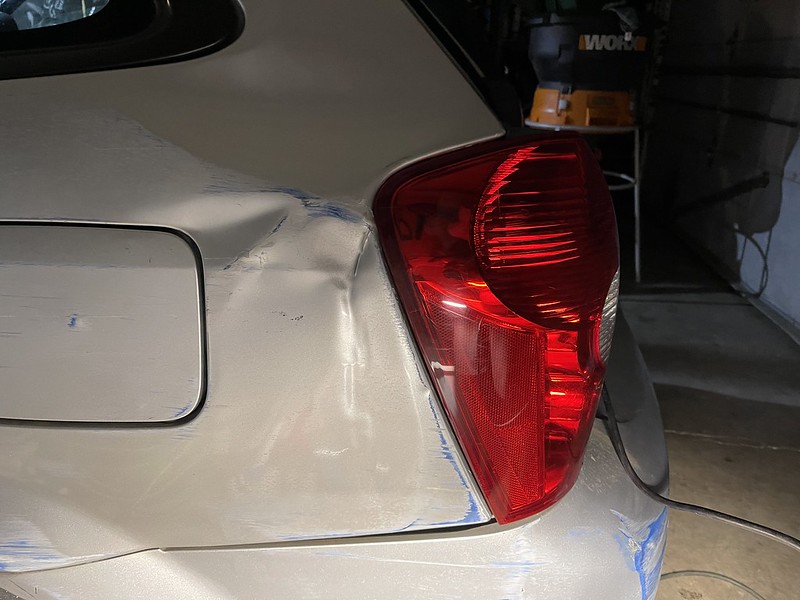
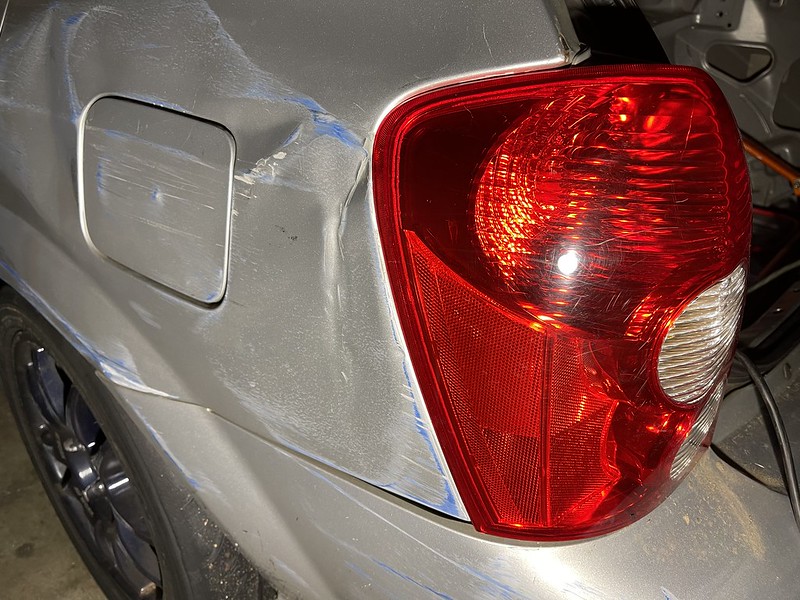
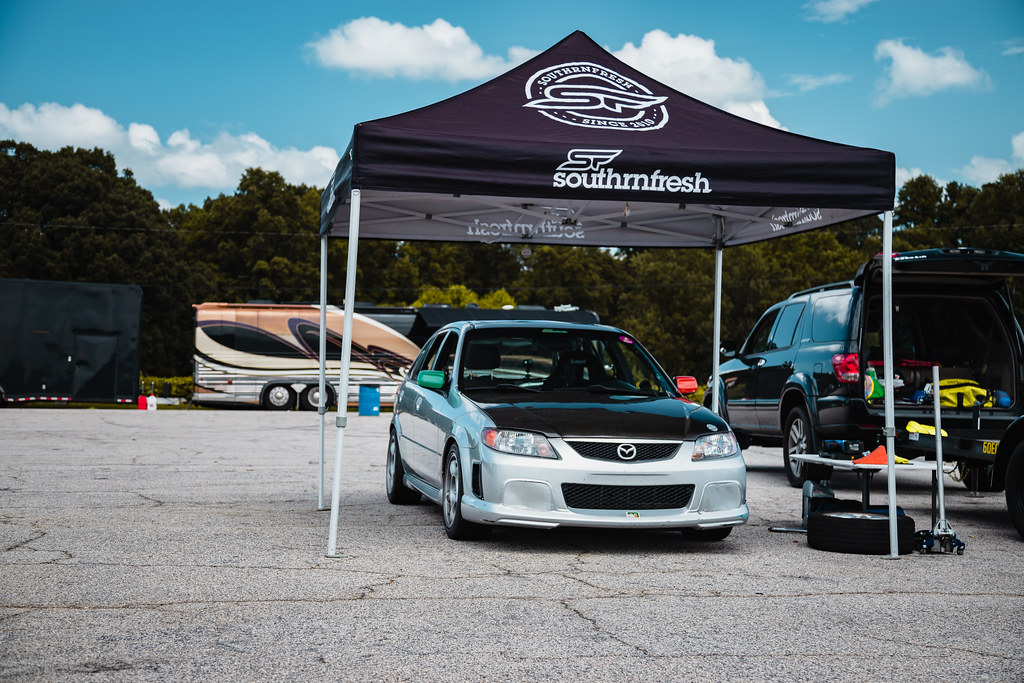
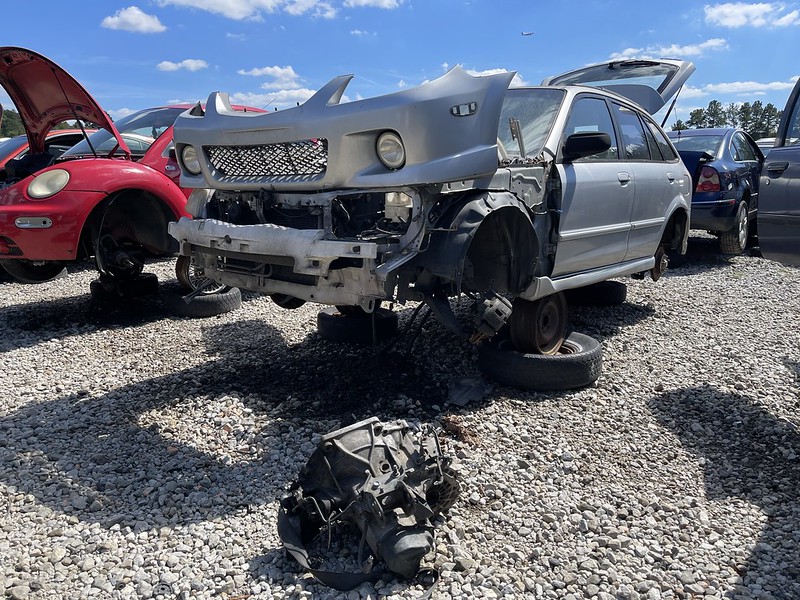
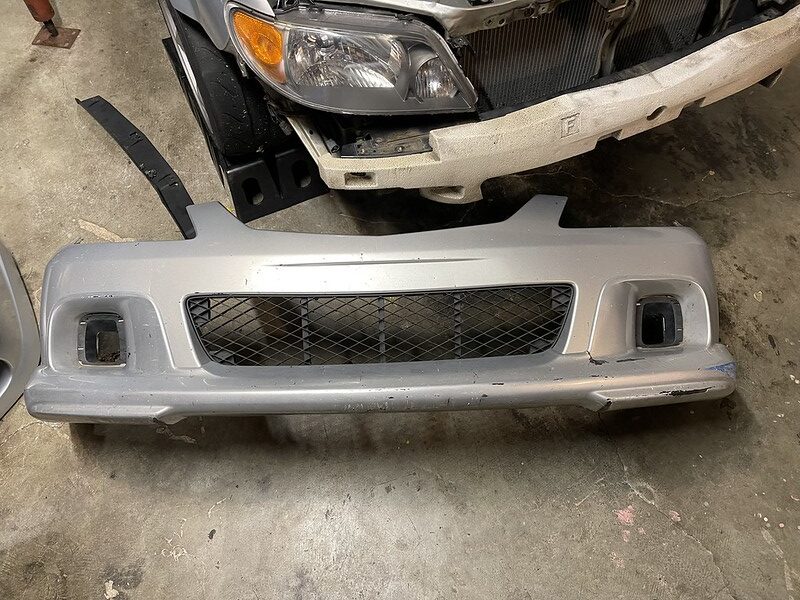
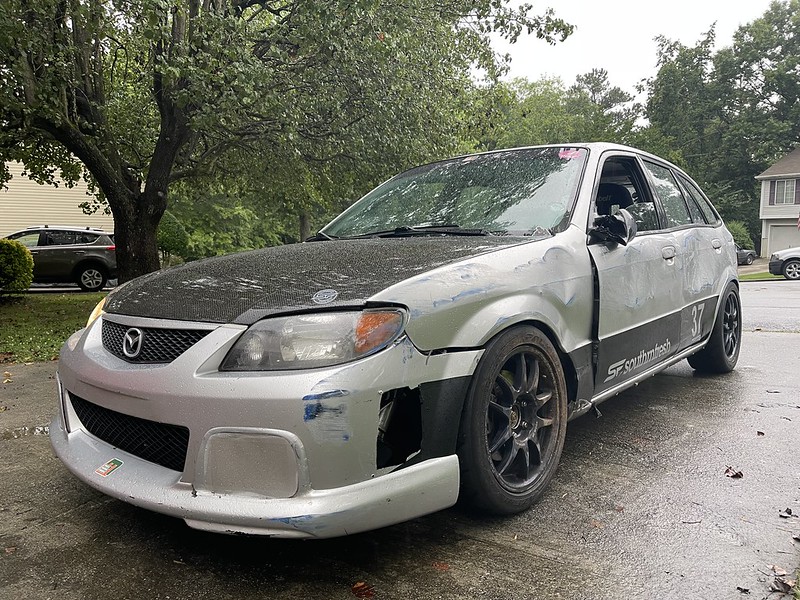
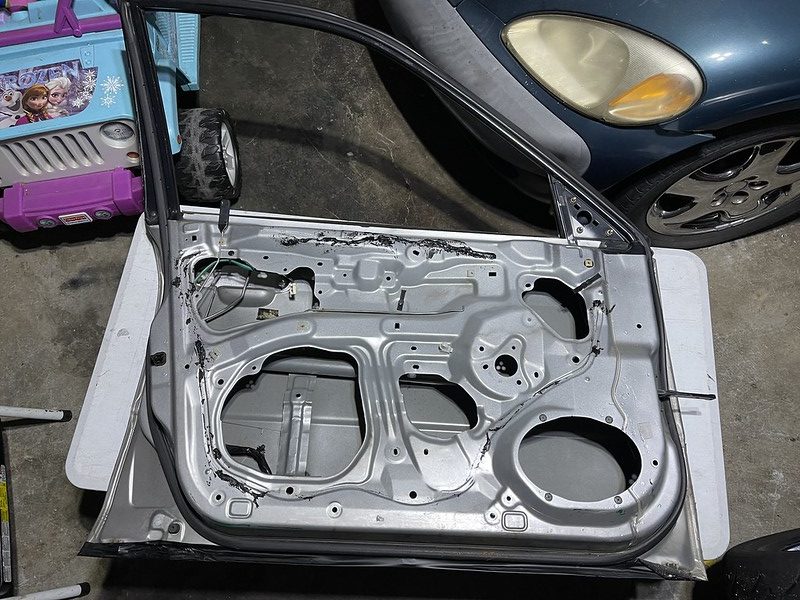
A trip to the pull-a-part and I scored a transmission as well as a new front bumper. I literally walked to the car and the transmission was laying on the ground already ready for me...


51552405443_d2b7a56a34_c.jpg


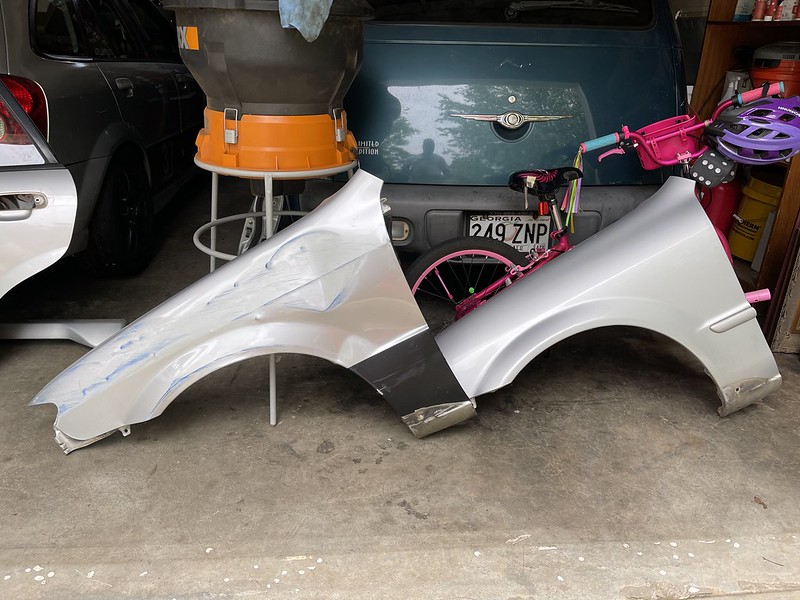
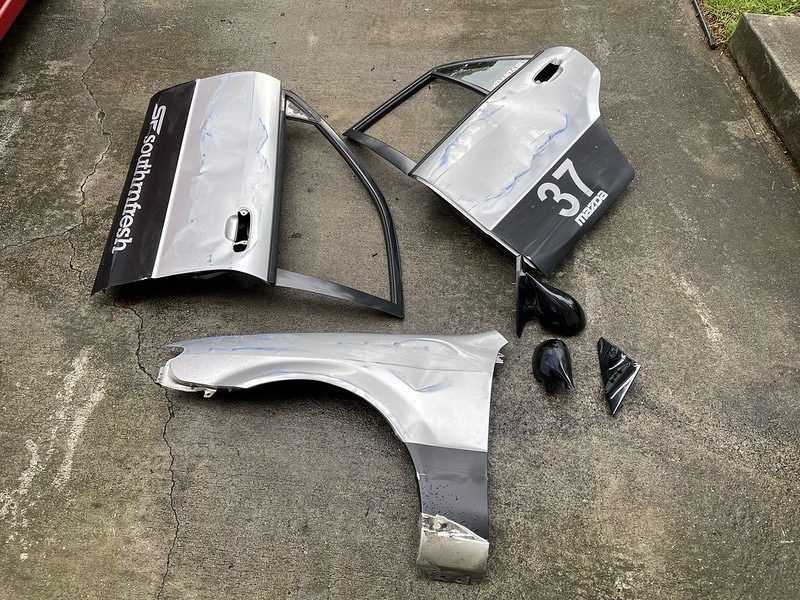
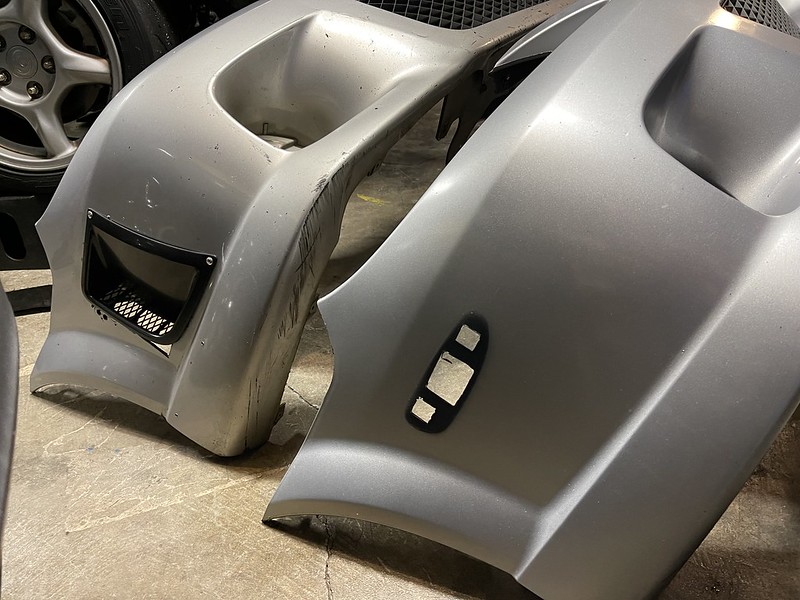
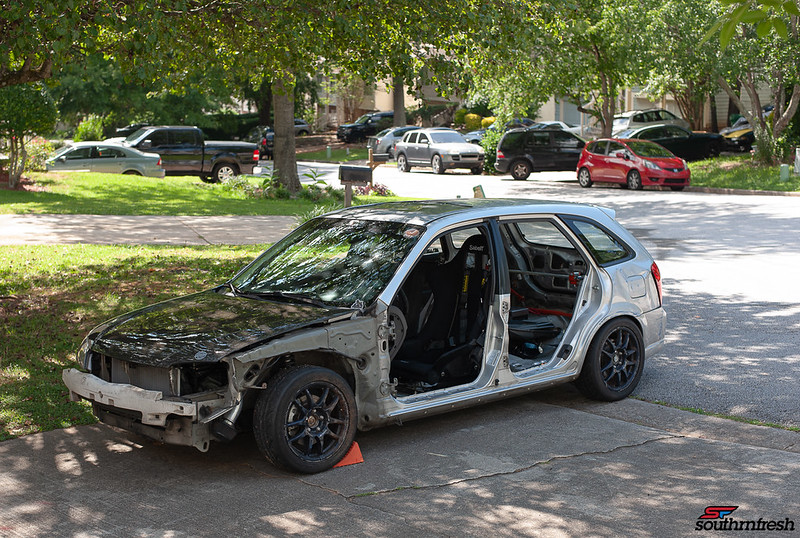
I was never too pleased with side bumper vents I made, and it was slightly damaged form the wall at RA, once I got the bumper home I realized it was aftermarket and the mounts had already been torn.


51553084620_6e6be3657a_c-e1638166232341.jpg


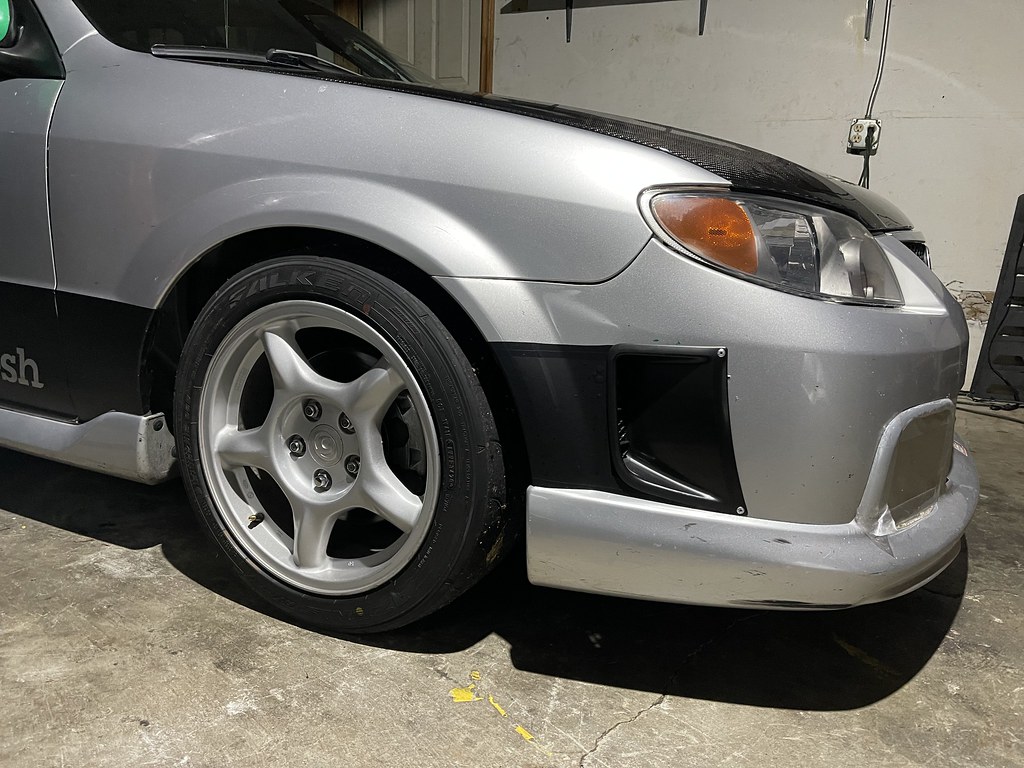
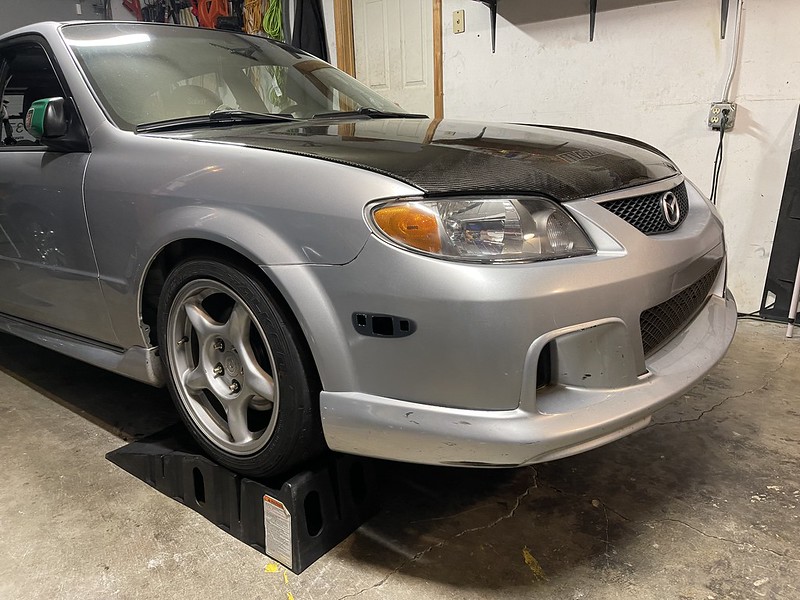
Mazdaspeed lip installed..


51551373507_eee84528f3_c.jpg


installed...


51642560876_bb9b4860d5_c.jpg


51643210659_d9e7f3d90c_c.jpg


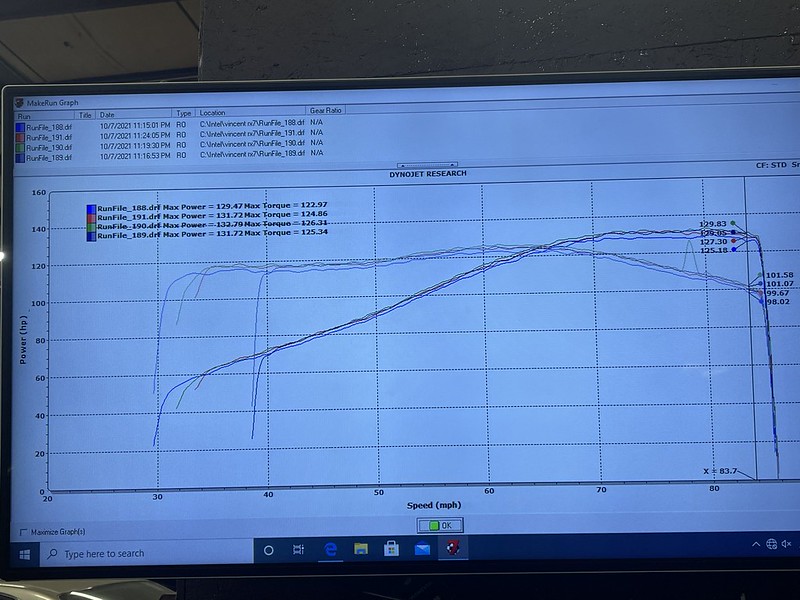
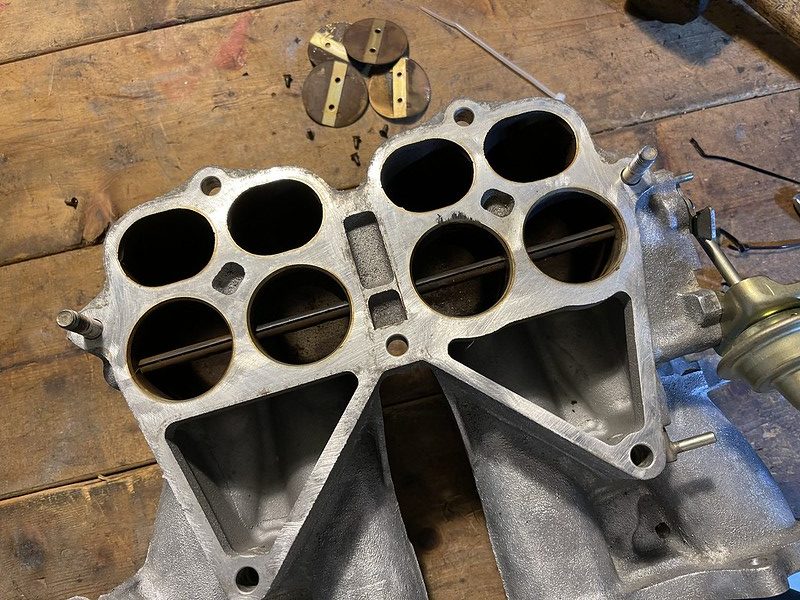
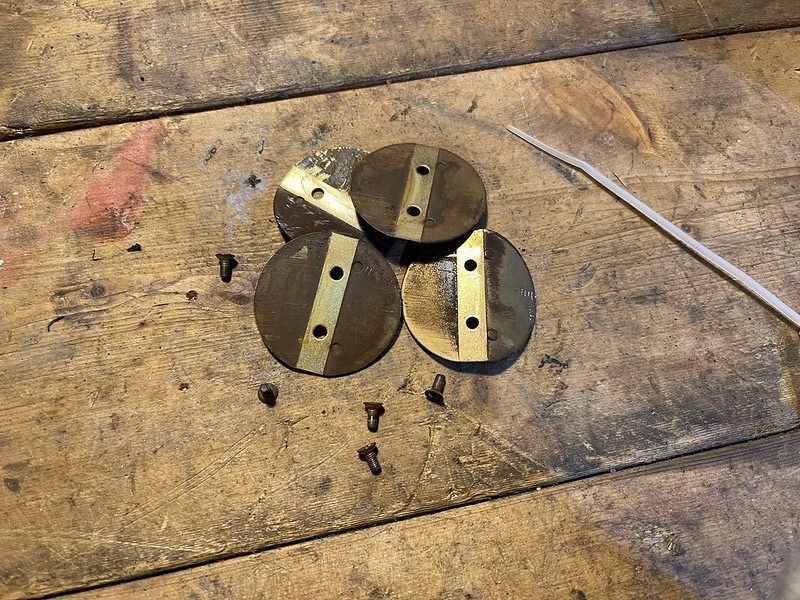
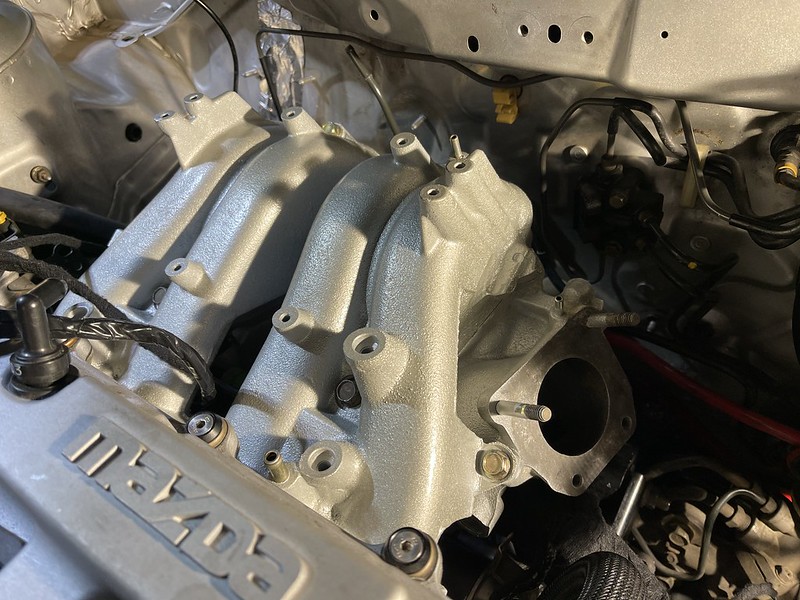
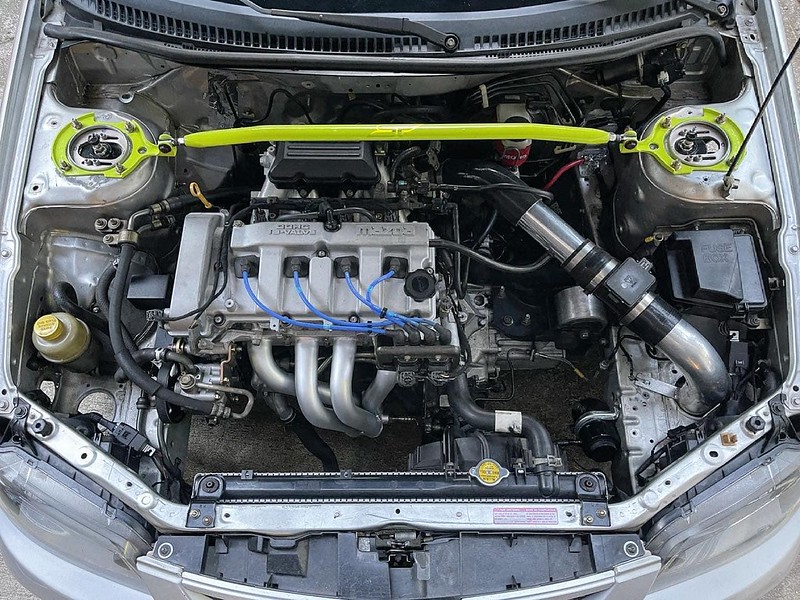
I also got a chance to get the car back on the dyno with the FS-ZE intake manifold. This intake manifold is the matching manifold for the engine, it has a extra resonance chamber specifically for the VICS butterfly system, but mine was not working. So I removed them, and sealed it up. The results was a smoother powerband despite a loss of power and torque. Which could be attributed to the lack of the VICS valves.
 
Woohoo Updates!

Good work on the bearings and brakes, that'll make a small but noticeable difference, especially reliability!

Love that header too, good score!

I wish manual transmissions were that easy to find here lol
 
LOVE this thread!

Those FD wheels look fantastic on the Protege. I was one of the first here to get them installed on my ES sedan. Unfortunately, for a street car, there are not enough tire choices to make them a viable option anymore. They should be great for a track wheel. Are those the older 'unreinforced' or the revised 'reinforced' version?

That torque curve looks great, too. Loosing the resonance chamber in the intake manifold probably doesn't hurt you as much as you might think, especially with that beautiful exhaust header.
I need to see, how can you tell?
 
Back