dirtysouth_msp
Member
- :
- 2003.5 Blazing Yellow MSP (Forged)
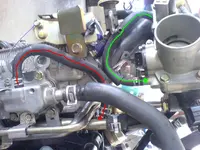
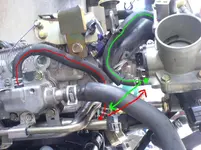
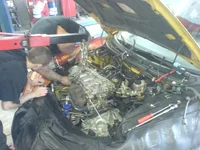
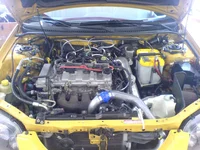
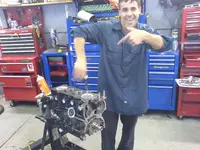
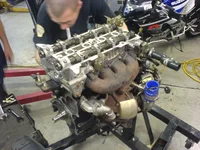
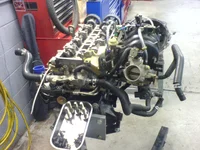
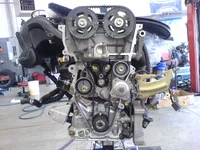
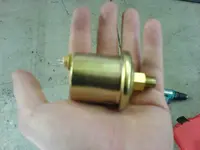
Pic 1:
Something is missing....lol.
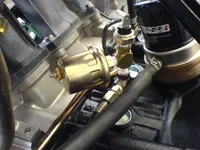
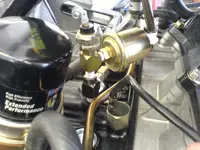
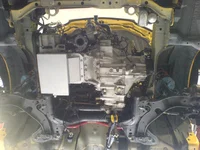
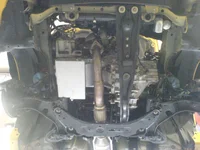
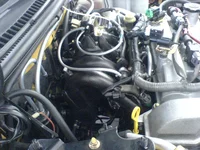
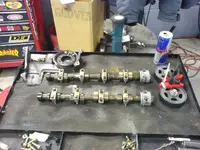
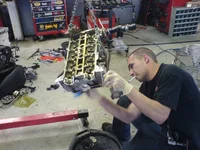
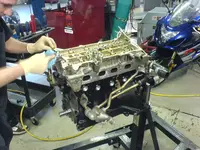
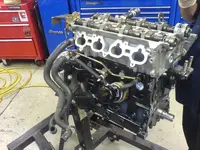
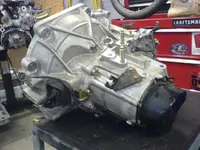
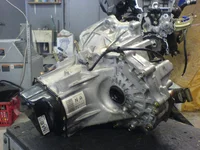
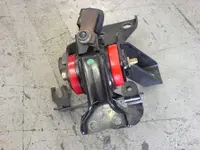
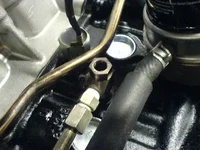
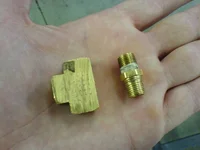
Pic 2 & 3:
Cams and Turbo Setup come off so we can remove the head. No worries evertything is being done by the book (shop manual).
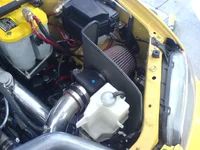
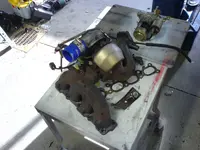
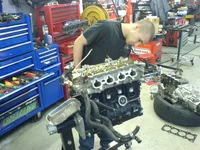
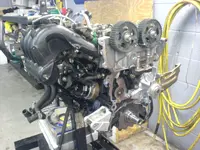
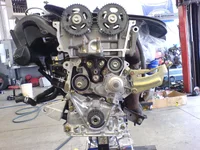
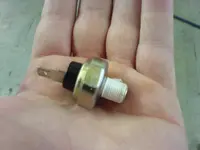
Pic 4:
JJ cleans the lower mounting surfaces of the head and preps for reinstallation on the real bottom end, lol.
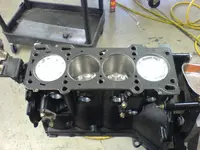
Pic 5:
Jacob & I spent a good 45 min or so cleaning up the threads in the shortblock for the ARP head studs. This is a pretty important step that should not be skipped, because I don't think that there is any way that the ARP studs could be torqued correctly with the amount of s*** that came out of those holes. (Jacob pictured, I'm MIA so far in the pics cuz I'm on the other side of the camera...phone). This was pretty much the end of working on it for Saturday.
Something is missing....lol.
Pic 2 & 3:
Cams and Turbo Setup come off so we can remove the head. No worries evertything is being done by the book (shop manual).
Pic 4:
JJ cleans the lower mounting surfaces of the head and preps for reinstallation on the real bottom end, lol.
Pic 5:
Jacob & I spent a good 45 min or so cleaning up the threads in the shortblock for the ARP head studs. This is a pretty important step that should not be skipped, because I don't think that there is any way that the ARP studs could be torqued correctly with the amount of s*** that came out of those holes. (Jacob pictured, I'm MIA so far in the pics cuz I'm on the other side of the camera...phone). This was pretty much the end of working on it for Saturday.
Attachments

Last edited:

")