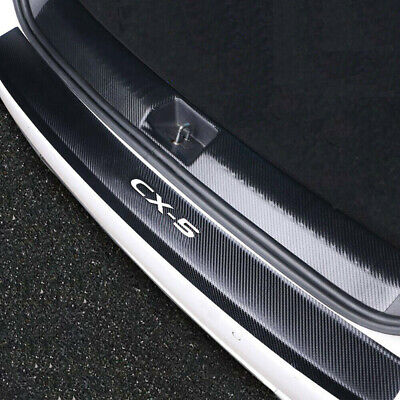
Last may I found the perfect (for me) bumper protector. I was looking for a minimalist design that blended in -in my mind this does, YMMV. A year later, and after a summer where we had 53 days at or above 110 and 14 days of 115 or higher. I can honestly say that this looks as good as the day I put it on. Albeit, I have a garage, but still. The small white "CX-5" can be removed/peeled off. Also, unlike some stick on protectors that have the 3M tape around the edges, the entire back of this has adhesive so it stays put even where it turns down the back of the bumper. Here's the link and pics of my car 1 year later.
https://rover.ebay.com/rover/1/711-...2&toolid=10001&campid=&icep_item=224466128049


https://rover.ebay.com/rover/1/711-...2&toolid=10001&campid=&icep_item=224466128049