- :
- 2015 CX-5 GT
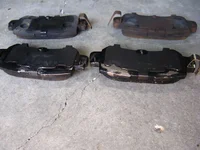
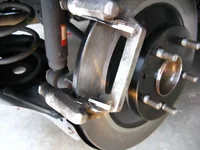
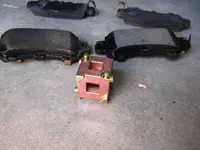
I recently did a rear brake pad, rotor replacement. When I "screwed" the parking brake piston in, at some point it wouldn't go in any further. I couldn't get the caliper to fit over the pads. I had to take the backing plates off the new pads, install them, assemble everything then drive around in the neighborhood. After that, everything fit.
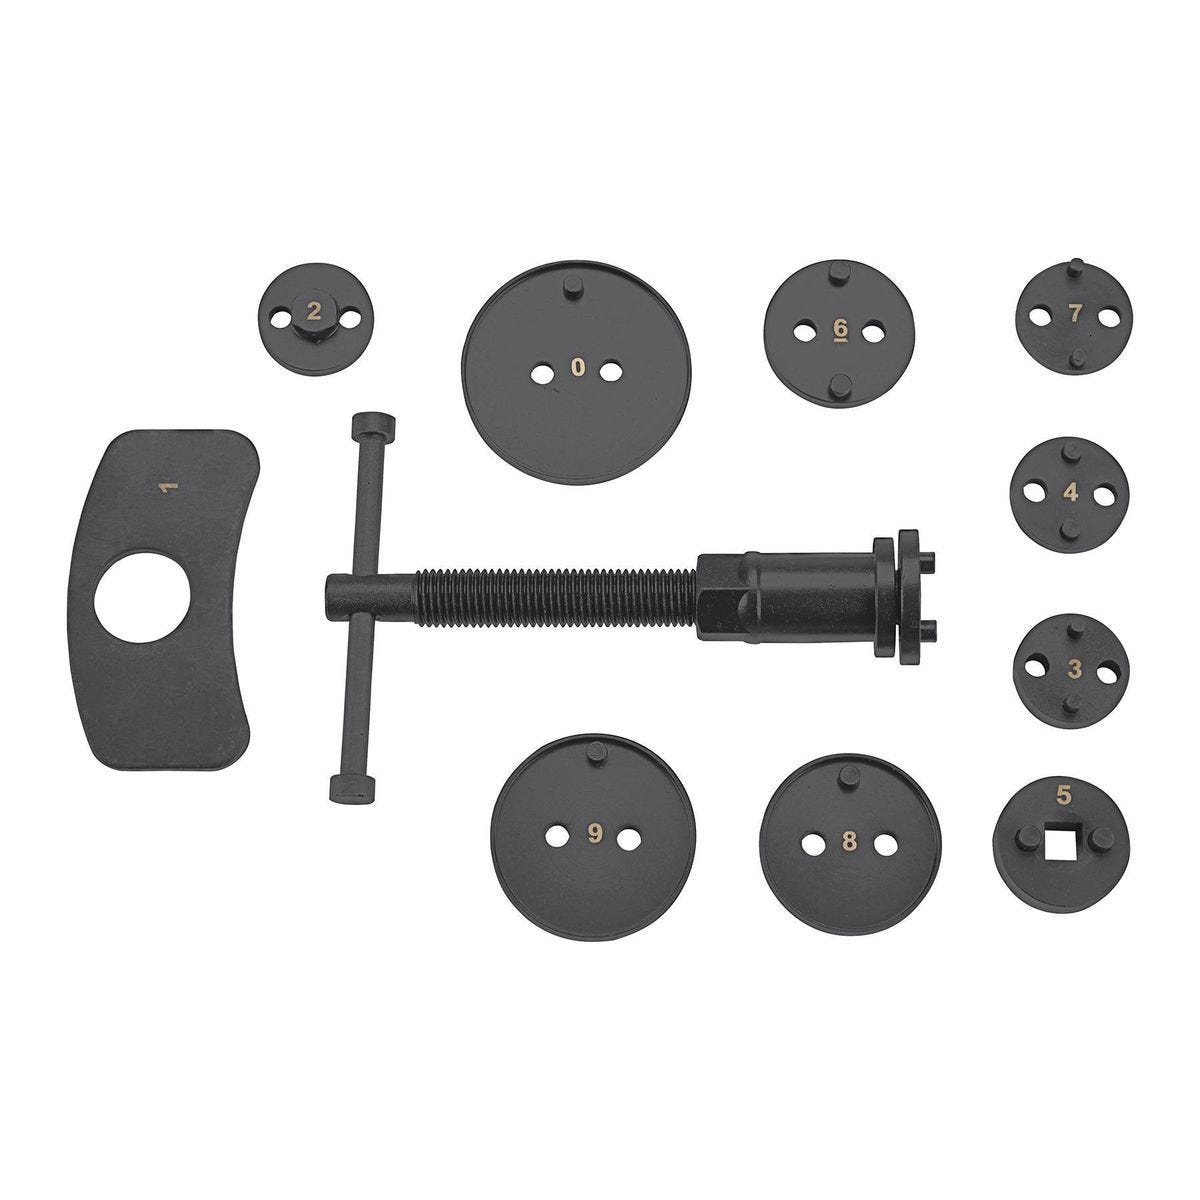
My question is how does that piston work? It has to be screwed in, but it comes straight out when you step on the brake pedal. How does it decide it doesn't want to screw in any further. I was using the tool. Is there a YouTube video that explains the operation? It's working, but I'd love to know for the next time.
My question is how does that piston work? It has to be screwed in, but it comes straight out when you step on the brake pedal. How does it decide it doesn't want to screw in any further. I was using the tool. Is there a YouTube video that explains the operation? It's working, but I'd love to know for the next time.