- :
- 2017 CX3 AWD
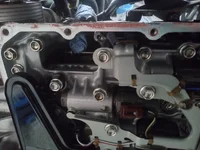
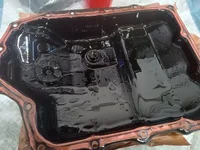
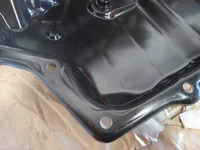
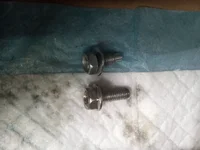
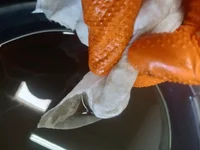
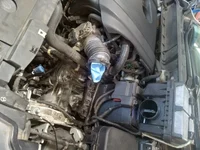
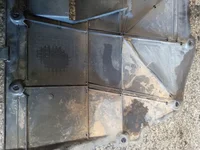
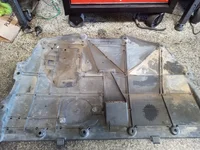
The first fluid drain/fill was at 153K miles. Two more rounds of drain/fill were done before 155K miles. Decided to replace the filter and reseal the pan because there was a leak from the corner seam. What took me the longest was to scrape off the pink RTV residue from the transmission and pan. It was easier on the transmission because the surface is flat. The fluid kept dripping onto my hair and clothes though. The pan, on the other hand, was a pain. Much of the residue stayed with the pan, and the surface has indentation. The cheapo putty knife scraped off the thick part, and a piece of steel wool took care of the rest.
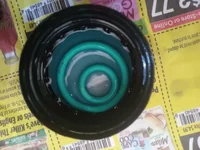
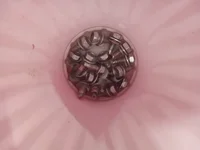
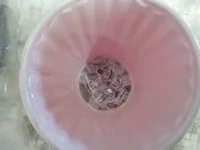
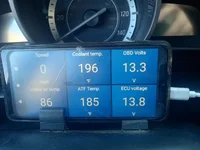
The fluid was all grey. Mostly blue Aisin FZ, with some traces of red Idemitsu Type M and old OEM. Collected a sample to send to the lab for metal contents. There wasn't too much junk at the bottom of the pan. The magnet collected shavings like baby hair.
The fluid was all grey. Mostly blue Aisin FZ, with some traces of red Idemitsu Type M and old OEM. Collected a sample to send to the lab for metal contents. There wasn't too much junk at the bottom of the pan. The magnet collected shavings like baby hair.
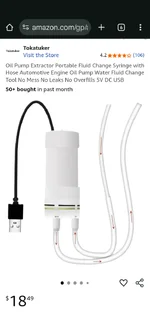
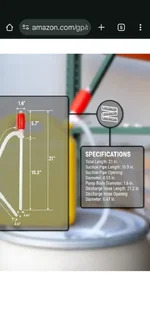
Attachments
Last edited:


 . I can understand that.