
You are using an out of date browser. It may not display this or other websites correctly.
You should upgrade or use an alternative browser.
You should upgrade or use an alternative browser.
My 2002.5 P5 AwesomeSauce build thread
- Thread starter MeAndMyPenguin
- Start date
Jackie chan
Member
- :
- Pro5
So I saw you had a wg flange welded to the begi. Did you ever think about going a route like this:
https://www.enjukuracing.com/produc...r-gtx28.html?gclid=CMLYsf3g8dQCFUKSfgodwGAAPA
And I just bought a what I think is a begi mani off a local guy. Theyre pretty rare, I paid 120 for it, not sure if that's a good deal or not, either way I had to get it. Gunna sit on it for a few years, and who knows, I might use it someday! I sure do like my hiboost layout though.
Sent from my SM-G900T using Tapatalk
MeAndMyPenguin
Member
- :
- 2002.5 Mazdaspeed Protege5
Yes I have thought about that route but there was 2 issues that arose. One being that I couldn't find a T3 turbine housing with the wastegate flange integrated into it. The second being clearence with the hood and radiator.So I saw you had a wg flange welded to the begi. Did you ever think about going a route like this:
https://www.enjukuracing.com/produc...r-gtx28.html?gclid=CMLYsf3g8dQCFUKSfgodwGAAPA
And I just bought a what I think is a begi mani off a local guy. Theyre pretty rare, I paid 120 for it, not sure if that's a good deal or not, either way I had to get it. Gunna sit on it for a few years, and who knows, I might use it someday! I sure do like my hiboost layout though.
Sent from my SM-G900T using Tapatalk
Sent from my XT1575 using Tapatalk
JazzySP20
Madaz
- :
- AUSTRALIA
- :
- BJII Astina SP20


MeAndMyPenguin
Member
- :
- 2002.5 Mazdaspeed Protege5
Updated OP with new pics and mods! Check out that list!
Started mocking up my oil system relocation kit. Had to make a bracket for the Peterson PRV.
<a data-flickr-embed="true" href="https://www.flickr.com/photos/127689396@N02/36100179782/in/dateposted-public/" title="97% Finished-4"><img src="https://farm5.staticflickr.com/4324/36100179782_94a6fee0ce_h.jpg" width="1600" height="1067" alt="97% Finished-4"></a><script async src="//embedr.flickr.com/assets/client-code.js" charset="utf-8"></script>
<a data-flickr-embed="true" href="https://www.flickr.com/photos/127689396@N02/35462711683/in/dateposted-public/" title="97% Finished-1"><img src="https://farm5.staticflickr.com/4311/35462711683_24eebe05b0_h.jpg" width="1600" height="1067" alt="97% Finished-1"></a><script async src="//embedr.flickr.com/assets/client-code.js" charset="utf-8"></script>
<a data-flickr-embed="true" href="https://www.flickr.com/photos/127689396@N02/36266855345/in/dateposted-public/" title="97% Finished-2"><img src="https://farm5.staticflickr.com/4293/36266855345_c030334968_h.jpg" width="1600" height="1067" alt="97% Finished-2"></a><script async src="//embedr.flickr.com/assets/client-code.js" charset="utf-8"></script>
Dont mind the spaghetti lol
<a data-flickr-embed="true" href="https://www.flickr.com/photos/127689396@N02/35462704853/in/dateposted-public/" title="97% Finished-3"><img src="https://farm5.staticflickr.com/4329/35462704853_1c74157e57_h.jpg" width="1600" height="1067" alt="97% Finished-3"></a><script async src="//embedr.flickr.com/assets/client-code.js" charset="utf-8"></script>
Turbo will be getting its oil from the relocation kit. Nice clean oil!
<a data-flickr-embed="true" href="https://www.flickr.com/photos/127689396@N02/35462699903/in/dateposted-public/" title="97% Finished-5"><img src="https://farm5.staticflickr.com/4310/35462699903_43bf807037_h.jpg" width="1600" height="1067" alt="97% Finished-5"></a><script async src="//embedr.flickr.com/assets/client-code.js" charset="utf-8"></script>
How the upper radiator hose will be. Only way to get it to fit and still look decent.
<a data-flickr-embed="true" href="https://www.flickr.com/photos/127689396@N02/36100174132/in/dateposted-public/" title="97% Finished-6"><img src="https://farm5.staticflickr.com/4300/36100174132_082e11601a_h.jpg" width="1600" height="1067" alt="97% Finished-6"></a><script async src="//embedr.flickr.com/assets/client-code.js" charset="utf-8"></script>
<a data-flickr-embed="true" href="https://www.flickr.com/photos/127689396@N02/36225587616/in/dateposted-public/" title="97% Finished-7"><img src="https://farm5.staticflickr.com/4329/36225587616_890661d08f_h.jpg" width="1600" height="1067" alt="97% Finished-7"></a><script async src="//embedr.flickr.com/assets/client-code.js" charset="utf-8"></script>
The bracket I made for the MAC boost solenoid as well as the water return for the turbo
<a data-flickr-embed="true" href="https://www.flickr.com/photos/127689396@N02/36225576296/in/dateposted-public/" title="97% Finished-9"><img src="https://farm5.staticflickr.com/4326/36225576296_23a379200b_h.jpg" width="1600" height="1067" alt="97% Finished-9"></a><script async src="//embedr.flickr.com/assets/client-code.js" charset="utf-8"></script>
Intake Manifold is mounted up once again. Going to be using the stock manifold until Pope releases his. Already have it pre-ordered, just gotta wait.
<a data-flickr-embed="true" href="https://www.flickr.com/photos/127689396@N02/36225570766/in/dateposted-public/" title="97% Finished-10"><img src="https://farm5.staticflickr.com/4307/36225570766_f1a1b7ab9e_h.jpg" width="1600" height="1067" alt="97% Finished-10"></a><script async src="//embedr.flickr.com/assets/client-code.js" charset="utf-8"></script>
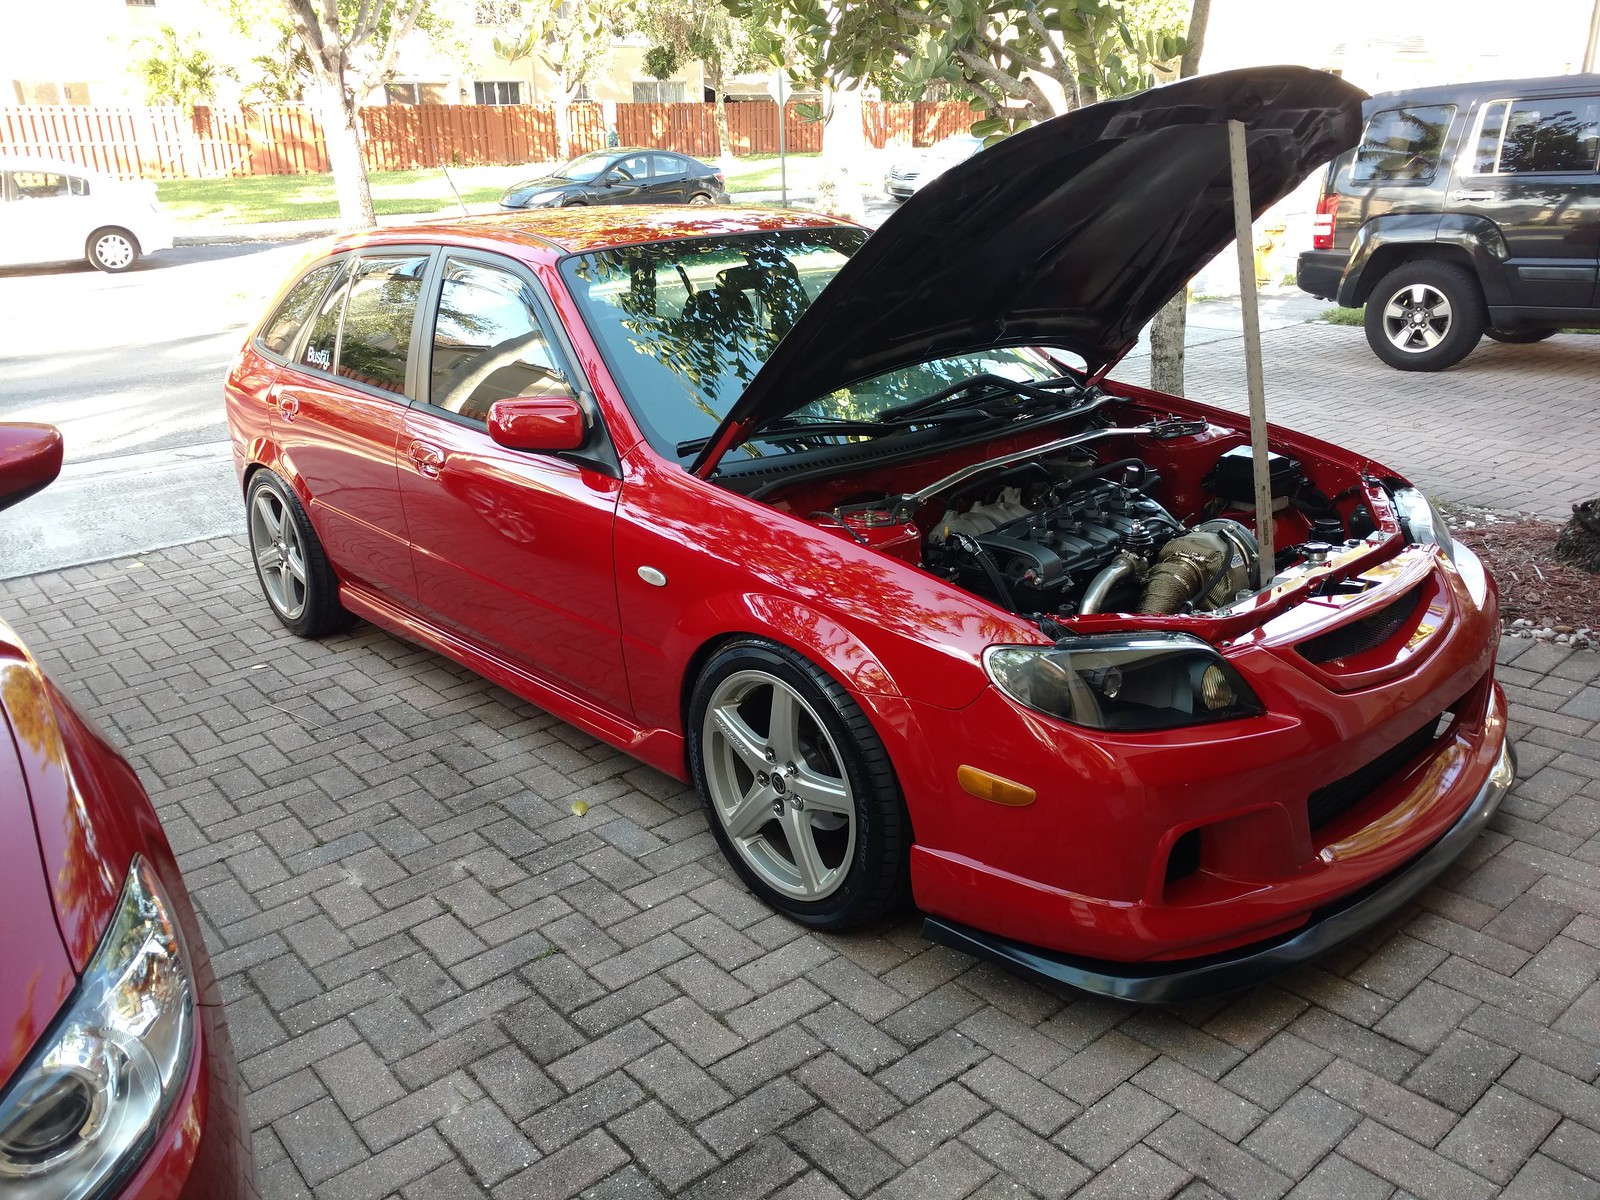
How the bay currently looks. Dropped off the exhaust manifold to get ceramic coated. Should be getting it back next weekend and hopefully starting her up!
<a data-flickr-embed="true" href="https://www.flickr.com/photos/127689396@N02/36225582006/in/dateposted-public/" title="97% Finished-8"><img src="https://farm5.staticflickr.com/4292/36225582006_fb779a099d_h.jpg" width="1600" height="1067" alt="97% Finished-8"></a><script async src="//embedr.flickr.com/assets/client-code.js" charset="utf-8"></script>
Started mocking up my oil system relocation kit. Had to make a bracket for the Peterson PRV.
<a data-flickr-embed="true" href="https://www.flickr.com/photos/127689396@N02/36100179782/in/dateposted-public/" title="97% Finished-4"><img src="https://farm5.staticflickr.com/4324/36100179782_94a6fee0ce_h.jpg" width="1600" height="1067" alt="97% Finished-4"></a><script async src="//embedr.flickr.com/assets/client-code.js" charset="utf-8"></script>
<a data-flickr-embed="true" href="https://www.flickr.com/photos/127689396@N02/35462711683/in/dateposted-public/" title="97% Finished-1"><img src="https://farm5.staticflickr.com/4311/35462711683_24eebe05b0_h.jpg" width="1600" height="1067" alt="97% Finished-1"></a><script async src="//embedr.flickr.com/assets/client-code.js" charset="utf-8"></script>
<a data-flickr-embed="true" href="https://www.flickr.com/photos/127689396@N02/36266855345/in/dateposted-public/" title="97% Finished-2"><img src="https://farm5.staticflickr.com/4293/36266855345_c030334968_h.jpg" width="1600" height="1067" alt="97% Finished-2"></a><script async src="//embedr.flickr.com/assets/client-code.js" charset="utf-8"></script>
Dont mind the spaghetti lol
<a data-flickr-embed="true" href="https://www.flickr.com/photos/127689396@N02/35462704853/in/dateposted-public/" title="97% Finished-3"><img src="https://farm5.staticflickr.com/4329/35462704853_1c74157e57_h.jpg" width="1600" height="1067" alt="97% Finished-3"></a><script async src="//embedr.flickr.com/assets/client-code.js" charset="utf-8"></script>
Turbo will be getting its oil from the relocation kit. Nice clean oil!
<a data-flickr-embed="true" href="https://www.flickr.com/photos/127689396@N02/35462699903/in/dateposted-public/" title="97% Finished-5"><img src="https://farm5.staticflickr.com/4310/35462699903_43bf807037_h.jpg" width="1600" height="1067" alt="97% Finished-5"></a><script async src="//embedr.flickr.com/assets/client-code.js" charset="utf-8"></script>
How the upper radiator hose will be. Only way to get it to fit and still look decent.
<a data-flickr-embed="true" href="https://www.flickr.com/photos/127689396@N02/36100174132/in/dateposted-public/" title="97% Finished-6"><img src="https://farm5.staticflickr.com/4300/36100174132_082e11601a_h.jpg" width="1600" height="1067" alt="97% Finished-6"></a><script async src="//embedr.flickr.com/assets/client-code.js" charset="utf-8"></script>
<a data-flickr-embed="true" href="https://www.flickr.com/photos/127689396@N02/36225587616/in/dateposted-public/" title="97% Finished-7"><img src="https://farm5.staticflickr.com/4329/36225587616_890661d08f_h.jpg" width="1600" height="1067" alt="97% Finished-7"></a><script async src="//embedr.flickr.com/assets/client-code.js" charset="utf-8"></script>
The bracket I made for the MAC boost solenoid as well as the water return for the turbo
<a data-flickr-embed="true" href="https://www.flickr.com/photos/127689396@N02/36225576296/in/dateposted-public/" title="97% Finished-9"><img src="https://farm5.staticflickr.com/4326/36225576296_23a379200b_h.jpg" width="1600" height="1067" alt="97% Finished-9"></a><script async src="//embedr.flickr.com/assets/client-code.js" charset="utf-8"></script>
Intake Manifold is mounted up once again. Going to be using the stock manifold until Pope releases his. Already have it pre-ordered, just gotta wait.
<a data-flickr-embed="true" href="https://www.flickr.com/photos/127689396@N02/36225570766/in/dateposted-public/" title="97% Finished-10"><img src="https://farm5.staticflickr.com/4307/36225570766_f1a1b7ab9e_h.jpg" width="1600" height="1067" alt="97% Finished-10"></a><script async src="//embedr.flickr.com/assets/client-code.js" charset="utf-8"></script>
How the bay currently looks. Dropped off the exhaust manifold to get ceramic coated. Should be getting it back next weekend and hopefully starting her up!
<a data-flickr-embed="true" href="https://www.flickr.com/photos/127689396@N02/36225582006/in/dateposted-public/" title="97% Finished-8"><img src="https://farm5.staticflickr.com/4292/36225582006_fb779a099d_h.jpg" width="1600" height="1067" alt="97% Finished-8"></a><script async src="//embedr.flickr.com/assets/client-code.js" charset="utf-8"></script>
Slidejedi42
Member
- :
- 02' Mazda Protege5
Your attention to detail has me speechless. As a fellow red P5 owner, I can only dream I'll be able to build my car out like this one day... Damn....<3
- :
- MSP 1145
Unbelievable man!
MeAndMyPenguin
Member
- :
- 2002.5 Mazdaspeed Protege5
man its been a while since i last updated this thread. Will update it in the coming days.
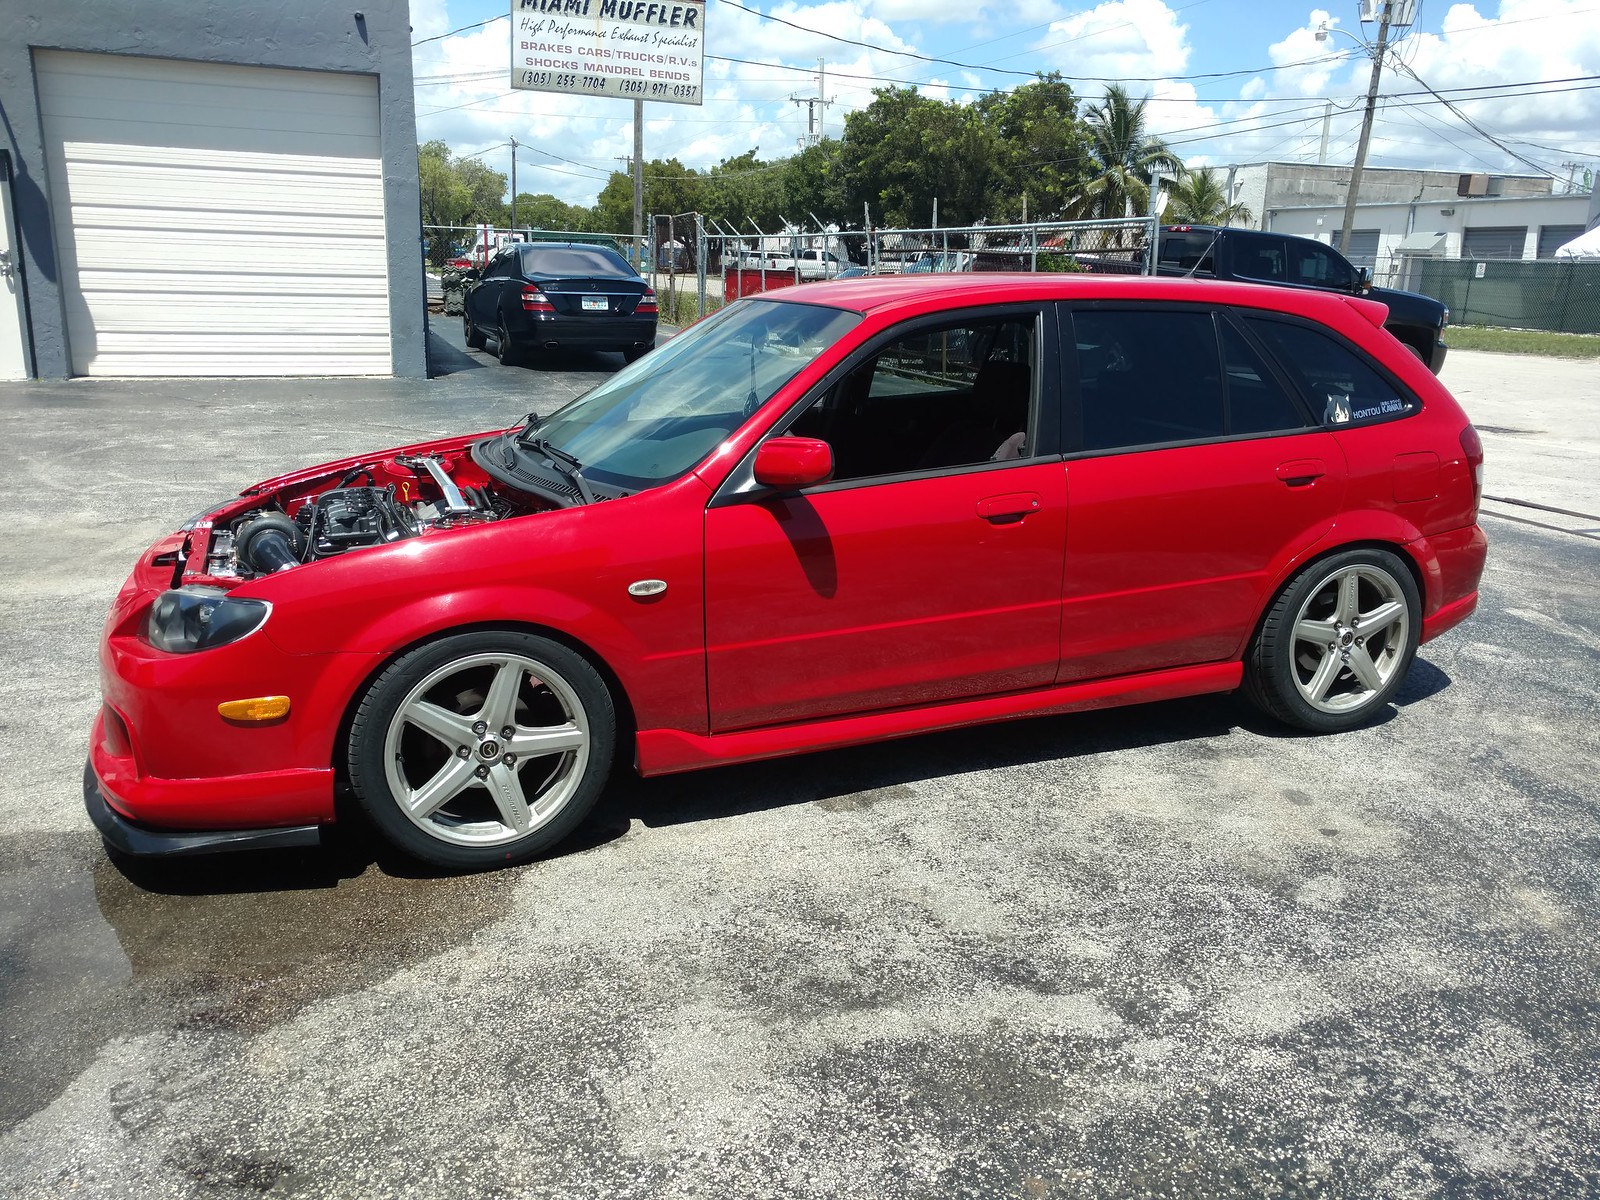
Heres a quick pic of the car!
<a data-flickr-embed="true" href="https://www.flickr.com/gp/127689396@N02/X5V789" title="IMG_20170812_121322700"><img src="https://farm5.staticflickr.com/4418/35689093544_1415416c05_b.jpg" width="1024" height="768" alt="IMG_20170812_121322700"></a><script async src="//embedr.flickr.com/assets/client-code.js" charset="utf-8"></script>
Last edited:
MeAndMyPenguin
Member
- :
- 2002.5 Mazdaspeed Protege5
Back from the dead! Time to get this thread up to date!
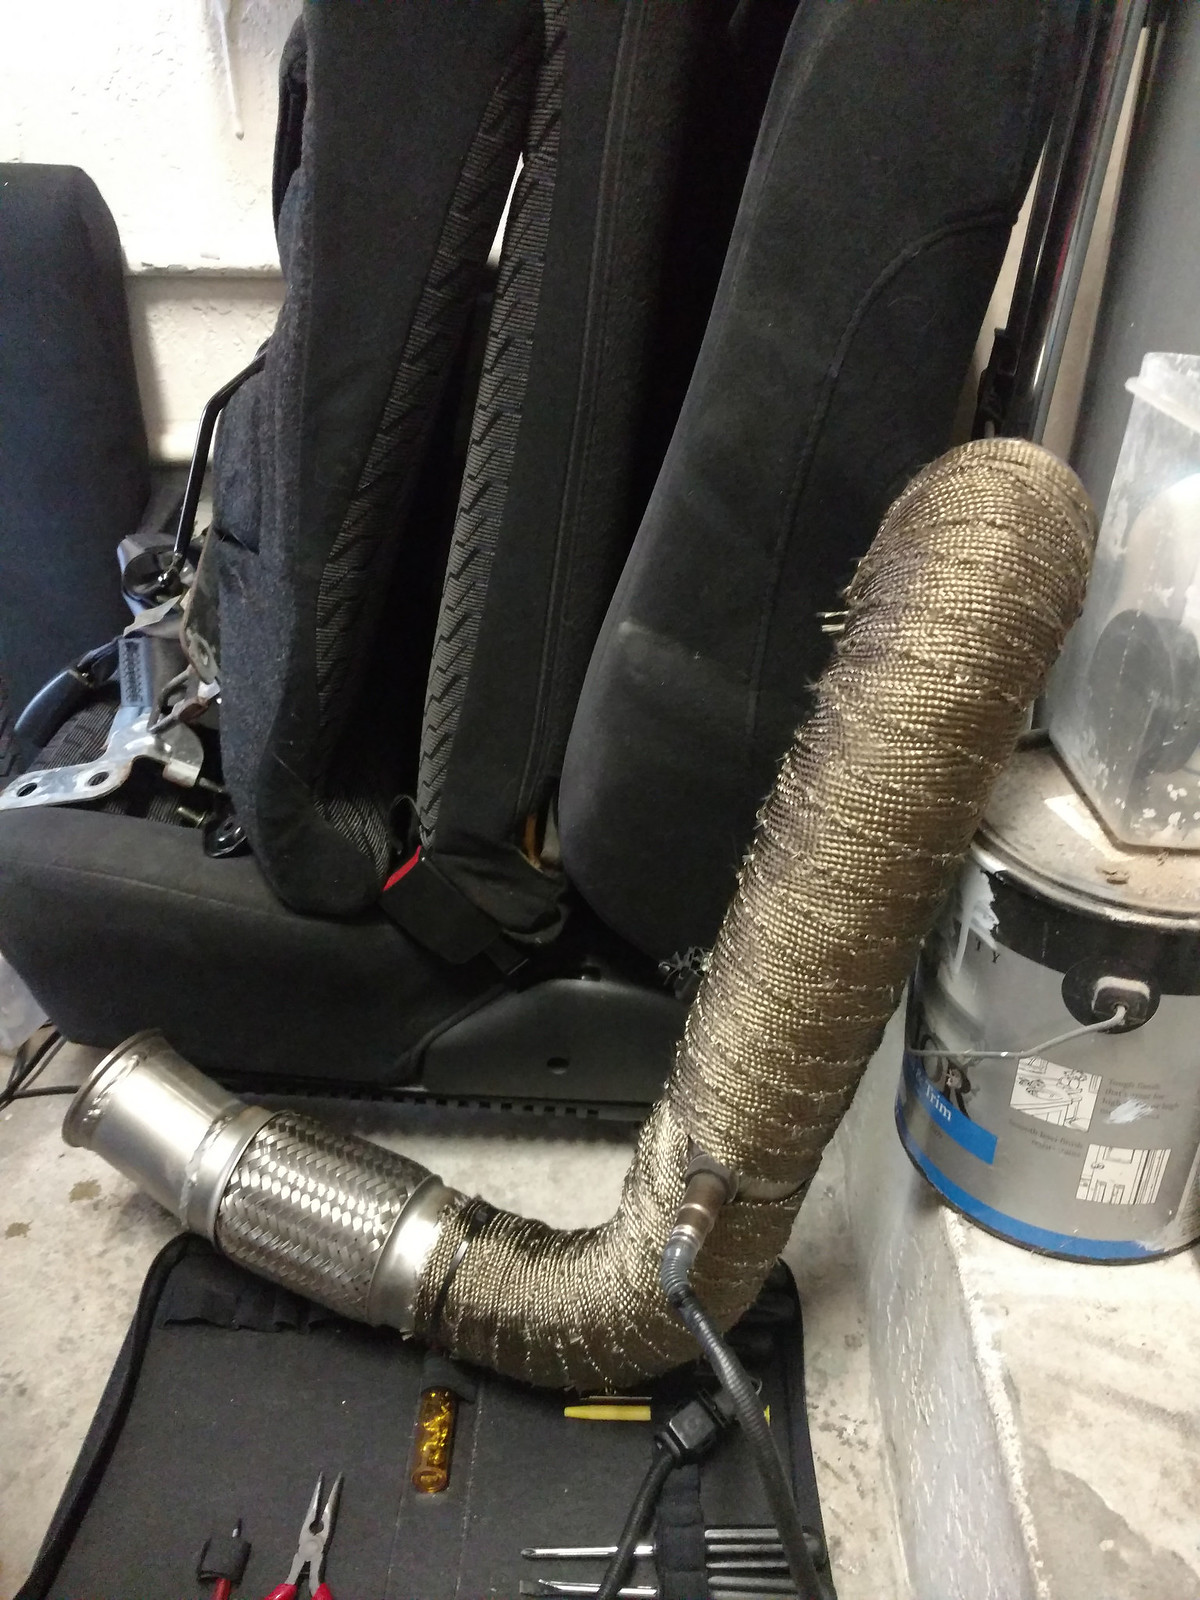
Starting off with the ceramic coated BEGI manifold. Took quite some time to get this back but man does it make a difference. Ceramic coating is the best thing i did to reduce heat in the engine bay!
I plan on ceramic coating the turbine housing, downpipe, wastegate housing, and screamer pipe. But for now, ill run a turbo blanket and exhaust wrap to keep engine bay temps down.


I ended up getting another upper coolant housing and shortening the neck so I could change the upper radiator hose to remove the loop that I had going on. Now its just a straight shot from the radiator to upper coolant housing. Now that the neck was shortened, the "L" shaped coolant bypass hose no longer had a port to connect to the neck. To fix this issue, the new coolant neck had the heater core port removed and tapped for a 1/2" NPT to 5/8" 90 degree barb.
At the time I took these pics, I was fighting with coolant leaks from various locations.....


I wasnt running a blow-off valve for quite some time during the first hundred miles of the break in process, but then I ended up raising the boost and was getting quite some turbo flutter and didnt like the way it sounded so I ended up getting a Tial Q 50mm BOV.

Had to remove the threaded fitting on the oil pan for the peterson oil relief line as it started to leak and ended up getting a new fitting welded into place. I havent had any oil leaks from the turbo oil drain but I went ahead and got that fitting welded onto the MBSP as well to avoid a future leak.

Also had a custom catch can made from signature products. It has 2 inlet ports, one for the PCV, and one for the side vent. Since Im running a haltech ecu, I dont need the PCV valve so it was deleted and it vents to atmosphere instead of venting back into the intake manifold.

And the final product! Minus the coils. Had to remove the oil pan, MBSP, and oil pump to fix some oil leaks I had and needed to prime the oil system again once the gasket maker fully cured.


Starting off with the ceramic coated BEGI manifold. Took quite some time to get this back but man does it make a difference. Ceramic coating is the best thing i did to reduce heat in the engine bay!
I plan on ceramic coating the turbine housing, downpipe, wastegate housing, and screamer pipe. But for now, ill run a turbo blanket and exhaust wrap to keep engine bay temps down.
I ended up getting another upper coolant housing and shortening the neck so I could change the upper radiator hose to remove the loop that I had going on. Now its just a straight shot from the radiator to upper coolant housing. Now that the neck was shortened, the "L" shaped coolant bypass hose no longer had a port to connect to the neck. To fix this issue, the new coolant neck had the heater core port removed and tapped for a 1/2" NPT to 5/8" 90 degree barb.
At the time I took these pics, I was fighting with coolant leaks from various locations.....
I wasnt running a blow-off valve for quite some time during the first hundred miles of the break in process, but then I ended up raising the boost and was getting quite some turbo flutter and didnt like the way it sounded so I ended up getting a Tial Q 50mm BOV.
Had to remove the threaded fitting on the oil pan for the peterson oil relief line as it started to leak and ended up getting a new fitting welded into place. I havent had any oil leaks from the turbo oil drain but I went ahead and got that fitting welded onto the MBSP as well to avoid a future leak.
Also had a custom catch can made from signature products. It has 2 inlet ports, one for the PCV, and one for the side vent. Since Im running a haltech ecu, I dont need the PCV valve so it was deleted and it vents to atmosphere instead of venting back into the intake manifold.
And the final product! Minus the coils. Had to remove the oil pan, MBSP, and oil pump to fix some oil leaks I had and needed to prime the oil system again once the gasket maker fully cured.
MeAndMyPenguin
Member
- :
- 2002.5 Mazdaspeed Protege5
First time driving it and heading to the exhaust shop to get a downpipe and screamer pipe made. Of course, I had to roll with no hood to "check for leaks" *cough* *cough* Haha jk, didnt want to burn a hole in my carbon fiber hood.

After 30 miles, did my first oil change and im sure glad I bought a magnetic oil drain plug!

Ok, so after the first oil change, I had the weirdest issue occur that caused the car to not run after the coolant temp got to 140 degrees. Took me a about a month to figure it out, but it ended up being a corrupt haltech map. Supposedly, this occurs when you unplug the USB from the computer without disconnecting from the ECU through the software. All I had to do was re-load the map to the ECU.
BUT...... I didnt know it was that simple of a fix. I ended up changing the whole engine harness because I had a bad ground and it was causing wires to burn. I though that this was the issue, but I was disappointed when the same thing happened after the harness change. While I was it, I went ahead and re-did the wires under the dash in the ECU area to clean it up.
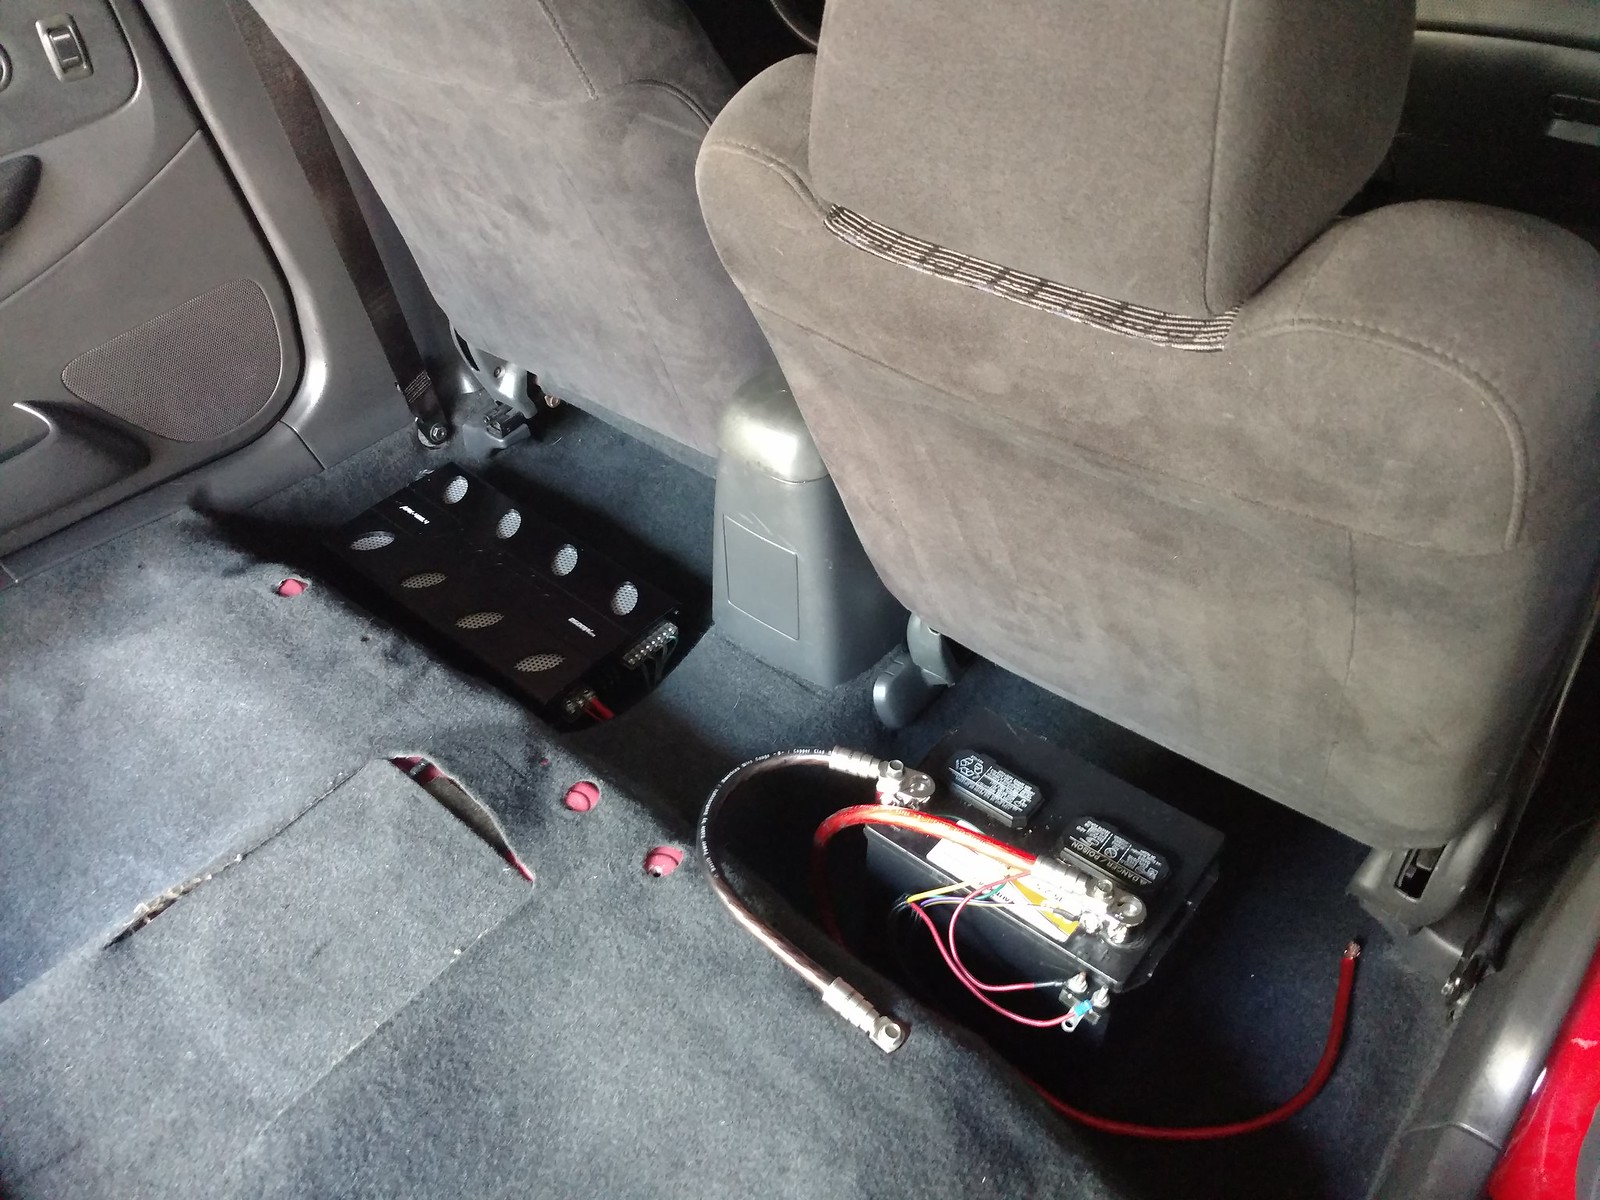
I also removed the heater core and all A/C components under the dash. So much space was gained from this!


For the rest of the interior, well...... it what ever. Only the front seats and carpet are staying cause you know the saying "race car"
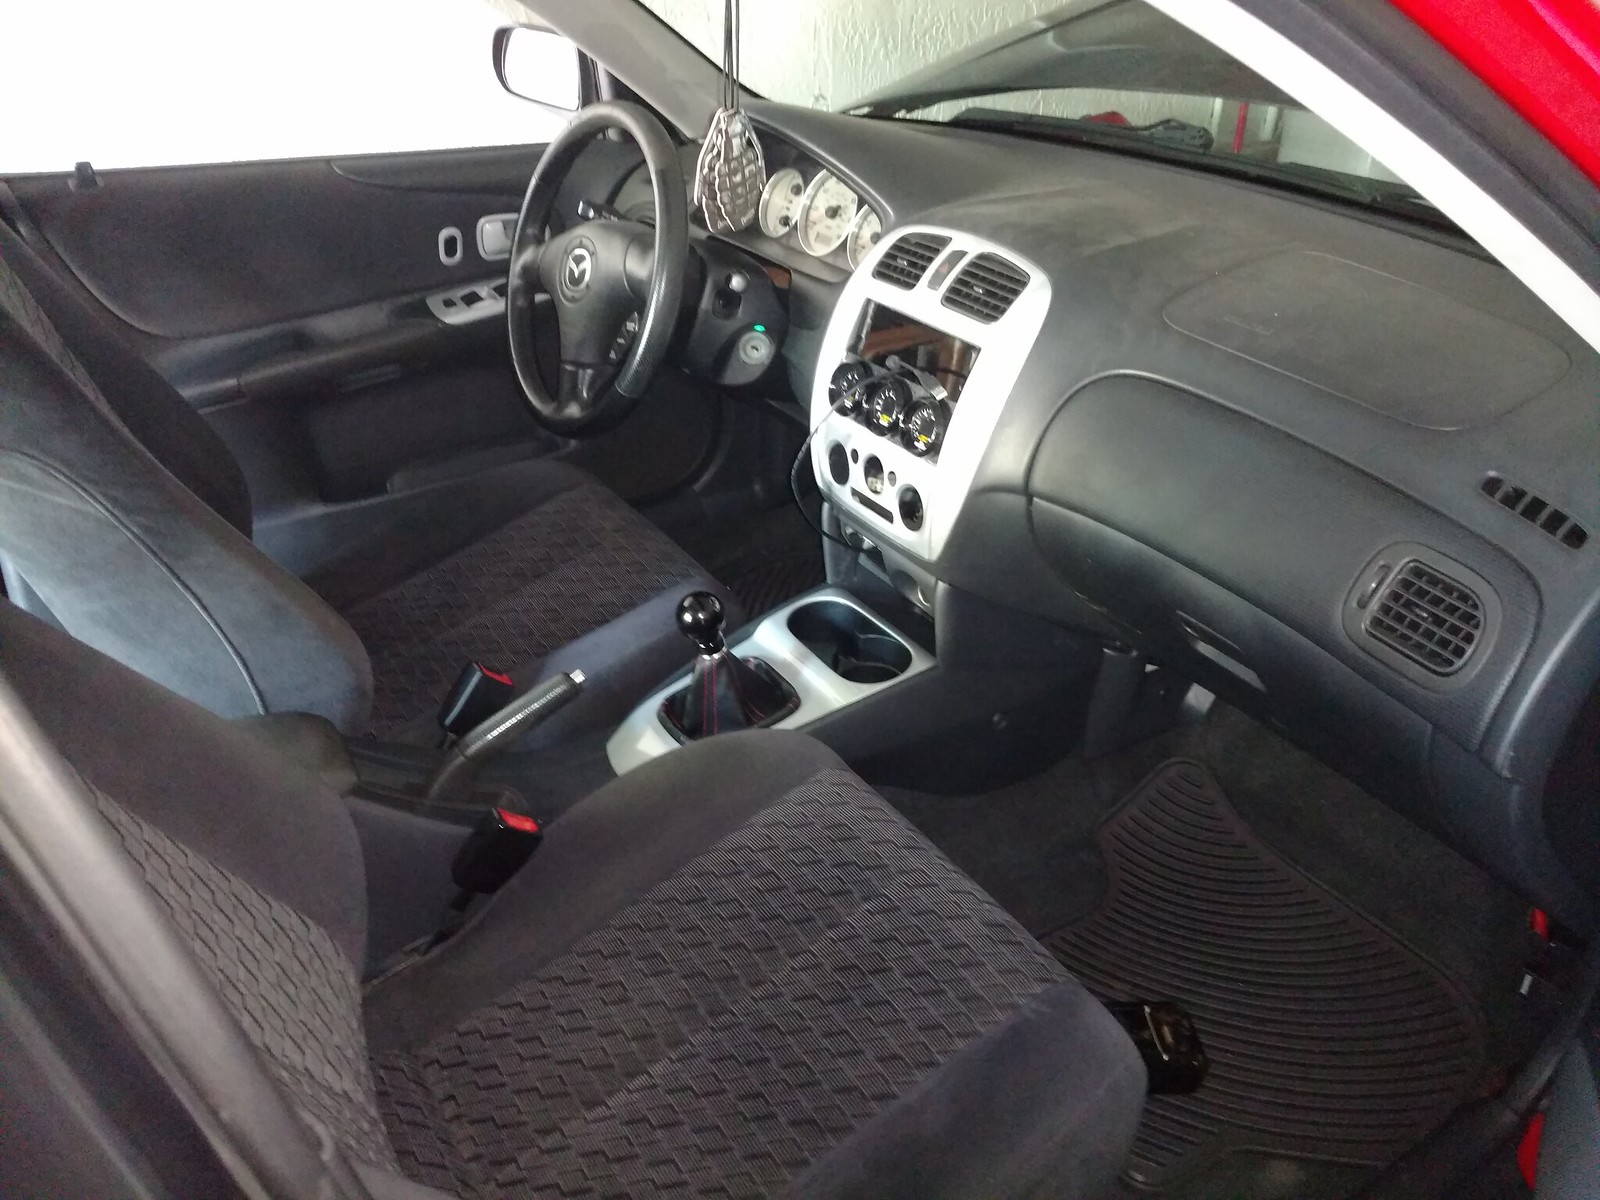
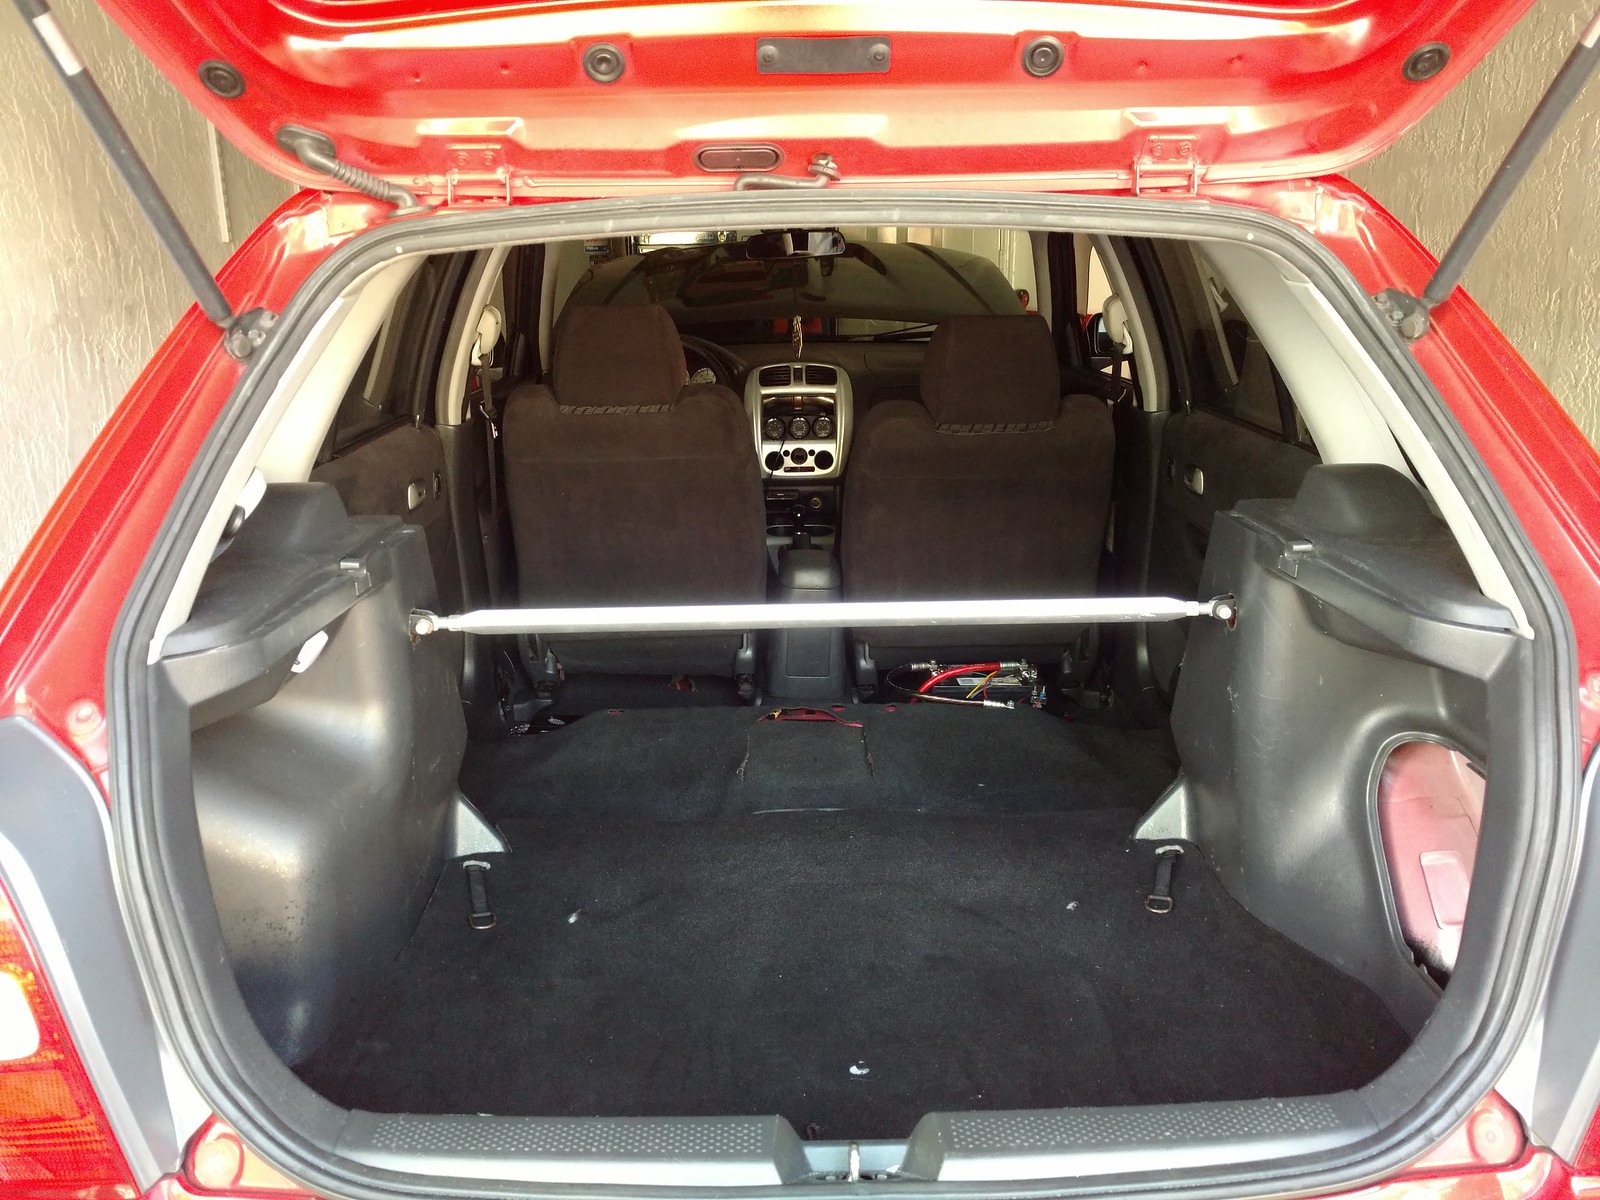
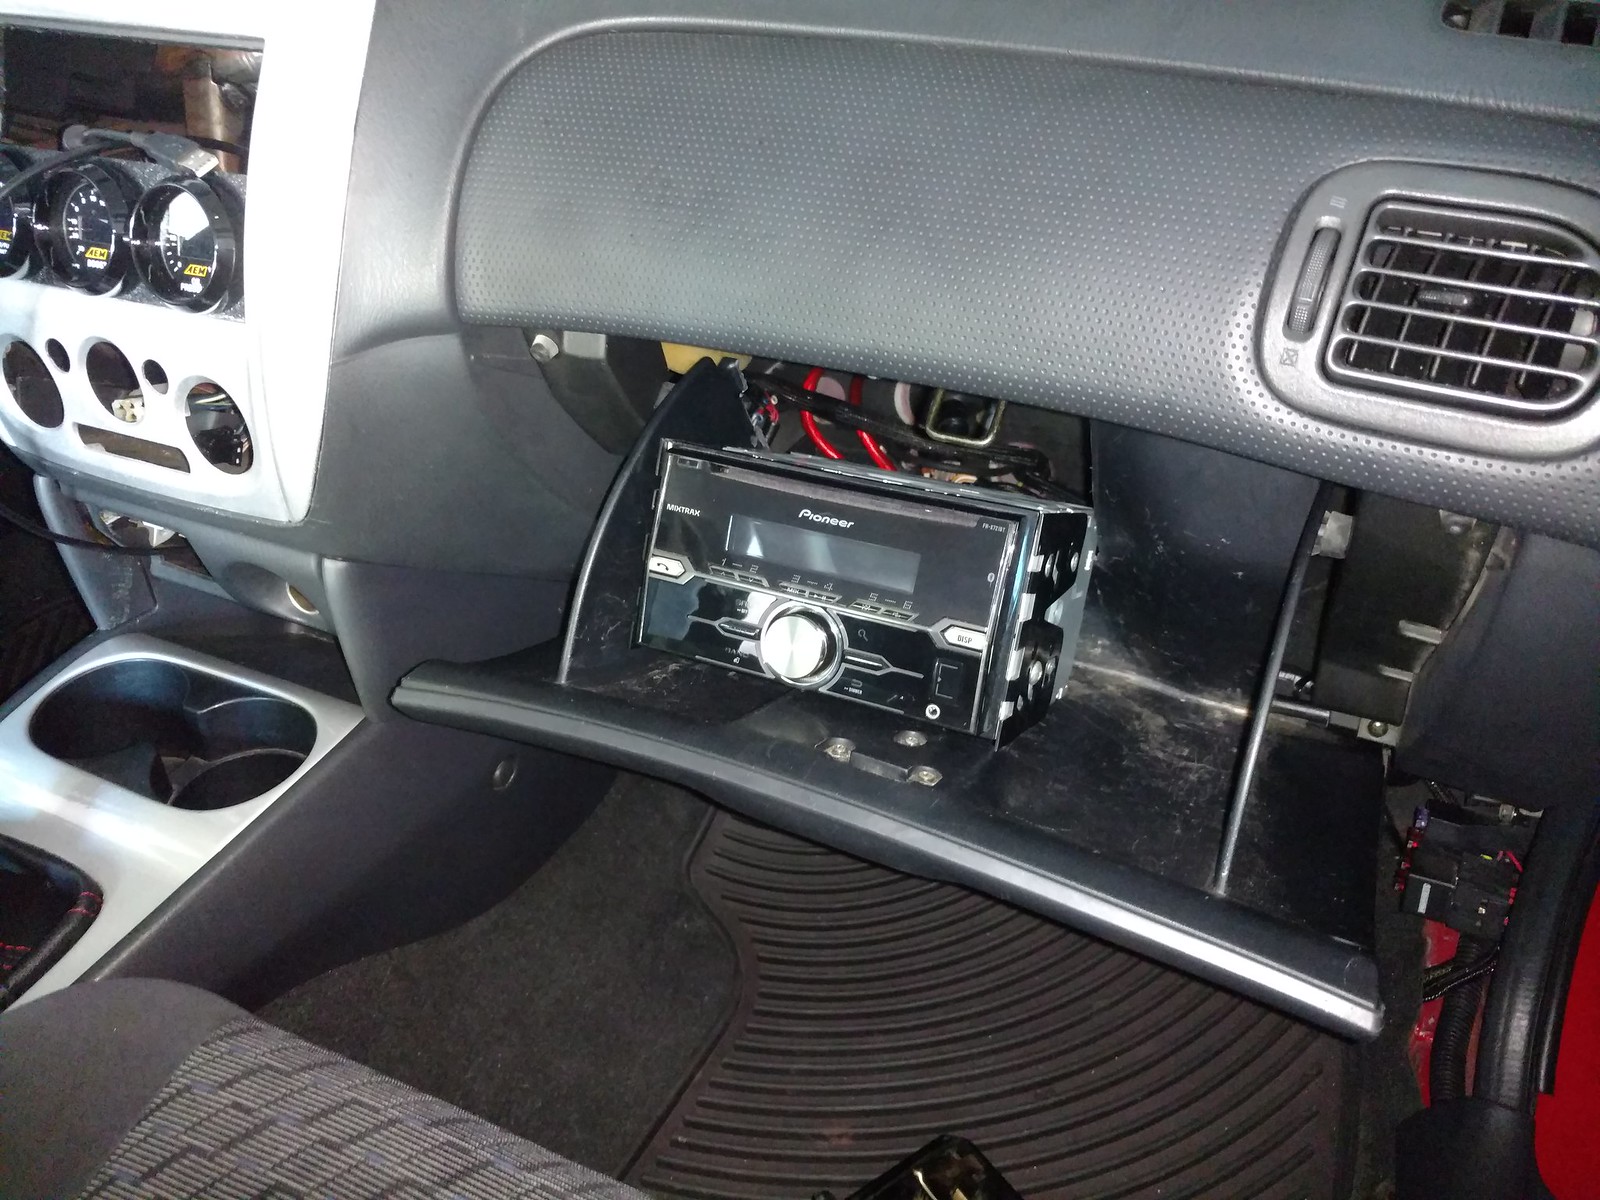
I BET YOU THOUGH I DIDNT HAVE A RADIO DIDNT YOU!!! Well this "race car" still has jams cause although the exhaust alone is music to my ears, I cant sing along with it so the radio needed to stay somehow and this is what I came up with temporarily.
Well thats about it for now. The engine has about 600 miles on it and climbing everyday. Here is a few vids on first startup, launch control, and a pull on 17 psi!
<iframe width="560" height="315" src="https://www.youtube.com/embed/ls6cP3ciqfU?rel=0" frameborder="0" allow="autoplay; encrypted-media" allowfullscreen></iframe>
<iframe width="560" height="315" src="https://www.youtube.com/embed/tl1oE6MId5c?rel=0" frameborder="0" allow="autoplay; encrypted-media" allowfullscreen></iframe>
<iframe width="560" height="315" src="https://www.youtube.com/embed/AgXI7Sxmodw?rel=0" frameborder="0" allow="autoplay; encrypted-media" allowfullscreen></iframe>
After 30 miles, did my first oil change and im sure glad I bought a magnetic oil drain plug!
Ok, so after the first oil change, I had the weirdest issue occur that caused the car to not run after the coolant temp got to 140 degrees. Took me a about a month to figure it out, but it ended up being a corrupt haltech map. Supposedly, this occurs when you unplug the USB from the computer without disconnecting from the ECU through the software. All I had to do was re-load the map to the ECU.
BUT...... I didnt know it was that simple of a fix. I ended up changing the whole engine harness because I had a bad ground and it was causing wires to burn. I though that this was the issue, but I was disappointed when the same thing happened after the harness change. While I was it, I went ahead and re-did the wires under the dash in the ECU area to clean it up.
I also removed the heater core and all A/C components under the dash. So much space was gained from this!
For the rest of the interior, well...... it what ever. Only the front seats and carpet are staying cause you know the saying "race car"
I BET YOU THOUGH I DIDNT HAVE A RADIO DIDNT YOU!!! Well this "race car" still has jams cause although the exhaust alone is music to my ears, I cant sing along with it so the radio needed to stay somehow and this is what I came up with temporarily.
Well thats about it for now. The engine has about 600 miles on it and climbing everyday. Here is a few vids on first startup, launch control, and a pull on 17 psi!
<iframe width="560" height="315" src="https://www.youtube.com/embed/ls6cP3ciqfU?rel=0" frameborder="0" allow="autoplay; encrypted-media" allowfullscreen></iframe>
<iframe width="560" height="315" src="https://www.youtube.com/embed/tl1oE6MId5c?rel=0" frameborder="0" allow="autoplay; encrypted-media" allowfullscreen></iframe>
<iframe width="560" height="315" src="https://www.youtube.com/embed/AgXI7Sxmodw?rel=0" frameborder="0" allow="autoplay; encrypted-media" allowfullscreen></iframe>
MeAndMyPenguin
Member
- :
- 2002.5 Mazdaspeed Protege5
One last post, I ended up getting a 2015 Mazda 6 Touring as a daily driver cause the P5 kept giving me new problems each week. So now I have 2 red cars, both being Mazdas!


And heres a lil 'ol fireball

And heres a lil 'ol fireball
Jackie chan
Member
- :
- Pro5
Very nice dude! Love those new 6s too.
MeAndMyPenguin
Member
- :
- 2002.5 Mazdaspeed Protege5
Thanks man! I've always loved the way the 3rd gen 6s looked. Has to be my favorite generation. Have to check out your build again, been slacking with the forums lately.Very nice dude! Love those new 6s too.
I also forgot to mention that I got new wheels for the P5. Coming from Asia, 2 piece wheels!
Jackie chan
Member
- :
- Pro5
Oh boy, I just got new wheels too! Also 2 peice, you better go check them out.
Jackie chan
Member
- :
- Pro5
Are you planning on getting some seats?
MeAndMyPenguin
Member
- :
- 2002.5 Mazdaspeed Protege5
Yes I am, but trying to finish everything on the engine that I had planned. Also, I'm a pretty small guy so I need to test some seats to see if I like them before purchasing some.Are you planning on getting some seats?
New Posts and Comments

- Replies
- 6
- Views
- 1K