- :
- 2005 Mazda MPV LX
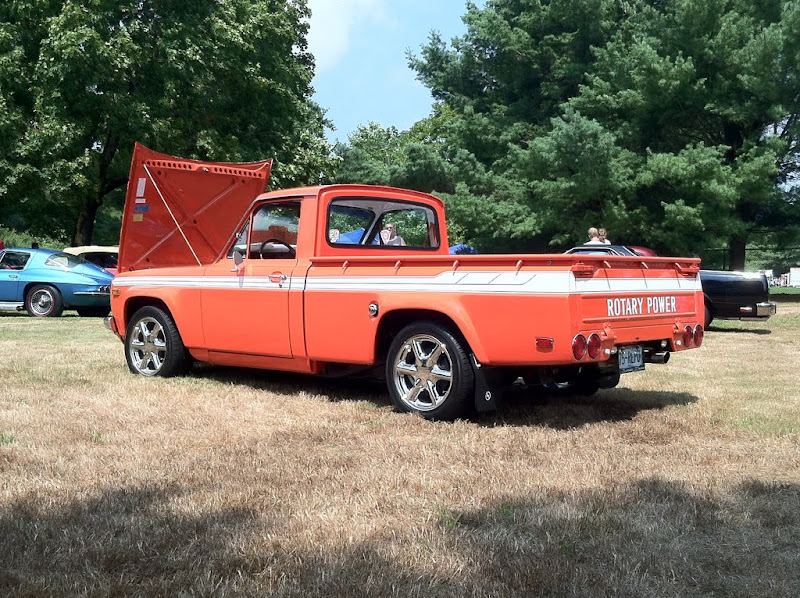
Amazing. Nothing like the scream of an old Rotary. Great to see someone do a simple version of a magnificent classic.


 </dt></dl><dl class="gallery-item" style="margin-top: 10px; margin-right: 0px; margin-bottom: 0px; margin-left: 0px; padding-top: 0px; padding-right: 0px; padding-bottom: 0px; padding-left: 0px; border-top-width: 0px; border-right-width: 0px; border-bottom-width: 0px; border-left-width: 0px; border-style: initial; border-color: initial; border-image: initial; font-size: 12px; font-family: Tahoma, Verdana, Arial, sans-serif; vertical-align: baseline; float: left; text-align: center; width: 213px; color: rgb(51, 51, 51); line-height: 21px; background-color: rgb(188, 197, 193); "><dt class="gallery-icon" style="margin-top: 0px; margin-right: 0px; margin-bottom: 0px; margin-left: 0px; padding-top: 0px; padding-right: 0px; padding-bottom: 0px; padding-left: 0px; border-top-width: 0px; border-right-width: 0px; border-bottom-width: 0px; border-left-width: 0px; border-style: initial; border-color: initial; border-image: initial; font-style: inherit; font-family: inherit; vertical-align: baseline; ">
 </dt></dl><dl class="gallery-item" style="margin-top: 10px; margin-right: 0px; margin-bottom: 0px; margin-left: 0px; padding-top: 0px; padding-right: 0px; padding-bottom: 0px; padding-left: 0px; border-top-width: 0px; border-right-width: 0px; border-bottom-width: 0px; border-left-width: 0px; border-style: initial; border-color: initial; border-image: initial; font-size: 12px; font-family: Tahoma, Verdana, Arial, sans-serif; vertical-align: baseline; float: left; text-align: center; width: 213px; color: rgb(51, 51, 51); line-height: 21px; background-color: rgb(188, 197, 193); "><dt class="gallery-icon" style="margin-top: 0px; margin-right: 0px; margin-bottom: 0px; margin-left: 0px; padding-top: 0px; padding-right: 0px; padding-bottom: 0px; padding-left: 0px; border-top-width: 0px; border-right-width: 0px; border-bottom-width: 0px; border-left-width: 0px; border-style: initial; border-color: initial; border-image: initial; font-style: inherit; font-family: inherit; vertical-align: baseline; ">
 </dt></dl>
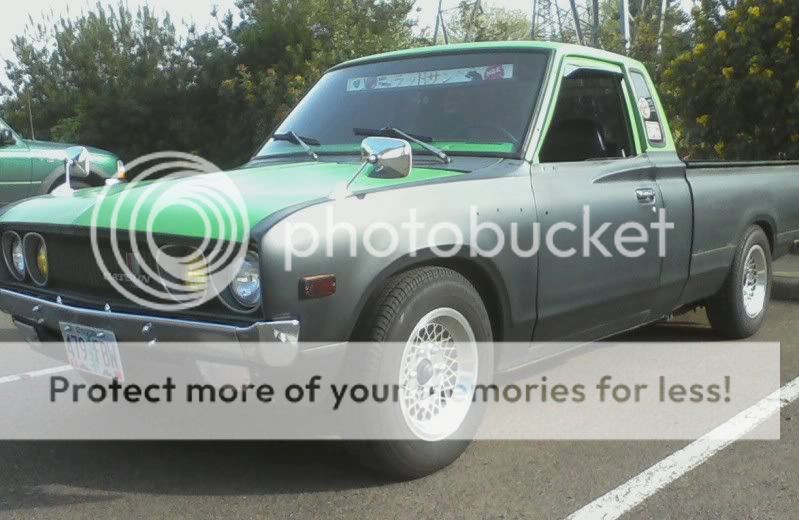
Got some projects brewing for this truck so I think i'll revitalize this thread.
Phase 1 (hopefully complete this winter)
* Quad throttle body EFI intake
* Adaptronic ECU
* AEM Smart Coils
* Electric crank sensor
* Electric fan
* Wideband
* Upgrading chassis wiring harness
* Upgrading fuse box
* RX7 alternator
* Side mount alternator kit
* Glimer pulley kit
* RX8 fuel injectors
* Upgrading entire fuel delivery system
Phase 2 (hopefully within the next year)
* RX8 6 speed transmission
* Lightweight flywheel
* Large Street Port
* LSD
* sticky shoes and lighter wheels
* suspension changes
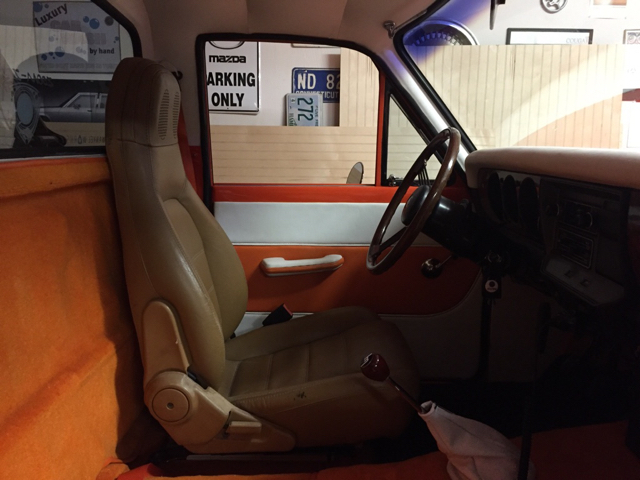
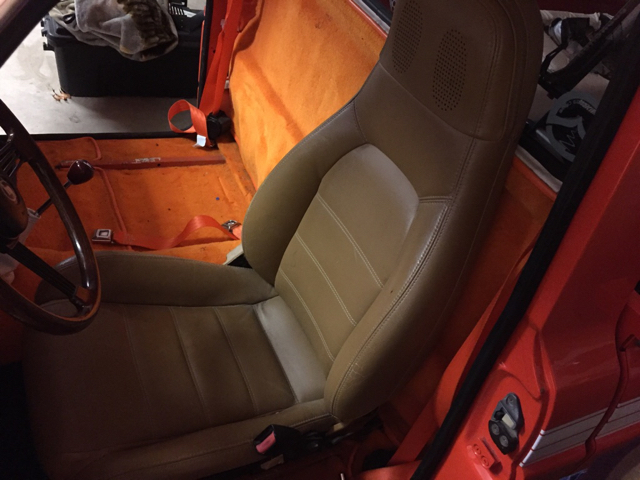
* Bucket seats
* Stereo upgrade (but keeping it stealth)