- :
- 2025 CX-5 Turbo Premium
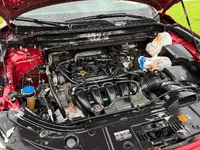
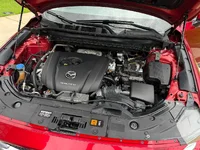
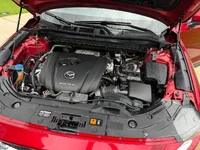
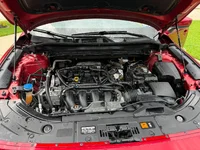
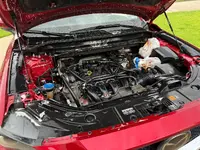
Today I decided to clean the engine bay. Never done it before but after few YouTube instructions and some careless(!) considerations, I went for it. I only spent, maybe 15-20 minutes with the cleaning process. but I am satisfied with the result. The more time you allocate and the more patience you have, the better the engine will look.
I used an electric hand spray pump, a cleaner called P21S and a brush. Rinsed at the end with water using a hose with low pressure and a shower like nozzle. Before the start of the process I bagged the alternator, removed the car battery and bagged the terminals and the ECU connector. I've seen some videos where they did not remove the battery at all, left it all connected. I am glad that I took the battery off because I found that the battery tray has no drain, so the water was accumulating on the tray. I would not want to have a battery sitting in water. With the engine off and hot (I did not want to wait few hours for the engine to cool off), started to spray the cleaner all over the bay and the engine block. Let it soak for 5 minutes, then used the brush to clean in tight spaces and at the end tried to rinse everything really good. Used some rags to wipe of the water and that's it.
When done, went for a ride to the supermarket to help drying the water. While driving I felt an odor inside the car, probably the chemical residue getting hot from the engine and burning which makes me thinking that I should have spent a little more time on rinsing. In the end, I am satisfied with the results and next time I'll try to clean it better.
Cleaner used: https://www.amazon.com (commissions earned)
Spray pump used: https://www.amazon.com (commissions earned)
Brush: https://www.amazon.com (commissions earned)

")