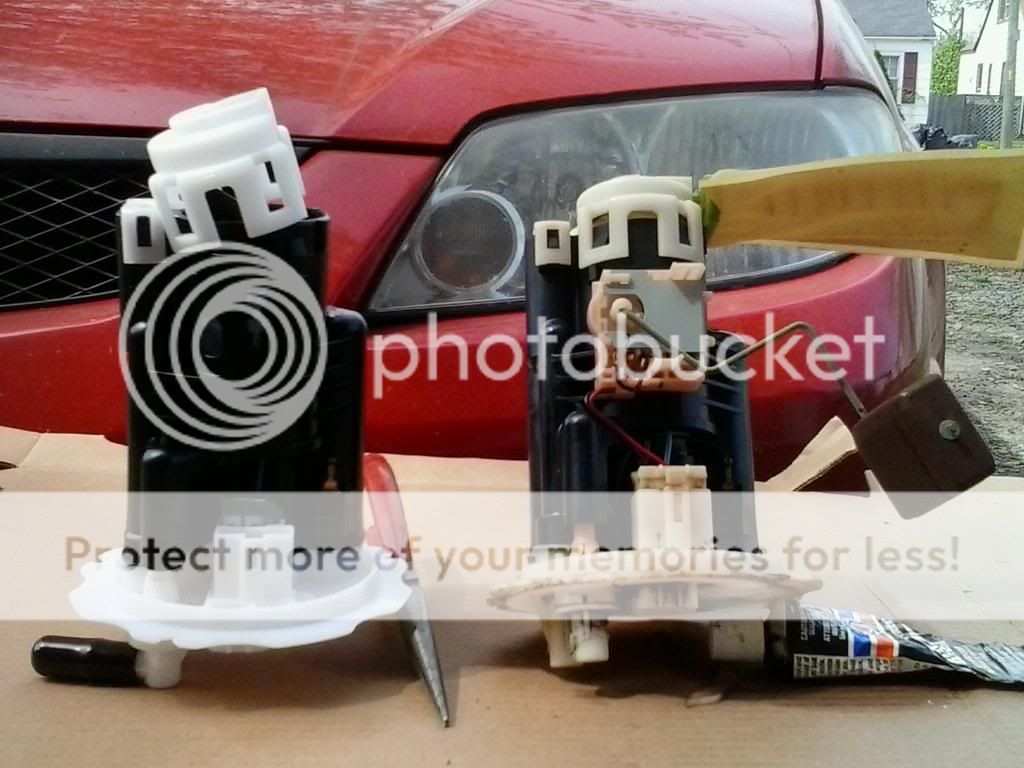
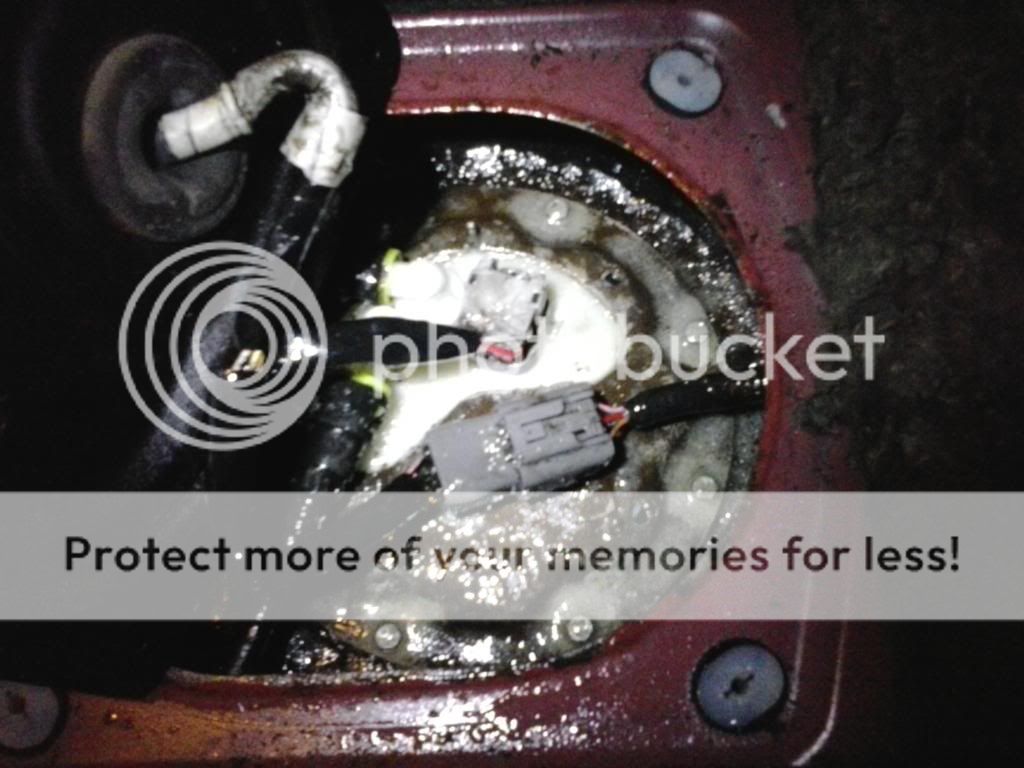
Thanks to mtnbiker26 for starting his thread and everyone who contributed to it.
http://www.mazdas247.com/forum/showthread.php?123718385-Has-Anyone-Had-Their-Fuel-Pump-Cover-Leak
I finally got around to installing my fuel filter using the how-to.
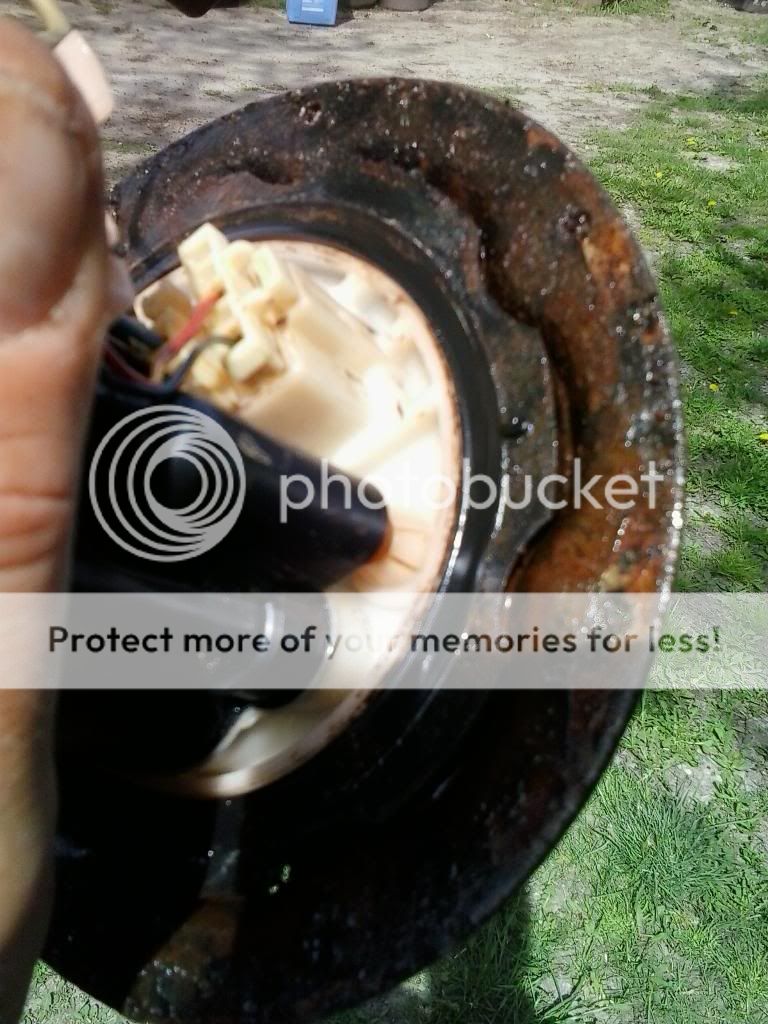
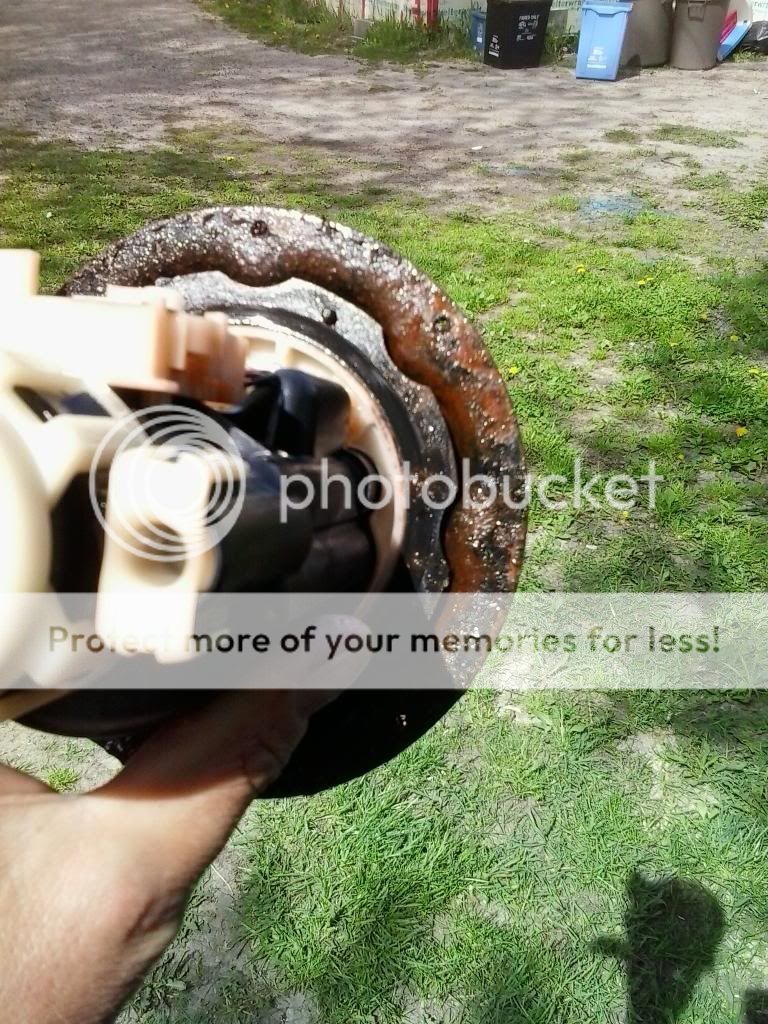
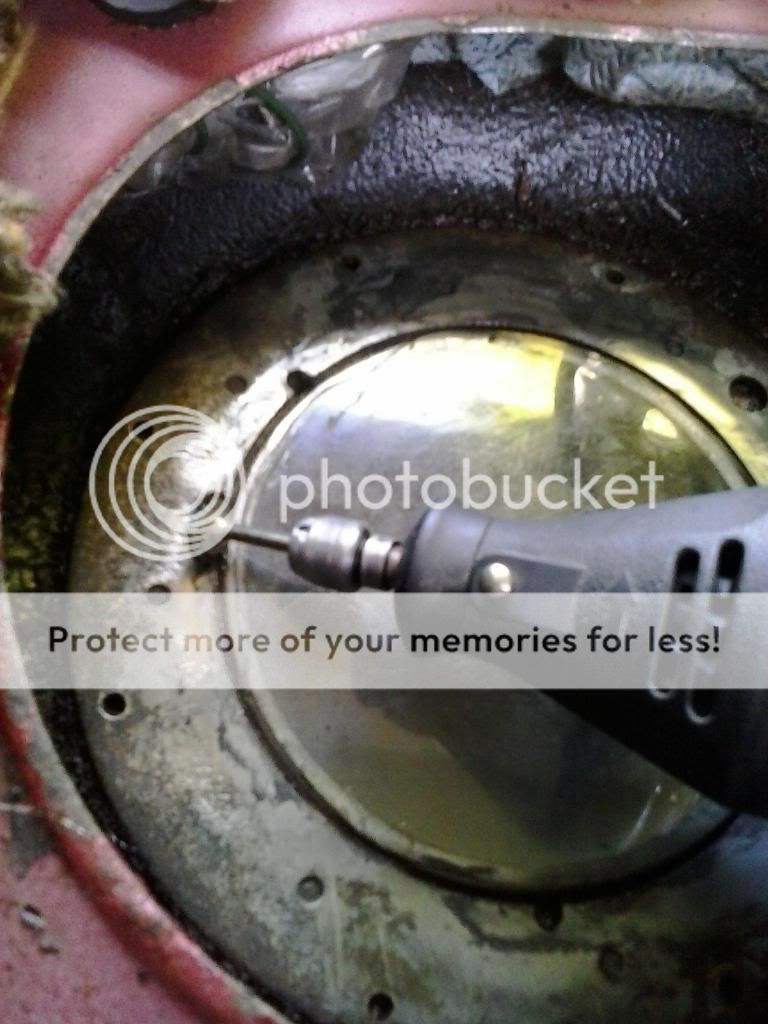
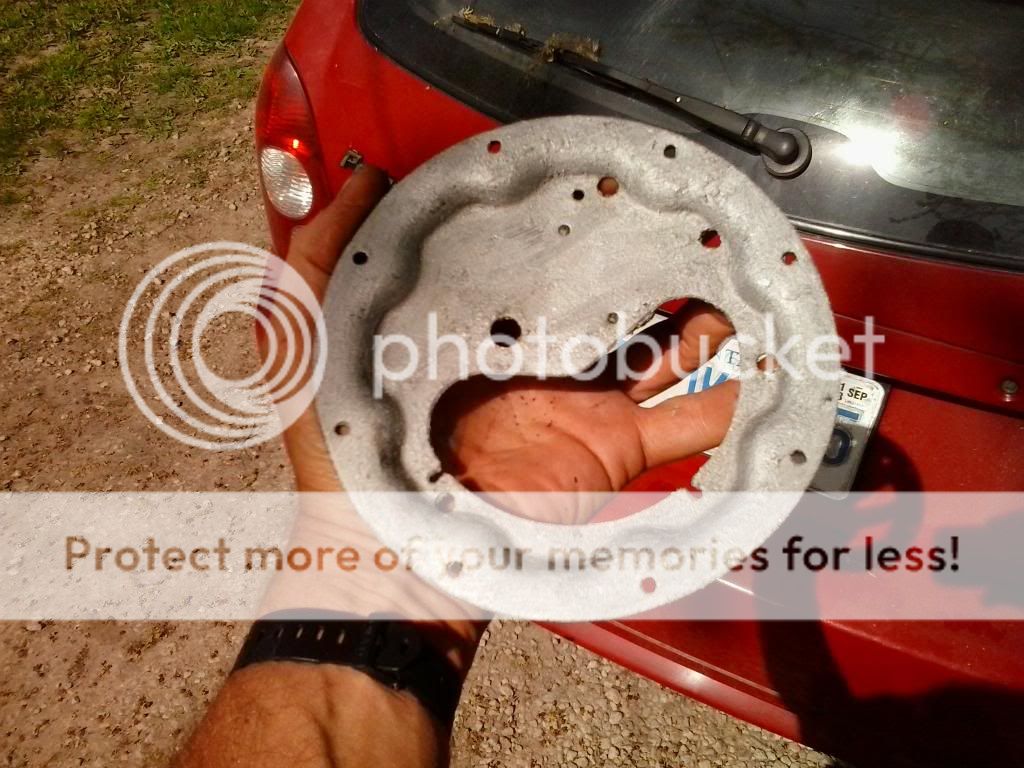
The first and easiest step is to lift up the back seat and remove the gas tank access panel to see what you're in for, then spray it down with PB Blaster (everybody seems to love that stuff and it is now available here in Canada at Canadian Tire. I bought my first can of it and I love it too).
I sprayed mine down over a year ago in an attempt to stop the rust and hopefully loosen the 8 little screws. I sprayed it down and let it soak many times before I started this job. (I was expecting a huge PITA and to be off the road for a few days).
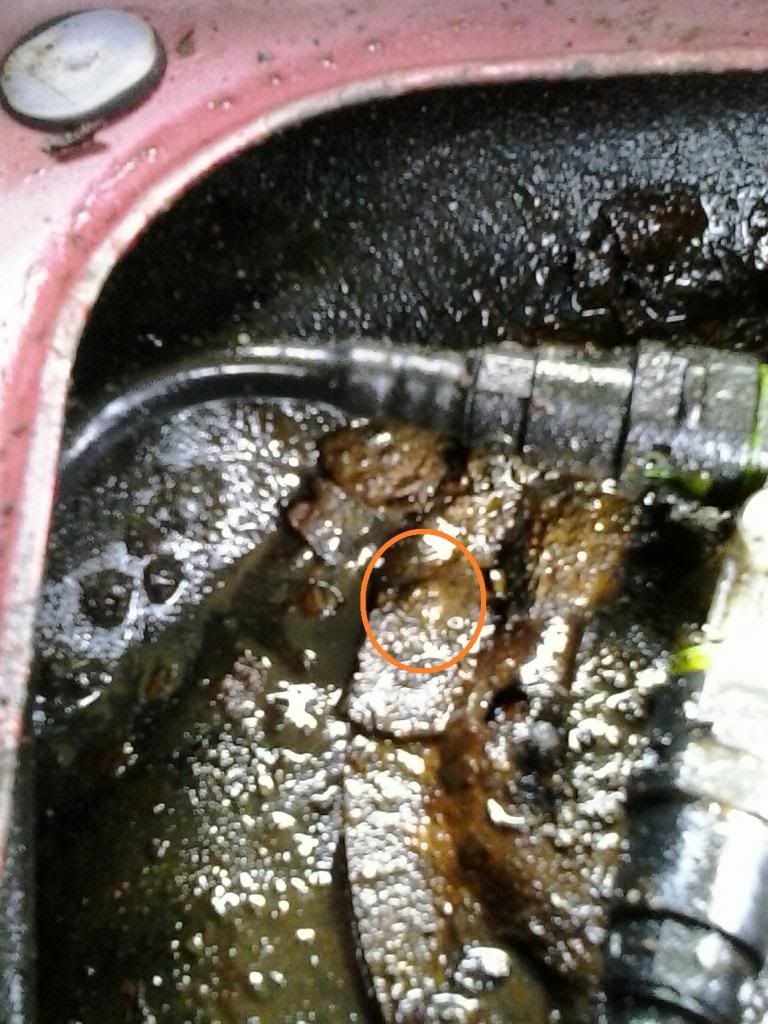
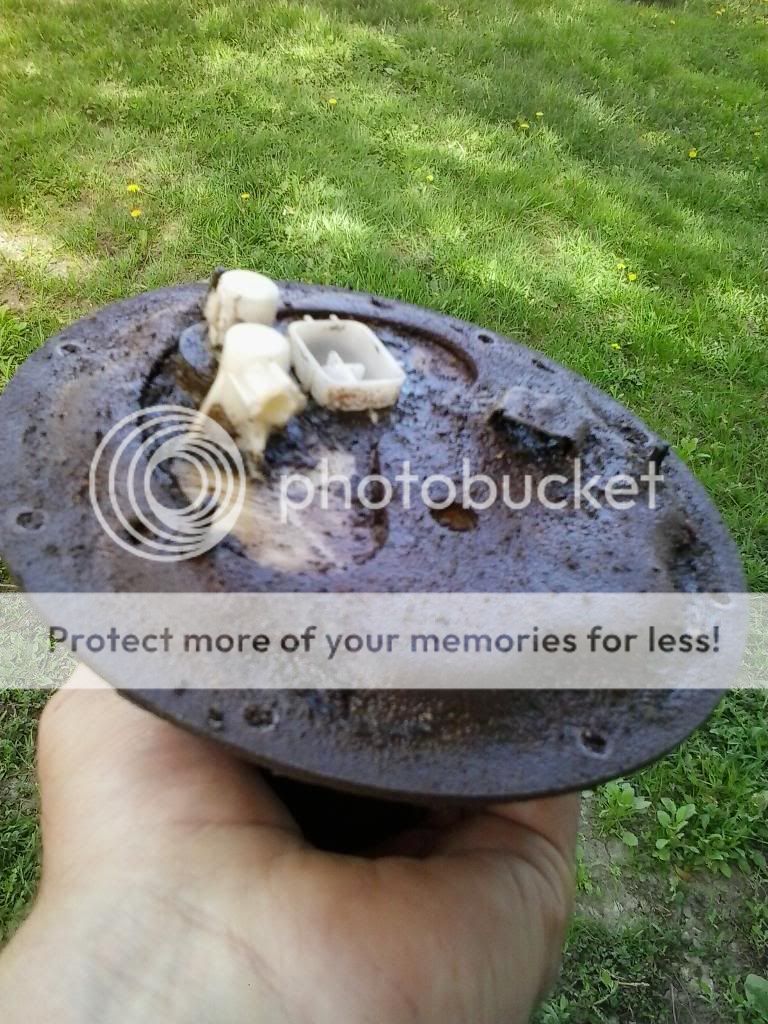
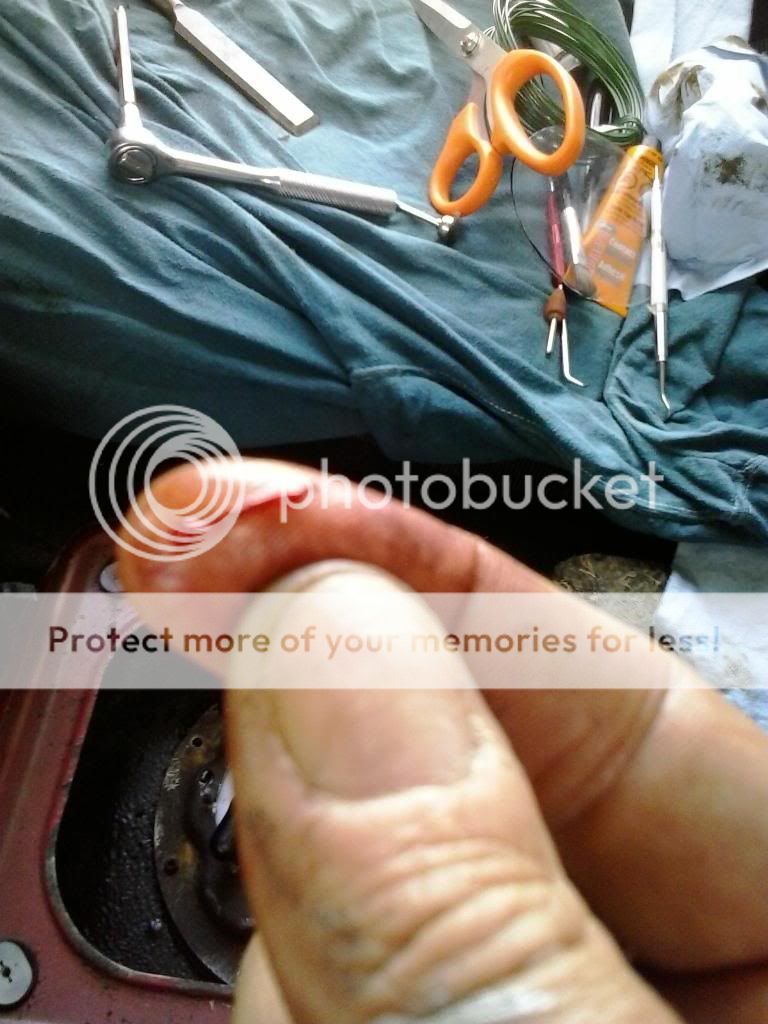
This is the screw head after using the dental pick and hammering the phillips bit once. I then used the pick and hammer once more for each screw.
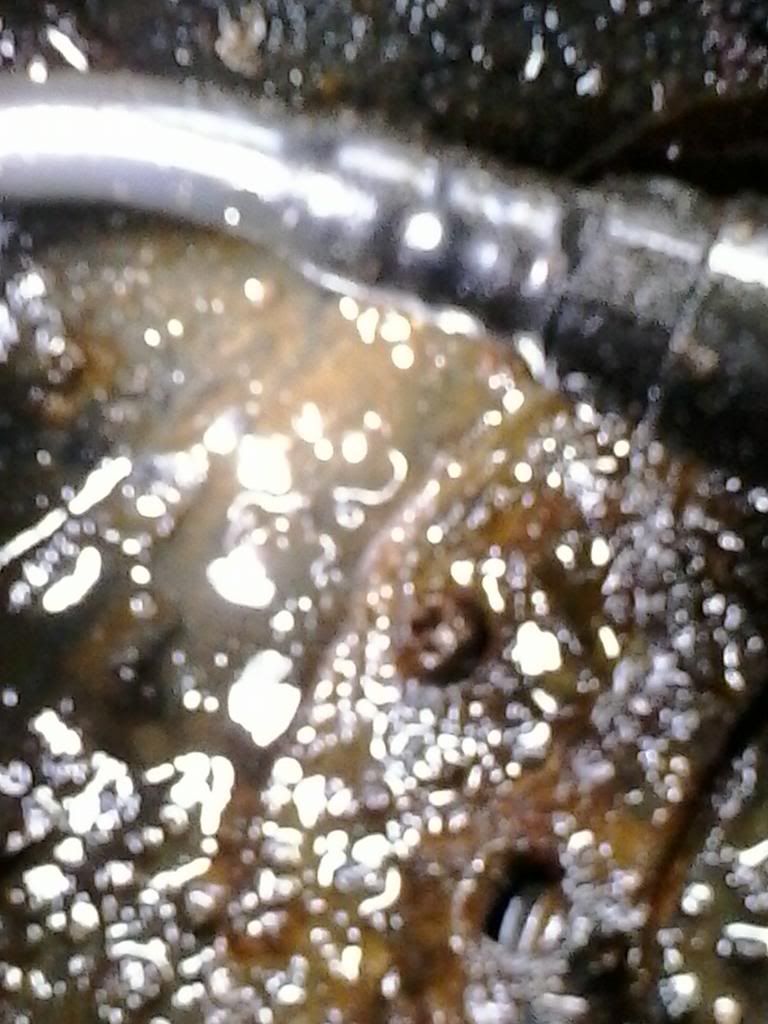
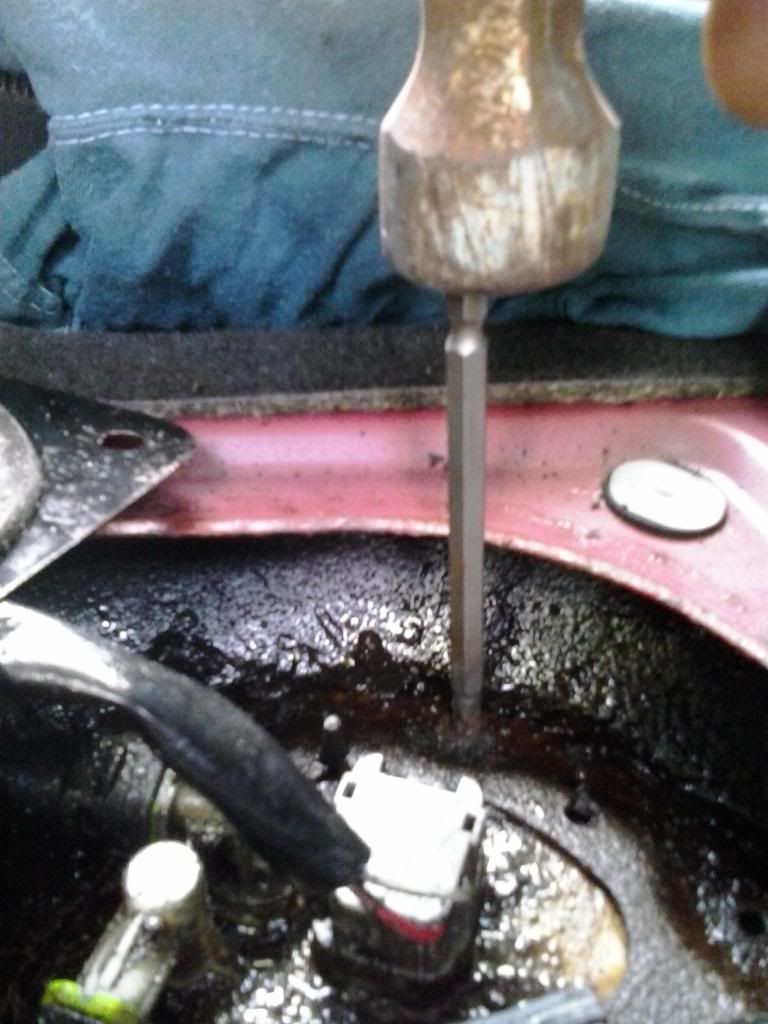
After picking and hammering twice, I put on the ratchet handle and pushed down with all my weight while turning the handle. I managed to get every screw out this way. (it was going so smoothly that on the fifth screw I only picked and hammered once then tried to loosen it but striped the screw head. Before getting the drill out, I tried the pick and hammer once more and managed to get the screw out. I'm pretty sure that cleaning out the screw head with the dental pick had a lot to do with getting the screws out.)
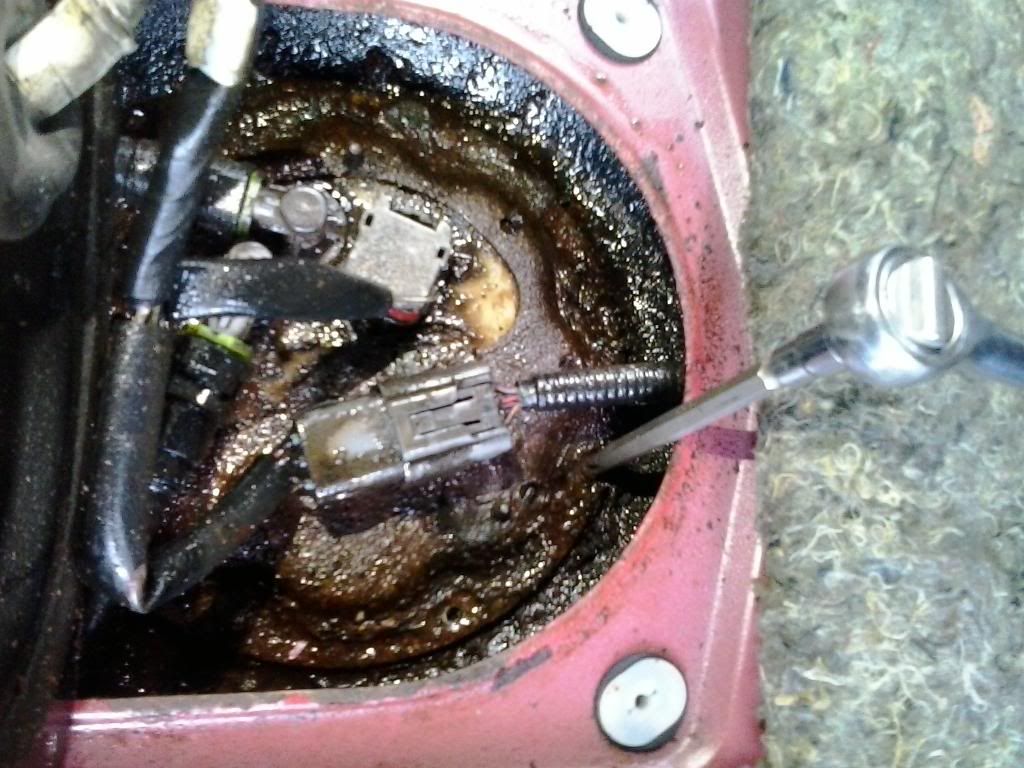
I didn't bother with the whole pulling of the fuel pump relay thing. My car had sat for a day and that may have bled off any residual pressure. I had less than a teaspoon of gas flow out after cutting the fuel connector.
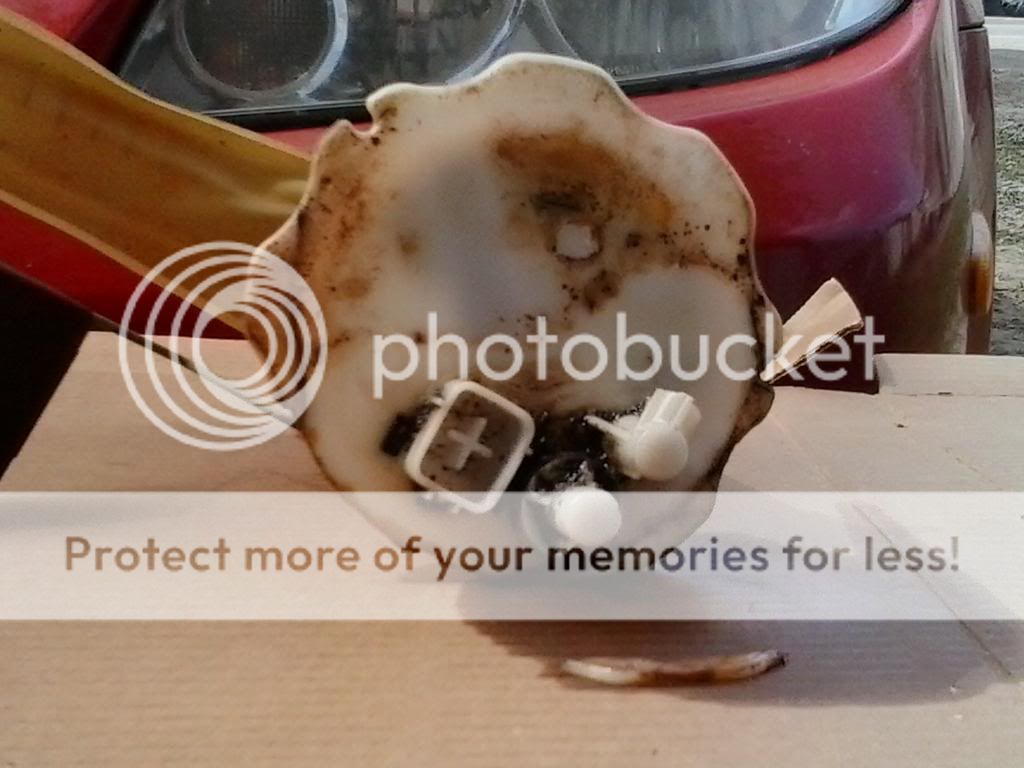
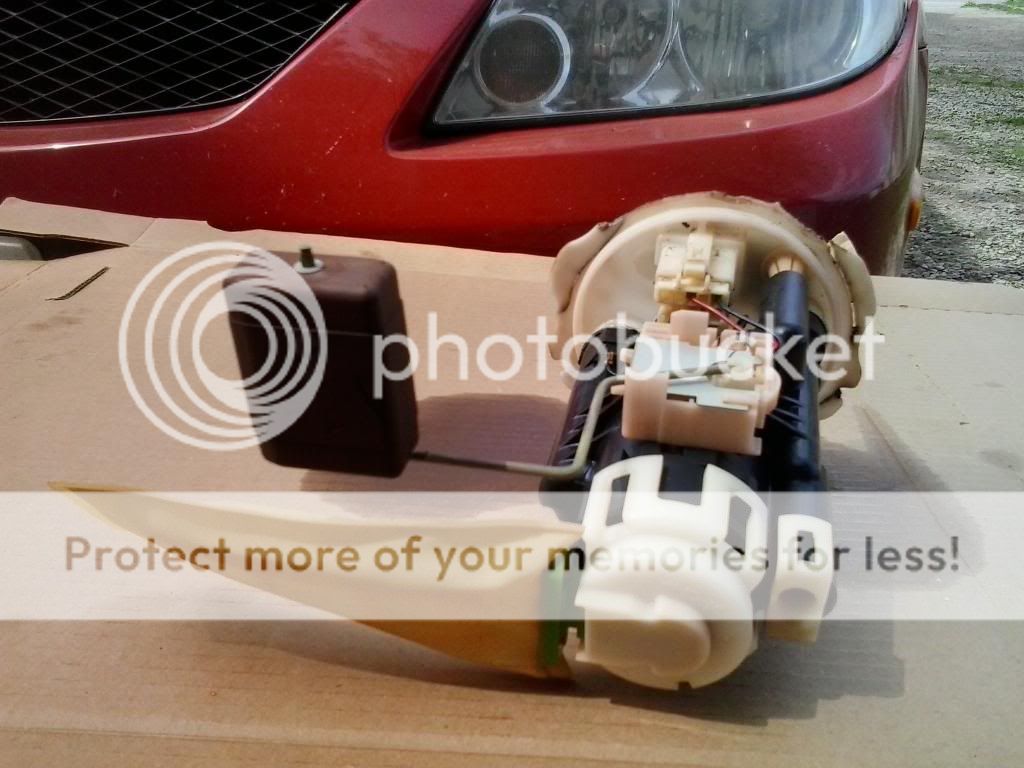
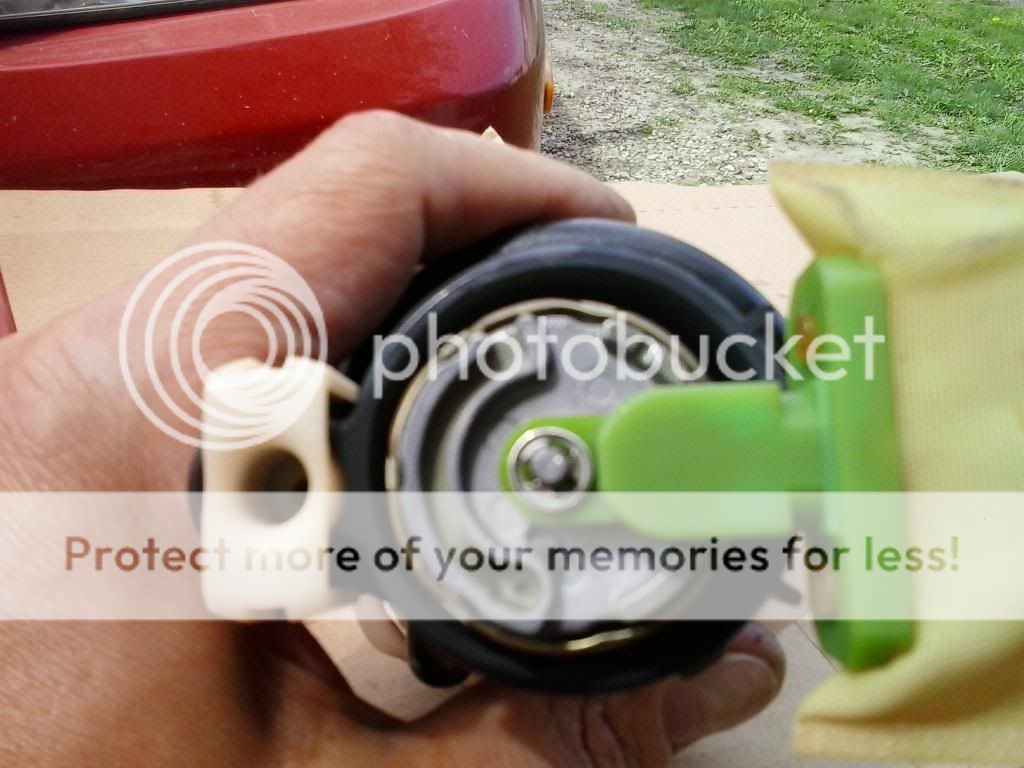
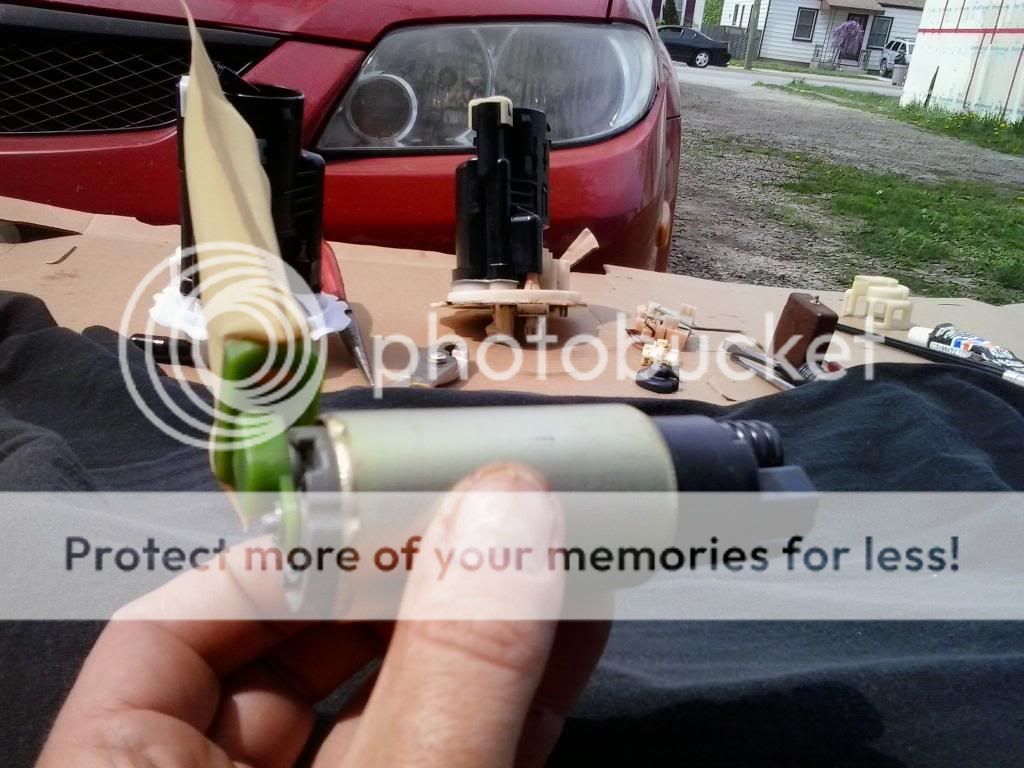
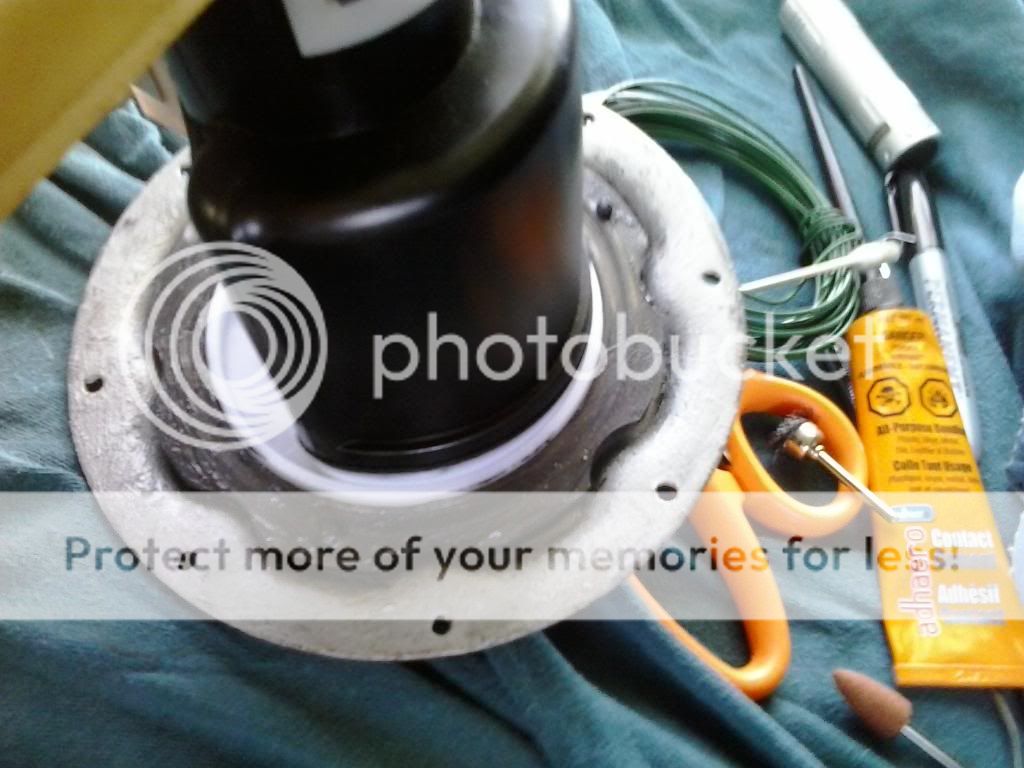
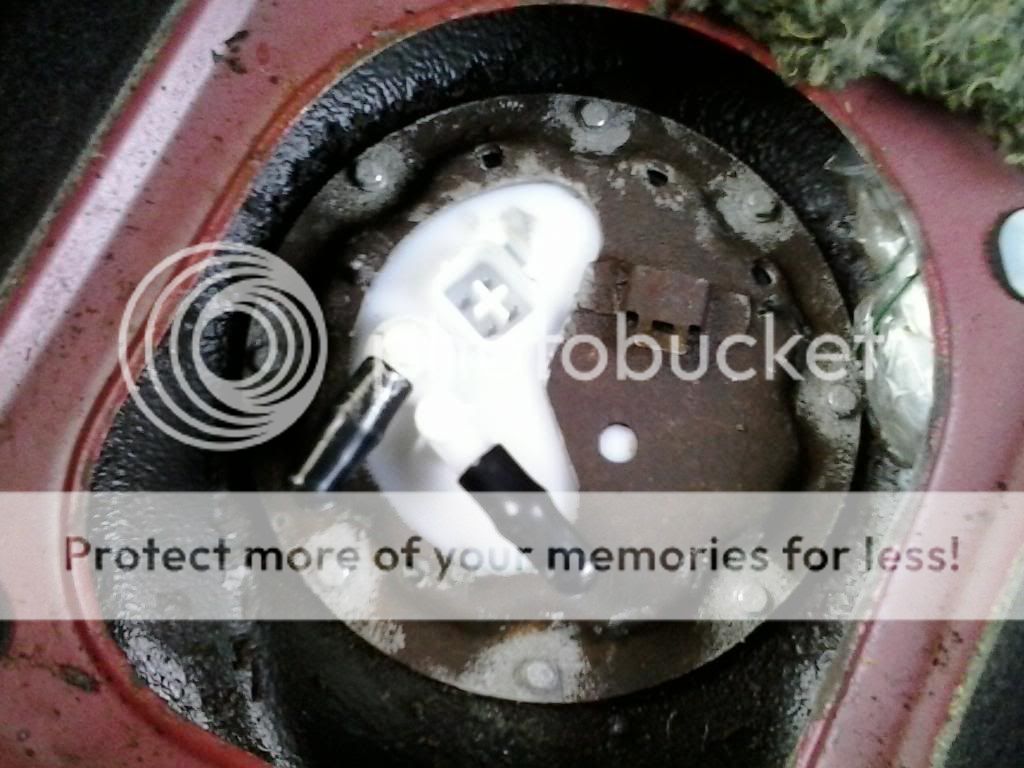
The fuel connector was too thick at this point so I cut it near the green attachment point.
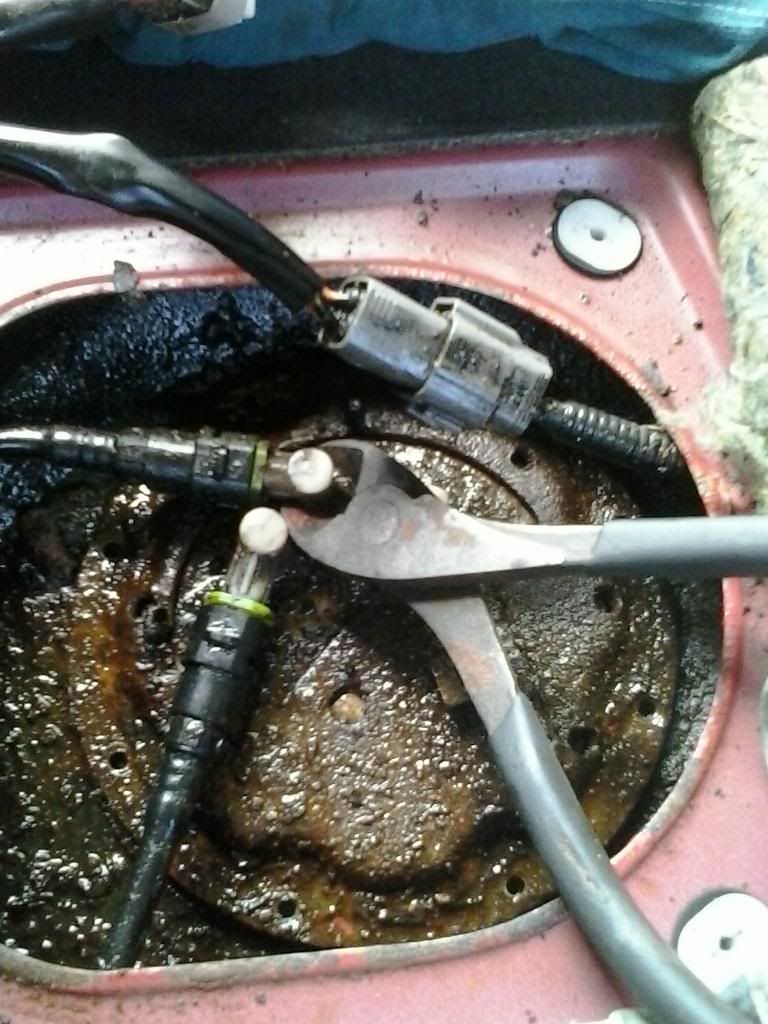
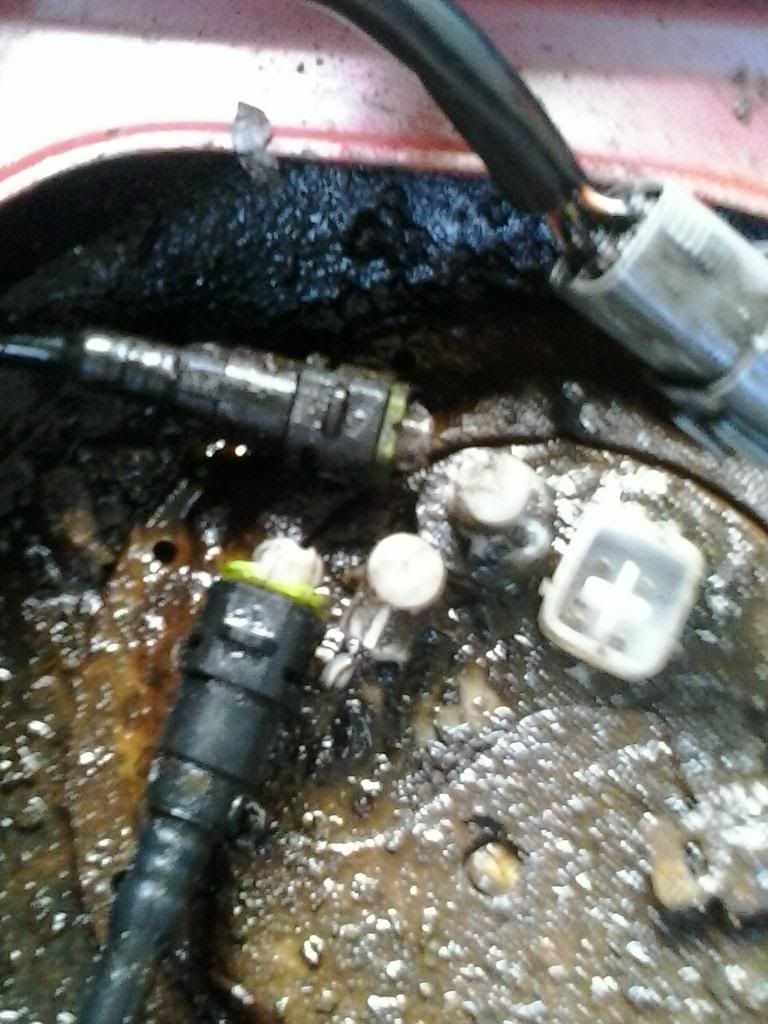
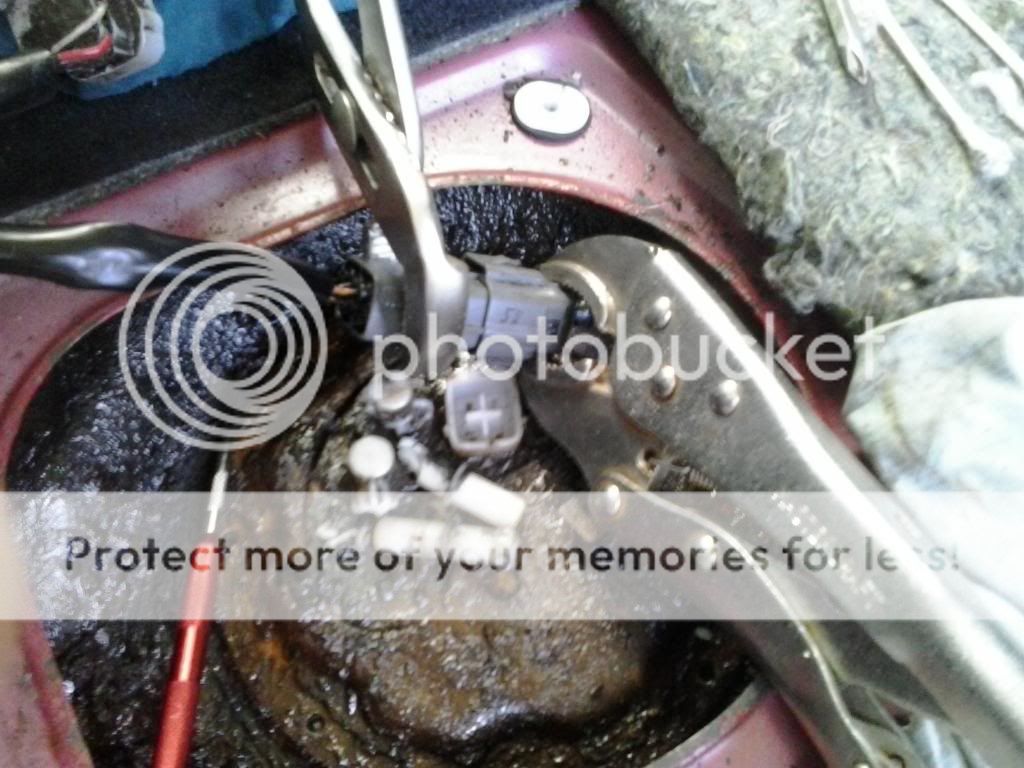
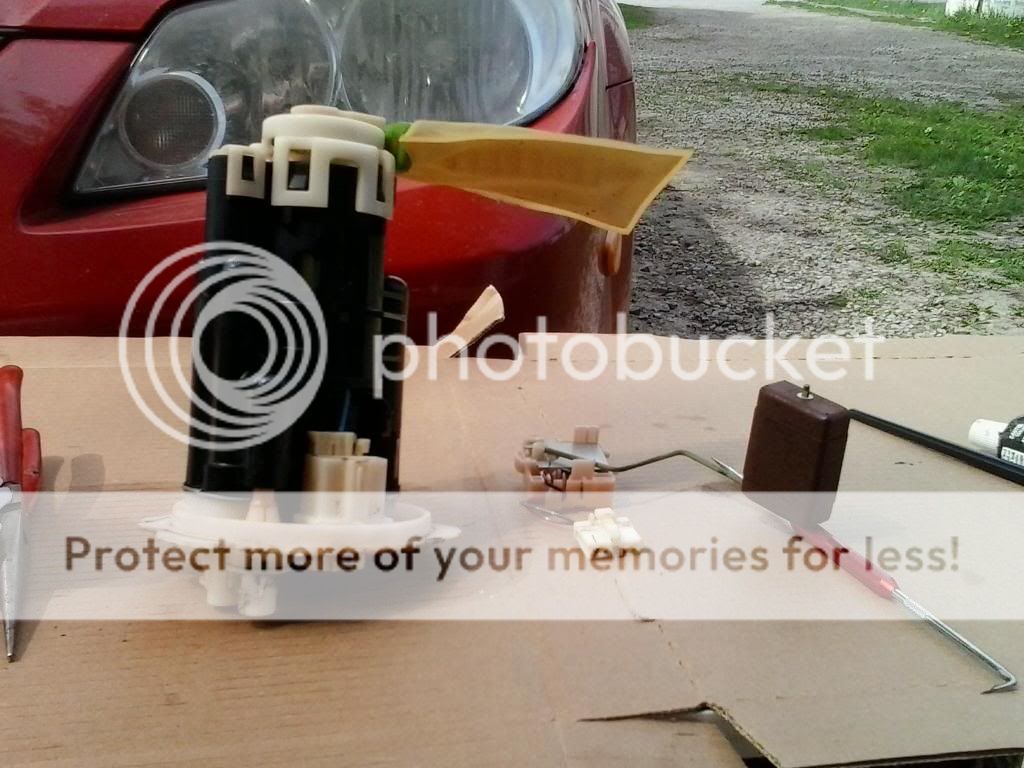
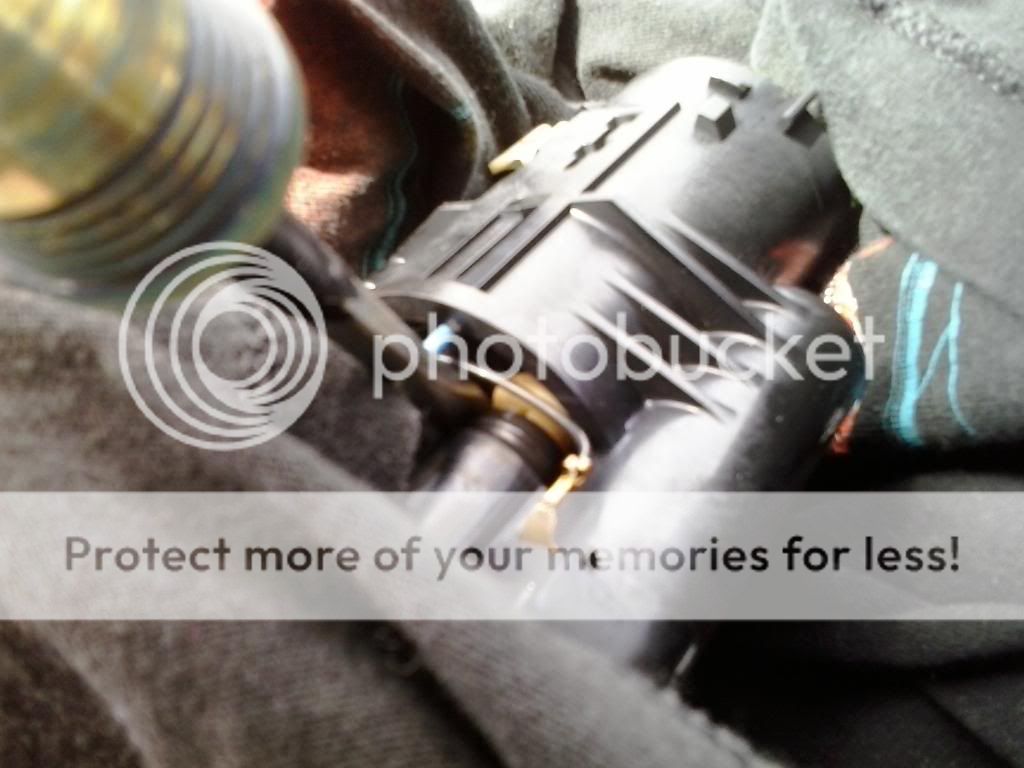
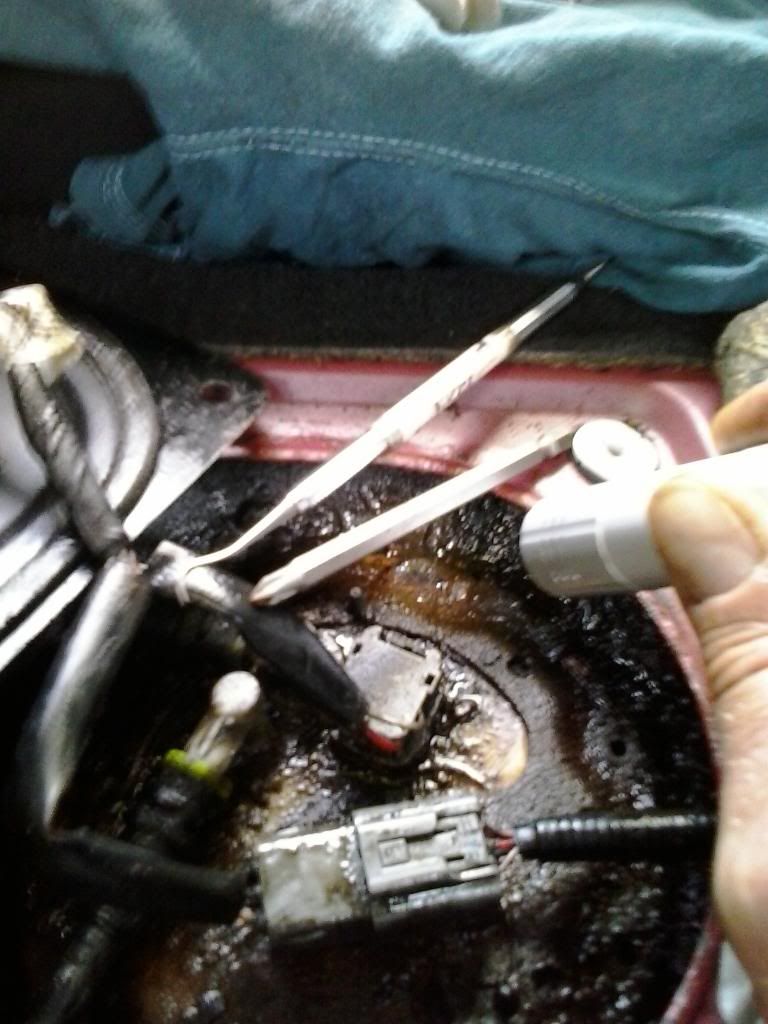
The dental picks came in very handy for removing the fuel connectors. They are well worth the investment. They come in handy for lots of other things.
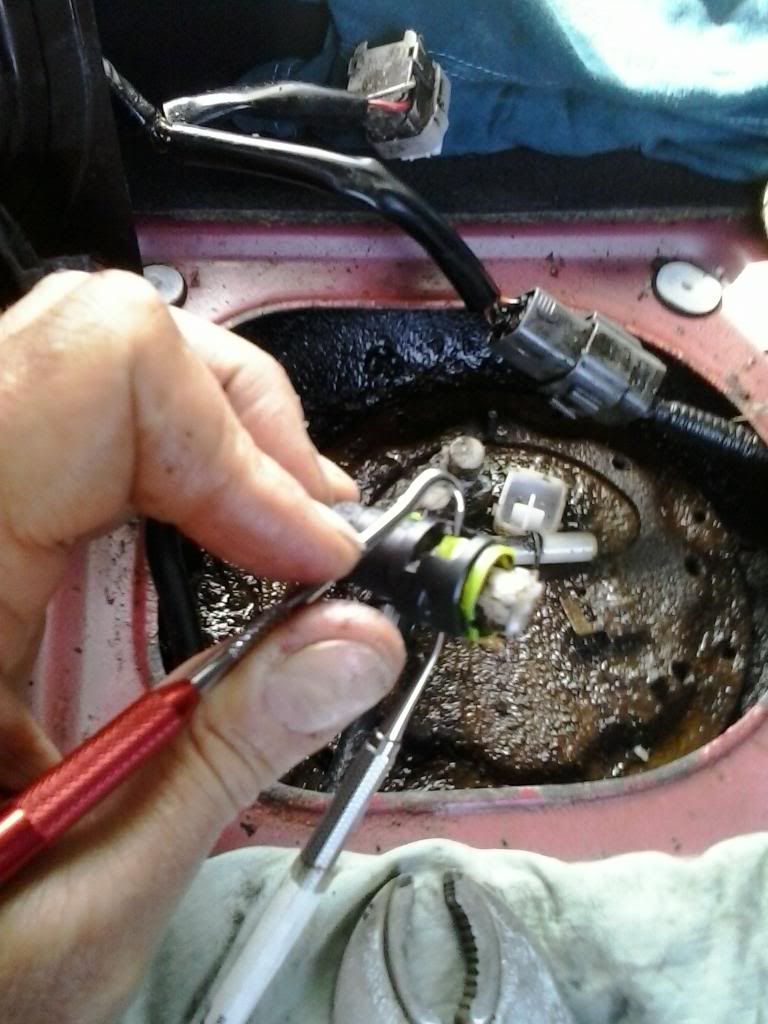
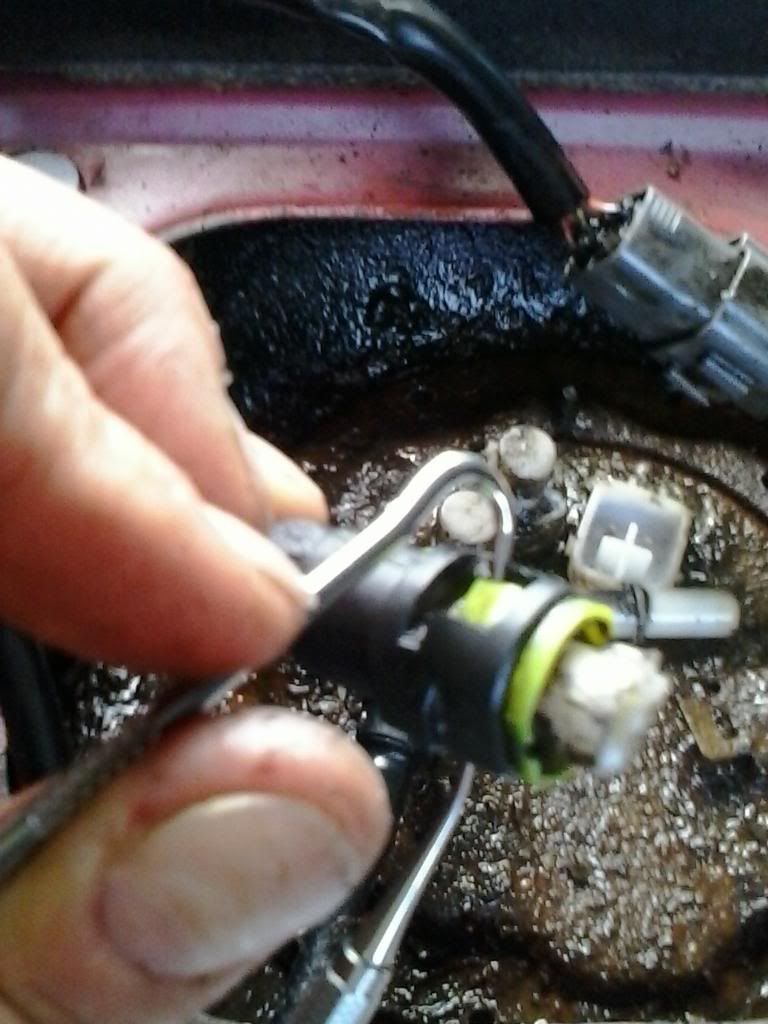
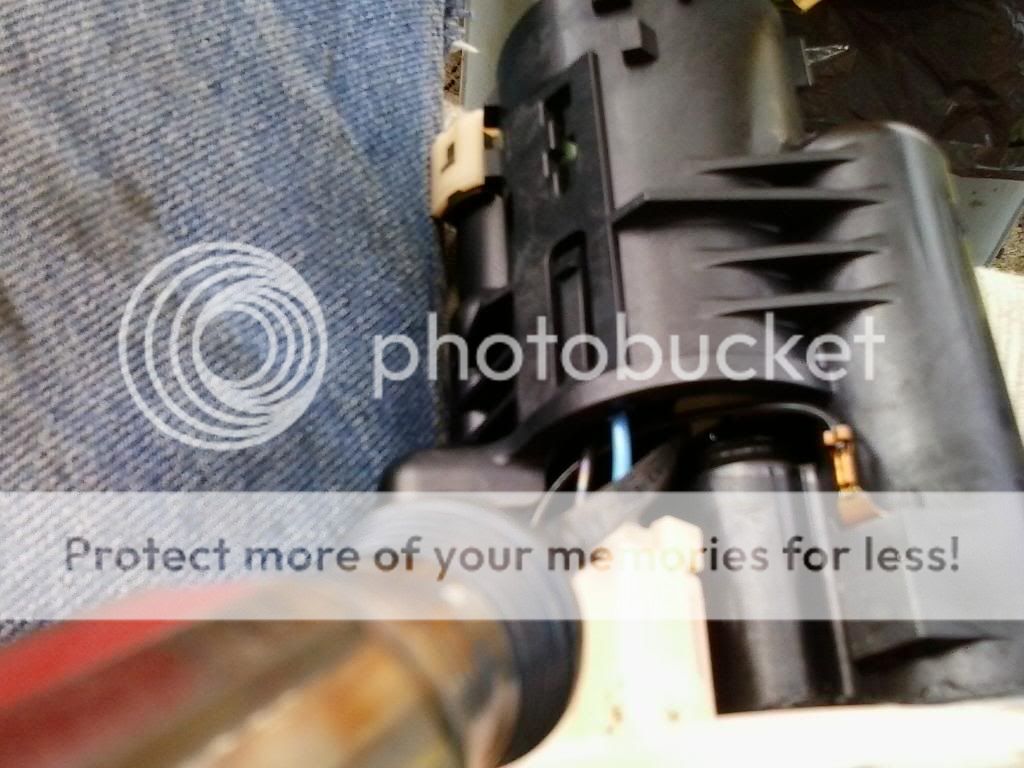
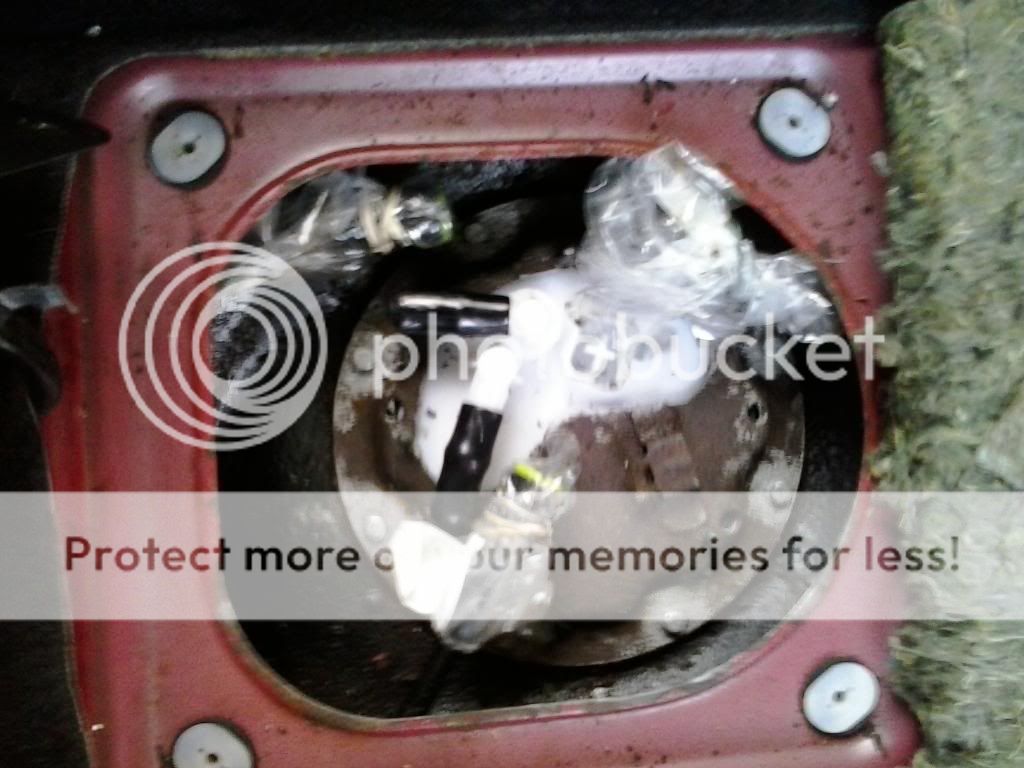
I covered all the connectors to help keep them clean.
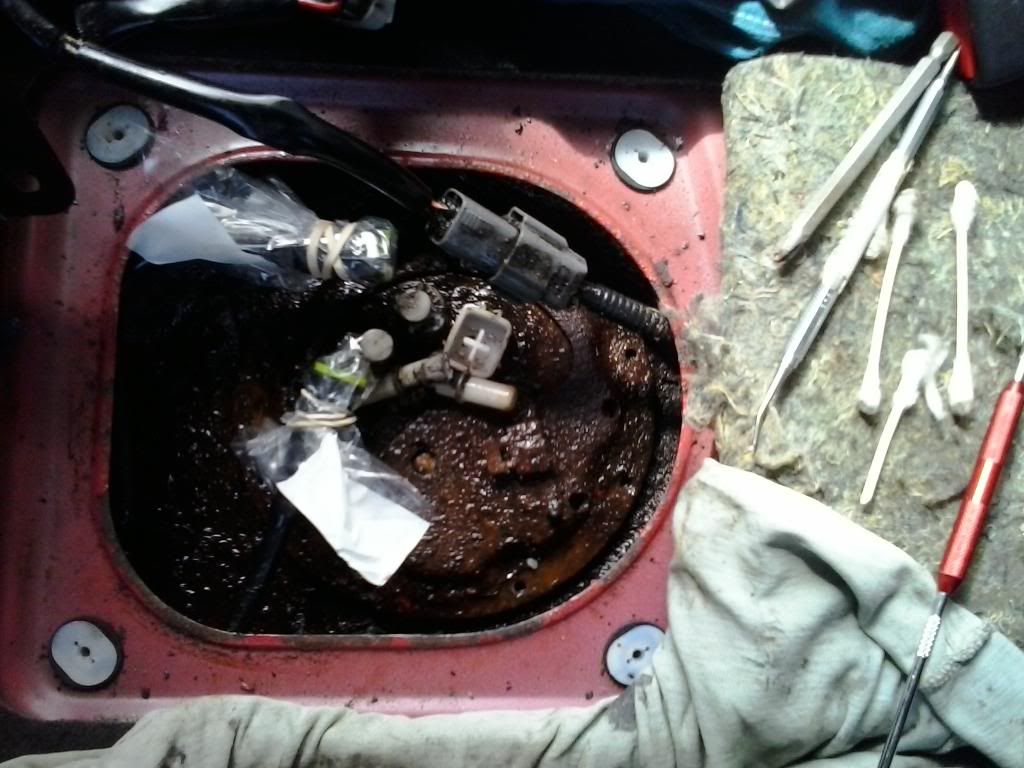
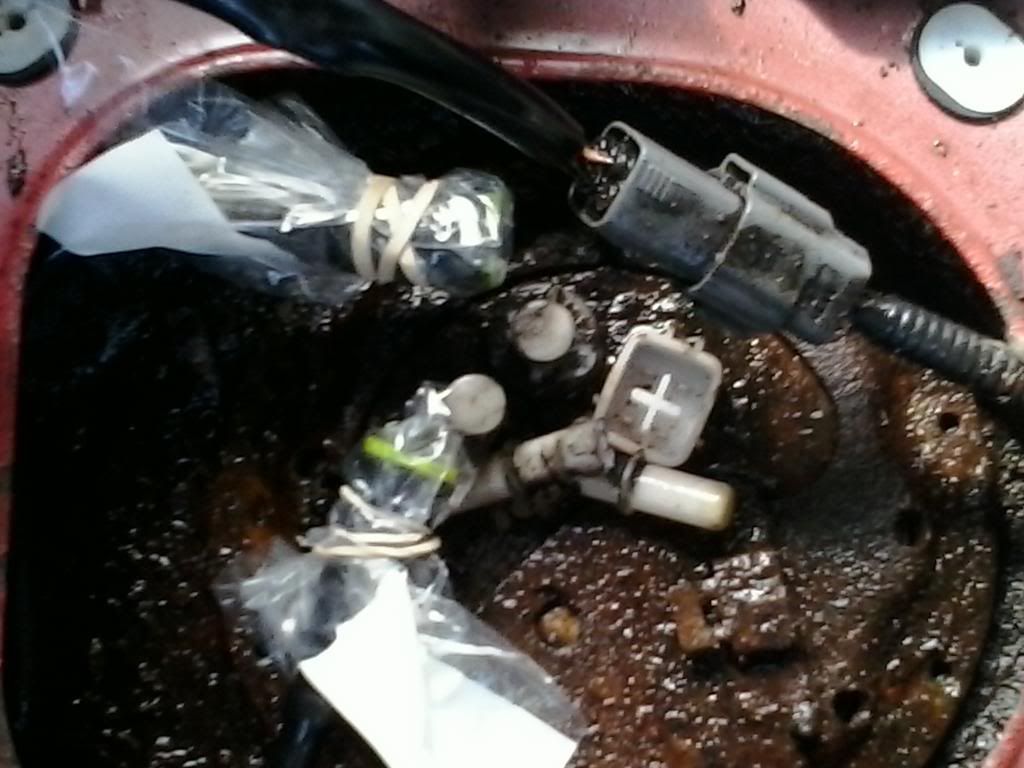
http://www.mazdas247.com/forum/showthread.php?123718385-Has-Anyone-Had-Their-Fuel-Pump-Cover-Leak
I finally got around to installing my fuel filter using the how-to.
The first and easiest step is to lift up the back seat and remove the gas tank access panel to see what you're in for, then spray it down with PB Blaster (everybody seems to love that stuff and it is now available here in Canada at Canadian Tire. I bought my first can of it and I love it too).
I sprayed mine down over a year ago in an attempt to stop the rust and hopefully loosen the 8 little screws. I sprayed it down and let it soak many times before I started this job. (I was expecting a huge PITA and to be off the road for a few days).


This is the screw head after using the dental pick and hammering the phillips bit once. I then used the pick and hammer once more for each screw.


After picking and hammering twice, I put on the ratchet handle and pushed down with all my weight while turning the handle. I managed to get every screw out this way. (it was going so smoothly that on the fifth screw I only picked and hammered once then tried to loosen it but striped the screw head. Before getting the drill out, I tried the pick and hammer once more and managed to get the screw out. I'm pretty sure that cleaning out the screw head with the dental pick had a lot to do with getting the screws out.)

I didn't bother with the whole pulling of the fuel pump relay thing. My car had sat for a day and that may have bled off any residual pressure. I had less than a teaspoon of gas flow out after cutting the fuel connector.
The fuel connector was too thick at this point so I cut it near the green attachment point.


The dental picks came in very handy for removing the fuel connectors. They are well worth the investment. They come in handy for lots of other things.


I covered all the connectors to help keep them clean.


