How To Change Your Fuel Filter (lots of pics)

pcb

The Diagram Dude
:
2002 MP5
Thanks to mtnbiker26 for starting his thread and everyone who contributed to it.

http://www.mazdas247.com/forum/showthread.php?123718385-Has-Anyone-Had-Their-Fuel-Pump-Cover-Leak

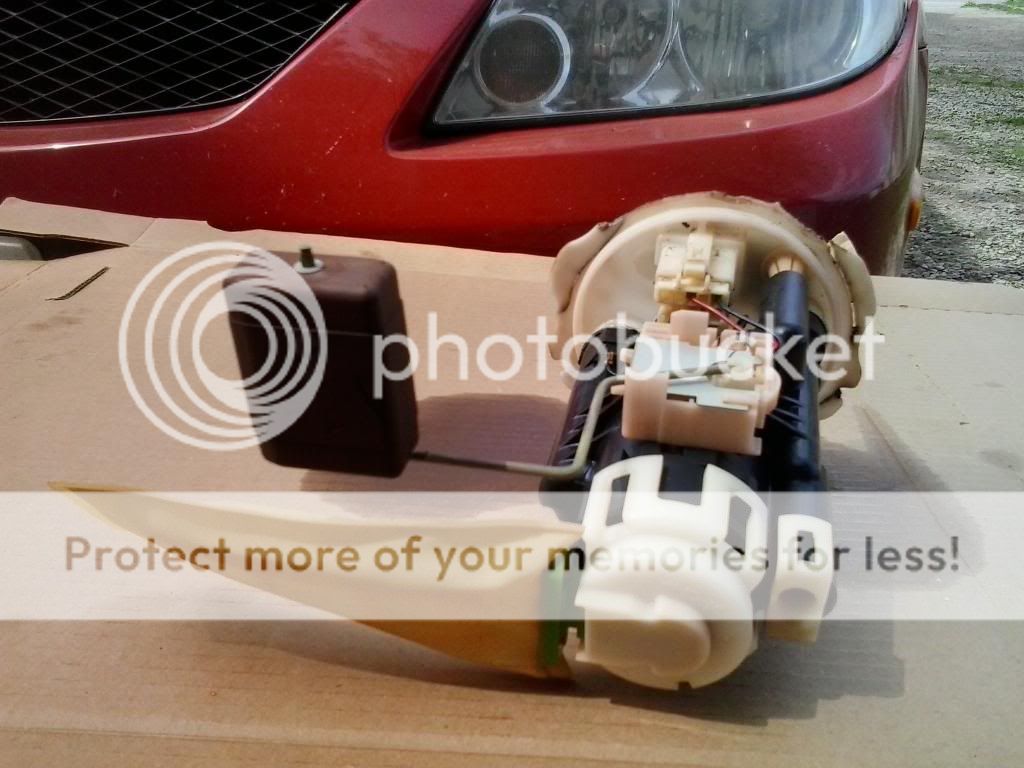
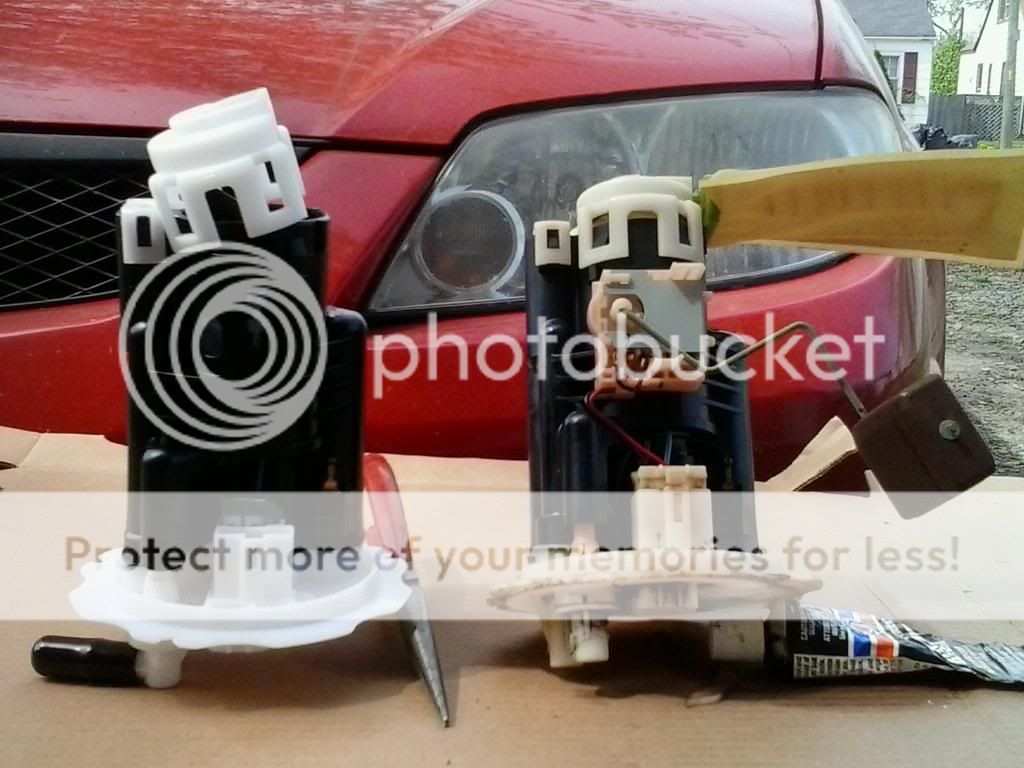
I finally got around to installing my fuel filter using the how-to.

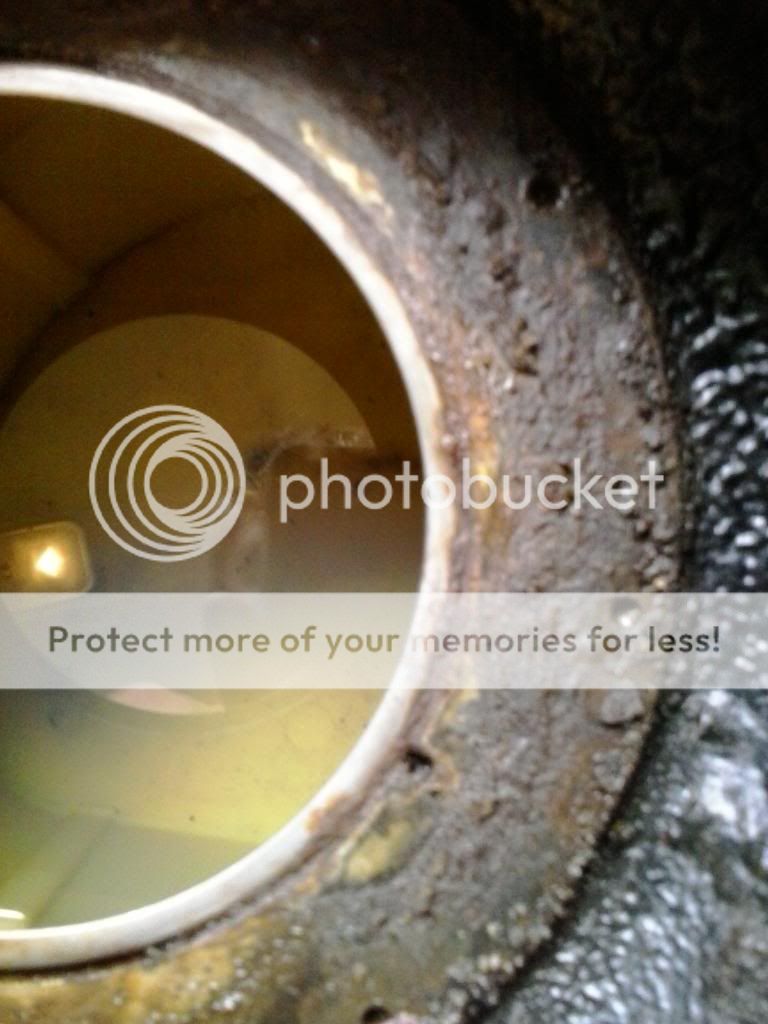
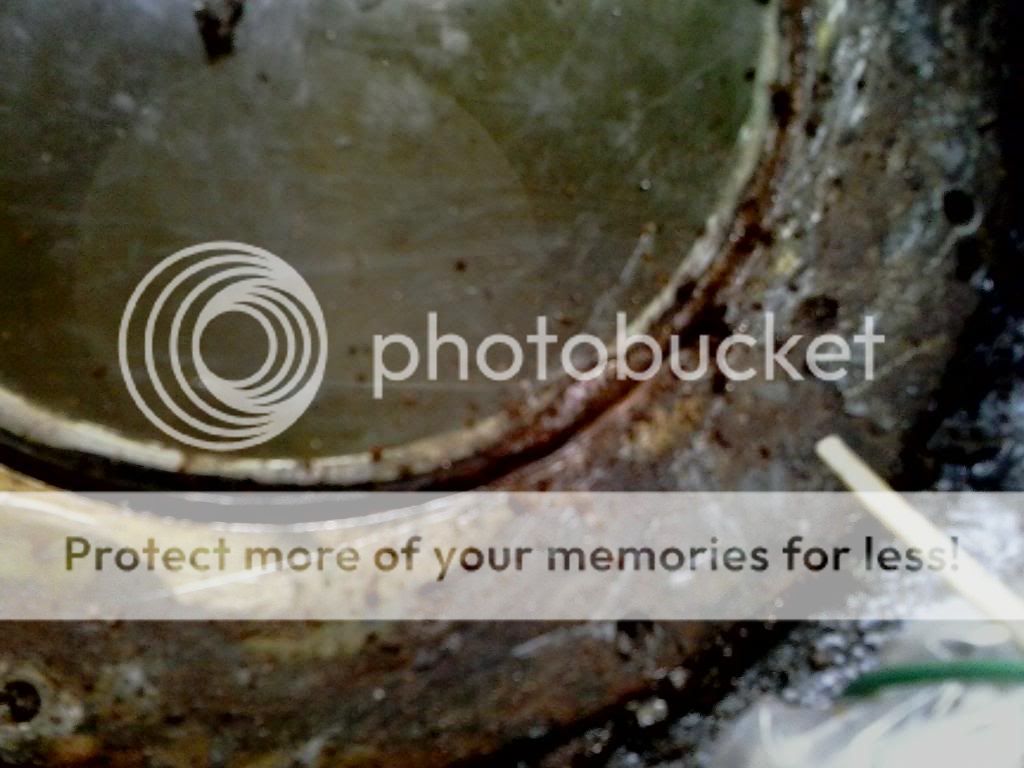
The first and easiest step is to lift up the back seat and remove the gas tank access panel to see what you're in for, then spray it down with PB Blaster (everybody seems to love that stuff and it is now available here in Canada at Canadian Tire. I bought my first can of it and I love it too).

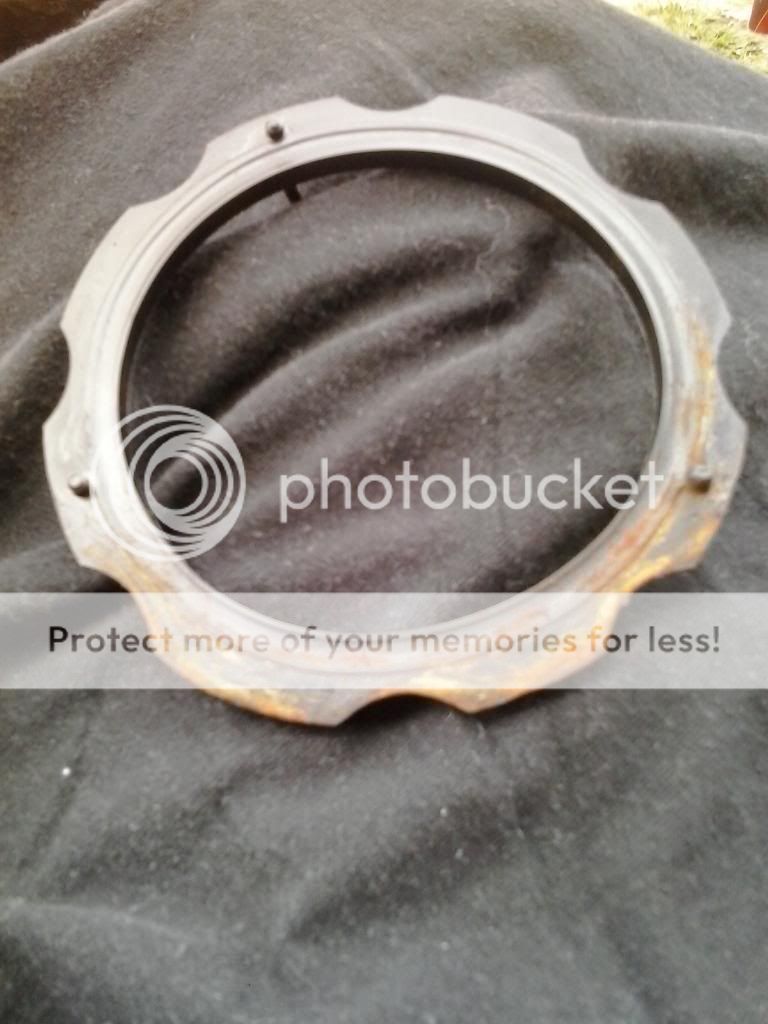
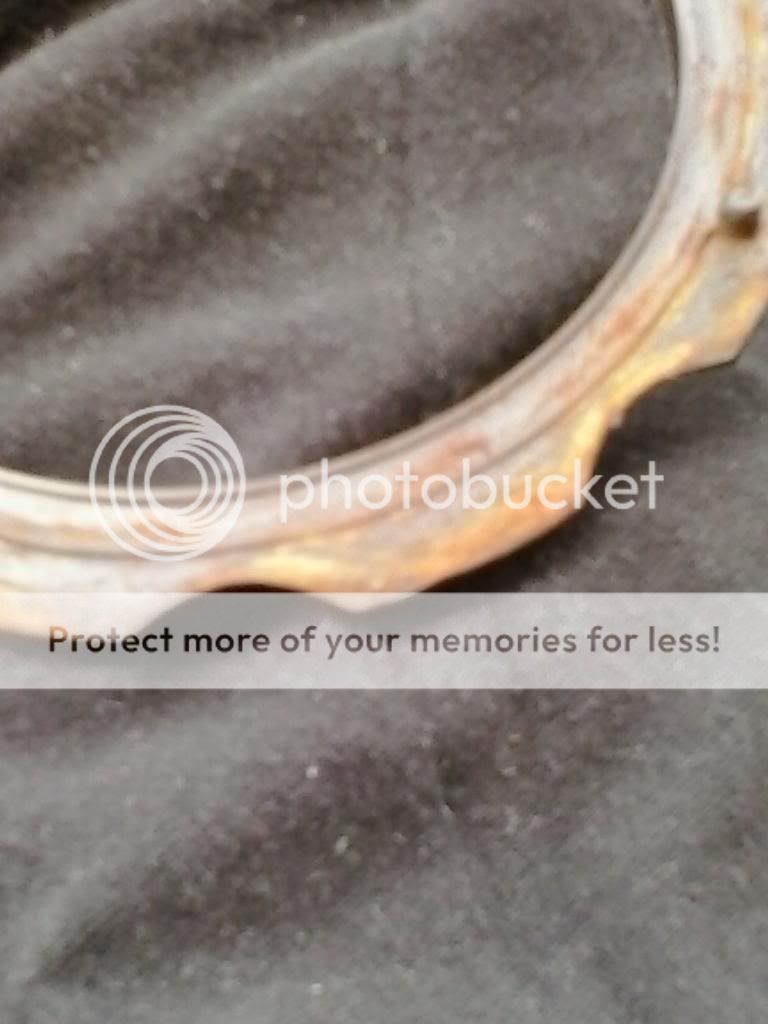
I sprayed mine down over a year ago in an attempt to stop the rust and hopefully loosen the 8 little screws. I sprayed it down and let it soak many times before I started this job. (I was expecting a huge PITA and to be off the road for a few days).

IMG_20130506_142304_zps5b0cc825.jpg


IMG_20130506_134909_zps6f6444fa.jpg


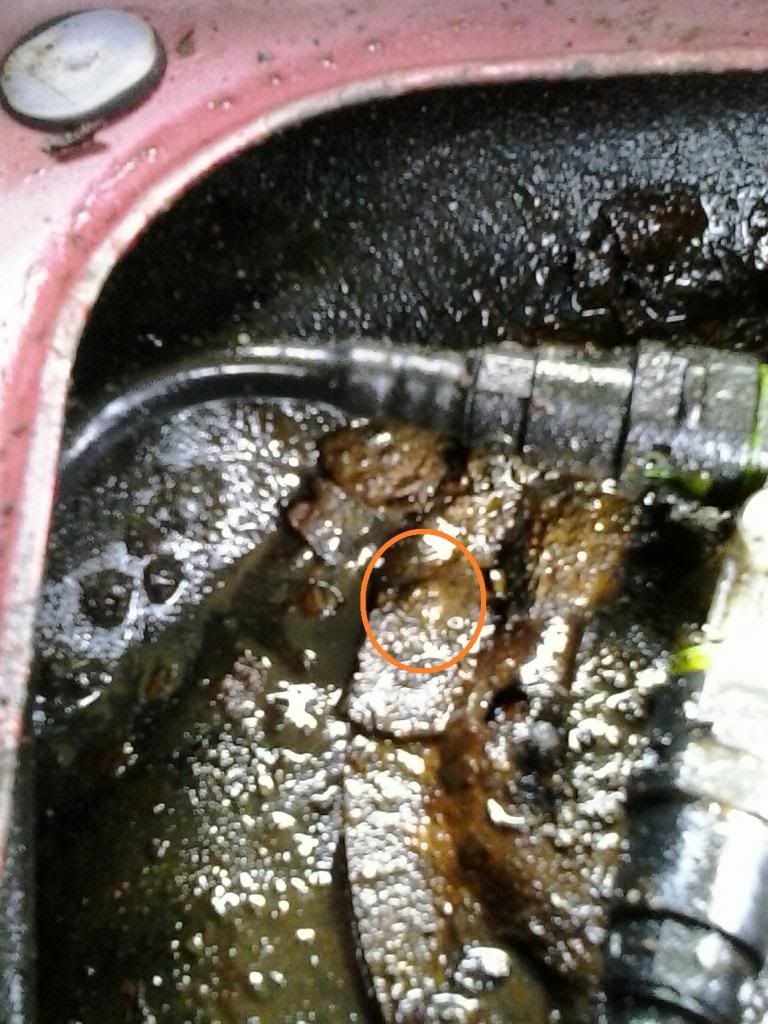
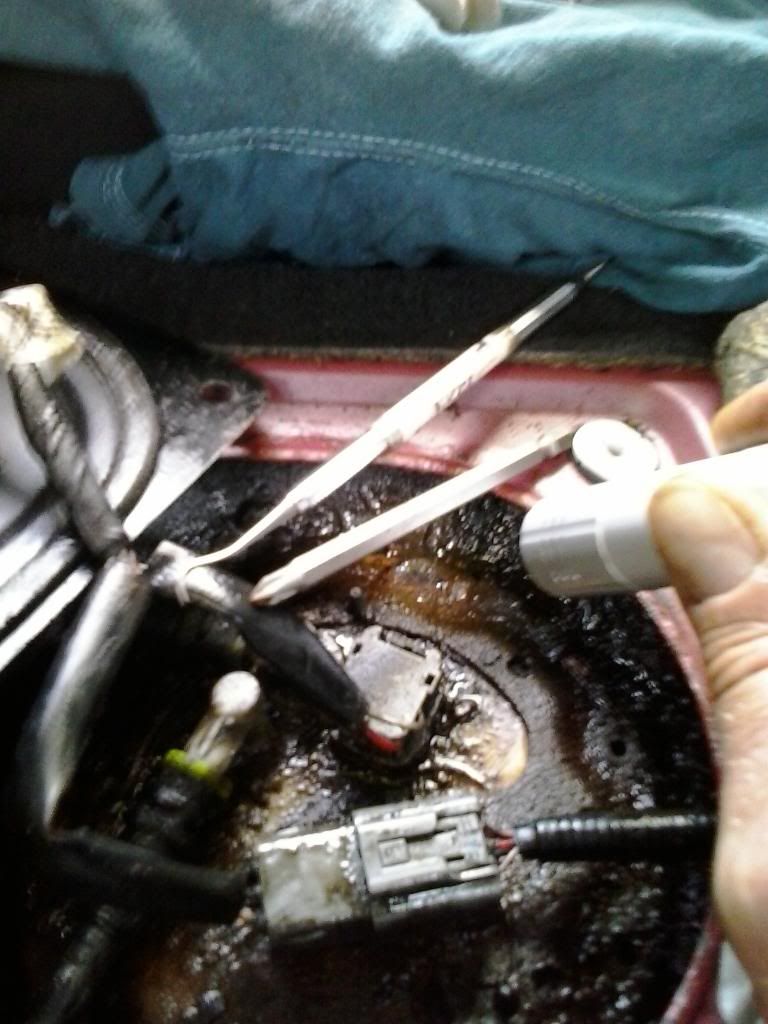
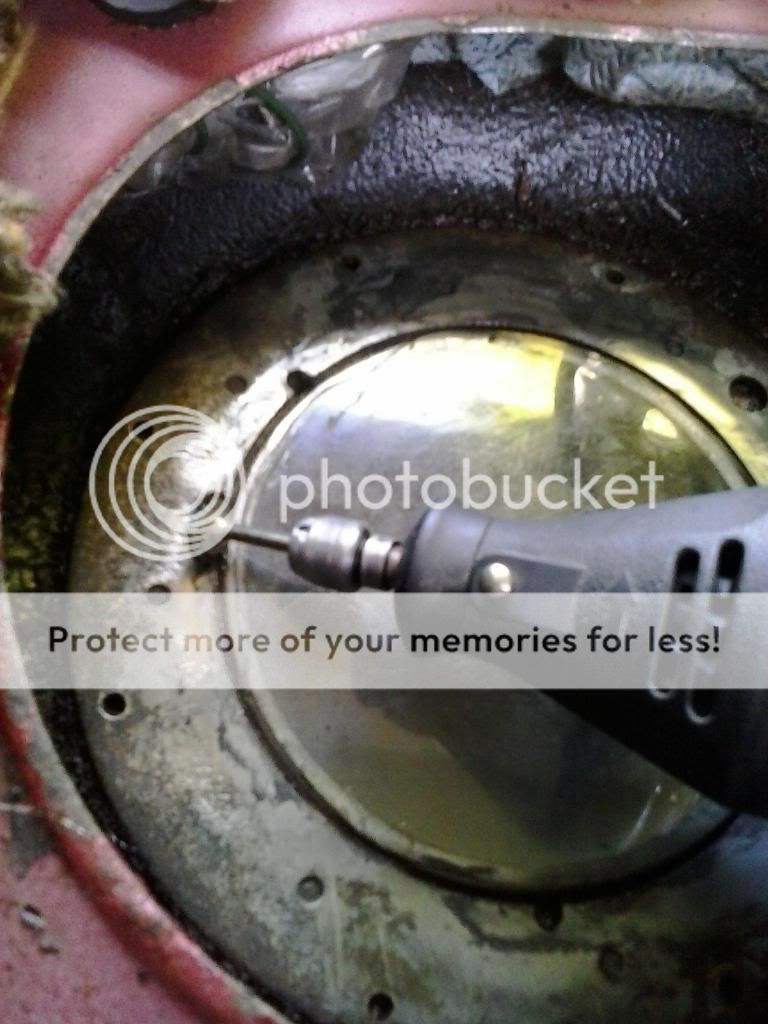
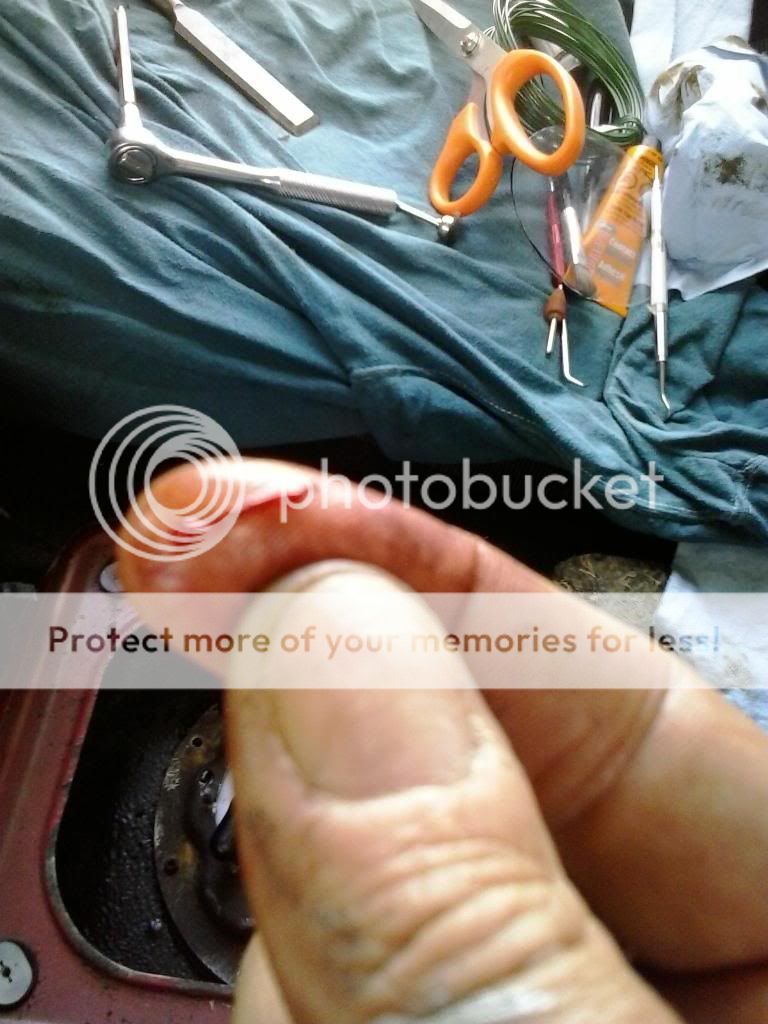
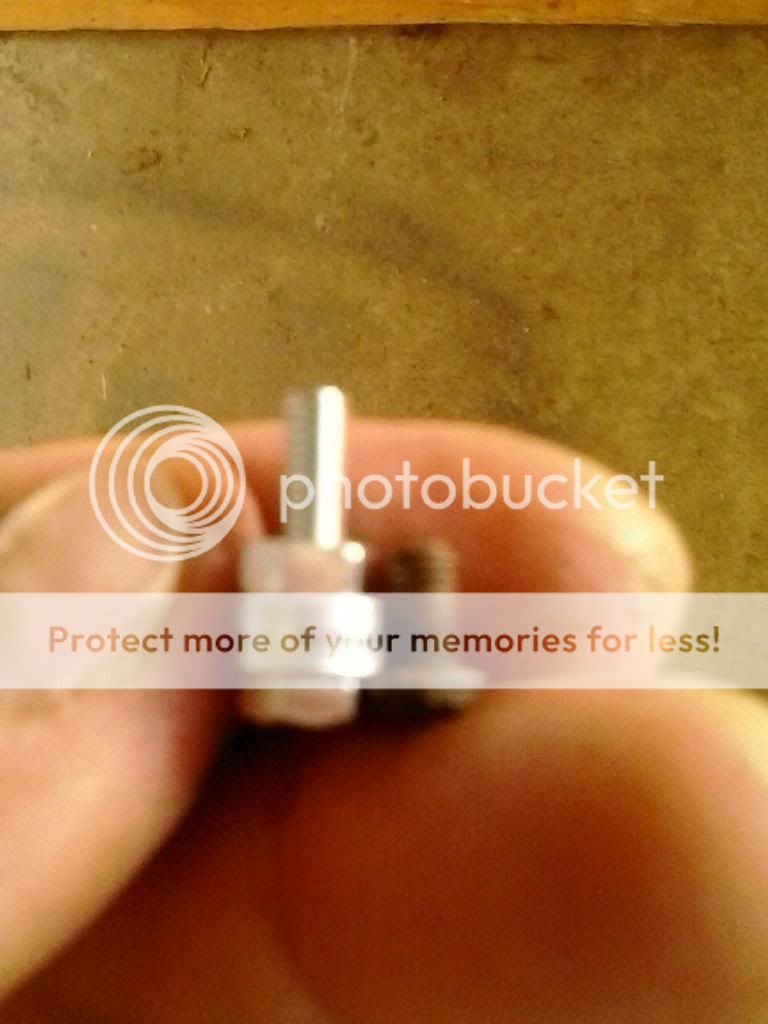
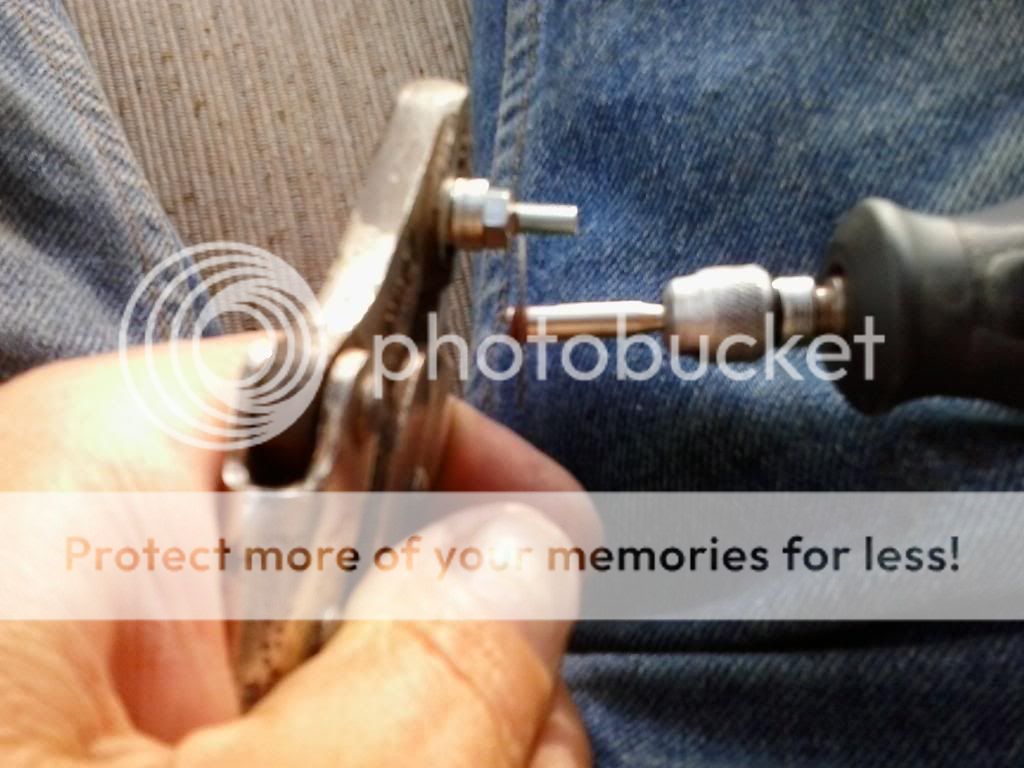
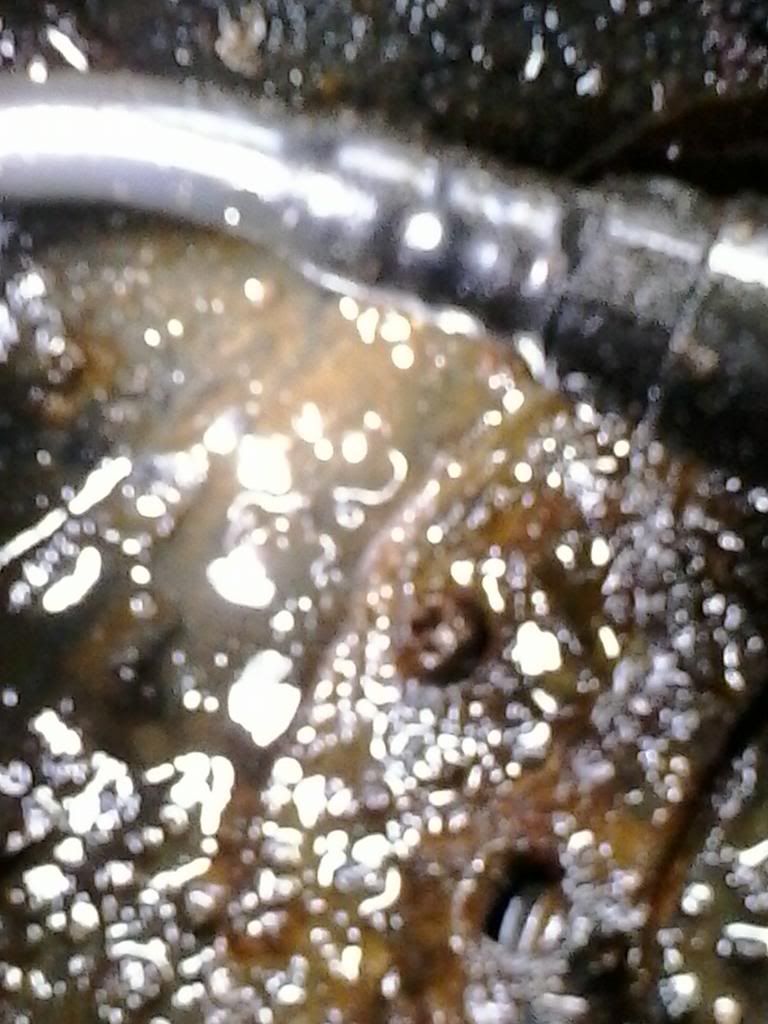
This is the screw head after using the dental pick and hammering the phillips bit once. I then used the pick and hammer once more for each screw.

IMG_20130506_142744_zpsc233903b.jpg


IMG_20130506_135256_zps2d2f9d96.jpg


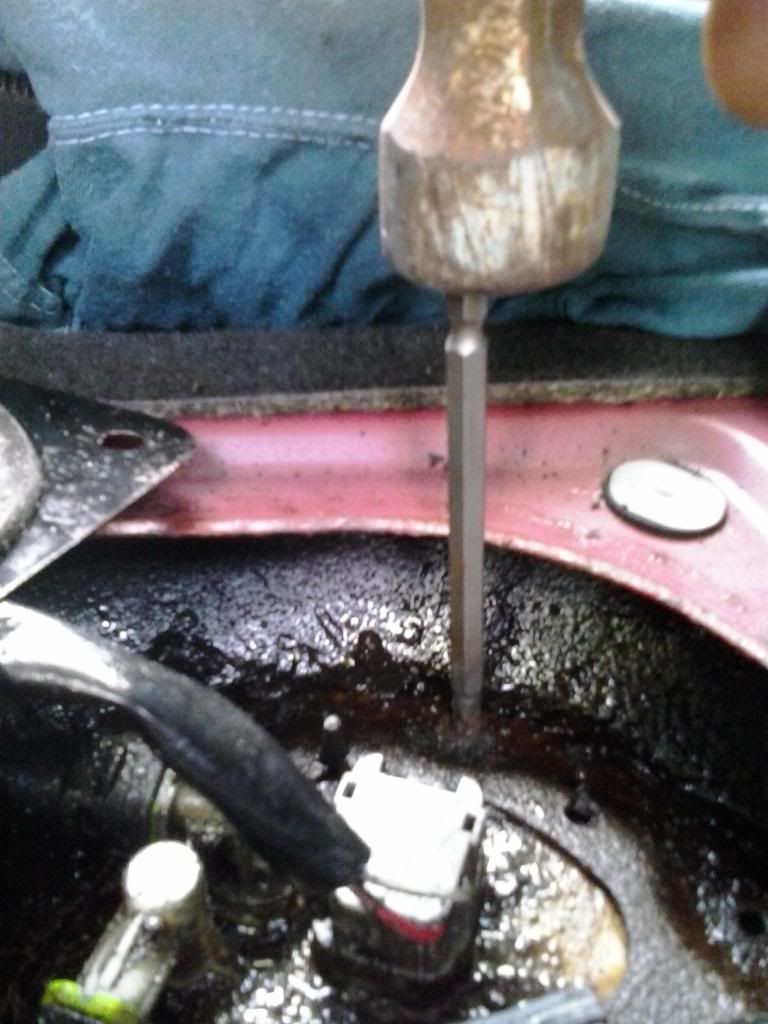
After picking and hammering twice, I put on the ratchet handle and pushed down with all my weight while turning the handle. I managed to get every screw out this way. (it was going so smoothly that on the fifth screw I only picked and hammered once then tried to loosen it but striped the screw head. Before getting the drill out, I tried the pick and hammer once more and managed to get the screw out. I'm pretty sure that cleaning out the screw head with the dental pick had a lot to do with getting the screws out.)

IMG_20130506_130143_zpse113a38b.jpg


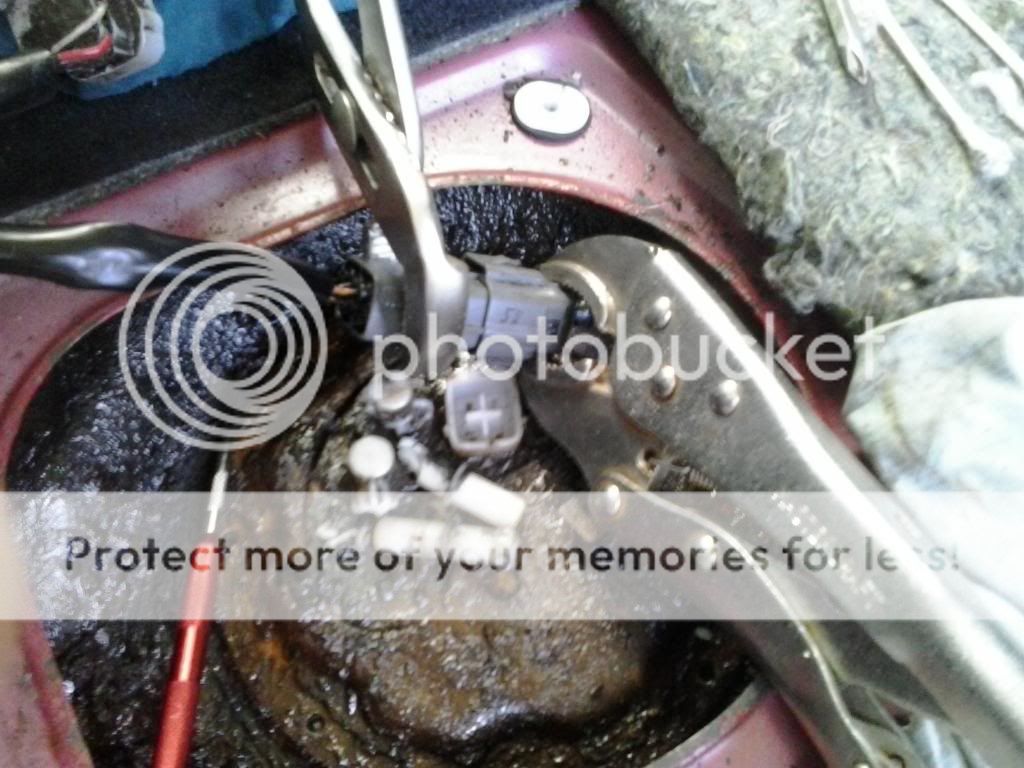
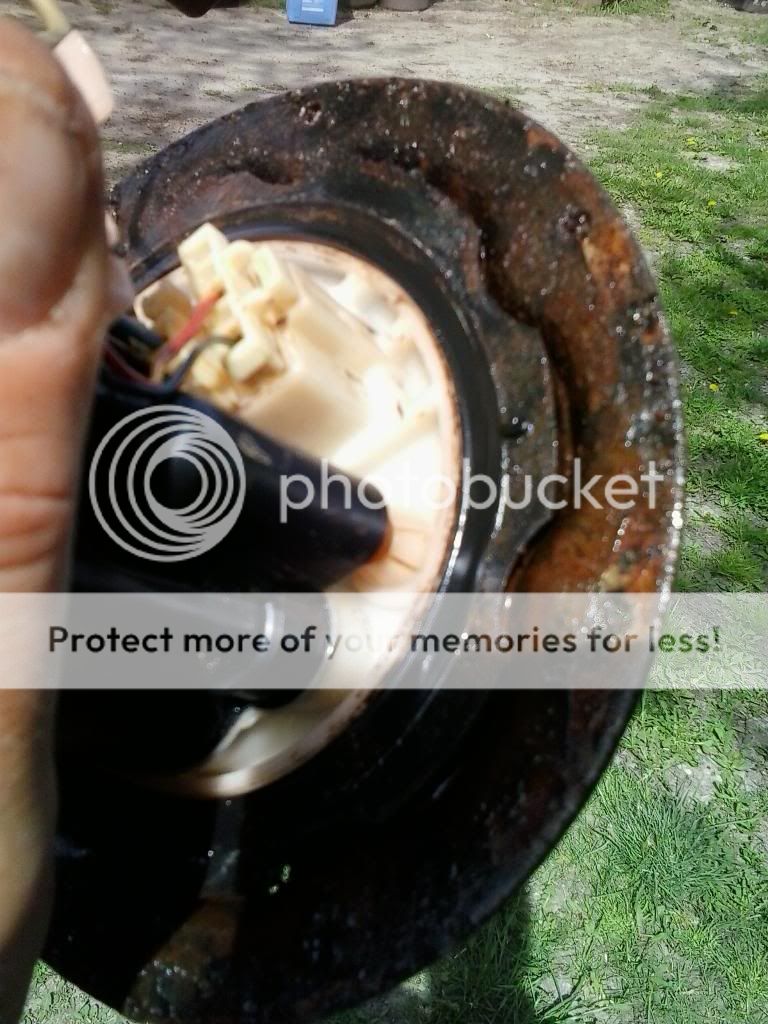
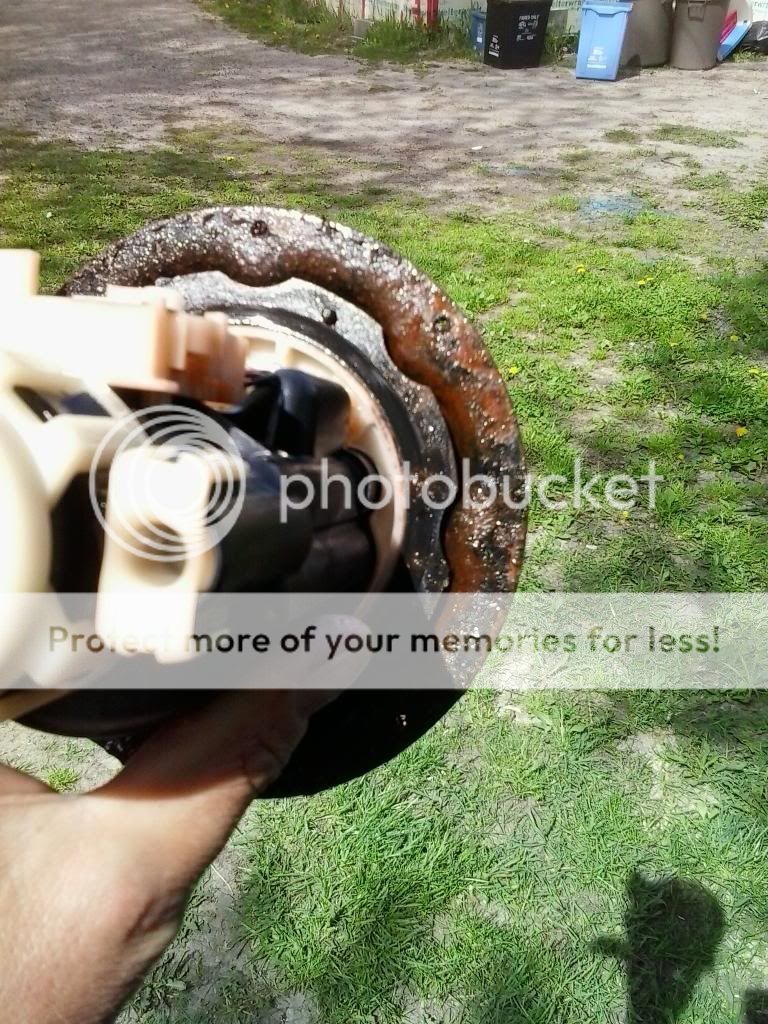
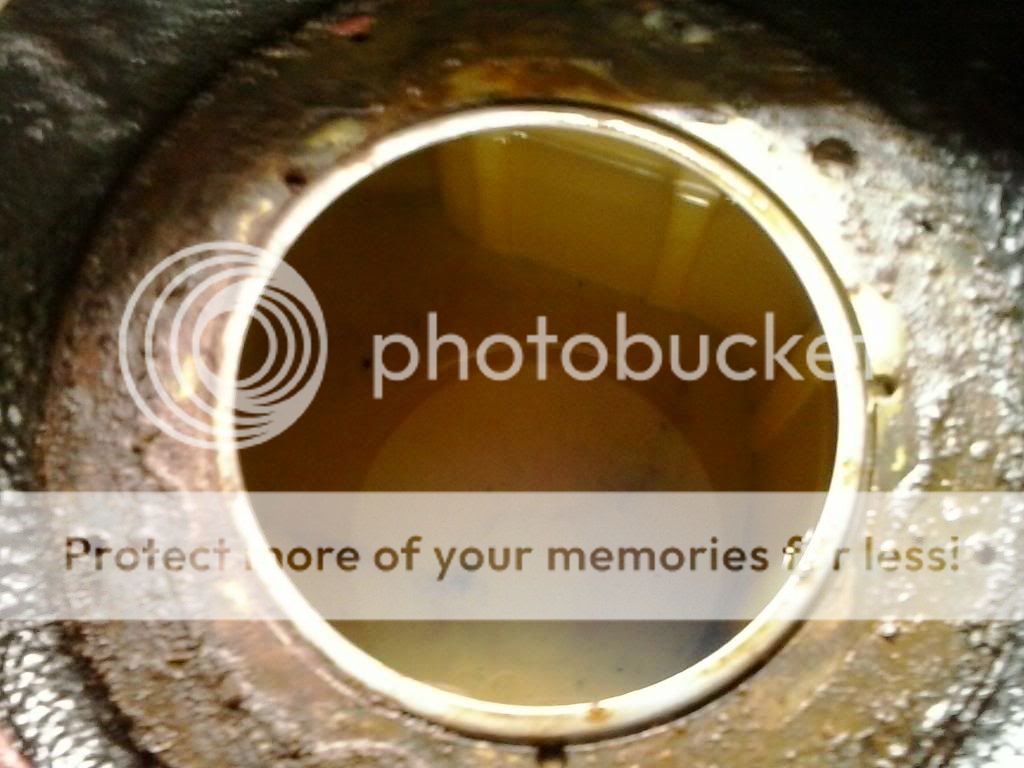
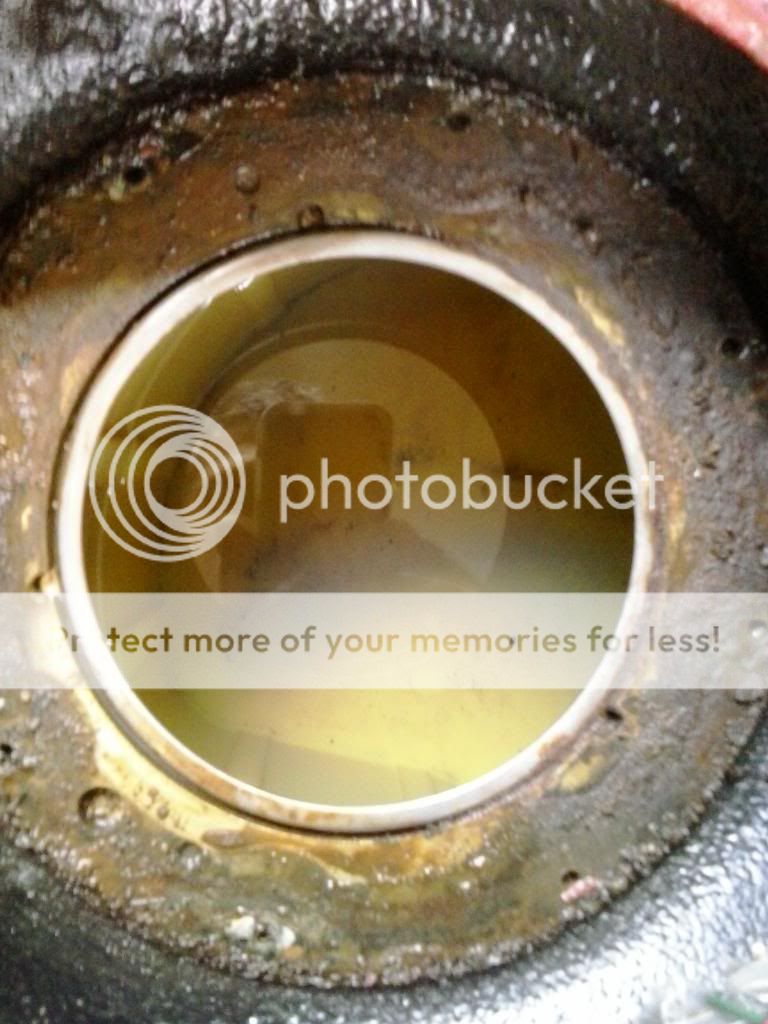
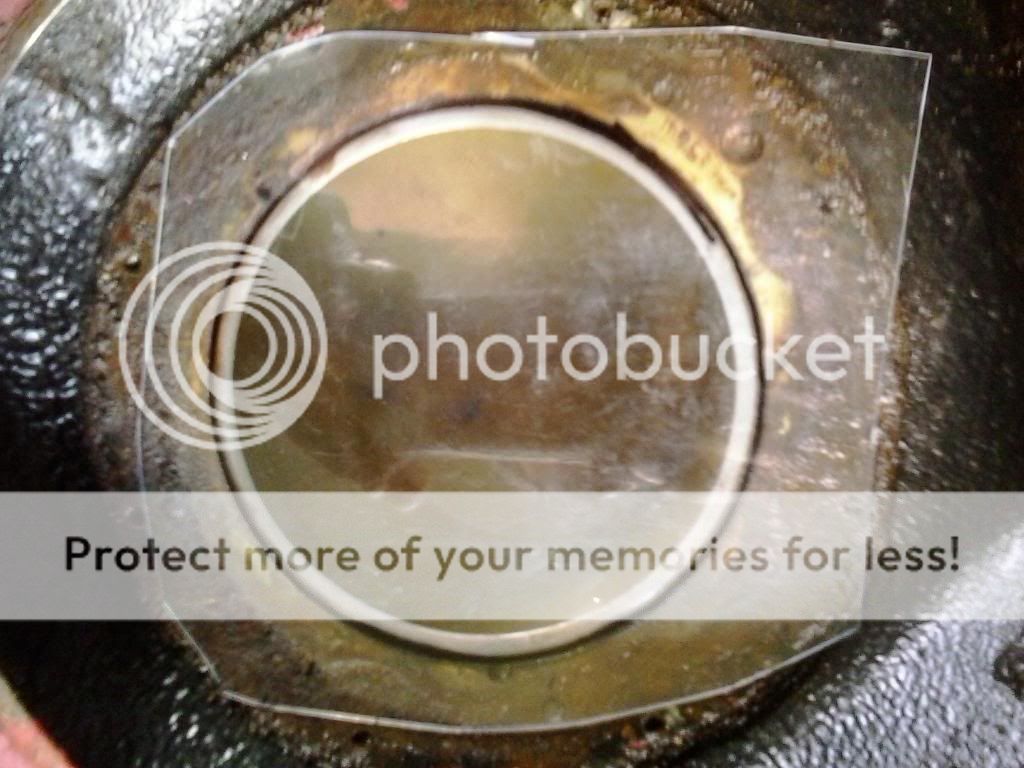
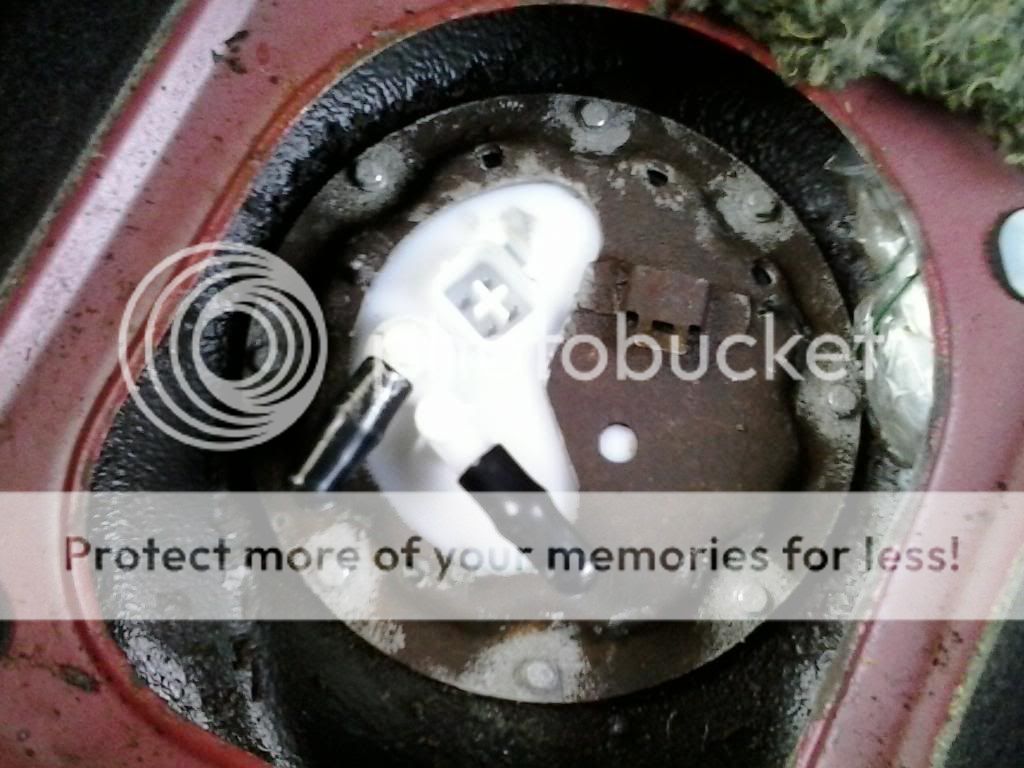
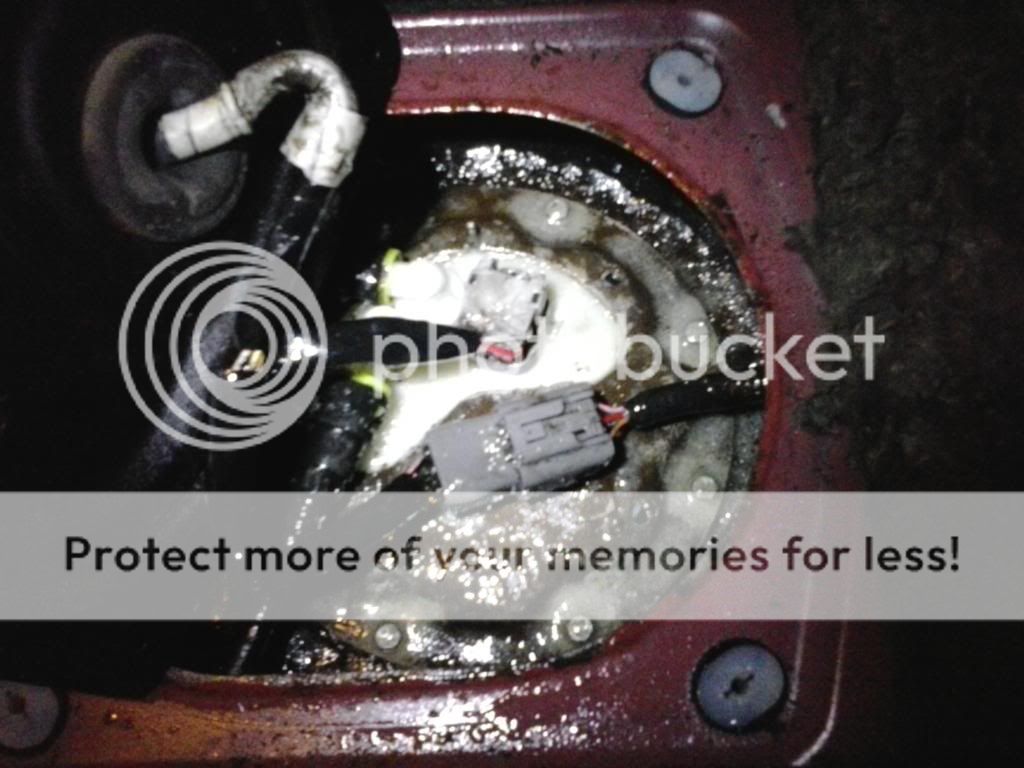
I didn't bother with the whole pulling of the fuel pump relay thing. My car had sat for a day and that may have bled off any residual pressure. I had less than a teaspoon of gas flow out after cutting the fuel connector.

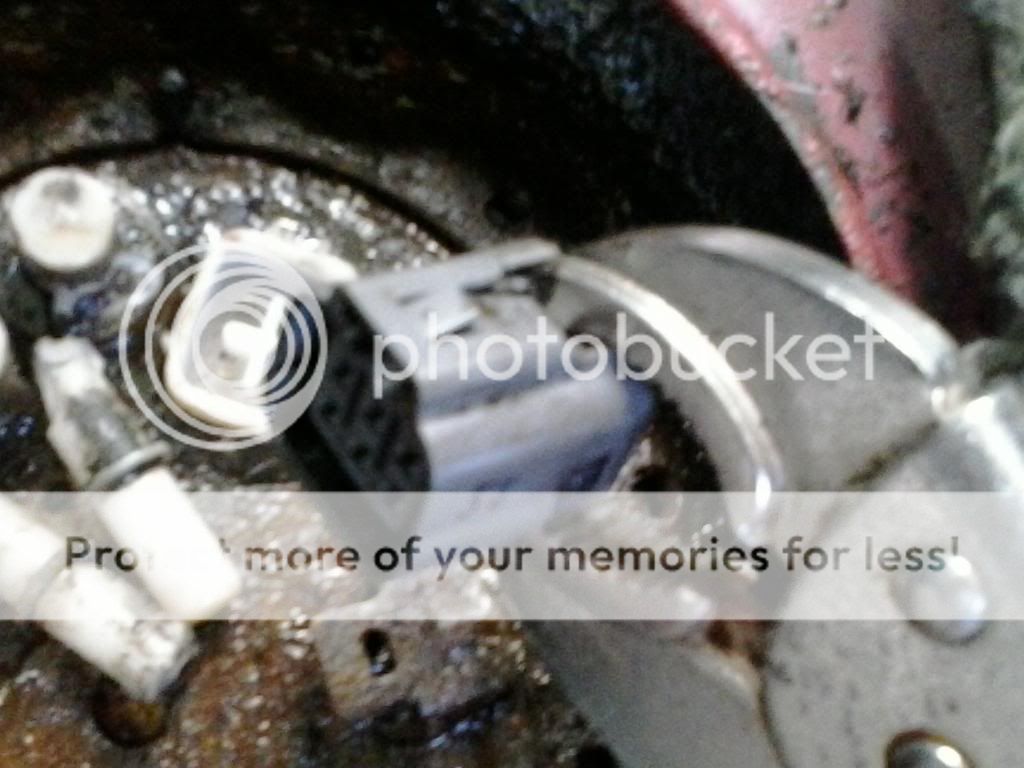
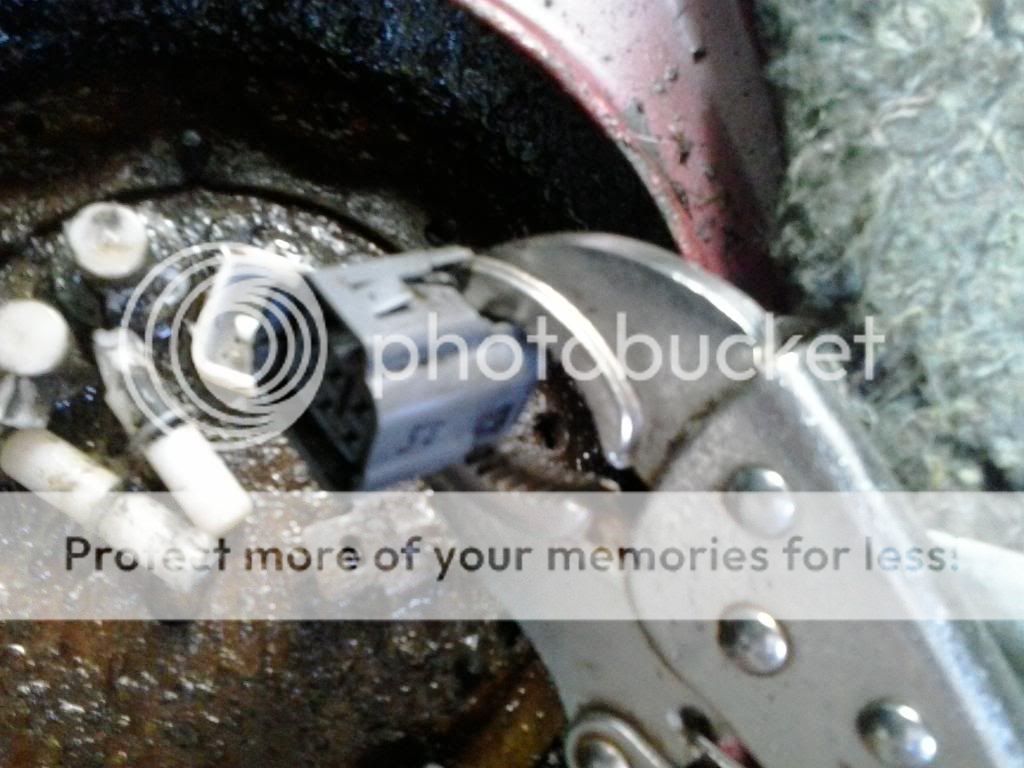
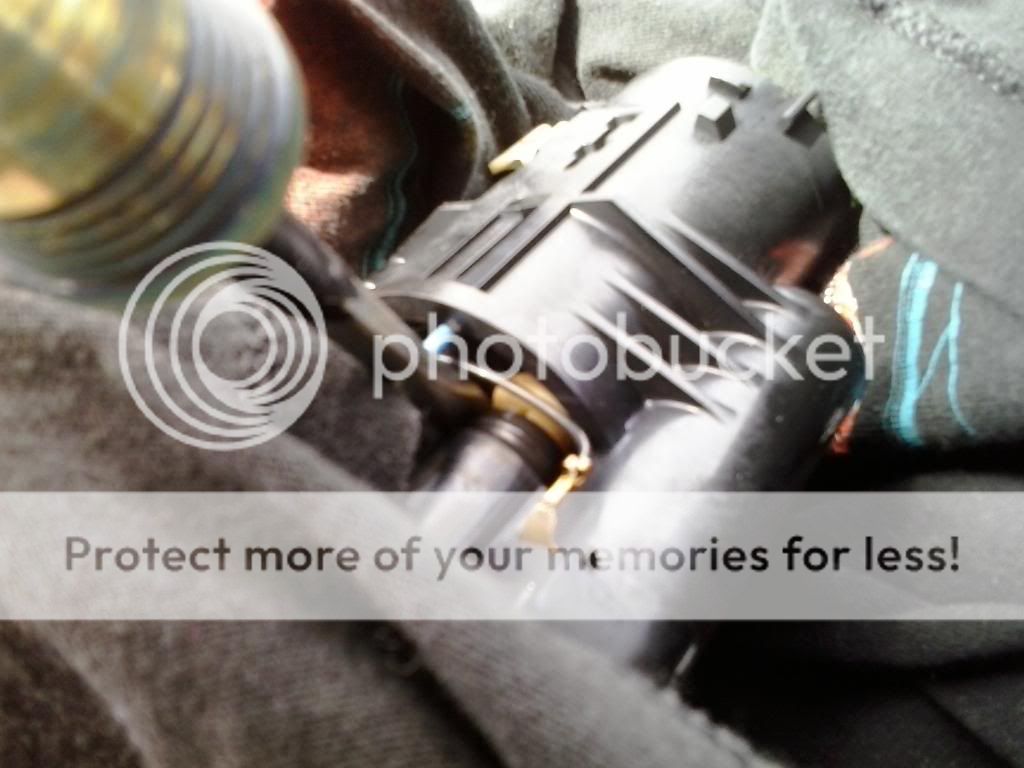
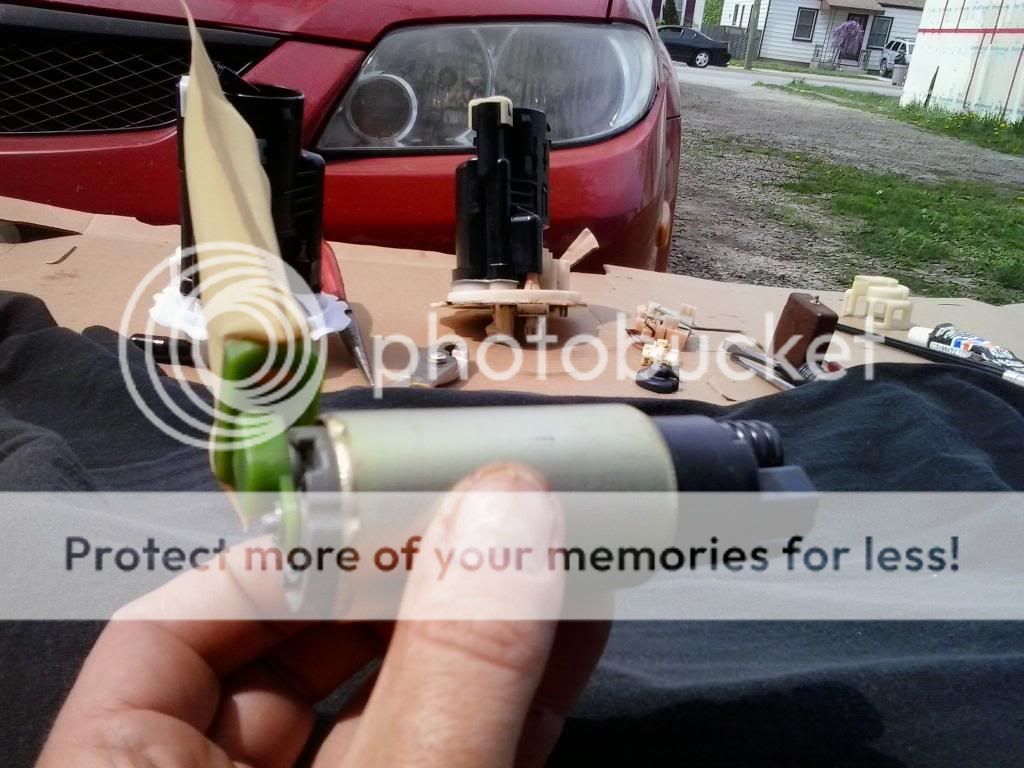
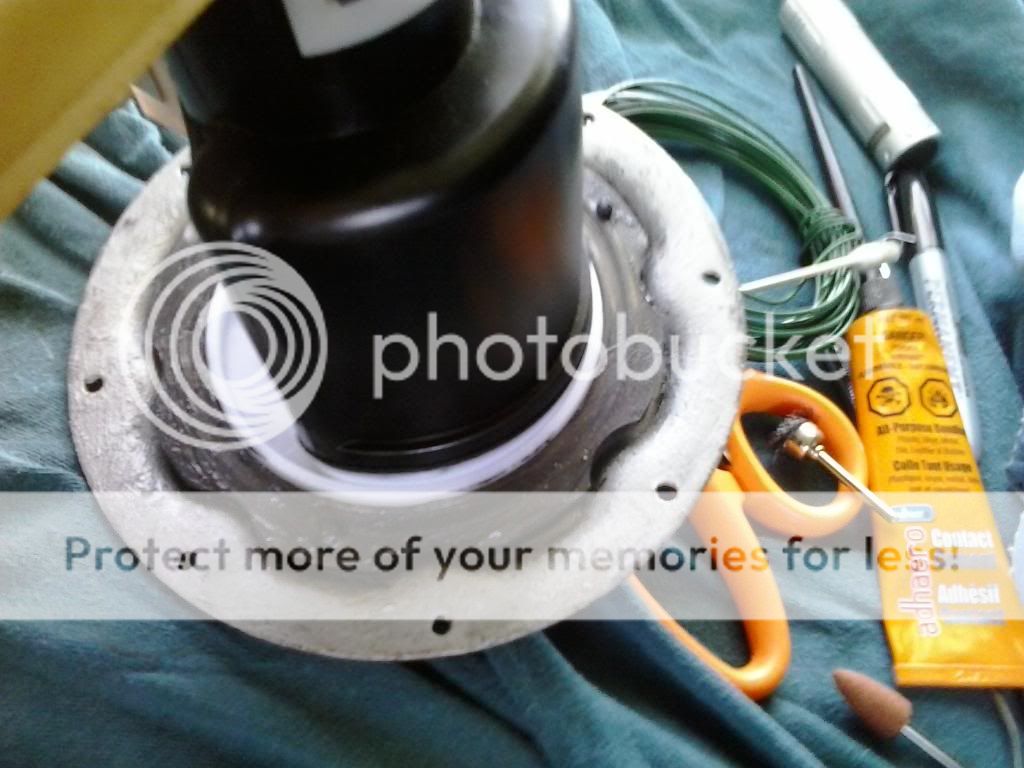
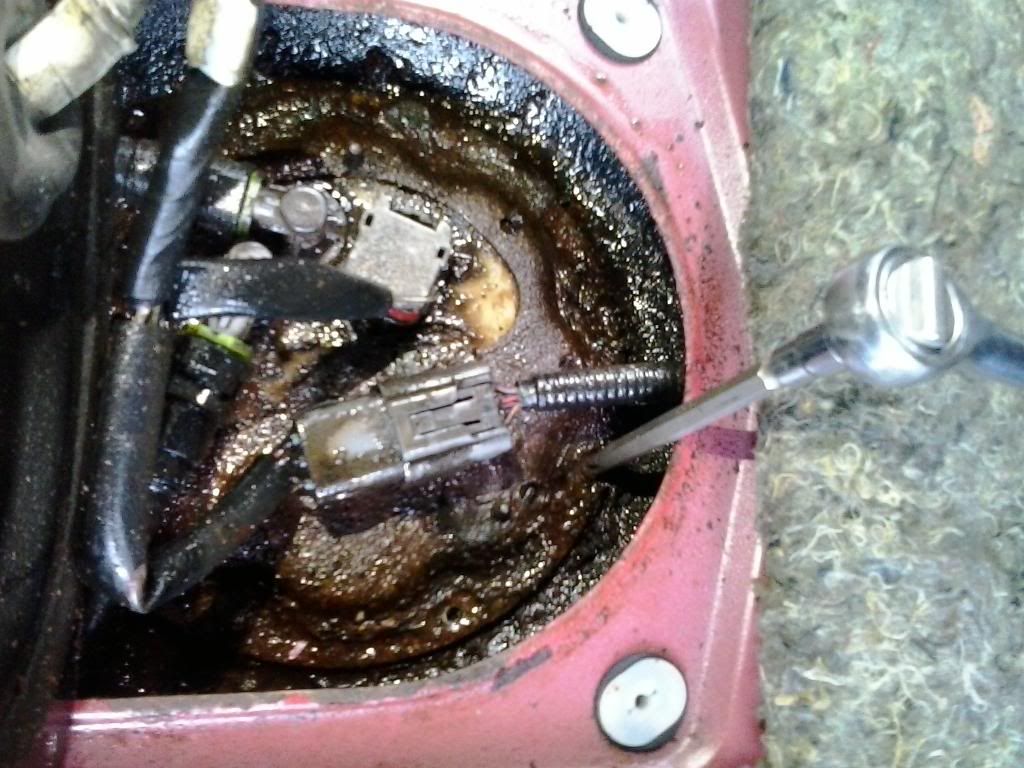
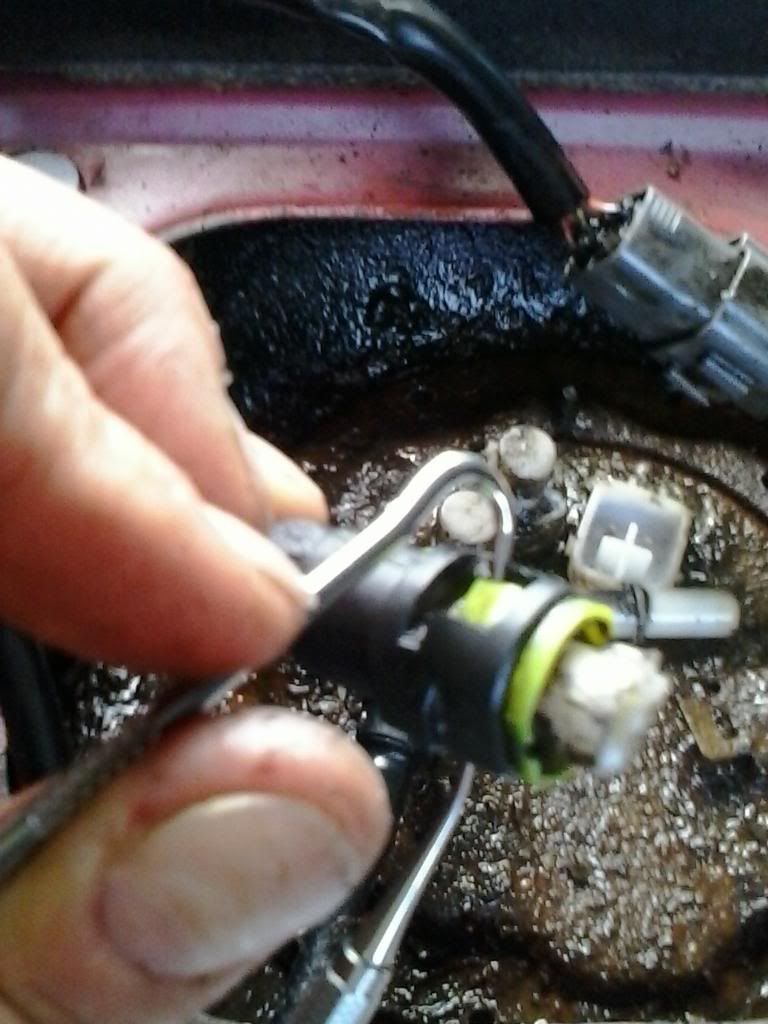
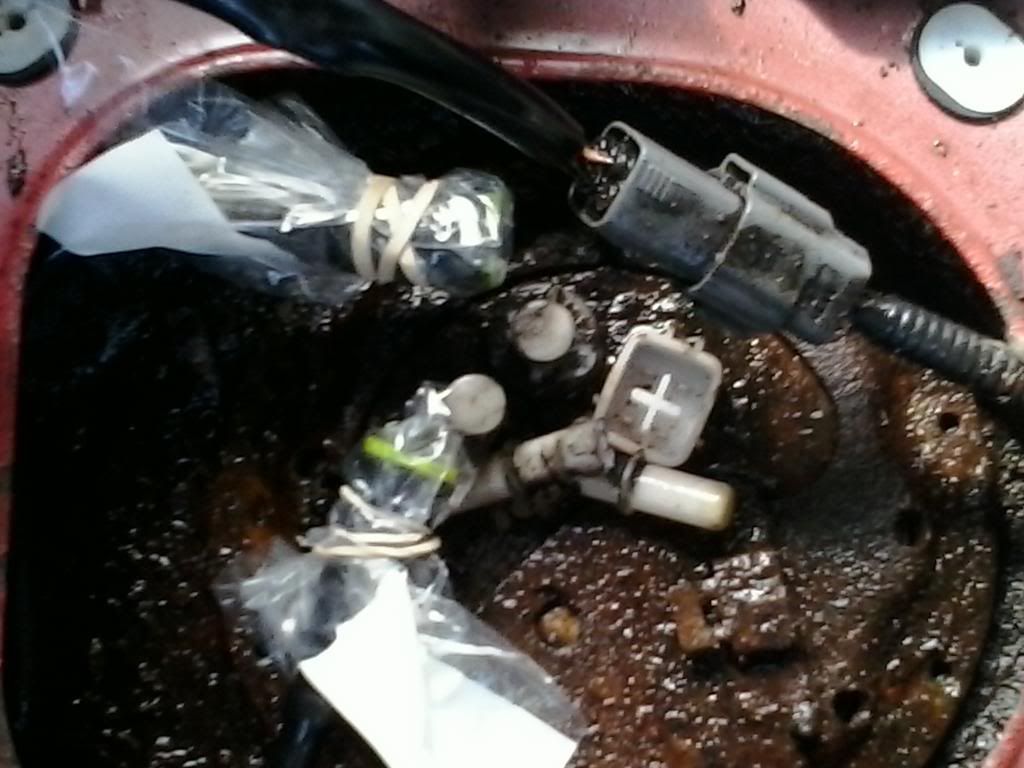
The fuel connector was too thick at this point so I cut it near the green attachment point.

FuelFilterHow-To011_zps332726fa.jpg


FuelFilterHow-To013_zps53d76fbd.jpg


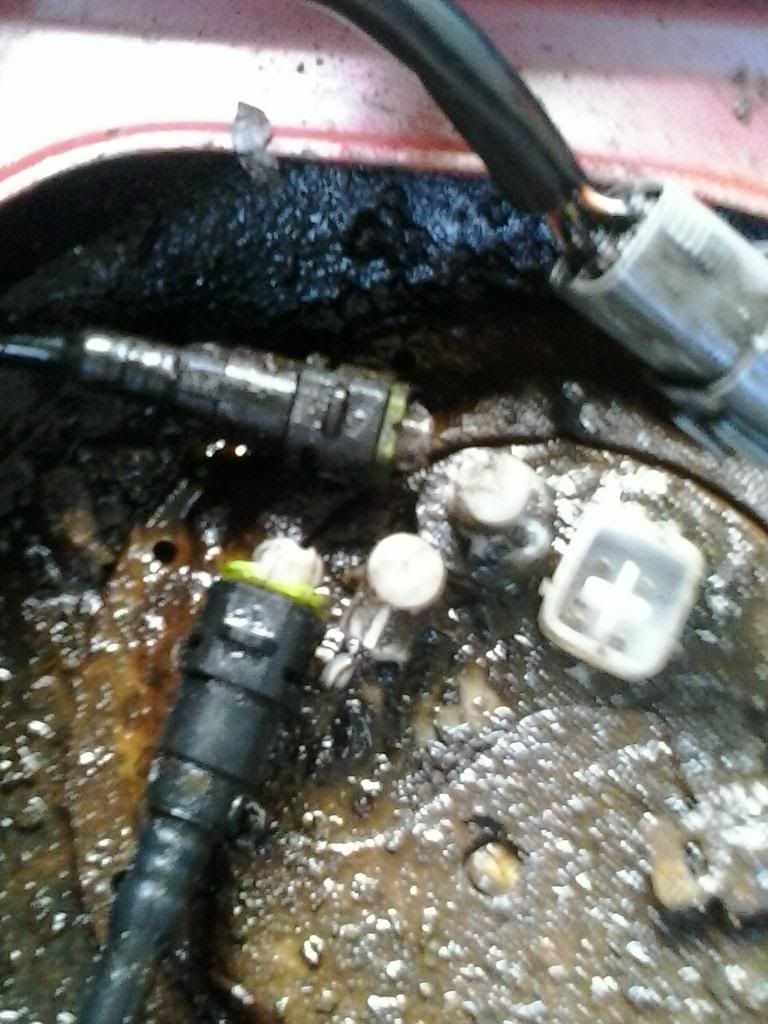
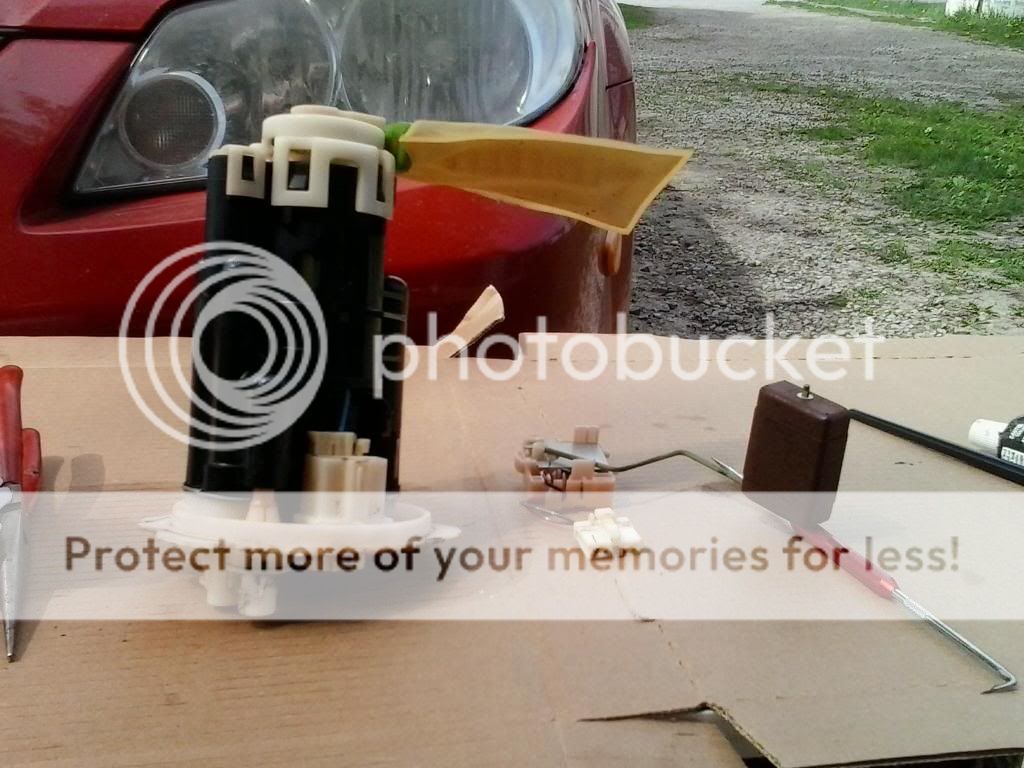
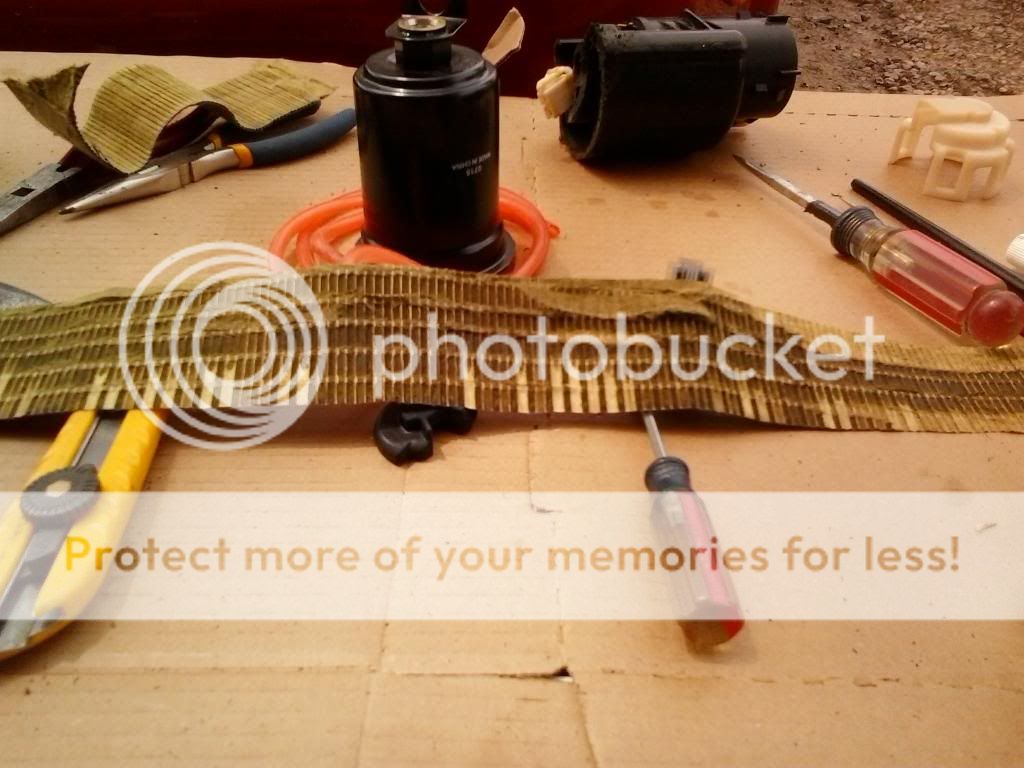
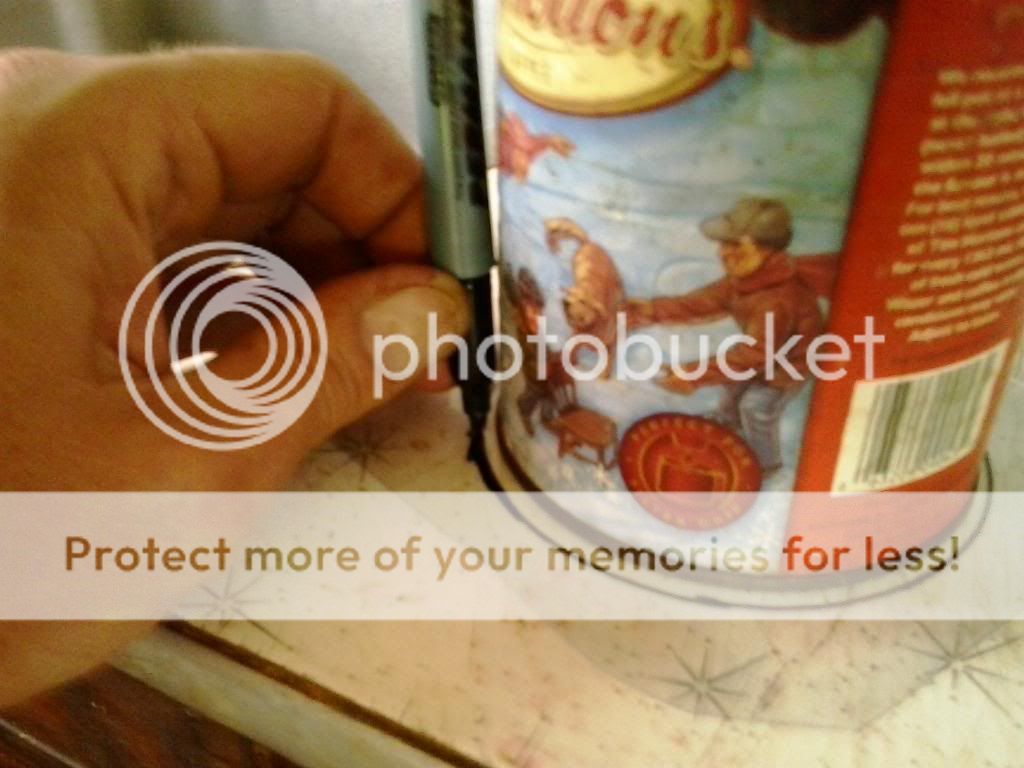
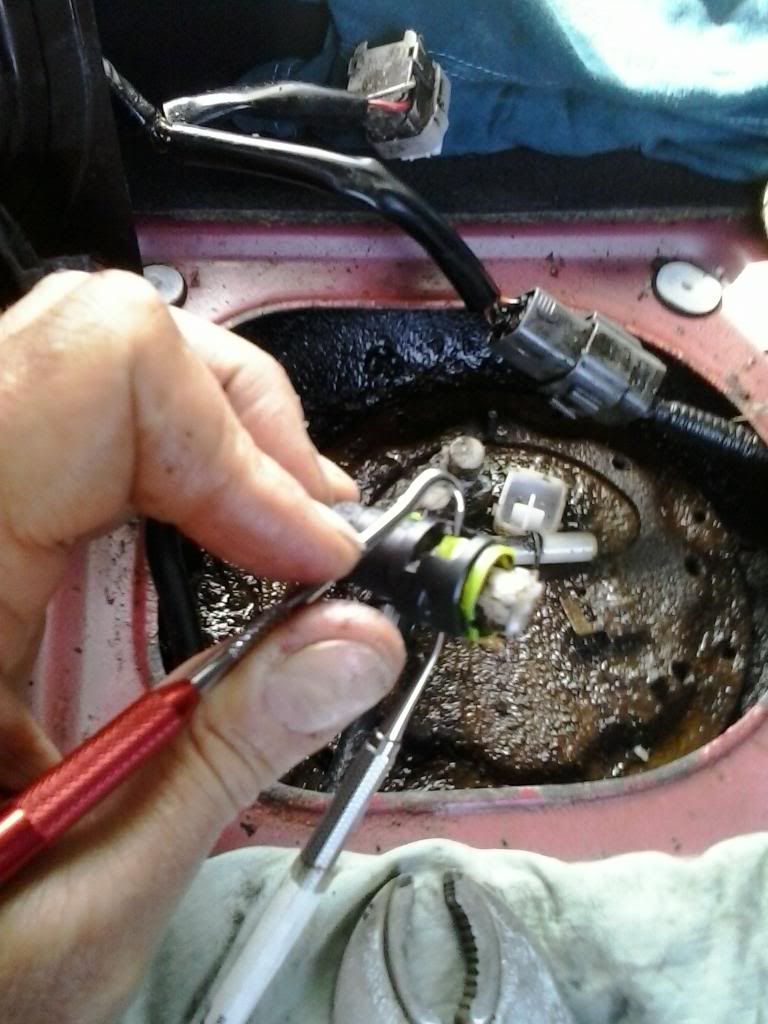
The dental picks came in very handy for removing the fuel connectors. They are well worth the investment. They come in handy for lots of other things.

FuelFilterHow-To015_zpsb6749e31.jpg


FuelFilterHow-To018_zps03baab35.jpg


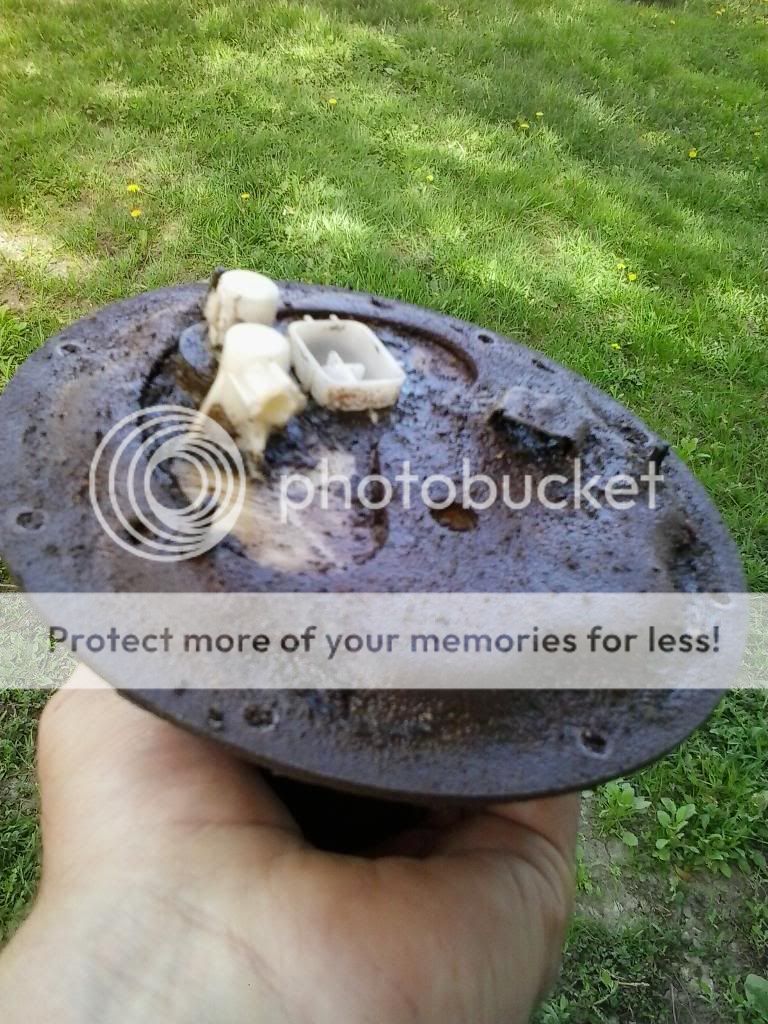
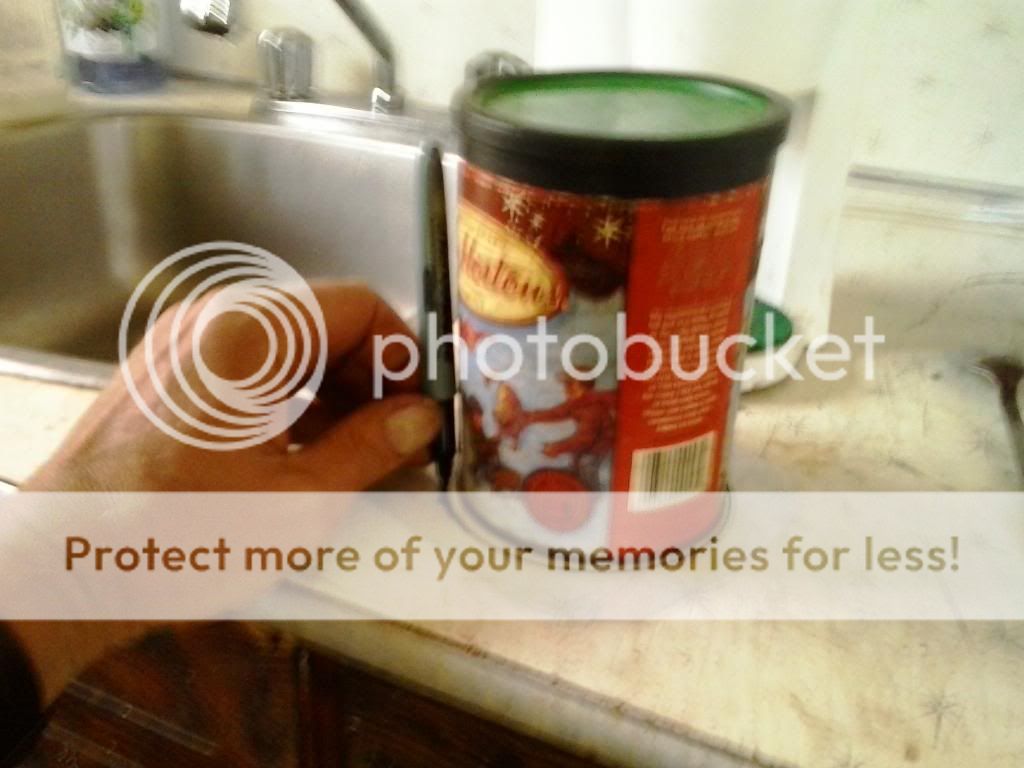
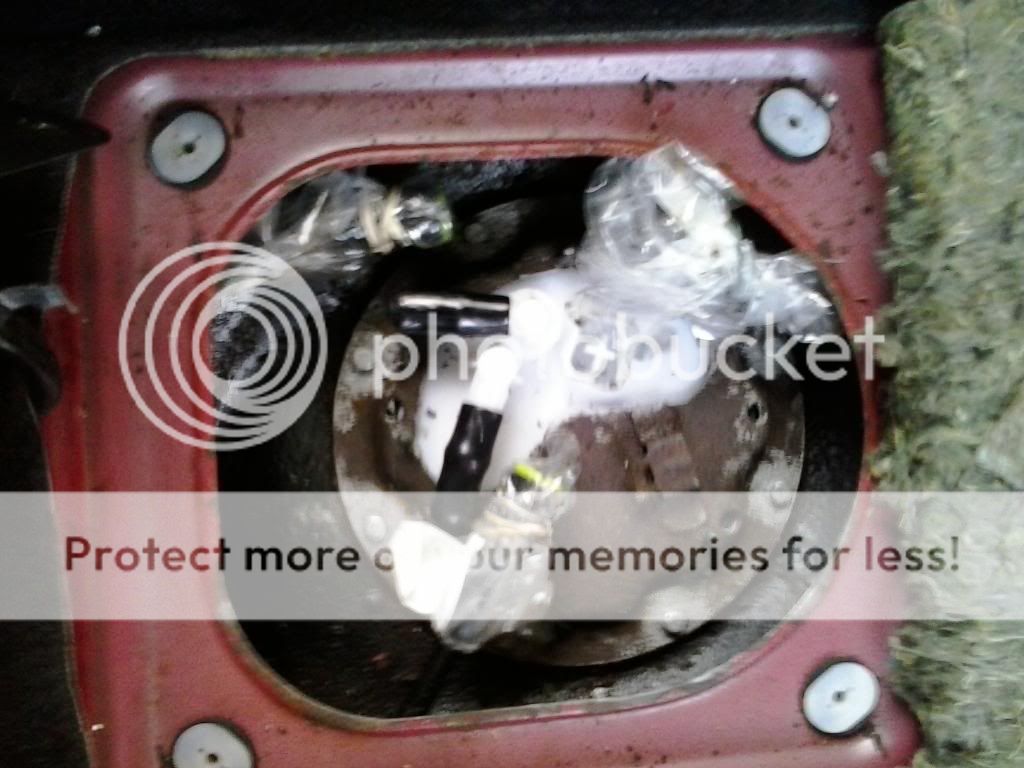
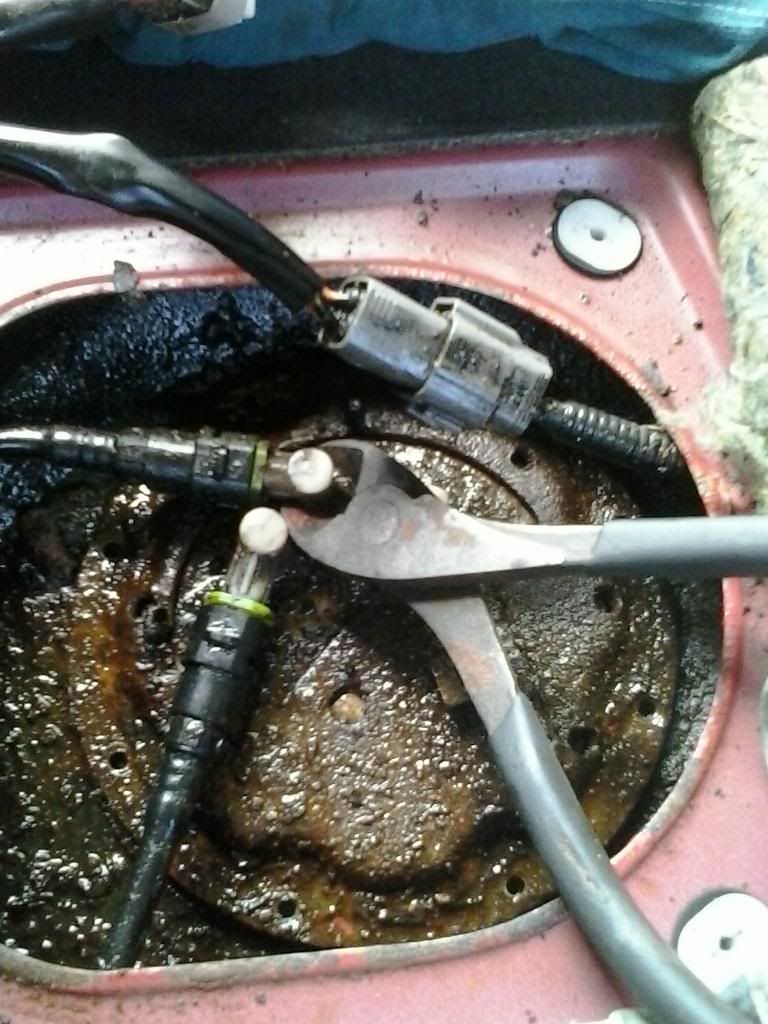
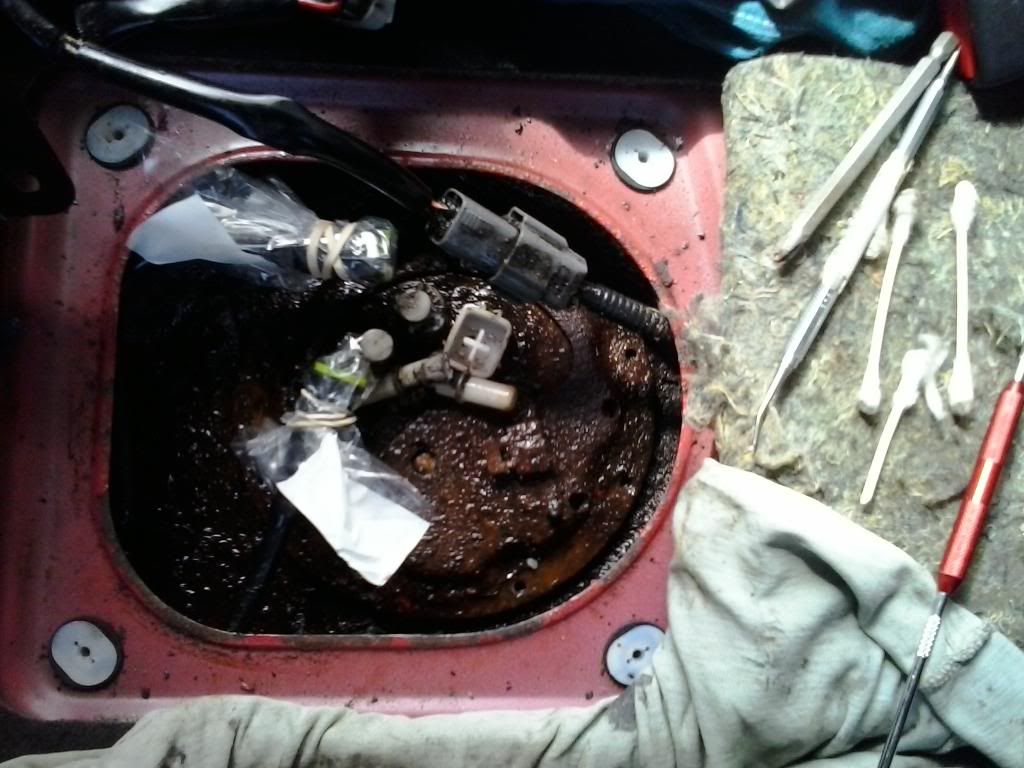
I covered all the connectors to help keep them clean.

FuelFilterHow-To022_zpsb23a56bd.jpg


FuelFilterHow-To024_zps0da8a4fc.jpg
 
Page two:

Don't pull on the wires of the connector,... They are brittle now after 10 years and can break inside the plastic casing and you may be unaware that it's broken till something doesn't work.

FuelFilterHow-To035_zps0e6bd353.jpg


The vise-grips both hold the connector and hold the little tab open to help with disconnecting the it.

FuelFilterHow-To040_zps7f9722ee.jpg


FuelFilterHow-To045_zps8e338ace.jpg


FuelFilterHow-To046_zps159866cc.jpg


FuelFilterHow-To047_zps4bf6bdb5.jpg


FuelFilterHow-To049_zps79c3f99e.jpg


FuelFilterHow-To054_zps0042f69d.jpg


Notice how much of the plastic tab had broken off.

FuelFilterHow-To058_zpsf7d4308b.jpg


FuelFilterHow-To067_zpsf28457c8.jpg


FuelFilterHow-To068_zpsdf5712a8.jpg


I stared at this 'spring clip' holding the sock on for five minutes trying to think of how to remove it without breaking it,... then I realized that it stays on the pump.

FuelFilterHow-To071_zpsfd4864ff.jpg


A screwdriver wedged in there works nicely to 'pry' the pump out of the grommet.

FuelFilterHow-To079_zps68def611.jpg


FuelFilterHow-To080_zpsf6d6e80b.jpg


FuelFilterHow-To082_zpsd4440c79.jpg


Lots of crap in the gas tank,... it doesn't matter much,... it's the fine particles that get past the strainer that plug up the high pressure filter.

FuelFilterHow-To088_zpse9b89088.jpg
 
Last edited:
Page 3:

You can see more crap in the tank and the anti-slosh baffling.

FuelFilterHow-To094_zps855d2139.jpg


This is the filter media hiding inside the "fuel pump housing"

FuelFilterHow-To097_zpsdfac15c9.jpg


FuelFilterHow-To099_zps523e75e6.jpg


FuelFilterHow-To102_zpsb1613f66.jpg


This is the black crap clogging up the filter.

FuelFilterHow-To108_zpse94c4a99.jpg


FuelFilterHow-To110_zpsed1a3094.jpg


This shows how the rust creeped across the tank seal (it's the area from the three rubber prongs inward that actually does the tank sealing)

FuelFilterHow-To113_zpsb5c134a7.jpg


FuelFilterHow-To115_zps5c329664.jpg


This shows the rust on the top of the tank (it's the area from the three little holes inward that matters. The 8 little screws, screw into the bracket but the bracket isn't part of the seal.)

FuelFilterHow-To116_zps88c26b01.jpg


FuelFilterHow-To118_zps19cc1edb.jpg


I used some clear flat plastic to make a "cover plate" for the top of the tank.

FuelFilterHow-To121_zps1a7ab18a.jpg


FuelFilterHow-To122_zps496d99f5.jpg


FuelFilterHow-To123_zps7573acb8.jpg


I traced the rust through the plastic to trim the "seal" to leave the rust exposed.

FuelFilterHow-To124_zpsf0a205d1.jpg


I applied contact cement to the sealing surface.

FuelFilterHow-To125_zpsb3c4da45.jpg
 
Last edited:
Page 4:

The trimmed tank seal applied.

FuelFilterHow-To127_zpsf260ba33.jpg


You can see the ground from the access hole. Water dirt and salt can certainly get up to the top of the tank.

FuelFilterHow-To128_zpsd8bfaebd.jpg


FuelFilterHow-To139_zpse5e99579.jpg


FuelFilterHow-To149_zpsb926678f.jpg


CAUTION: gasoline has a tendency to burn and or explode and I have a tendency to be a jackass so you may want to skip the dremeling and just use sandpaper

FuelFilterHow-To151_zps23da4c38.jpg


Anti-seize applied to the cover plate.

FuelFilterHow-To155_zps5e11be3a.jpg


Black RTV silicone applied to the gasket (a new one would have been smarter and easier,... I didn't expect it to have rust on it. I shoulda just spent the five bucks.)

FuelFilterHow-To158_zps7d2505bb.jpg


My only mishap,... no fires or explosions.

FuelFilterHow-To162_zpsb1e5308c.jpg


My next step was trimming the little bolts (M4). I bought 8 new bolts and washers, and 1 nut. 5 washers and the nut provide the right spot to cut.

FuelFilterHow-To164_zpsf909deeb.jpg


I might be a jackass but I wore my friggen safety goggles for this. I exploded two cut off disks into my face cutting the eight bolts. (I forgot to tighten the nut on one of them) The nut cleans up the thread when you remove it after the cut.

FuelFilterHow-To167_zpsed399f90.jpg


Partly installed.

FuelFilterHow-To173_zpsc449677a.jpg


FuelFilterHow-To174_zps596987d7.jpg


I hosed it down good with Rust Cure and I was done.

004_zps4494118e.jpg
 
Last edited:
Wow, lot of krusty ass s*** there, inside and out. Cool writeup tho. Thanks for all the pics of what's upintheya. Hopin not to need to mess with that anytime soon on mine...........
 
Wow, lot of krusty ass s*** there, inside and out. Cool writeup tho. Thanks for all the pics of what's upintheya. Hopin not to need to mess with that anytime soon on mine...........

Well,.... if you're in Texas,... chances are you won't see that kind of rust.

But, I do think you'll see that kind of crap inside your fuel filter. I had no problems with my car but after reading the "cover-leak" thread, I was concerned with my filter becoming clogged with crap and causing driveability issues. Things like a drop in fuel pressure, failed fuel pump, misfiring among others.

I think EVERYONE with a P5 should do this. This is the only car I've had that doesn't list replacing fuel filter as one of it's regularly scheduled maintenance items. All my other cars said to replace the fuel filter within two years.
 
Agreed, do not like fuel filter setup. Should just be an inline thing that takes 2 minutes and maybe 10.00 to be done with, not some high dollar trip to the dealer or long winded wknd wasting ordeal doing it yourself. Manufacturer engineering but **** FTL way too often on way too many things for no good reason nowadays..............
 
pcb, were you able to remove all of the screws using the hammer/bit/ratchet? I ended up using a GrabIt, which worked great.
 
Yea,.. for me, I guess the big thing was the dental pick I used to clean out the heads, then the hammer then the dental pick again then the hammer and by then the driver bit would "stick" in the screw head and stay standing on it's own.
Then I put the ratchet handle on the bit and with all my weight pushing down they all turned out.

I'll be updating my thread with lots of commentary shortly.
 
There is major confusion about this whole issue. Some people and parts places call it a "fuel pump housing" others call it a "high pressure filter" (the low pressure being the strainer).

It wasn't until page 9 of the "leaking cover" thread that I pointed out what part was needed and where to get it.

If you are replacing your fuel pump, you should DEFINITELY replace the "fuel pump housing" or "high pressure filter" along with it. It's only $28 at RockAuto (way more money other places,... apparently something like $170 from Mazda).

The filter is part of the housing,... I cut mine open to show people that there was indeed filter media in there and how much black crap has built up in ten years. My cover wasn't leaking (which is the only reason anyone seems to replace this item).

I was worried it was going to restrict fuel flow enough to cause many different kinds of problems (I had a Nissan King cab that bucked like a horse when the filter needed to be replaced)

Here's another thread about fuel pump replacement. We replaced the complete opposite of each other. (I only replaced the housing and reused everything else.)

http://www.mazdas247.com/forum/showthread.php?123828403-My-New-Beck-Arnley-Fuel-pump
 
Last edited:
This is replacing the fuel pump right, cause they told me the fuel filter is not serviceable

No, the fuel pump is transfered from the old housing to the new housing. This is replacing the filter, which comes per-packaged in the white/black plastic housing. I was told by the stealership that you could not replace just the fuel filter, the ENTIRE SENDING UNIT had to be replaced to the tune of $500. Rockauto has the fuel filter and housing for less than $50, and its not hard to replace aside from dealing with the rusty screws. Who told you it wasn't serviceable, the dealership?
 
I only replaced the fuel filter housing and reused everything else. The housing is $27 at Rockauto. I would have purchased a new tank seal if I knew it was going to be covered in rust. I cleaned everything and put a bit of RTV silicone on the gasket.


fuelfiter1a_zpsa172d76c.jpg


fuelfilter1b_zps07bab218.jpg
 
In an effort to prove to myself the "relative" safety of gasoline,... I just put a beer cap full of gas in my fire pit then put my cigarette out in it. It didn't burn till I put the Bic to it.

As a general rule if you don't smell gas then there is not too much to worry about. My "fuel pump housing" wasn't leaking and when I put my nose right up to it, I smelt nothing but PB-Blaster. I'm sure you could feel quite safe drilling out the screw heads without issue but then you have to get a vise-grip on the remaining stud to unscrew it.
 
I did find this in the FSM. Most people (including service technicians and parts suppliers) think that there isn't one or that it's just the fuel sock.

P0300_zpscb0193f7.jpg


fuelPumpHousinga_zps1c0b8148.jpg
 
Last edited:
The local autozone told me that it was a non serviceable part.
no, the fuel pump is transfered from the old housing to the new housing. This is replacing the filter, which comes per-packaged in the white/black plastic housing. I was told by the stealership that you could not replace just the fuel filter, the entire sending unit had to be replaced to the tune of $500. Rockauto has the fuel filter and housing for less than $50, and its not hard to replace aside from dealing with the rusty screws. Who told you it wasn't serviceable, the dealership?
 
I suppose in a way they're right in that you don't "service" it,... you replace it,... like an oil filter ????

But I still don't think they know what they're talking about.
 
I spent a full day on it but I was fartin around a lot. I'd remove 1 screw then I'd have a smoke and a beer then another screw, etc. etc.... I was kinda drunk by the end of the day.

I'm sure you could do it in a few hours if you don't be too fussy (like the dremel tool part). The biggest time sucker would be the screws, so take your time with the pick and hammer part so you don't have to deal with a drill and vice-grip.

Cutting off the fuel lines at the filter I'm sure saved a lot of time,.. they would be really hard to get off with them still attached to the filter.
 
Back