
Hi all,
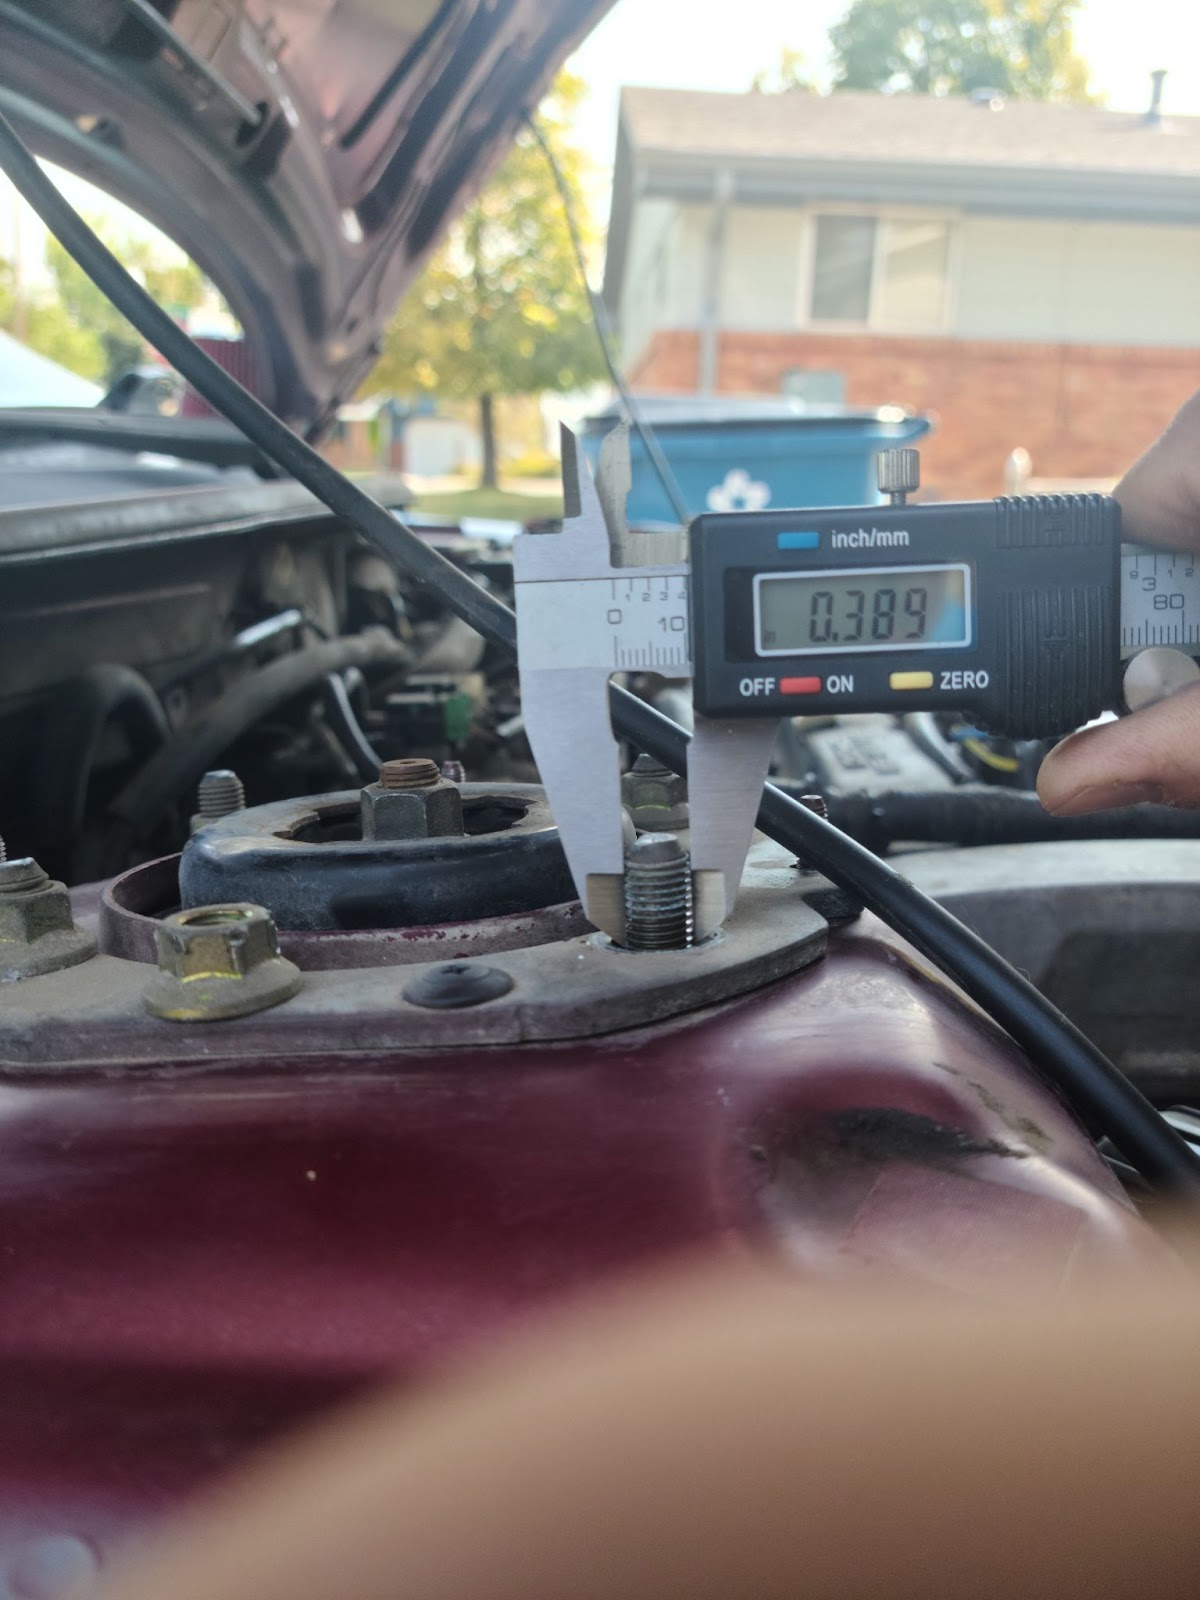
I made a lift kit for my 2002 offroad Protege and thought I'd share the process here. I found a few people who managed to gain an inch or 2 through larger tires but didn’t end up finding anything about lift kits. I figured the most that I could lift it without upsetting axle angles too much would be about 2”. I probably could’ve gone 3” in the rear but better safe than sorry. I started taking a few measurements to draw up a template of the tophat mounting plate. After taking a few I realized it would just be way easier to buy a strut mount and take the measurements from that.
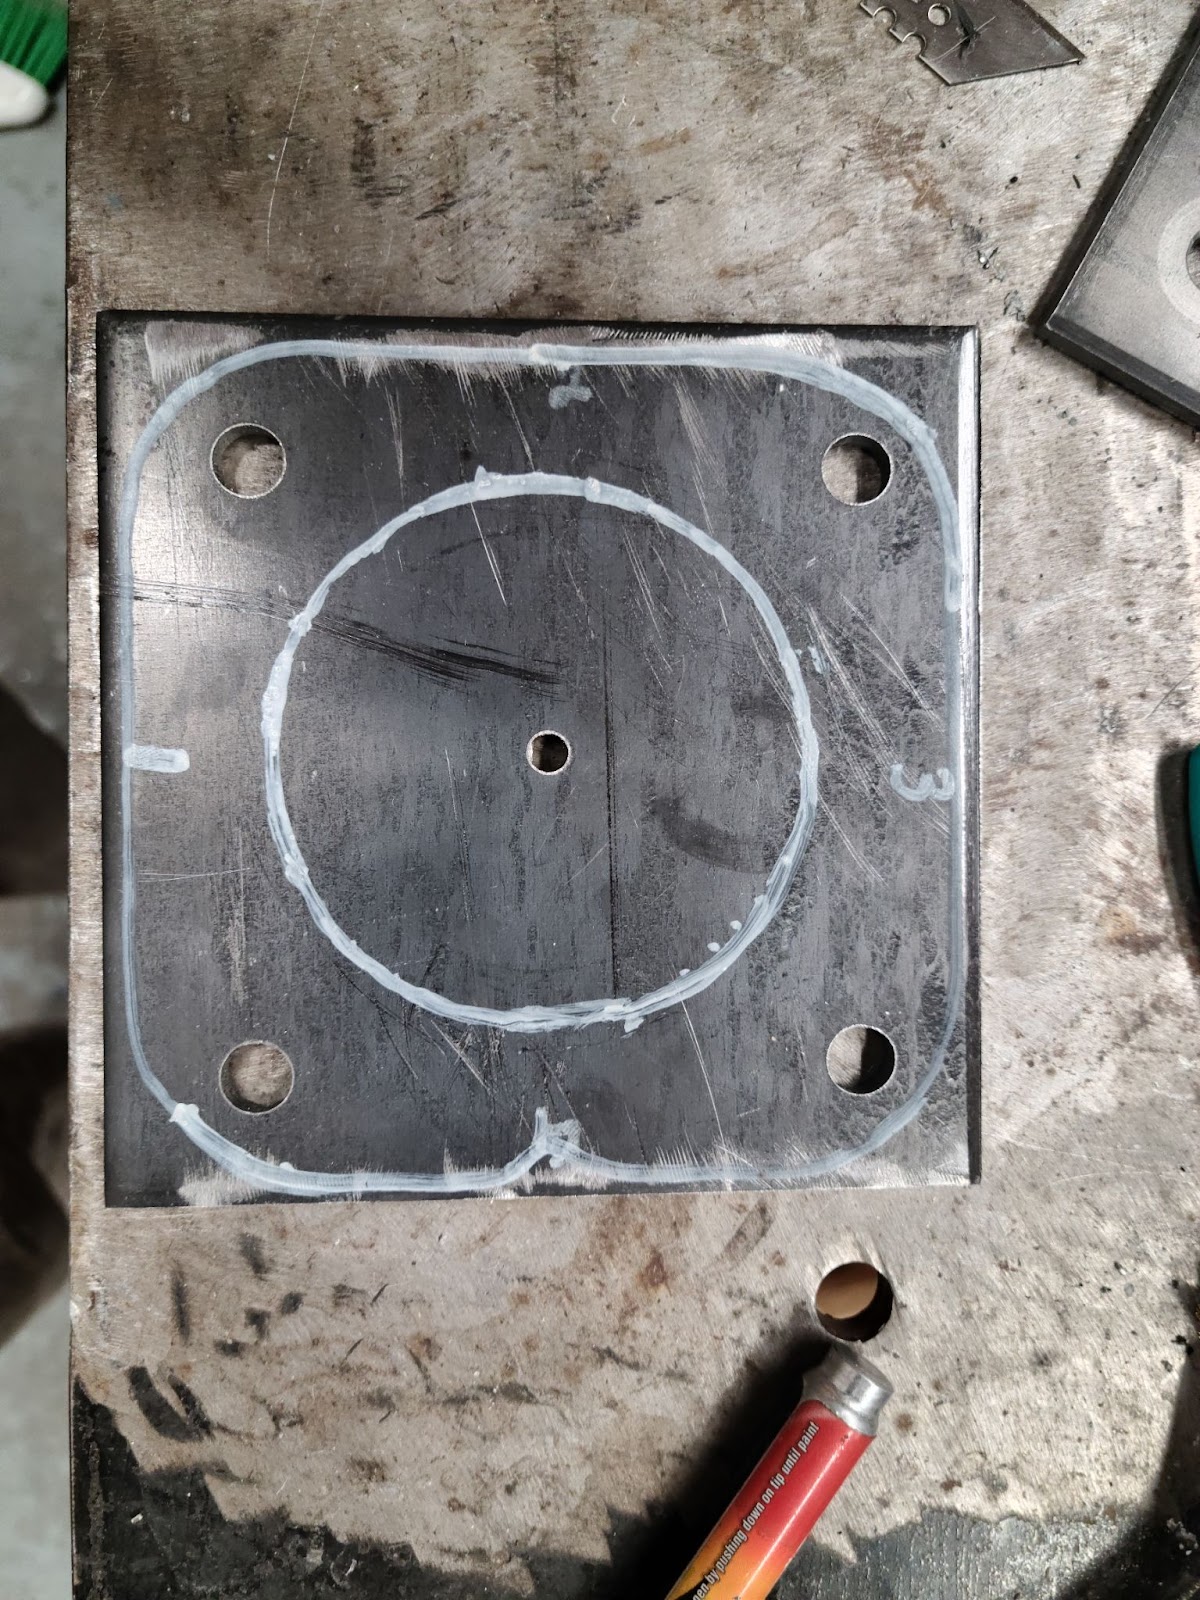
This was the front template once I had the bolt holes drilled and the design drawn out. I wanted the lift kit to be the last thing on this car to break, so I used ¼” cold rolled steel plating for rigidity and strength.
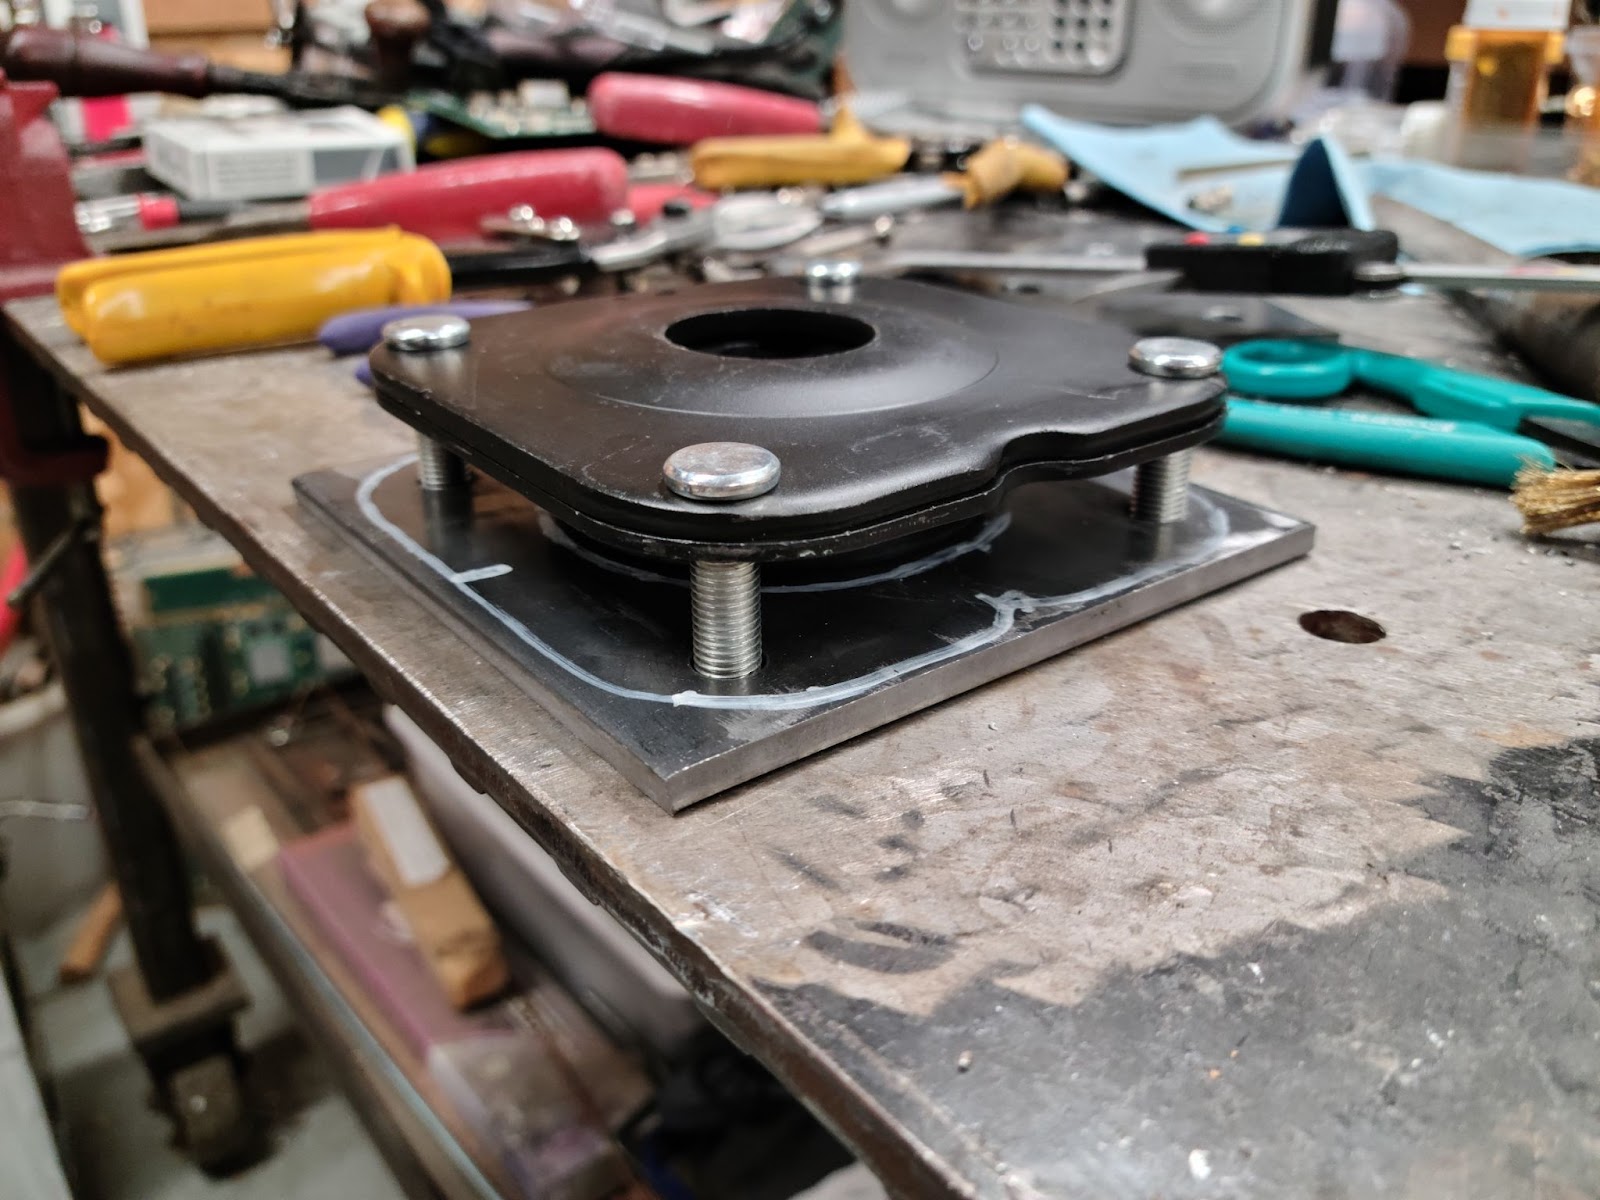
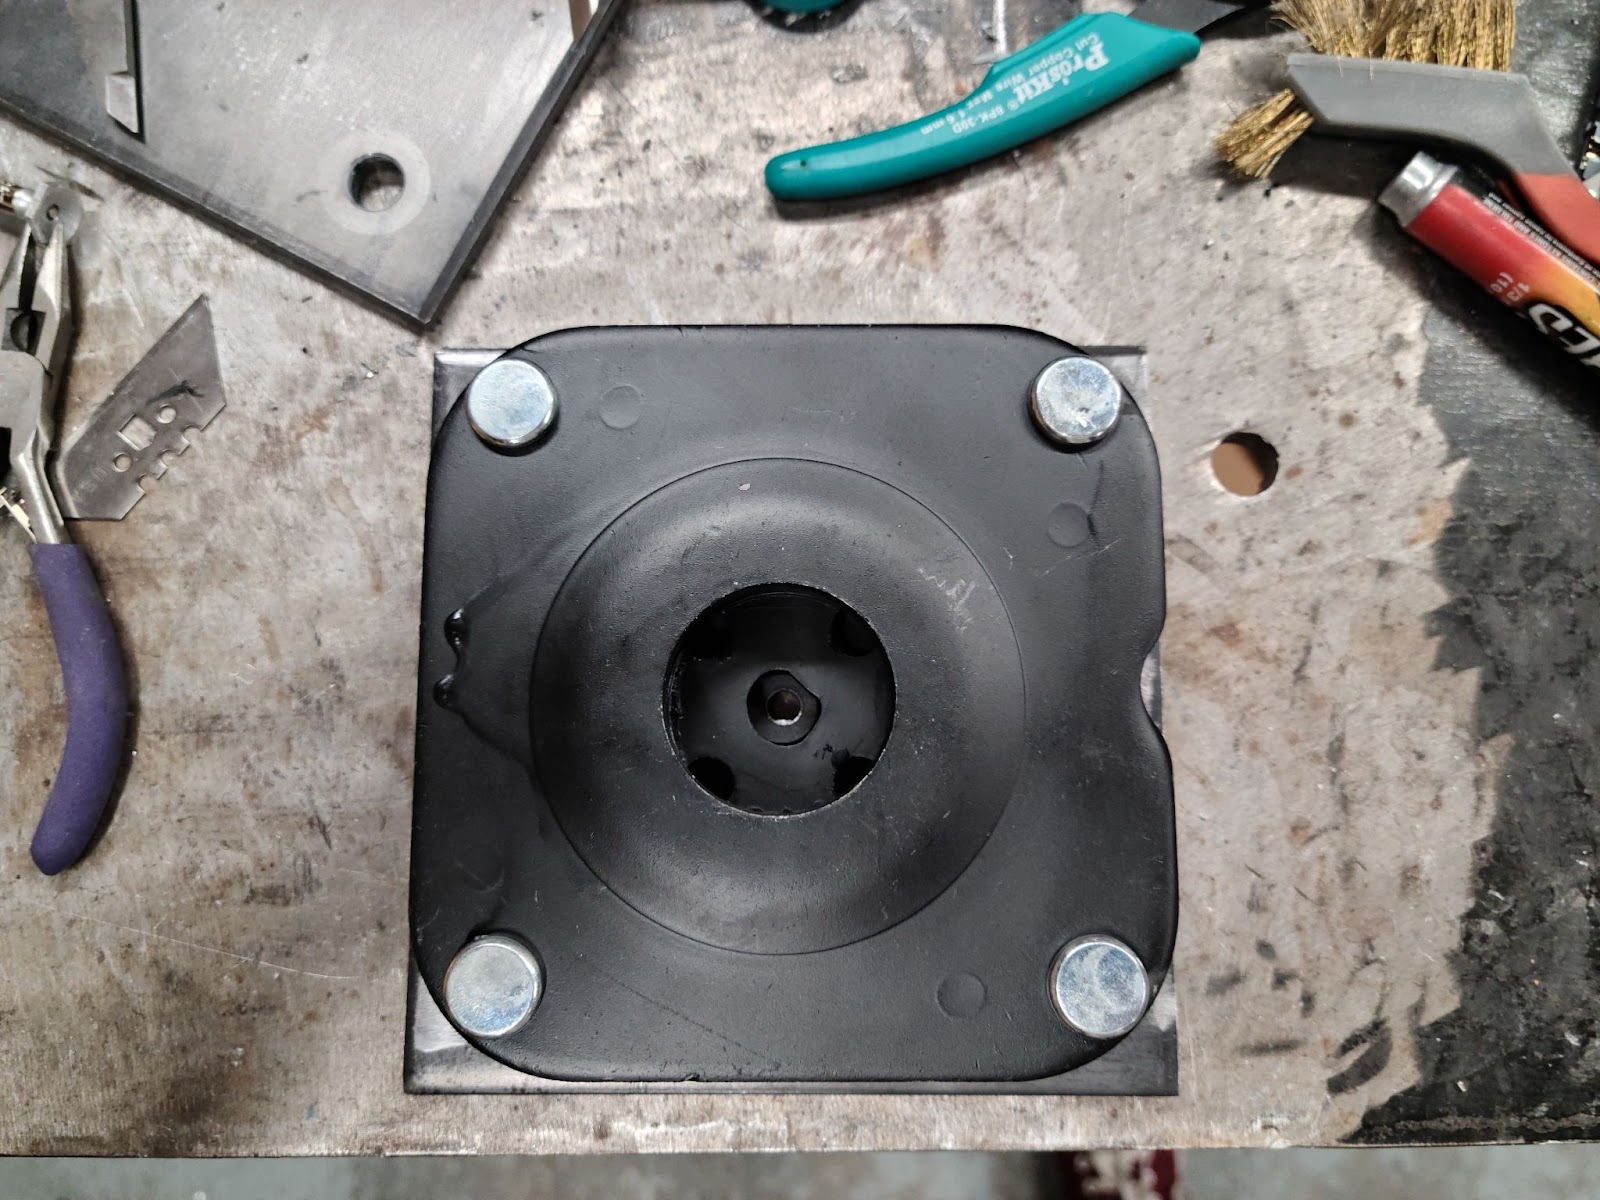
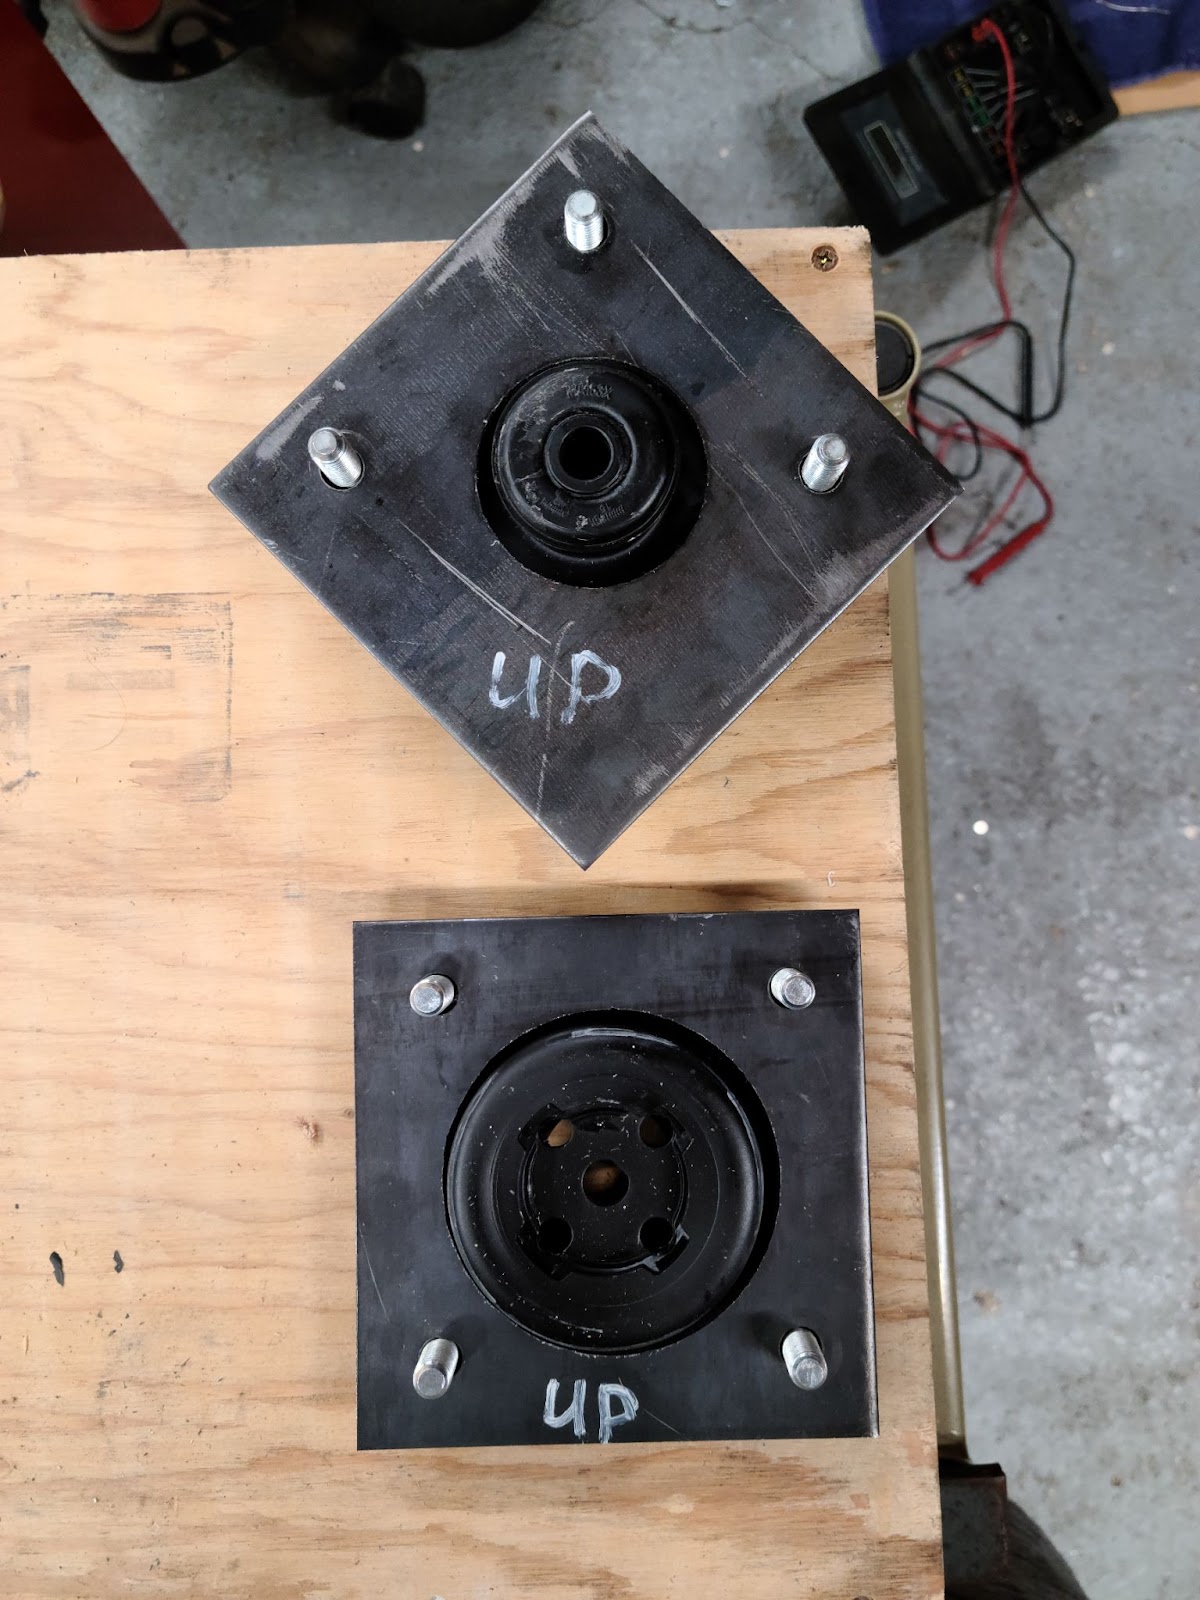
This is the template with the strut mount test fitted.
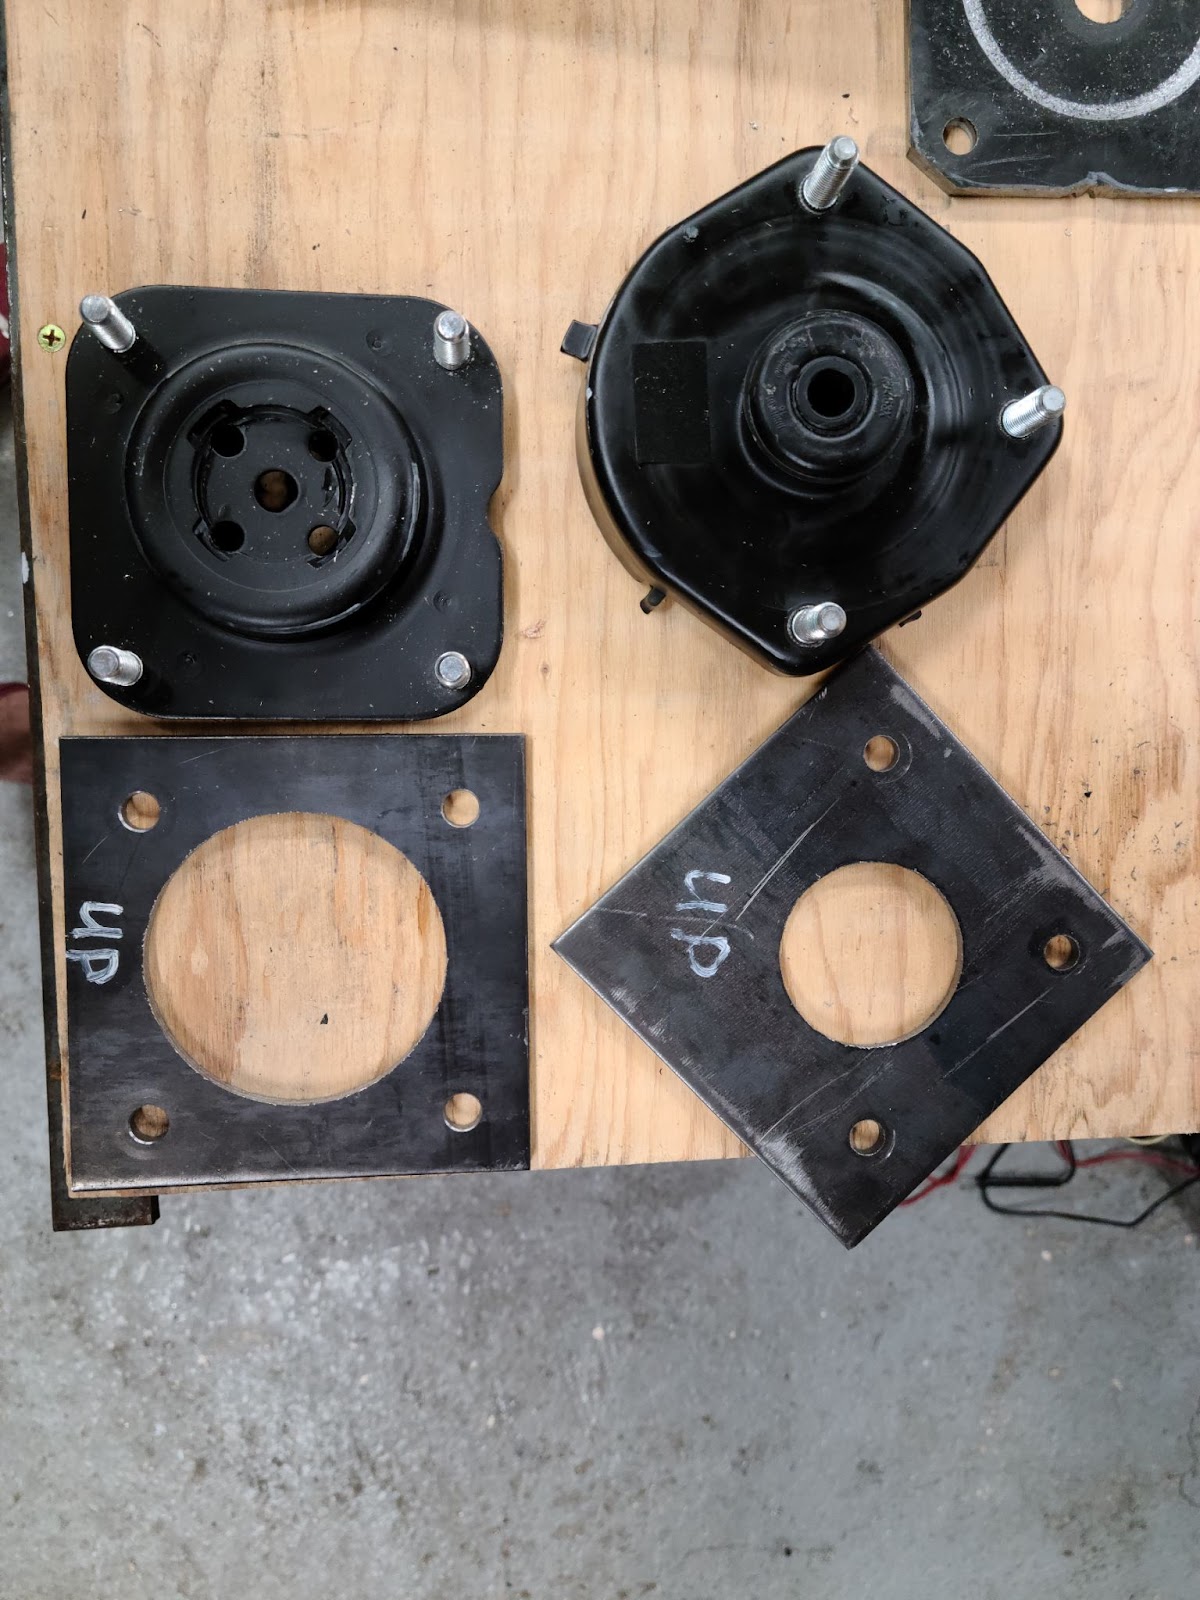
This was the front and rear template after the centers had been drilled along with the bolt holes.
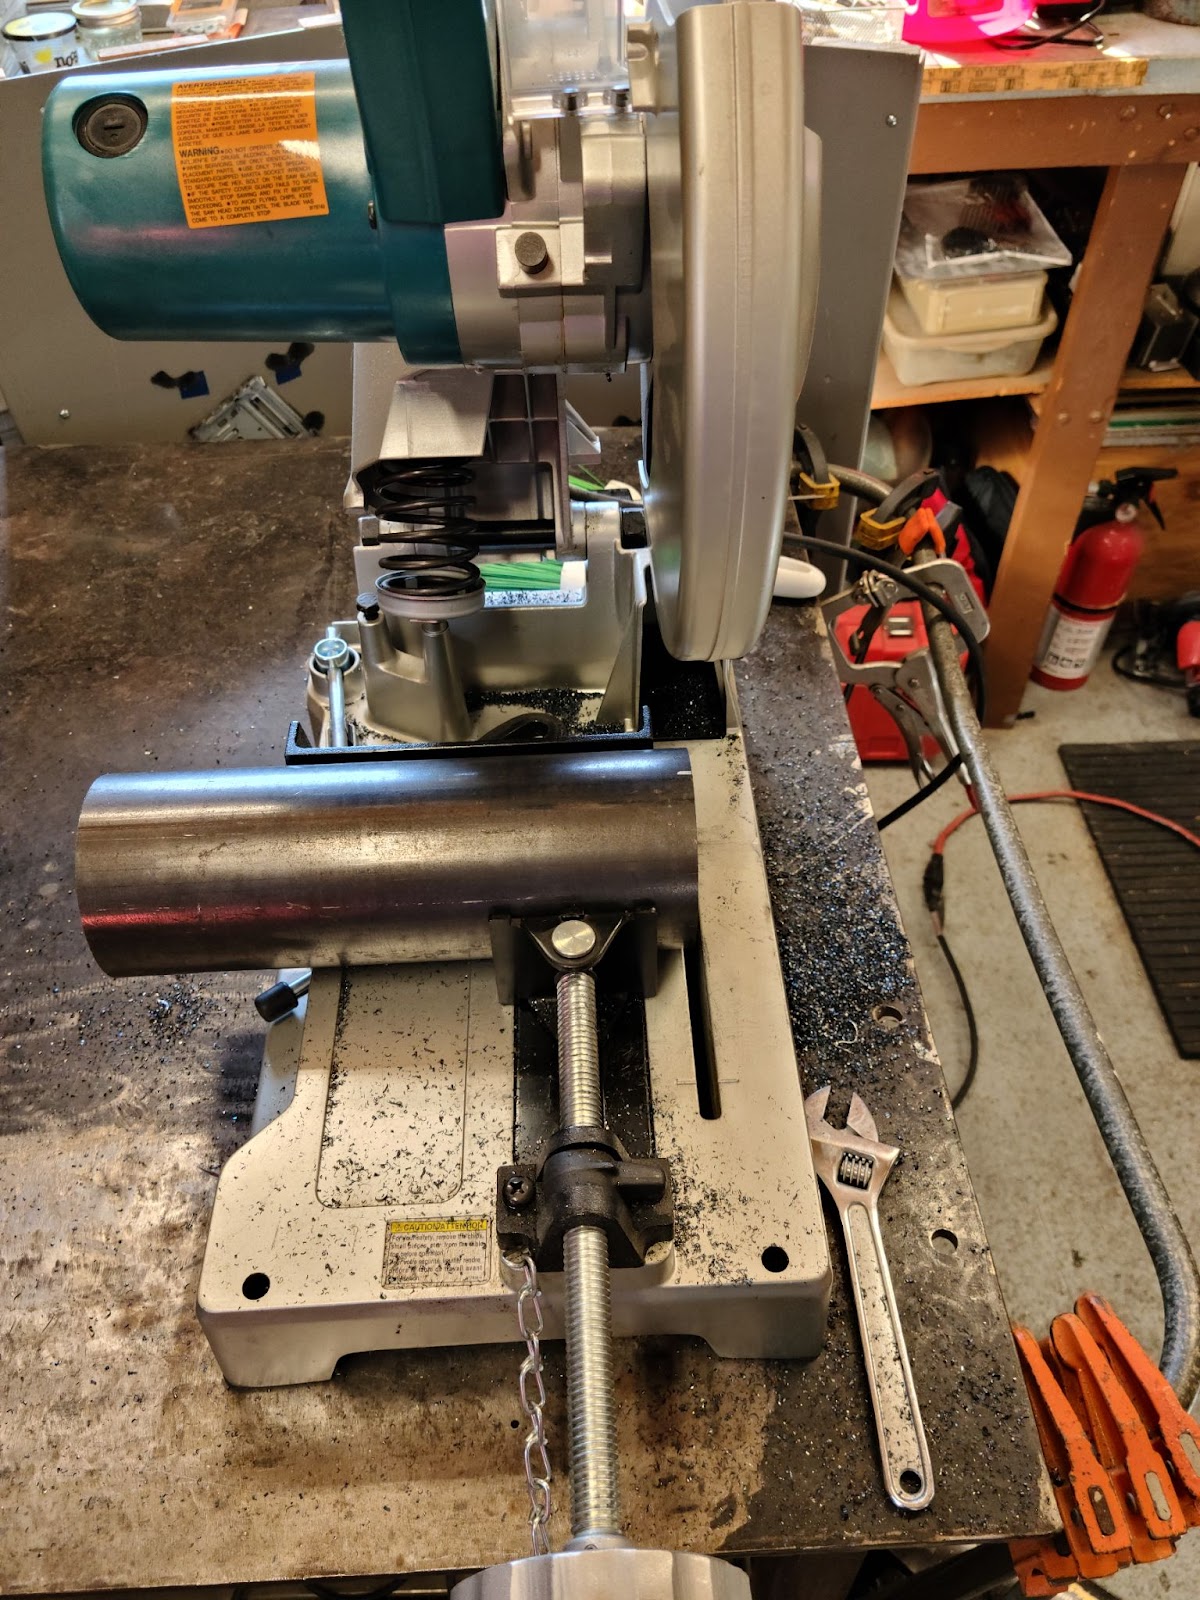
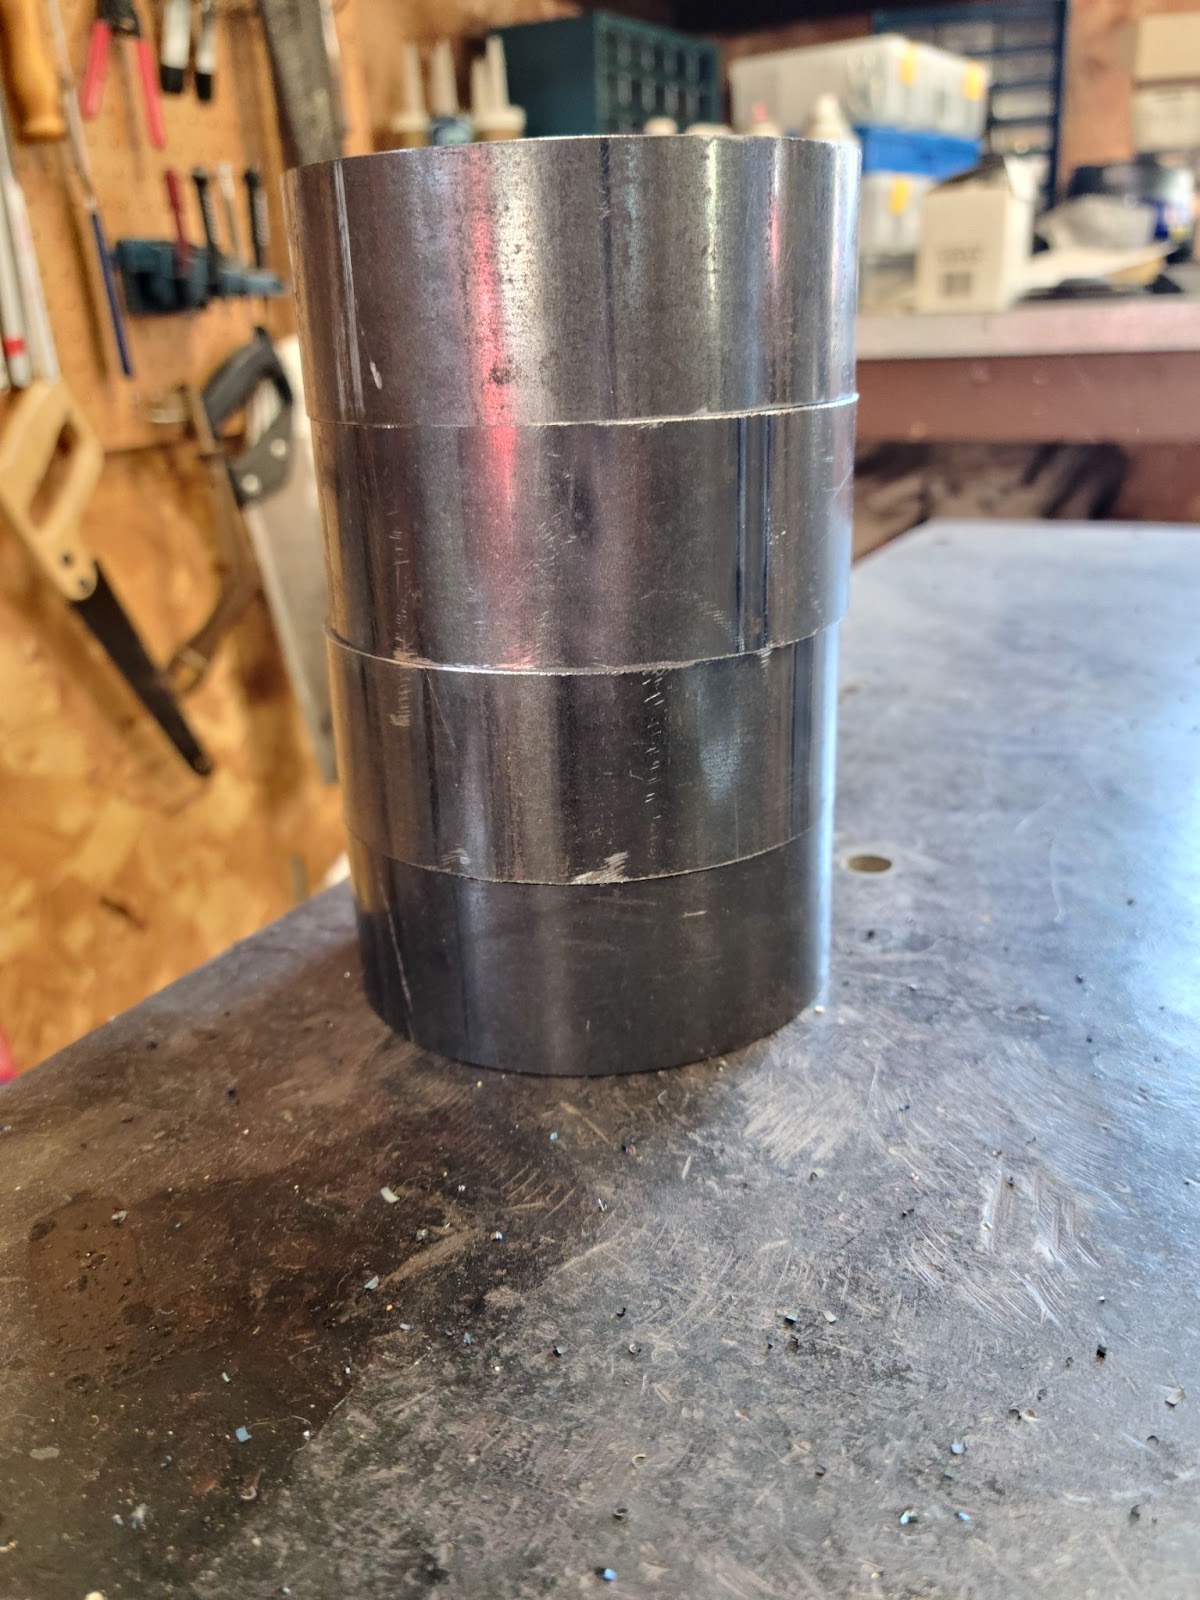
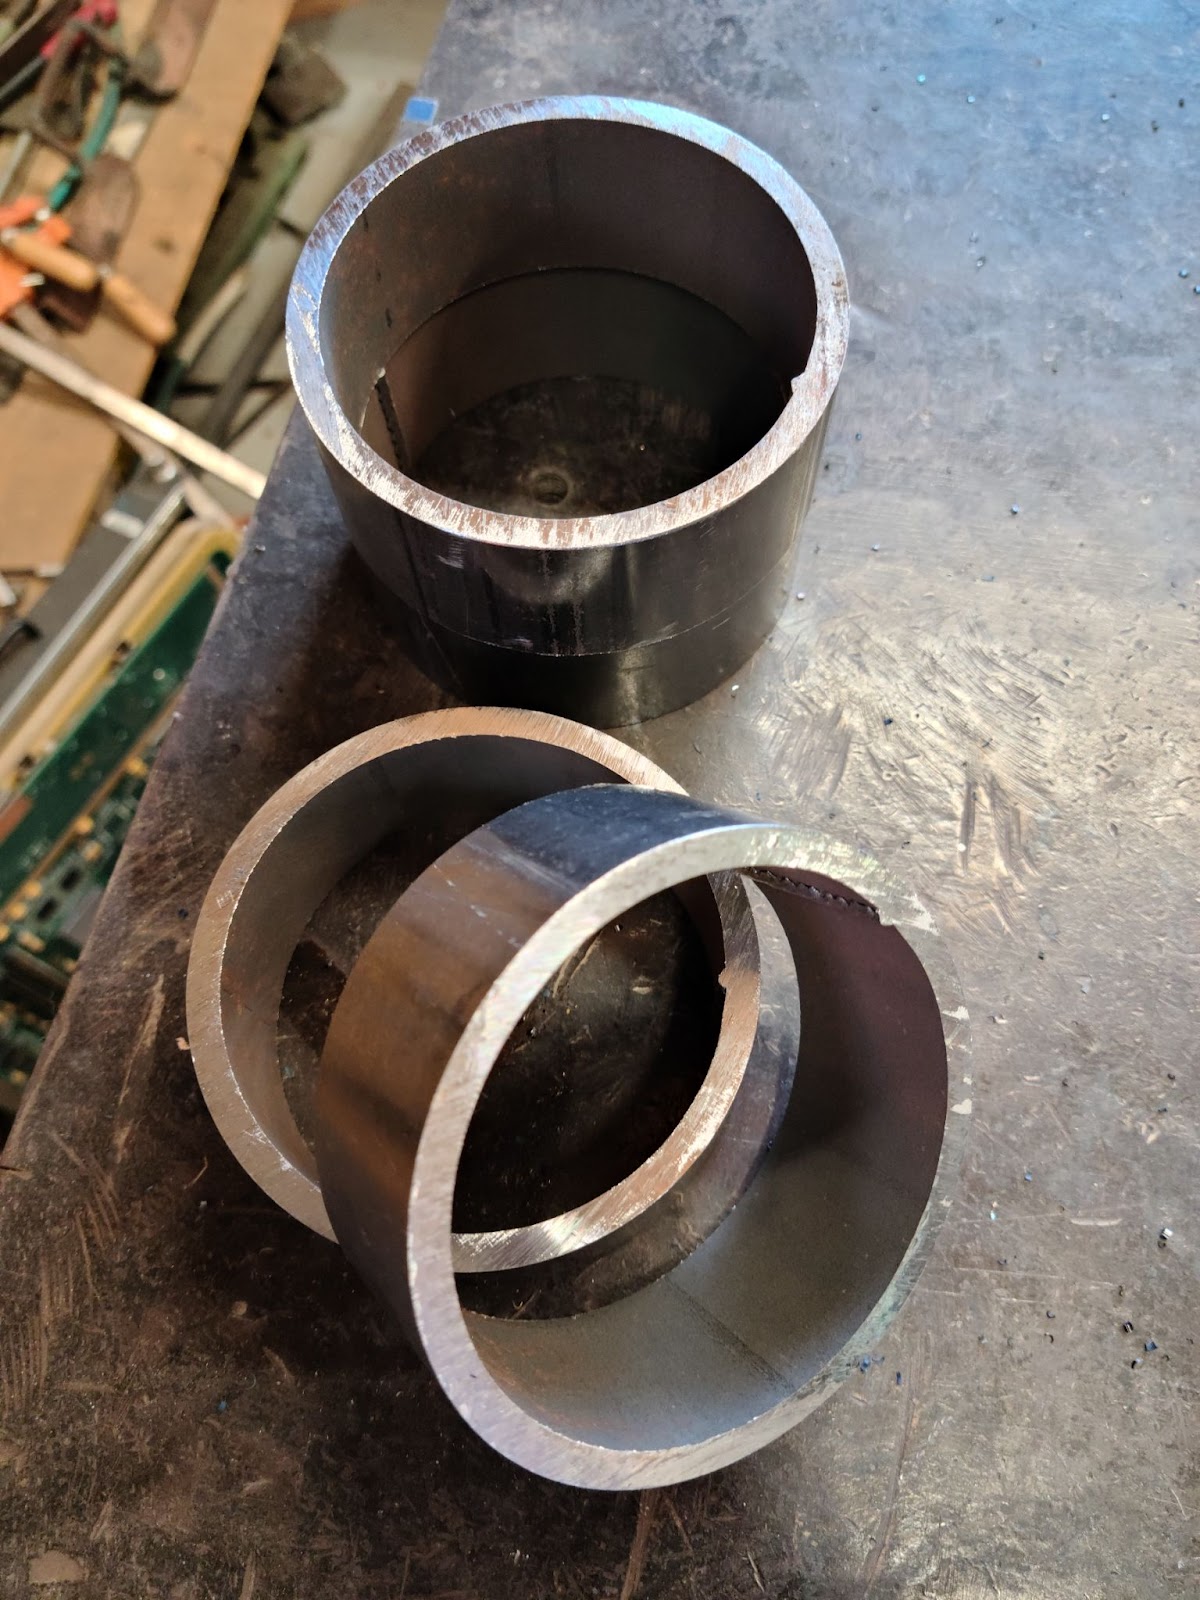
I wanted to be consistent with materials so I opted to use 3” diameter, ¼ inch thick cold rolled steel tubing. I cut the tubing into 1.5” sections, so that when welded to the ¼ inch plates, the lift would total 2”.
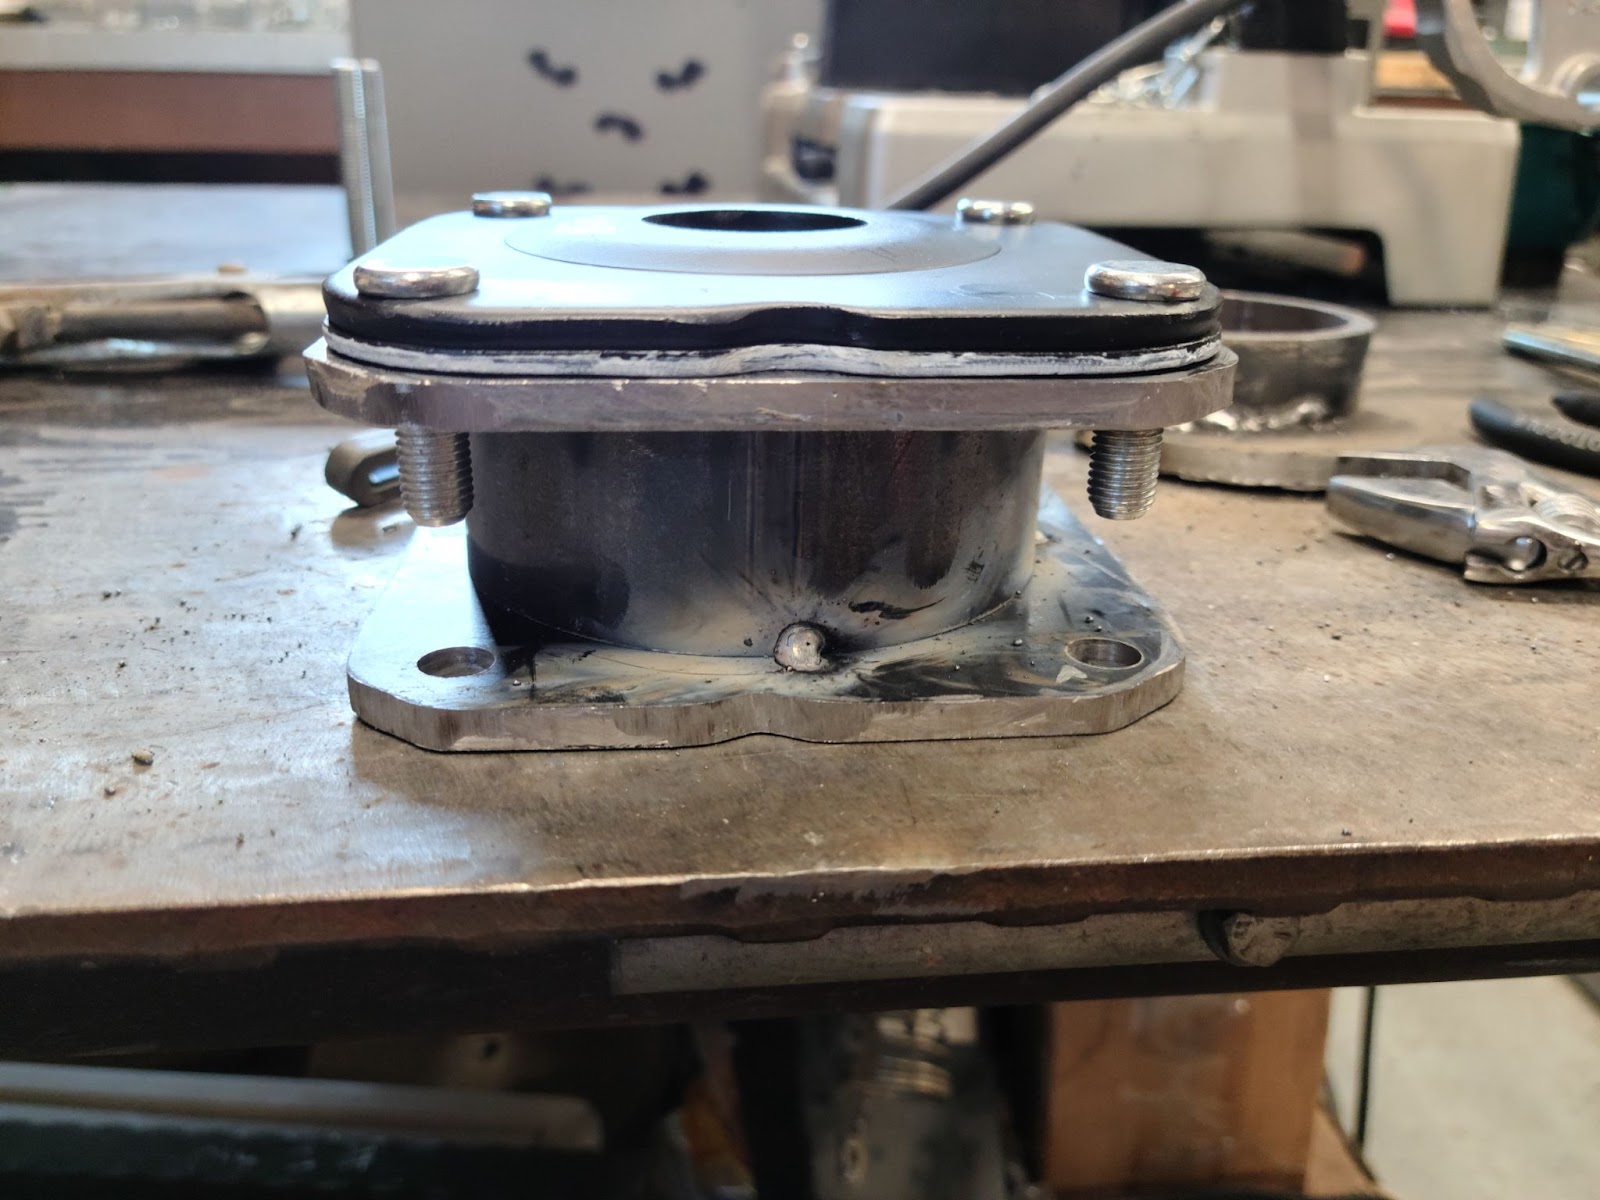
Once that was said and done it was time to tack everything up. I cleaned up the edges of the templates with an angle grinder and smoothed everything up with a file. I tacked the first one together and lo and behold, this was looking like it was gonna work. Everything fit perfectly when test fitting so after that I decided to weld everything up with a double-fillet weld for strength.

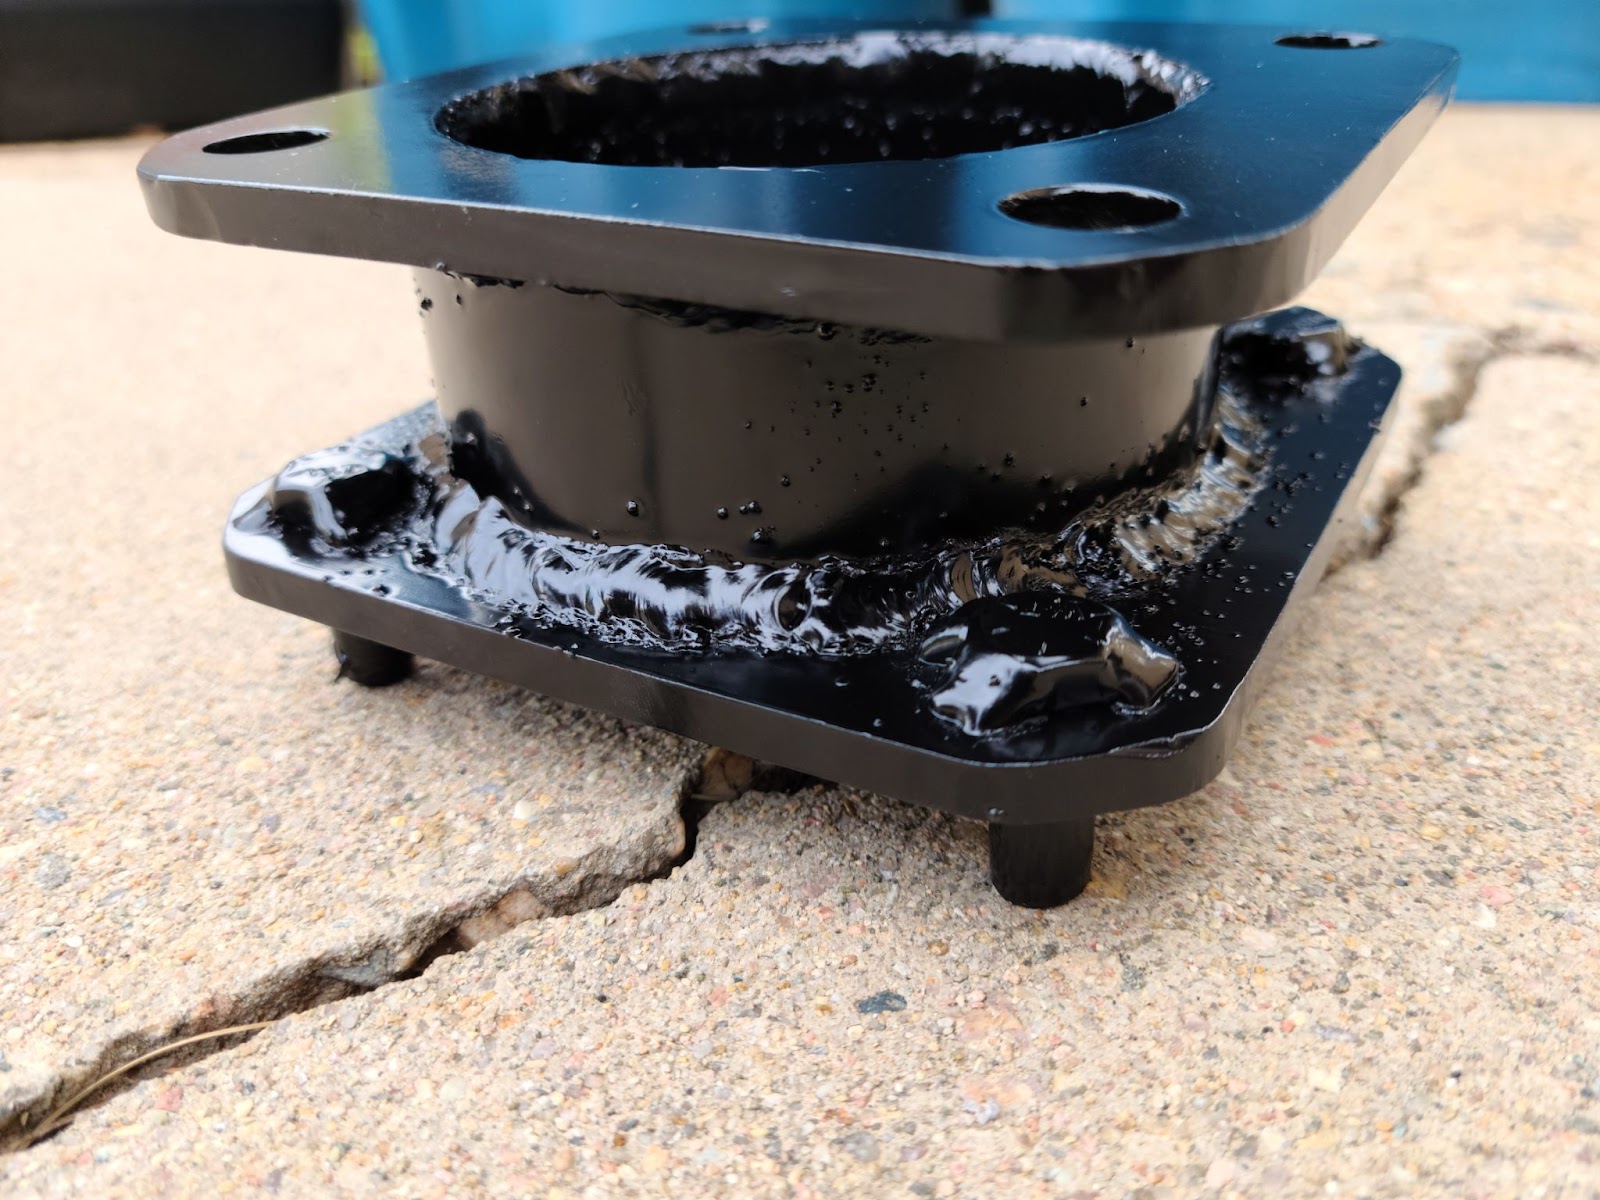
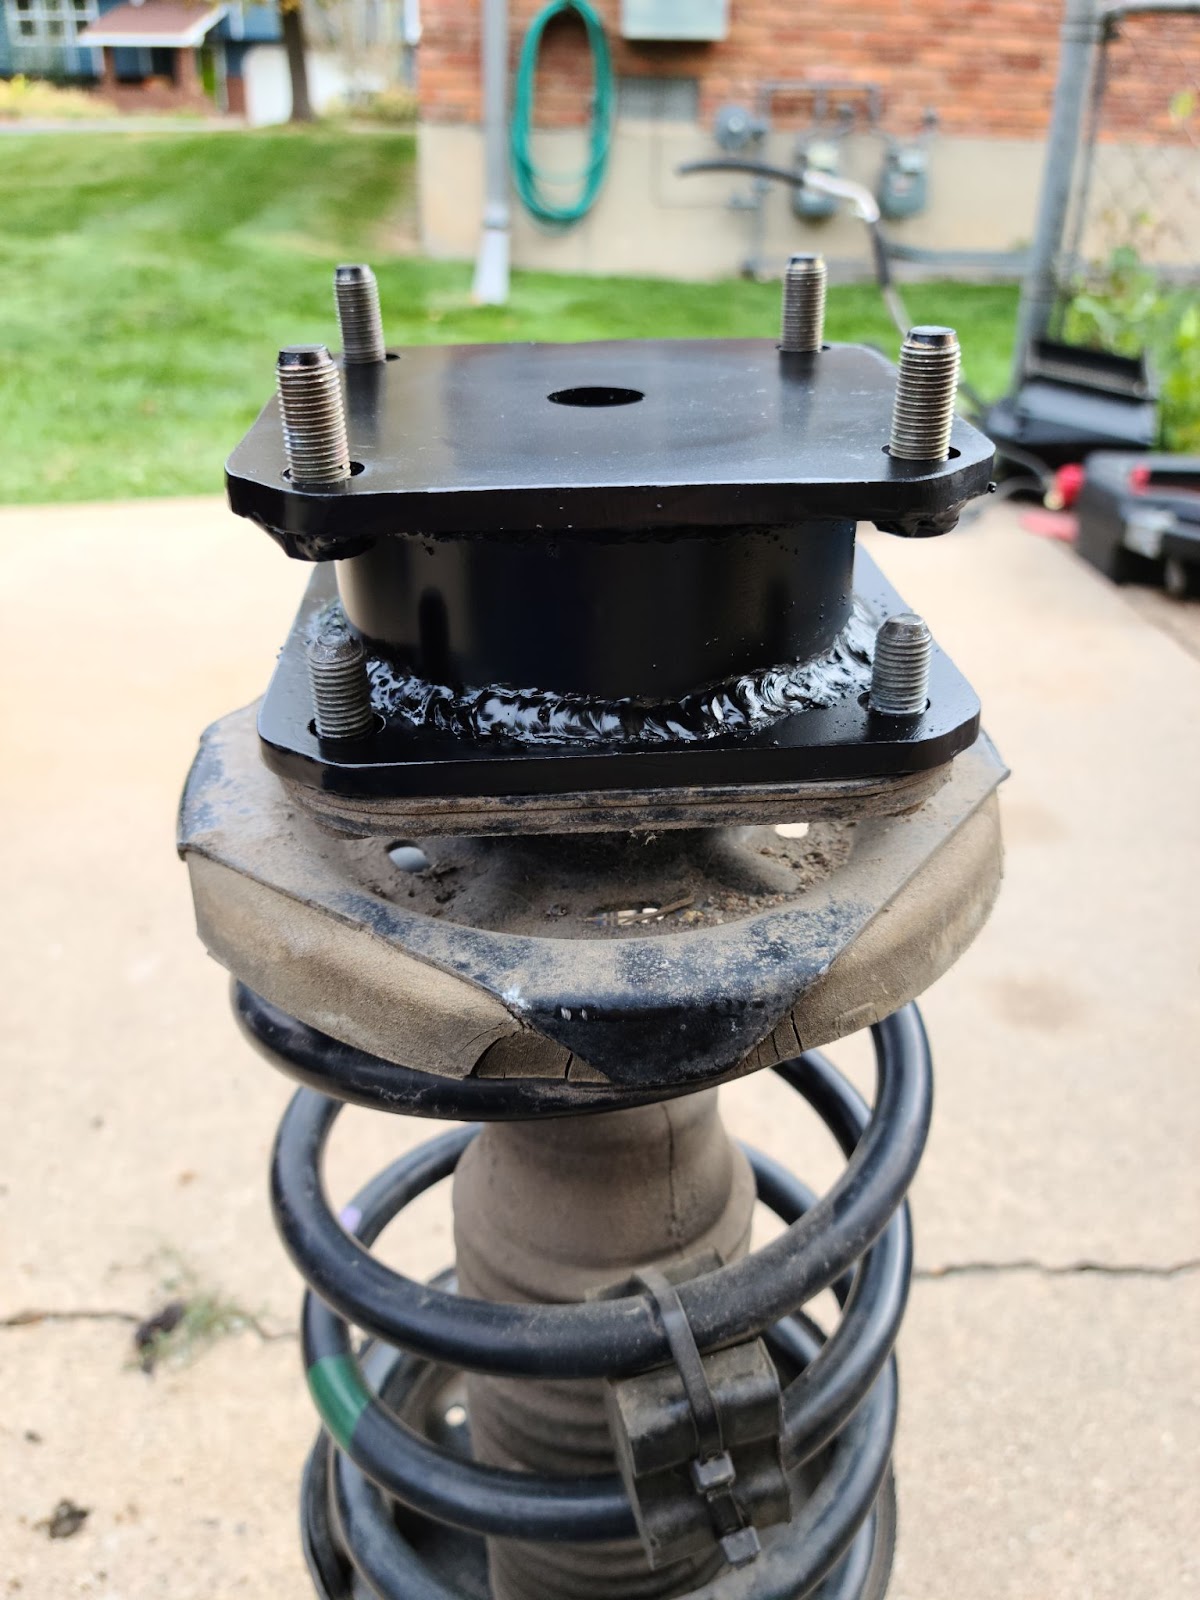
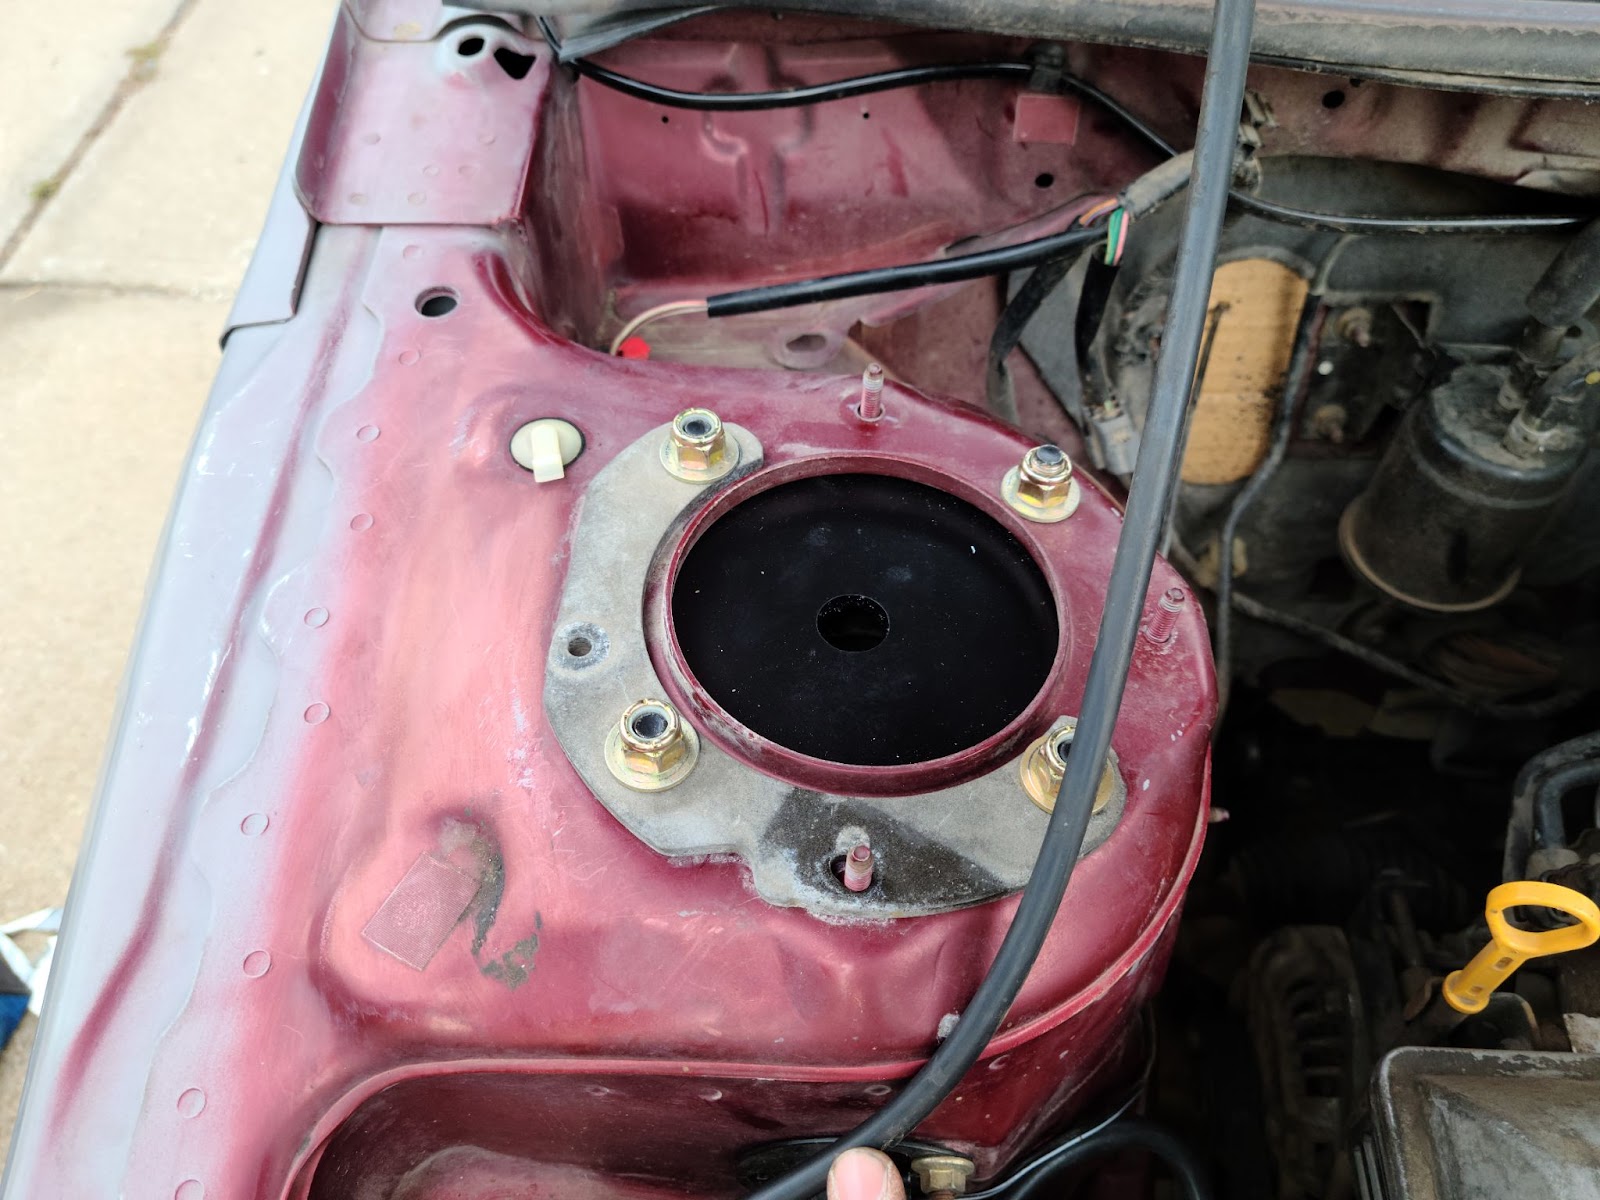
I welded some Grade 10.9 M10 hardware in for the lift kit to attach to the frame and gave it a good coat of black paint. I used Grade 10.9 hardware for the bottom bolts as well and tightened everything to spec. Everything happened to fit perfectly. There were no fitment issues and everything bolted up like oem.
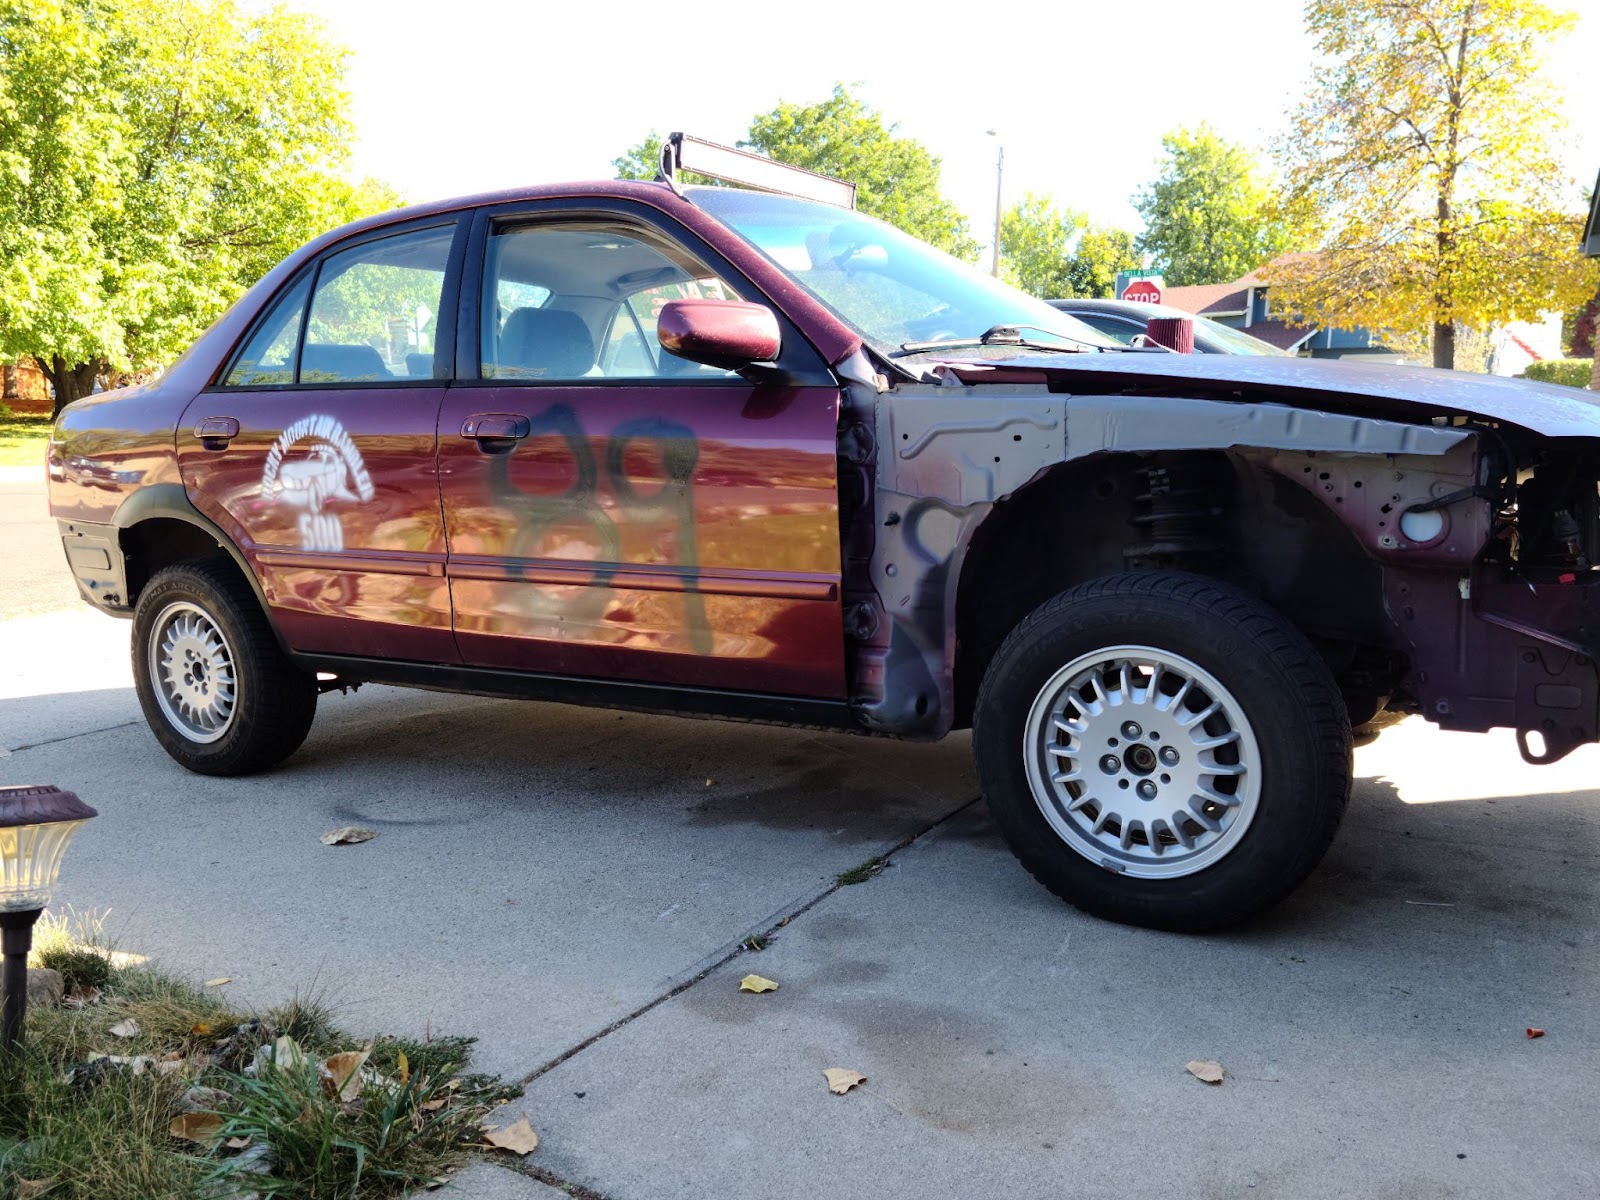
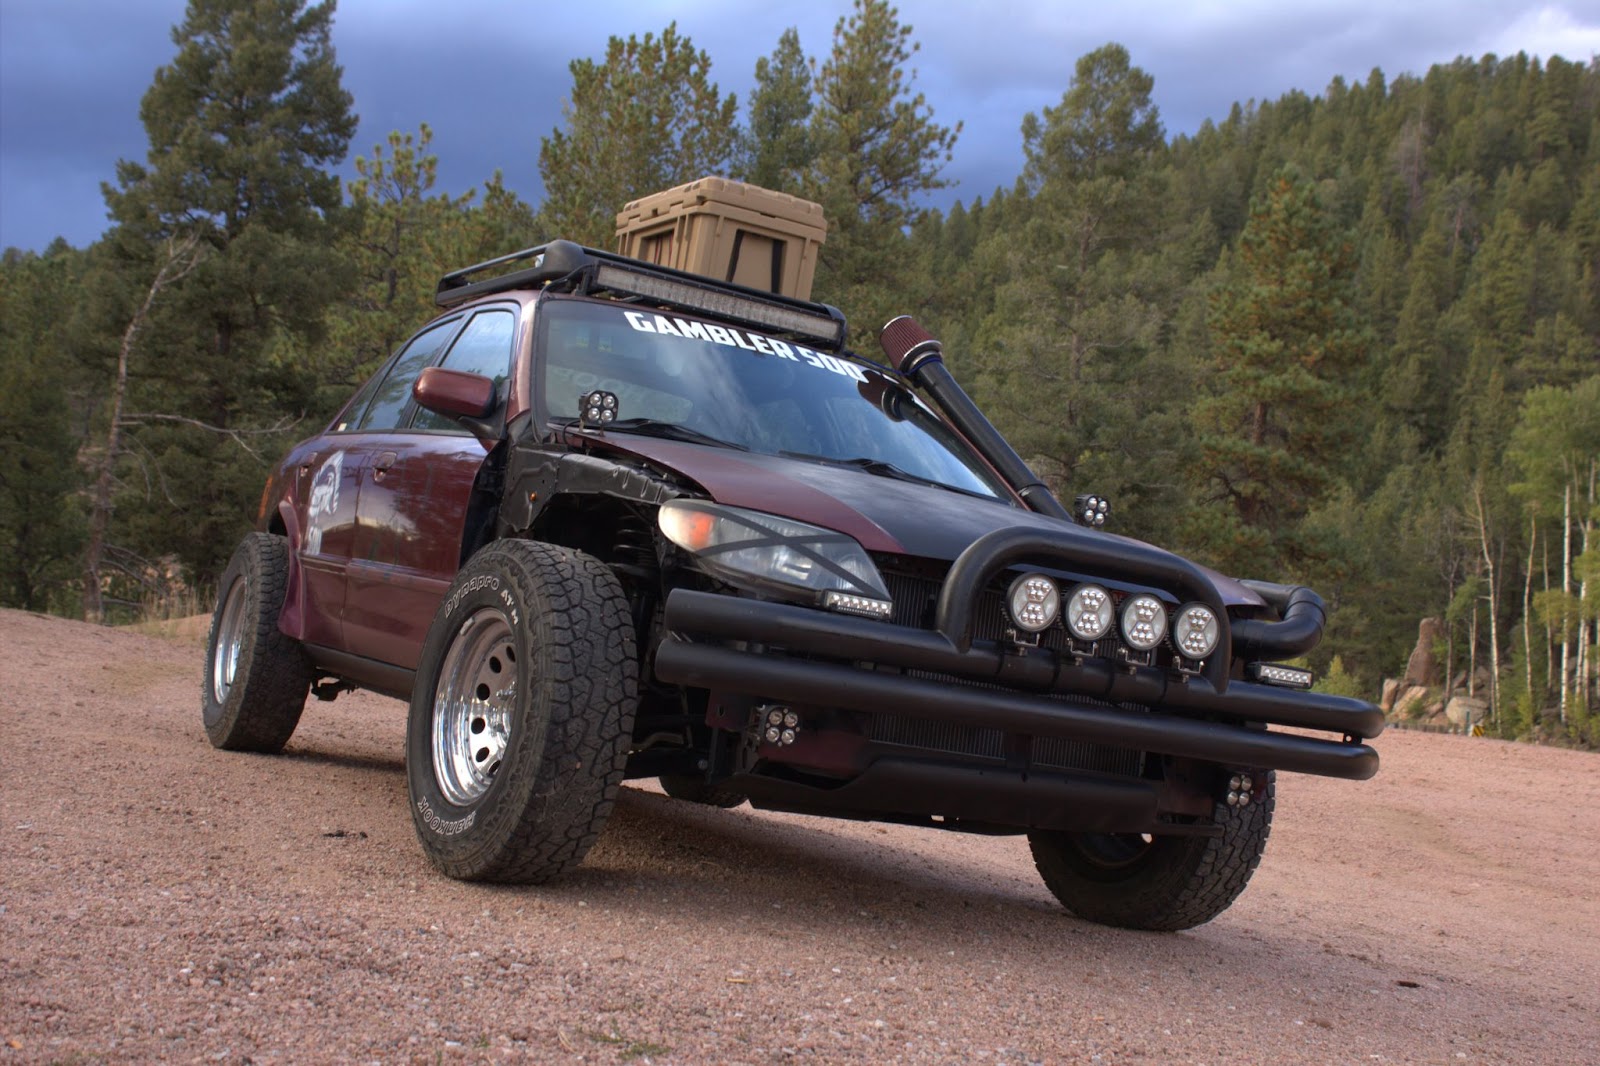
The thing looked absolutely ridiculous lifted with 185/70/r14 and so naturally it was time for bigger wheels and tires. This was how the car sat right after lifting it. The second photo is with 2" spacers and 29" tires.
I made a lift kit for my 2002 offroad Protege and thought I'd share the process here. I found a few people who managed to gain an inch or 2 through larger tires but didn’t end up finding anything about lift kits. I figured the most that I could lift it without upsetting axle angles too much would be about 2”. I probably could’ve gone 3” in the rear but better safe than sorry. I started taking a few measurements to draw up a template of the tophat mounting plate. After taking a few I realized it would just be way easier to buy a strut mount and take the measurements from that.
This was the front template once I had the bolt holes drilled and the design drawn out. I wanted the lift kit to be the last thing on this car to break, so I used ¼” cold rolled steel plating for rigidity and strength.
This is the template with the strut mount test fitted.
This was the front and rear template after the centers had been drilled along with the bolt holes.
I wanted to be consistent with materials so I opted to use 3” diameter, ¼ inch thick cold rolled steel tubing. I cut the tubing into 1.5” sections, so that when welded to the ¼ inch plates, the lift would total 2”.
Once that was said and done it was time to tack everything up. I cleaned up the edges of the templates with an angle grinder and smoothed everything up with a file. I tacked the first one together and lo and behold, this was looking like it was gonna work. Everything fit perfectly when test fitting so after that I decided to weld everything up with a double-fillet weld for strength.
I welded some Grade 10.9 M10 hardware in for the lift kit to attach to the frame and gave it a good coat of black paint. I used Grade 10.9 hardware for the bottom bolts as well and tightened everything to spec. Everything happened to fit perfectly. There were no fitment issues and everything bolted up like oem.
The thing looked absolutely ridiculous lifted with 185/70/r14 and so naturally it was time for bigger wheels and tires. This was how the car sat right after lifting it. The second photo is with 2" spacers and 29" tires.
")

