What have you done to your Miata today?

Thank you sir.

Went to my storage before heading into town this morning and installed the factory gas filler door. Too much of a big hole without anything there while I wait on the other one to get painted. Had a boost tube come loose on me as I was heading to cars & coffee. That put a damper on my having a lot of fun. It was the same tube that has loosened before, it's the clamp on the inlet pipe to the intercooler (outlet of supercharger). I just got done trying a different configuration of the hose connectors I have but nothing worked except the way they were installed. So I just maneuvered things around a little until I had a better connection (hopefully anyway). I did notice the pipe on the intercooler outlet was touching the A/C condenser so I moved it around as well until I had clearance.
 
Just got done ordering a set of the Feal extended top hats from Goodwin for the rear Ohlins, along with a couple of Speedthane Acura bumpstops. Should give me some more travel in the rear to keep from riding the stops.
 
While taking my youngest to a doctor's appointment this morning, I almost got creamed by a red light runner. Took me completely by surprise. Had I left that light quickly the way I normally do I would not have been able to avoid getting hit.

As I mentioned the mounting brackets for the MS wing had some paint issues. It took me a couple of tries to find something that was close, I ended up with Duplicolor engine enamel (with ceramic!) in aluminum. I cleaned up the corrosion and lifting paint, then shot it with the new paint. Prep work as per the pictures:

29946280480_fc75a61aa7_z.jpg


30242978525_9c1c66ccb0_z.jpg


I didn't strip the paint completely off so the end result probably isn't going to be perfect but it will get me by for now. The main mounts are plastic and in good shape so I left them alone. Pictures of it all once the paint dries.
 
Paint turned out well:

30210725116_714f64864c_z.jpg


There are some defects but all will be concealed by the other parts of the brackets so for now it's fine. I will need to find a good paint stripper that will let me take everything off and then I will repaint everything.
 
That looks so much better. Some times I wish I were less lazy, and would stop slapping scabby parts onto my car (lol2)
 
That looks so much better. Some times I wish I were less lazy, and would stop slapping scabby parts onto my car (lol2)

Thanks. I'm just happy the paint matched so well.
 
Made a run to Ace this morning to see about getting some button head Allen screws to replace the standard bolts provided for the wing mounts. They didn't have any long enough so I did a web search and bought some via Amazon.

Jacked the front end in the air, put her on jackstands and crawled underneath to take care of my exhaust clearance issue (hoping for the last time). Every time I have to drop the butterfly brace I am reminded just what a PITA it is. The benefits far outweigh that disadvantage though. First used a cut-off wheel in my angle grinder, then dressed things up with a regular grinding disc. Should be plenty of room now:

29632120193_455bf678d3_z.jpg


While I was on the floor I cleaned up the front bumper where some paint had gotten removed when I pulled the lip off. Put a little touch-up paint on there so I'll be ready once the parts are done at the painter's. Dropped her back down, started her up and no buzzing/rattling from the exhaust.
 
New bumpstops arrived today, and they are stiff. As in, I can't compress them at all by hand stiff.
 
C'mon, someone else post in here!

Called the body shop today and they said parts would be ready for pickup later this afternoon. I didn't have the CX available so told them I'd get the parts tomorrow.

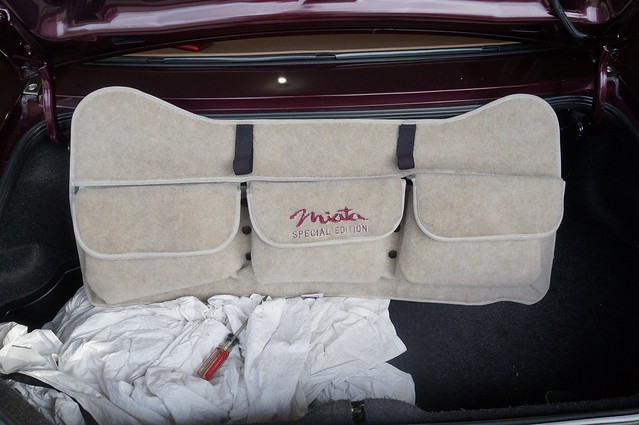
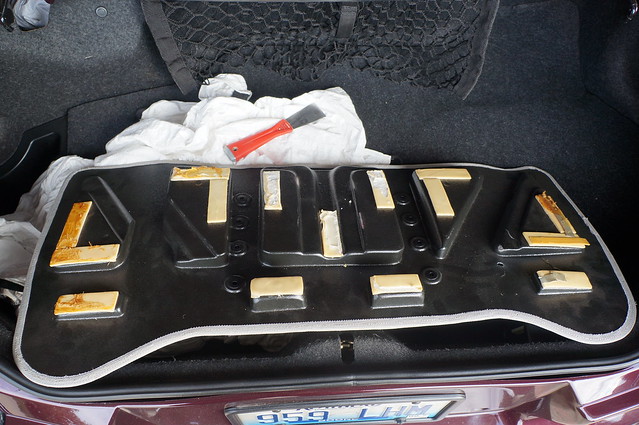
Decided to do a little prep work and make a change I have been planning on while I was going to take the front bumper off. Pulled the inside trunk storage I have off, some of the adhesive had already come off but the rest was tenacious:

29992388110_7ebd6ebe5f_z.jpg


29992389480_5e05768c8f_z.jpg


29992388640_67f4085cdf_z.jpg


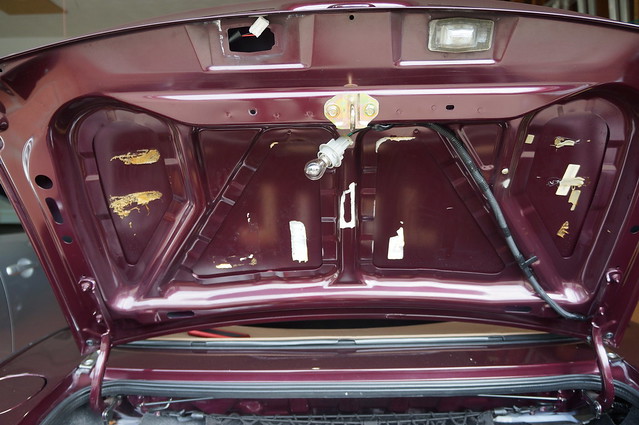
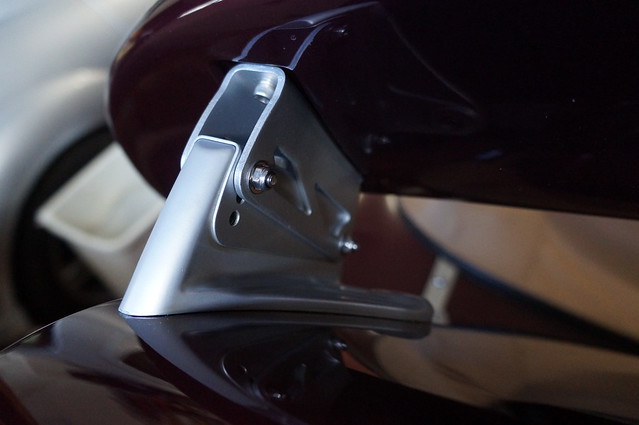
There was one small screw that went through the plastic backing I wasn't expecting so now have a bigger hole where it was. I removed the third brake and license plate lights, despite only being a couple of years old the brake light gasket already shows signs of breakdown. I'm going to have to see if I can get the license plate light gaskets too, one of those didn't want to come off and some of it tore off. Trunk lid is ready to pull in the morning.

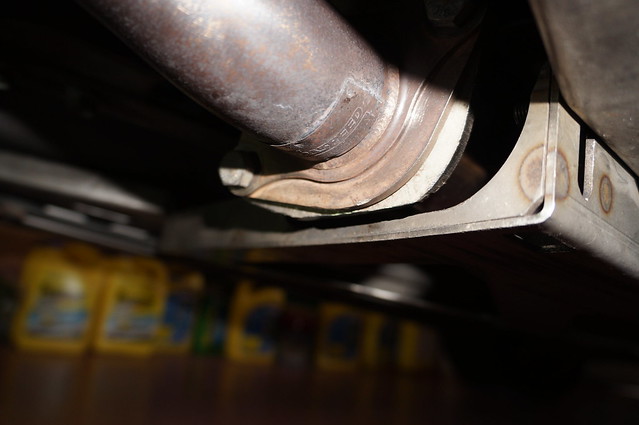
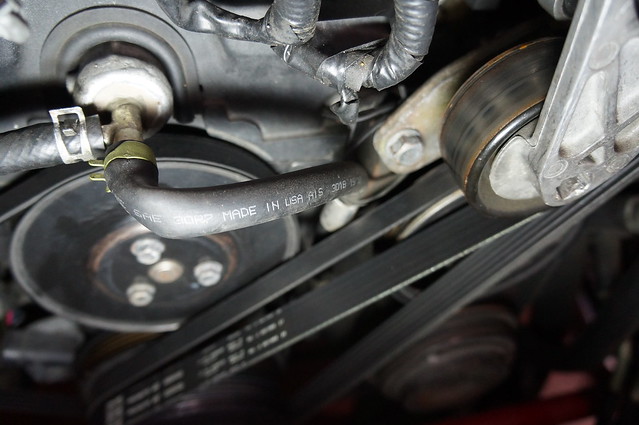
Swapped ends, jacked her up and removed the undertray. Drained/pulled the radiator and addressed one of the small hoses that come off where the factory thermostat housing is located. With the modified part I had made up, the hose made a 180 degree bend which kinked it:

30203438471_1563368dc0_z.jpg


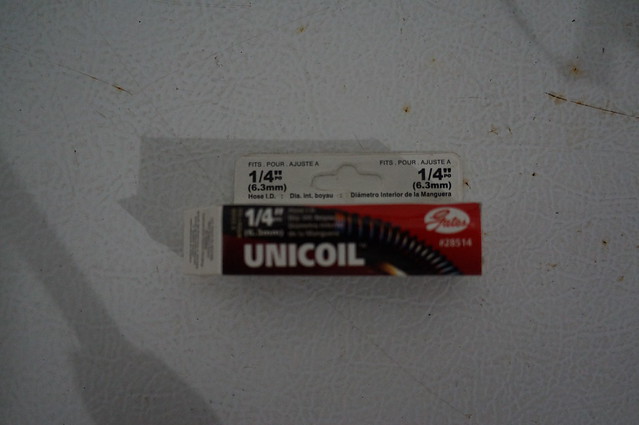
I did some research and found there is no way to bend a hose once it's been formed. Looked around for some other method and found Unicoils:

30203437821_781f6ef6bb_z.jpg


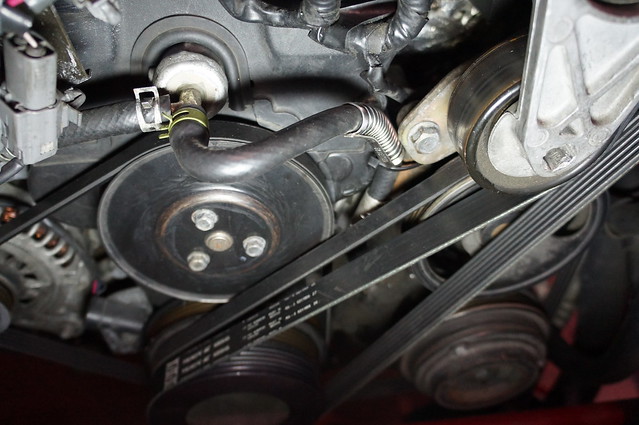
This allows you to put a bend in a hose that isn't there while giving it enough support to keep it from collapsing. I found that one of the small hoses for a NA had a nice 180 degree bend so ordered one of those. I used the Unicoil to change its direction and run it down to the connection at the water pump. Judicious use of a zip-tie to make sure nothing falls into the path of a belt, and I now have this:

29992387360_b15ef69904_z.jpg


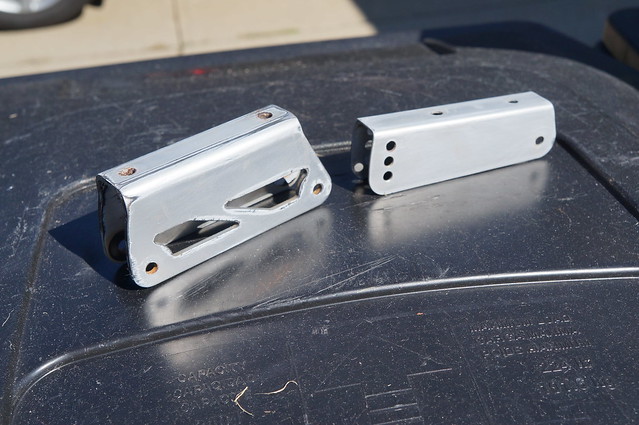
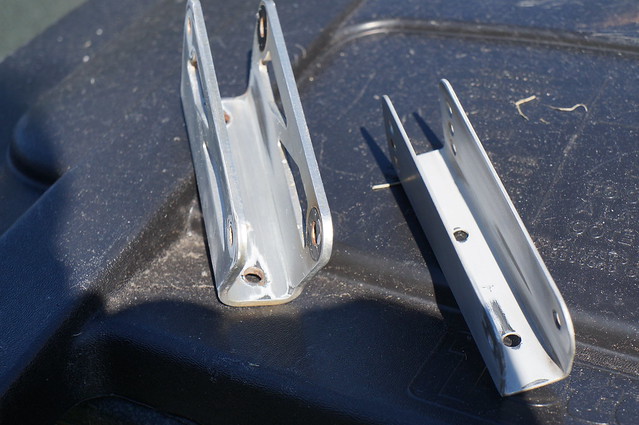
I was going to replace my lower radiator mounts with ones that haven't been cut up (you may recall I cut mine up during my initial installation of the BRP supercharger, then found out later I just needed a different fastener), but apparently took those to my storage so that will have to wait until the morning.
 
Who can get a word in edge wise with all thenposting youve been doing Mike. Lol. You have been pretty darn busy. That unicoil is neat, never heard of it. Those license plate lights are a royal PITA! I broke one of the plastic housings on my NB when swapping in LEDs. Luckily the local dealership had one in stock. Looking forward to seeing pics of the new trunk and spoiler once painted and installed.

I had hopes of installing the Webelectricproducts DRL module and swapping out the front LED turn signal bulbs with switchbacks. White for the DRLs and amber for the turn signals. But I have an NC1 which has separate parking lights so the turn signal bulbs are single filament.

So I can install the module and run them as-is or see if its worth swapping out sockets from an NC2 or NC3 to utilize the switchbacks. Id prefer the switchbacks for the contrast in color when turning, just a matter of how much work2 I want to do to achieve it.

Oh yeah, almost pulled the trigger on a used GWR catted midpipe. Wasnt sure how it would affect the sound of the Mazdaspeed muffler so I hesitated and its been sold.

Sent from my Galaxy S7 Edge using Tapatalk
 
Last edited:
Oh yeah, almost pulled the trigger on a used GWR catted midpipe. Wasnt sure how it would affect the sound of the Mazdaspeed muffler so I hesitated and its been sold.

"What have you almost done to your Miata today" :D
 
Picked up my parts this morning. Can you say beautiful? I can. Now to get it all installed...
 
Got started by replacing the Zoom gas filler door. First you have to remove the door (two bolts), the gas cap, four bolts at the base of the filler and the nut on the door release. Be careful not to drop any of the small fasteners down either the gas fill pipe or the overflow hole (you can stuff something in there if you are concerned you might drop something).

30011338880_c9954b5646_z.jpg


First you have to attach the hinge with the two bolts that held the factory door in place. This is a royal PITA.

30222320111_27844eb043_z.jpg


Next you slot the cup in place, I forgot to take a picture of this. It's held in by the four screws you removed from the filler pipe. You also put the nut back on the door release now. Finally you put the door on the hinge along with the spring that pops it up:

30273237456_9ec5db5e58_z.jpg


And voila, it's all done.

30011336910_3c6de7319b_z.jpg


Next up I removed the trunk lid and installed the freshly painted one. This is pretty basic, four nuts and it's off/on. I put the rubber bumpers back on, routed the third brake and license plate light wire harness and installed the latch. I lined up the paint marks on the hinges for where the nuts were before, it was close but I had to finagle a little bit to get the gaps good. Installed the third brake light, when I went to put in the license plate lights I found contrary to what I thought, one of them did break when I removed it. Ended up using one of the ones that came with the new trunk lid. Installed the painted Mazda emblem and then went on to install the wing mounts. Note the outboard screw washer will be resting on the sealer, as that part of the mount is plastic you can put a lot of stress on it if you try to just tighten it down. I marked around the washer then used a knife to remove the sealer under the washer. That gave me a good mount.

30011336100_c1cdd45128_z.jpg
 
I put the mounts on the wing. Put it all in place temporarily because I was waiting on my new Allen head screws to come in.

Moved to the front of the car. I couldn't find my radiator lower brackets in my storage this morning, looked around the garage again with no success. Looked in my storage one more time and came up dry. Discovered I apparently need to have my eyes checked because they finally turned up sitting on my workbench underneath some stuff I hadn't moved earlier. Got those swapped out, installed and then filled the radiator.

Brought the front bumper and lip inside, my wife said something about this and I told her I needed to do it that way so things didn't get scratched up. This earned me a wifely look. Put the lip on the bumper, then put on my HD lip. Note that they no longer carry the type that I like, I found some of it at Lowe's instead (Frost King garage door seal). Bumper went back on and I buttoned up all the remaining little items (including the license plate light I picked up on one of my trips to storage).

The mail arrived and I got my new fasteners. I went from the standard hex bolts with lock washers that came with the wing, to Allen socket button head screws with nyloc nuts.

30273236716_2a0c2aa434_z.jpg


30011335230_3591a4afd2_z.jpg


For me it's a much cleaner look, and it's easier to deal with just the nuts instead of a lock washer.

And now, since I know everyone has been waiting for it, some pictures of the finished product:

30273236446_e91be606aa_z.jpg


30011334050_97c3d3cc40_z.jpg


30273235916_97581e9e80_z.jpg
 
It looks very Pirelli World Challenge MX-5. Not crazy high, but higher than stock. I like it :D

Next up, time to go big:

20151111_155243_1024x1024_b510fdf5-c8d1-4456-9bf6-217f923b9d12_large.jpg
 
Thanks. I wasn't really sure if I'd like it or not, most of the pictures you find are of a blue one that looks blah to me. I really, really like it now. It even has three angles of attack.

You forget this is my low-key street car. Only way I'd go as big as the one in your picture is if I get one for track only.
 
Yes Andrew, what I almost did. Lol. Still kicking myself in the ass, especially since it was dropped to 200 shipped.

Mike, the car is looking great! I really like the new spoiler. It and the trunk came out great. Looks like you got a new shop to use.

I literally lold when I read the "wifely look". All of us married guys have gotten that look before. If not, then you arent doing it right. Haha

Sent from my Galaxy S7 Edge using Tapatalk
 
Thanks Jeff. I'm extremely happy with the whole package too.

The Feal top hats showed up today. I considered installing them, but won't have enough time for a shake-down run before tomorrow's local Miata cruise. Spent today washing, waxing and cleaning the interior up. I tried removing the double-sided tape from my trunk storage container but it's on there pretty good, so that will wait for another time.
 
Back