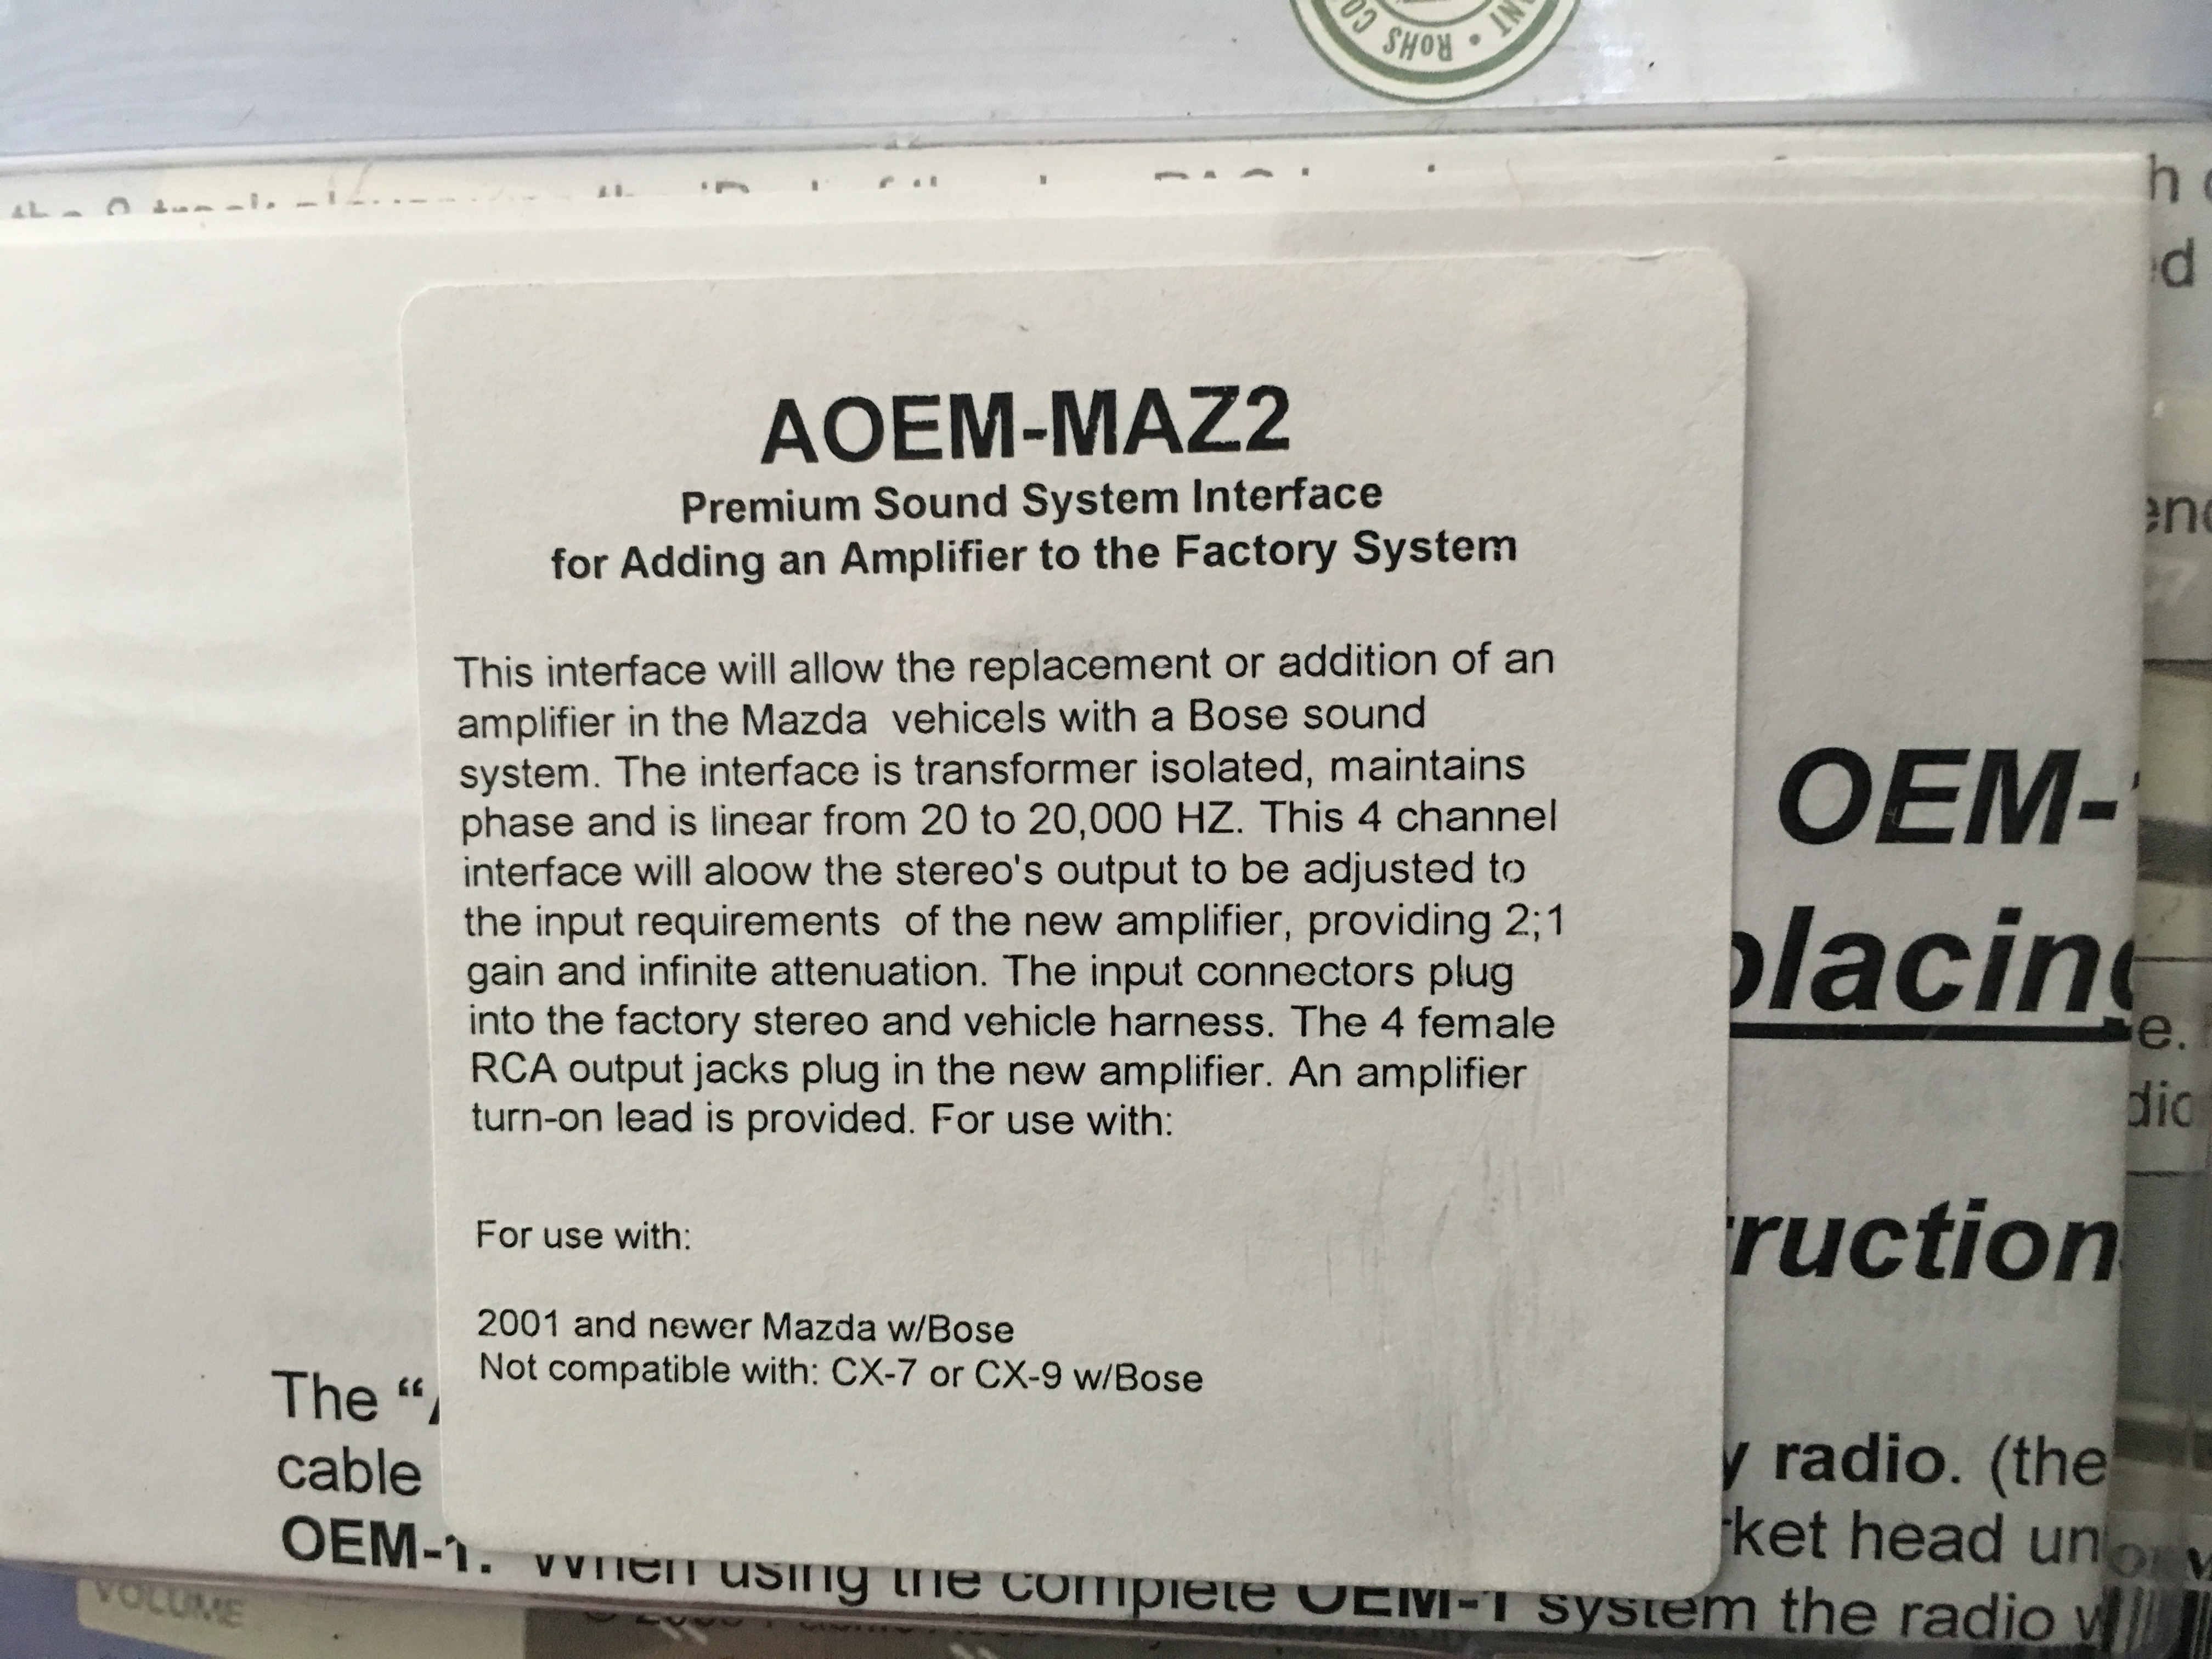
I wanted to install an amplifier to my CX-5 without having to cut any wire harness. I found some information from another forum "Mazda3revolution.com" on how someone had used the PAC AOEM-MAZ2 adapter on his 2015 Mazda 3 Bose with great results. The adapter plugs into the Tuner Amp Unit (TAU) behind the glove compartment.
After installing the PAC AOEM-MAZ2 adapter, I can confirm that it does work for the 2016 CX-5 equipped with the bose system. The installation for this adapter was quite easy.
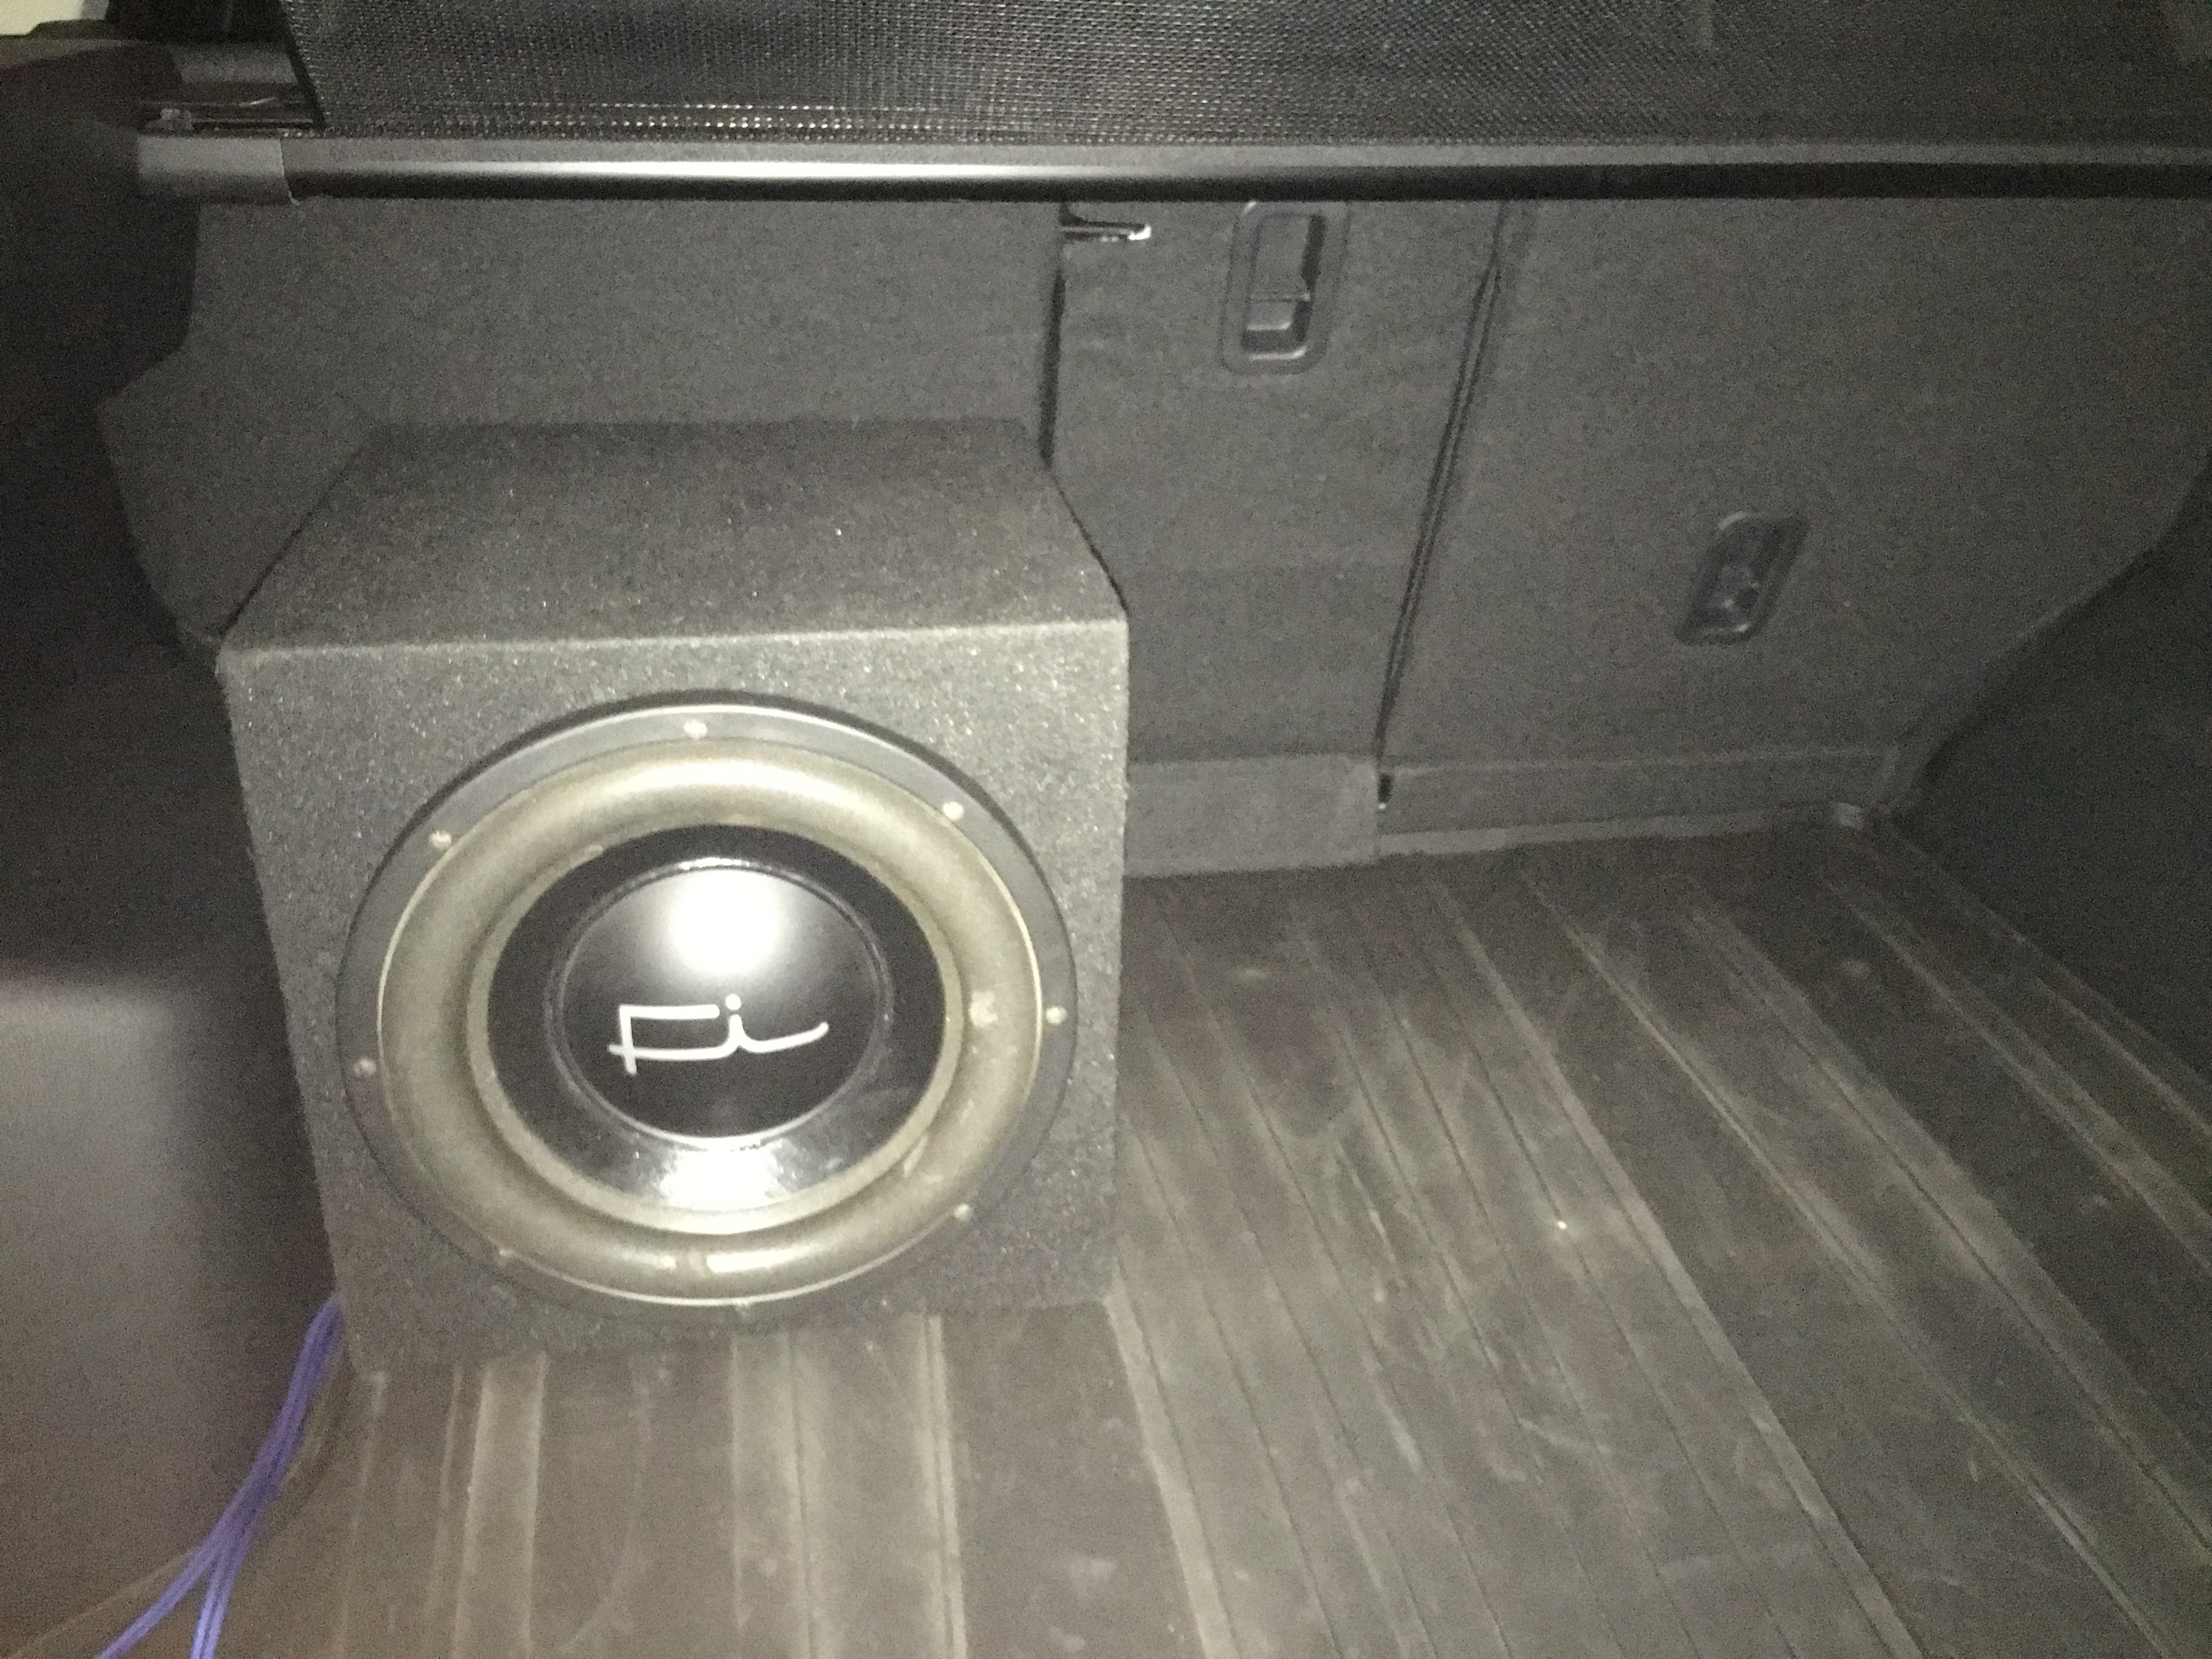
As for the sound, the subwoofer has added some much needed bass to the sound system. It sounds good but could better. I am experiencing some low frequency cutoff around 45Hz, possibly due to the sound processing from the Bose amplifier. You might be able to bring back the low end bass by adding an external bass restorer.
Overall, Im happy with the purchase of the PAC adapter, but just be aware that there is some low bass cutoff because of the sound processing from the Bose amplifier.
Heres are some pics of my install.
PAC Unit

The sticker behind the package.
Open the glove compartment to get to the Tuner Amp Unit(TAU). Unhook the little damper on the right side and push in both sides of the compartment to open the latch all the way down.
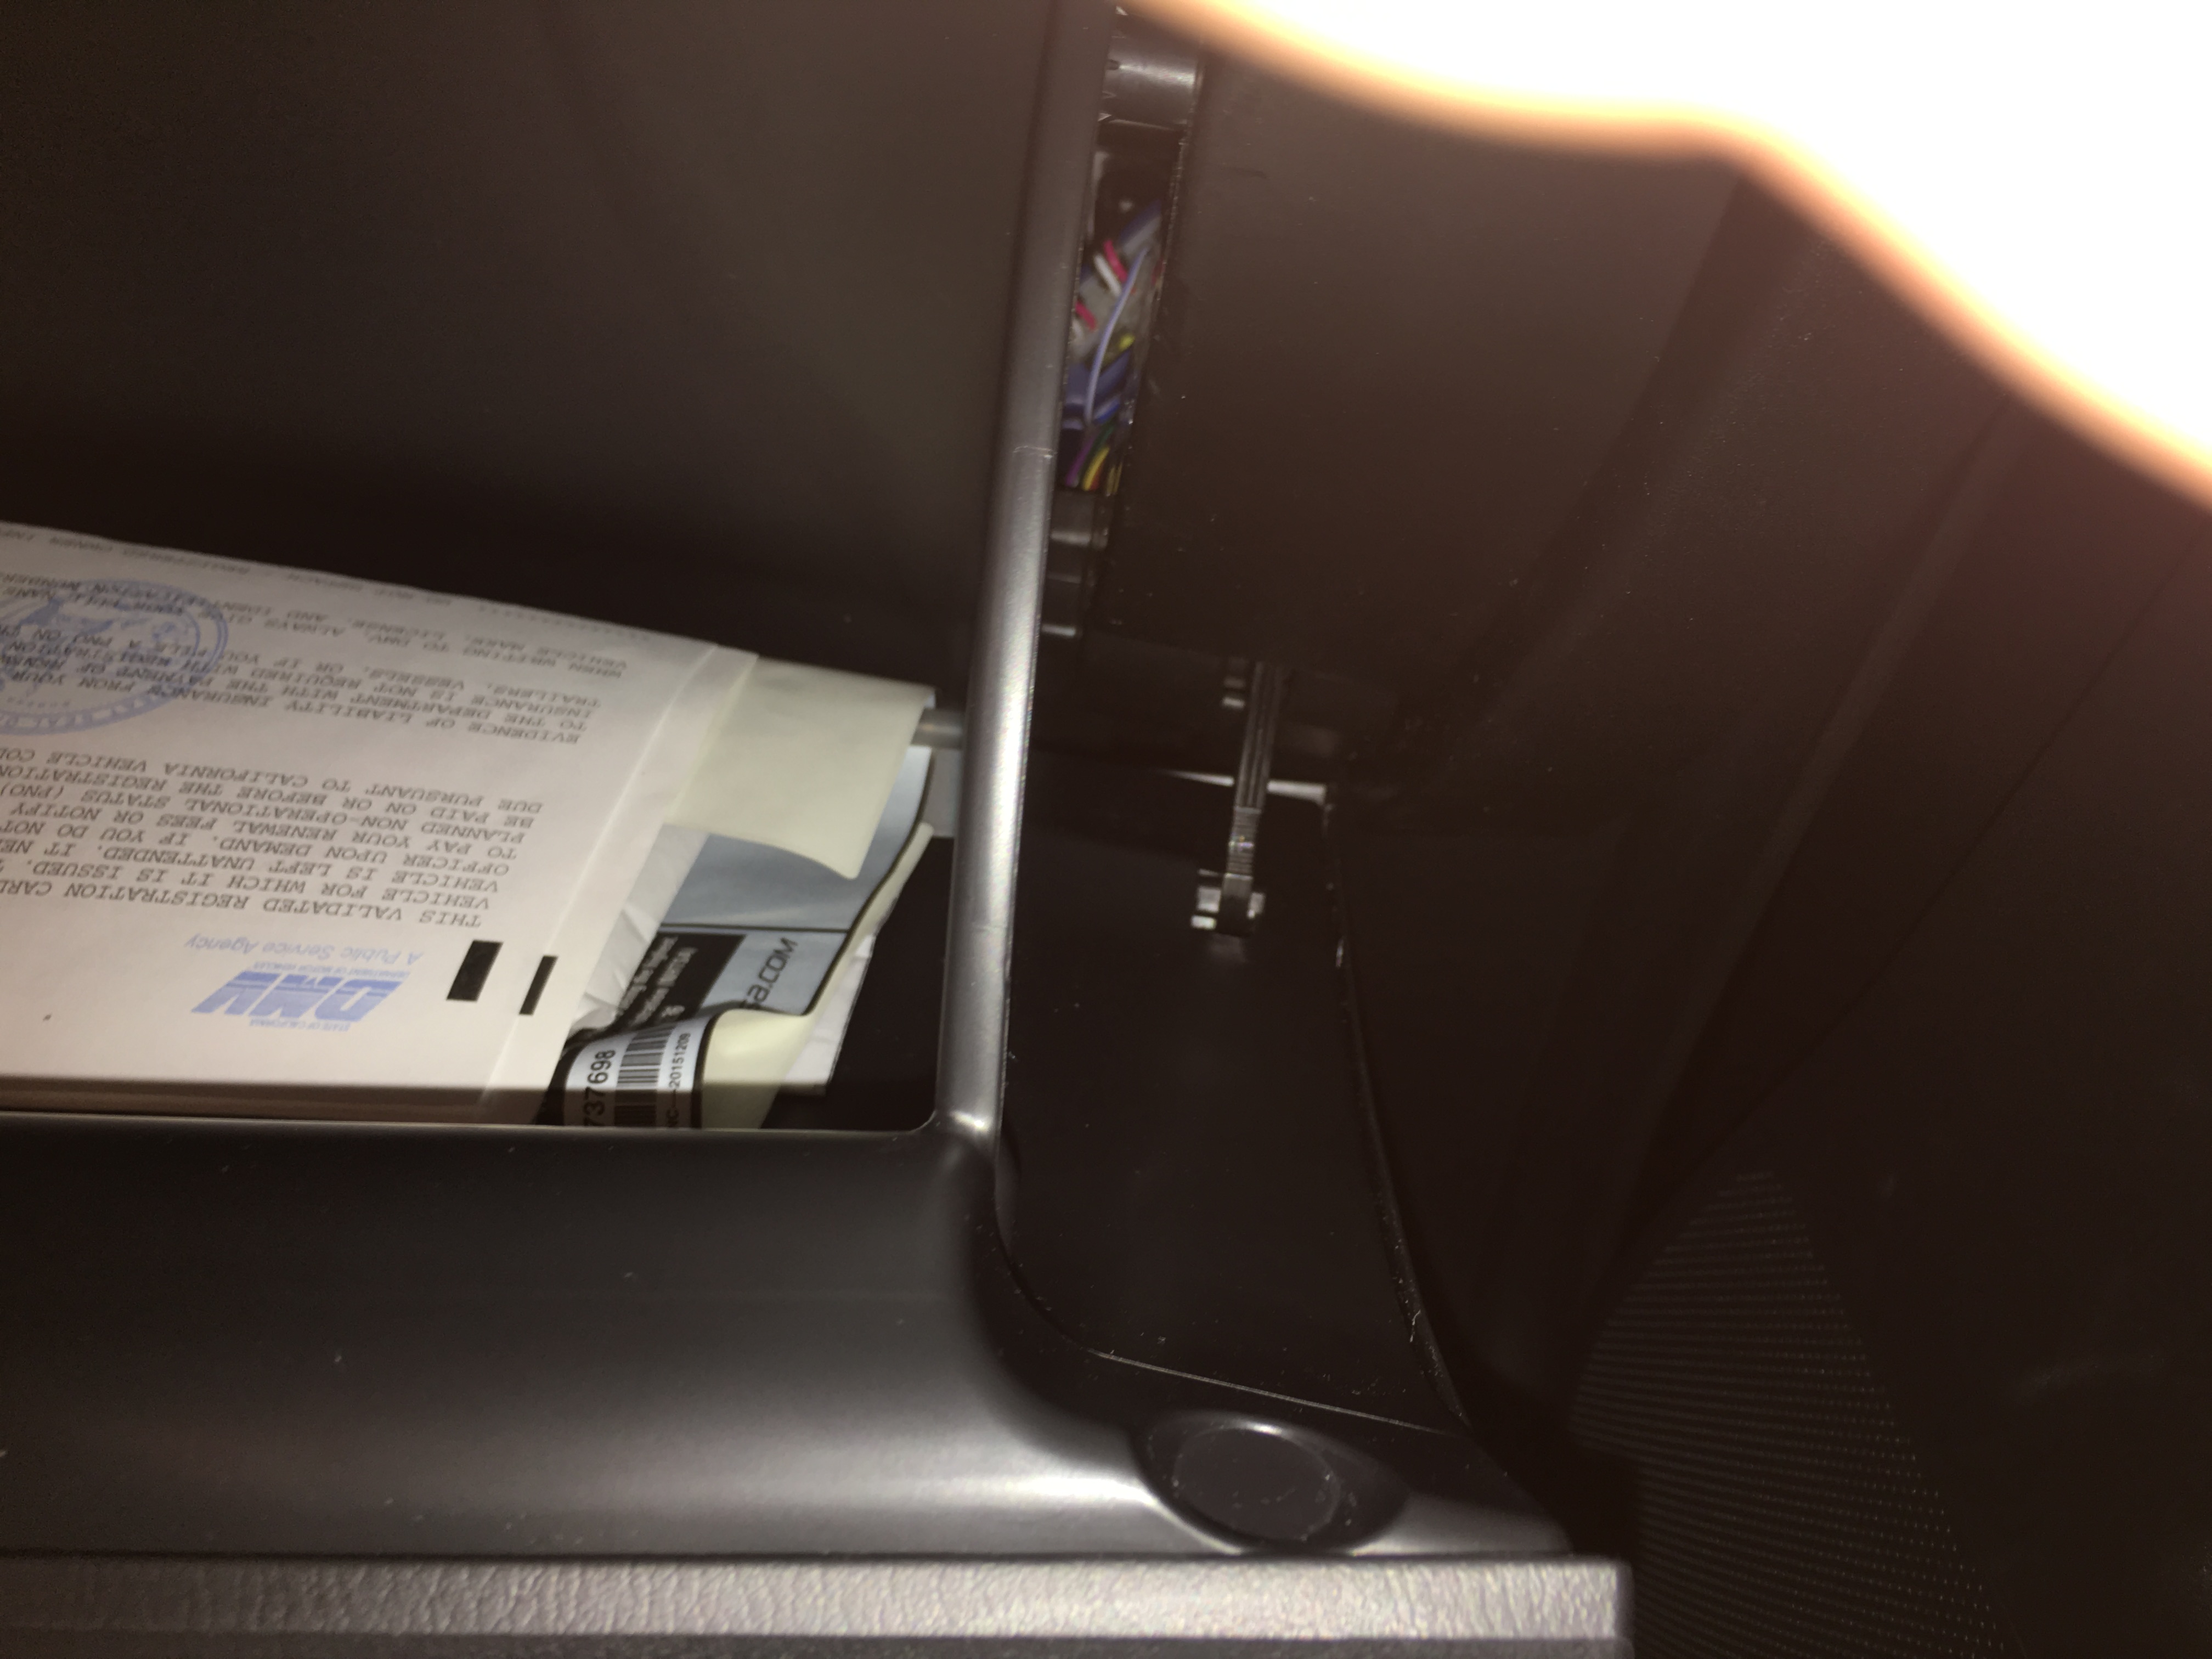
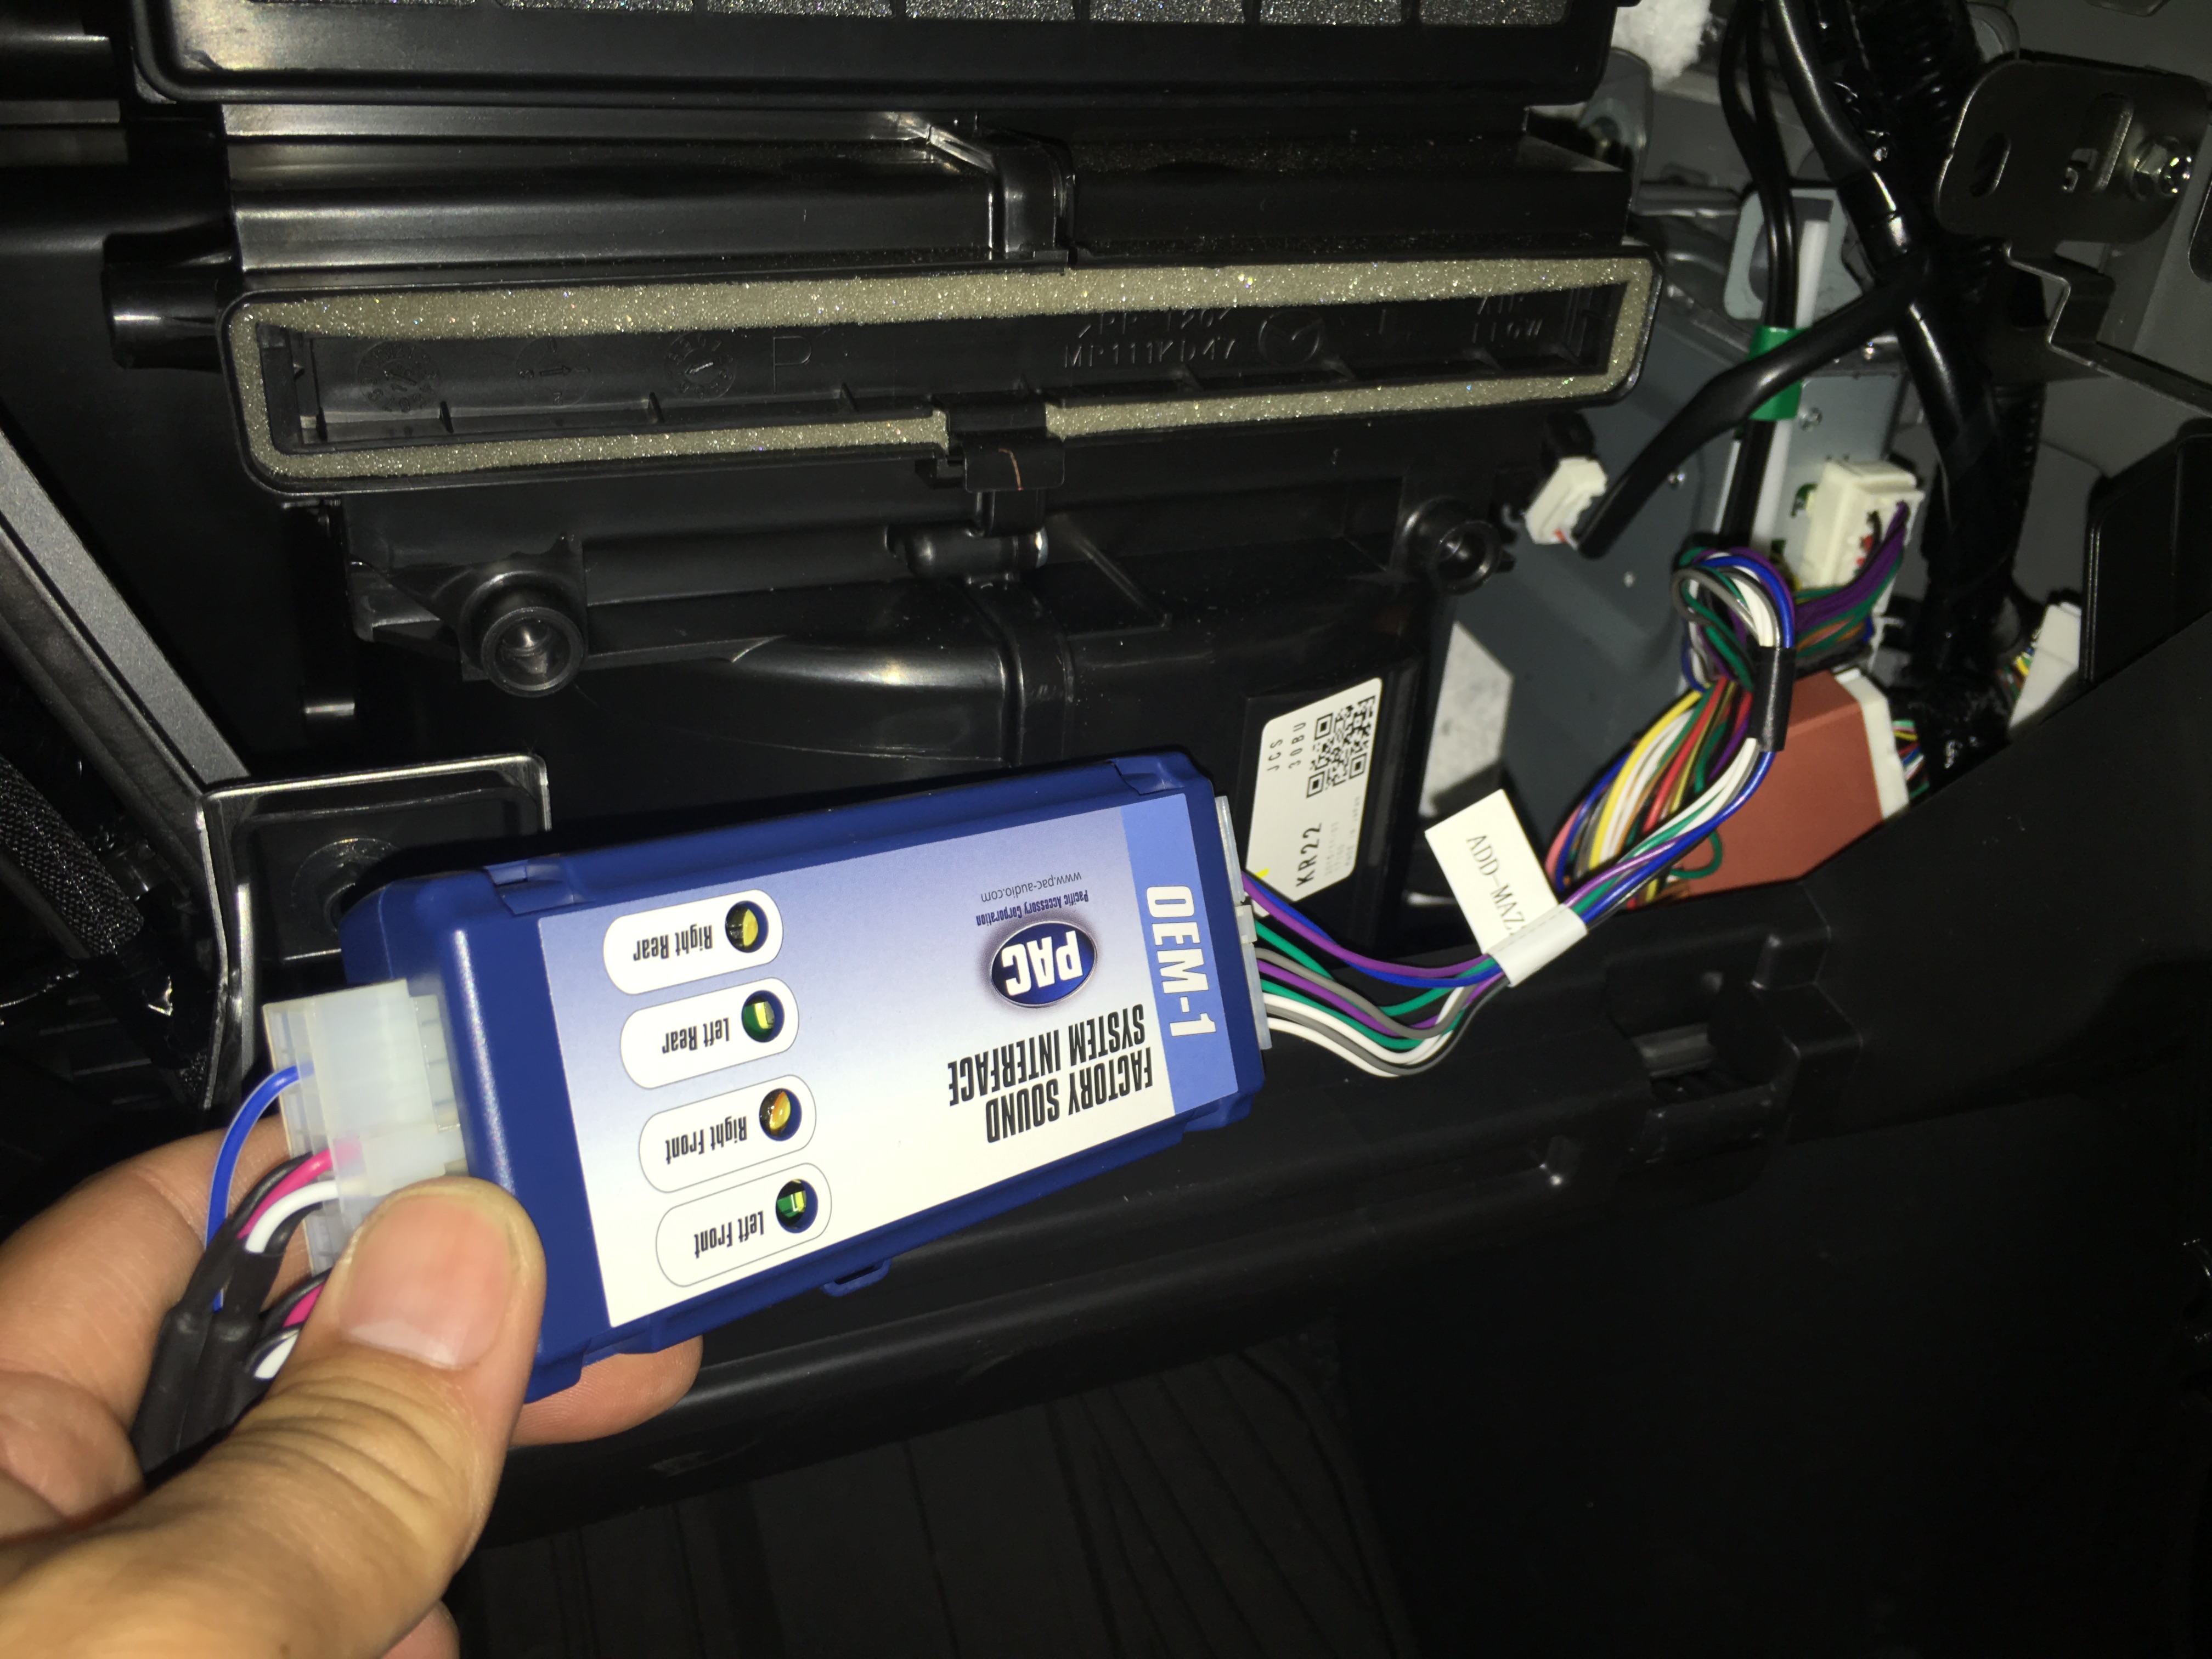
Here is the TAU located behind the glove compartment.
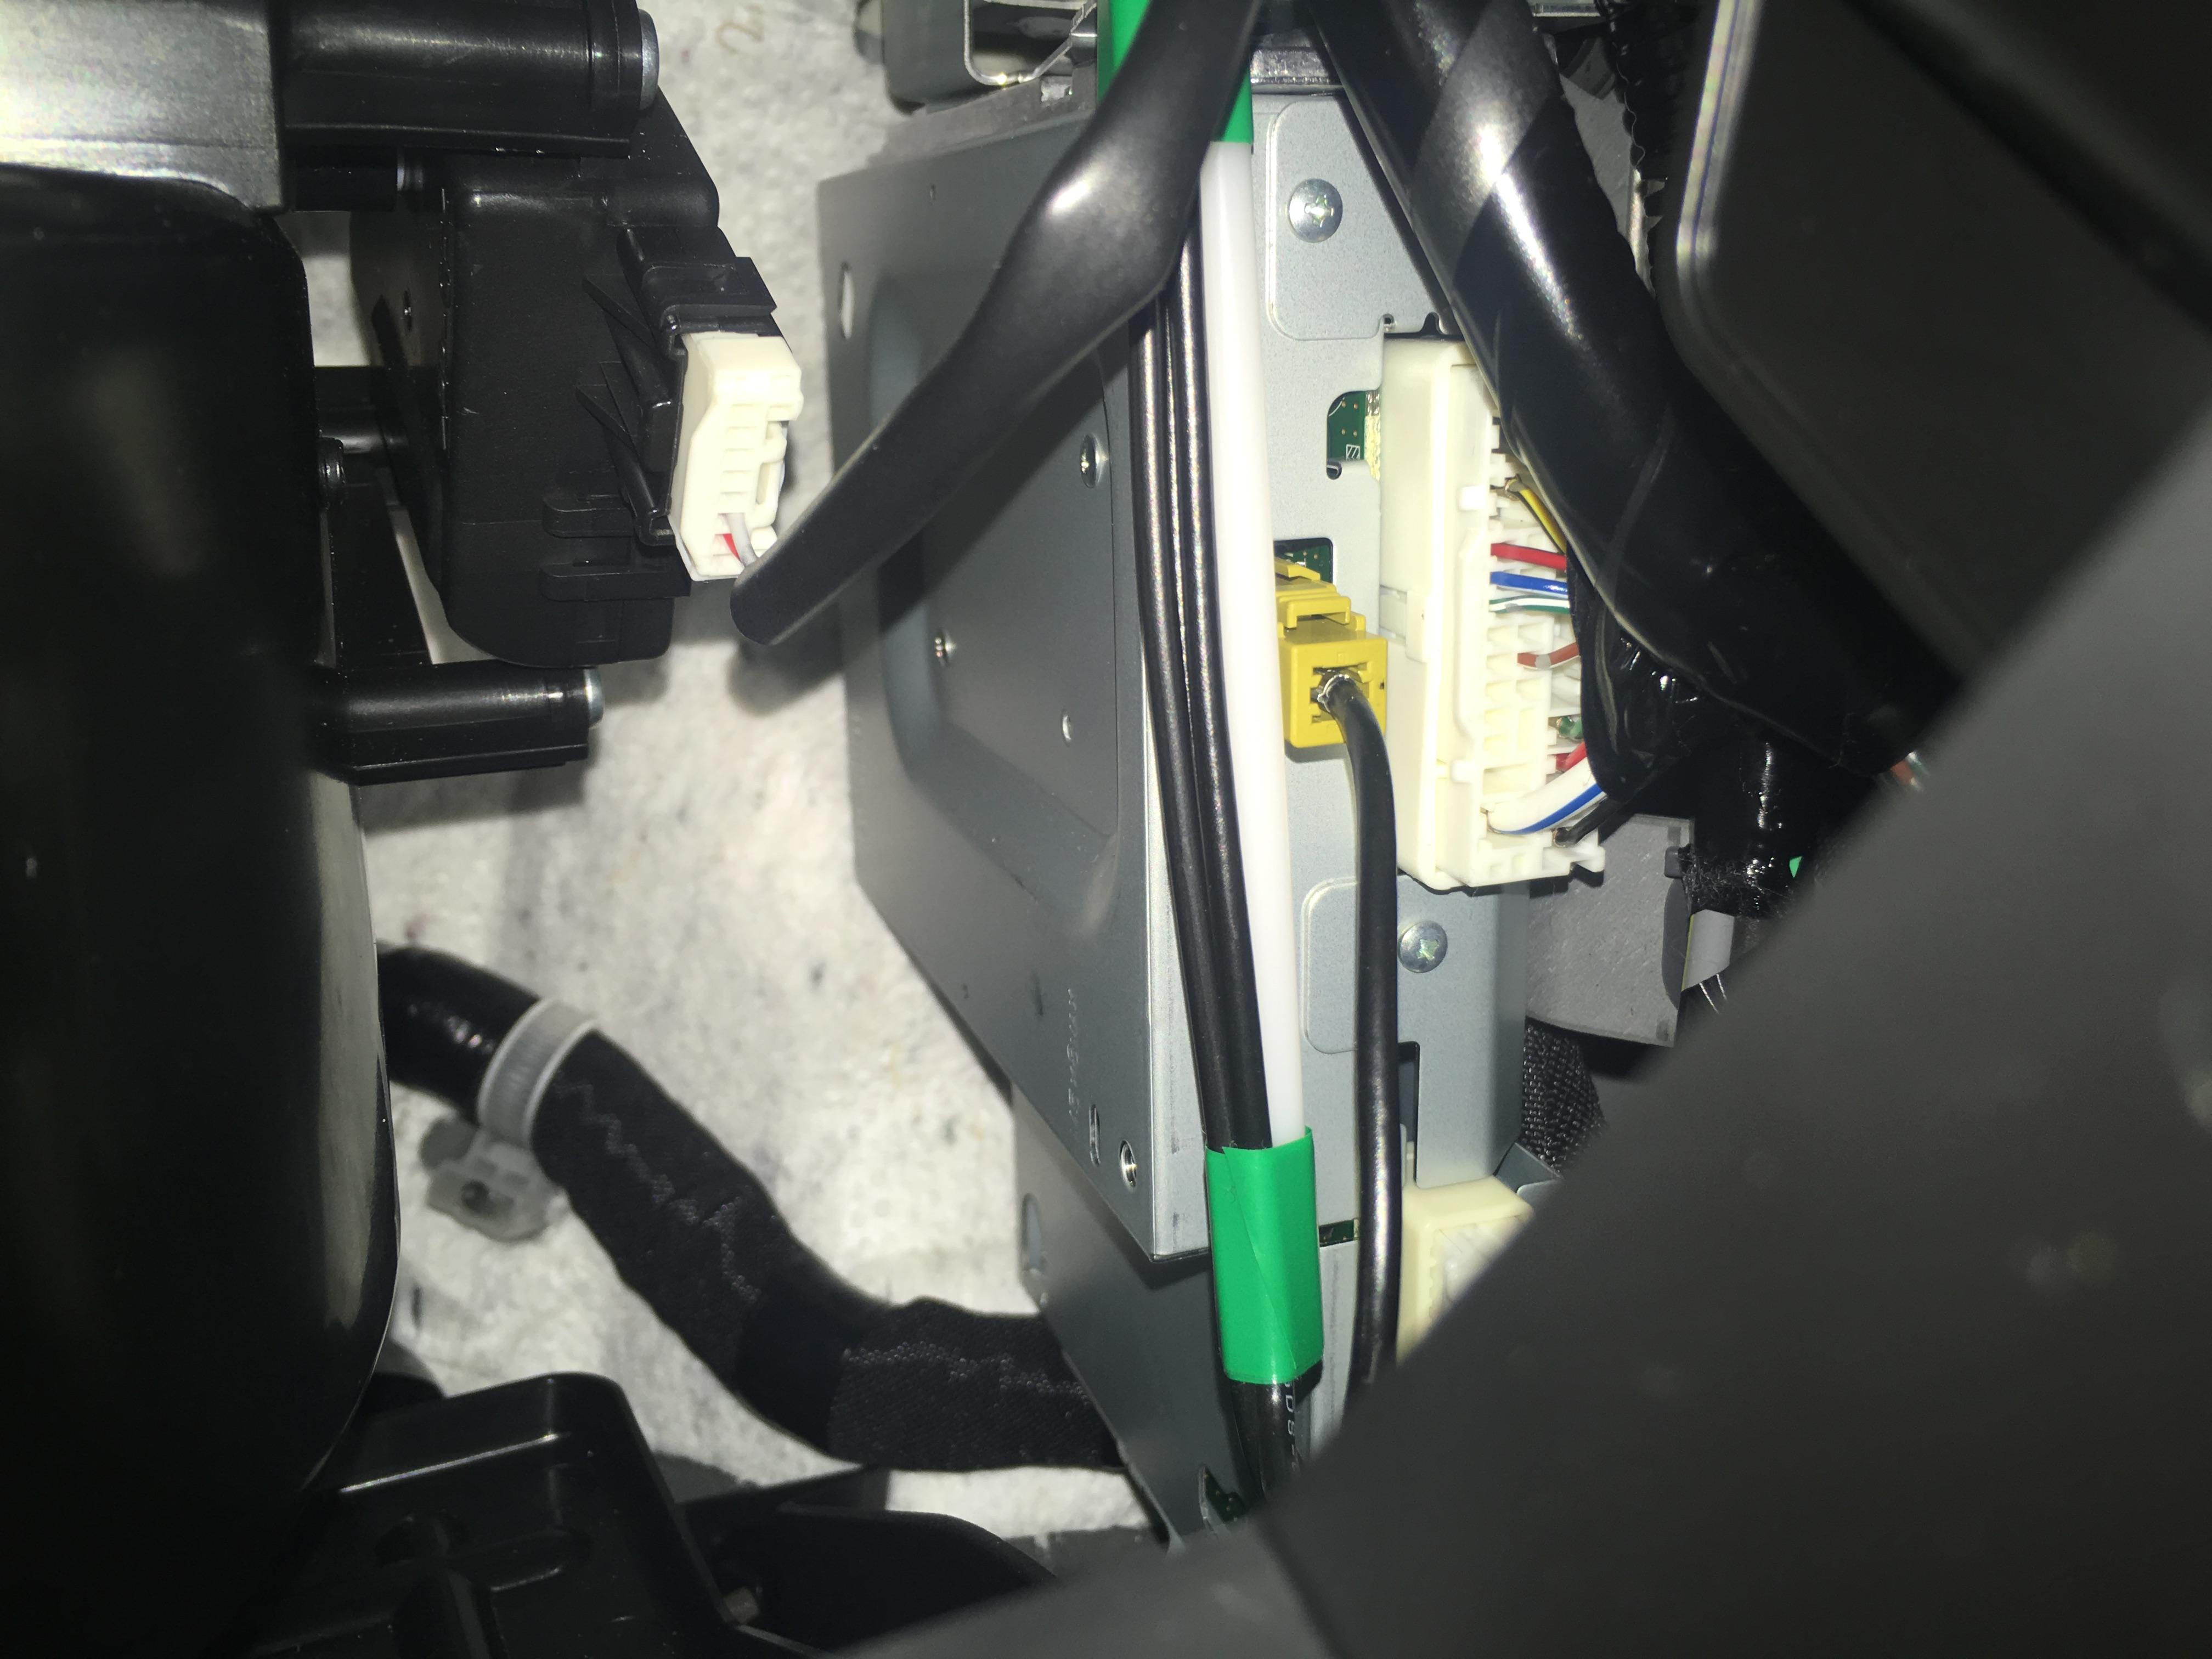
Unplug the white harness and plug it into the orange clip on the PAC. Use the white harness from the PAC and plug it back into the TAU.

Here it is all connected. Not pictured, is the other end of the PAC with two sets of RCA outputs(front/rear) and a blue remote wire. I used the front outputs for the subwoofer amplifier and turned the input level on PAC to the max setting.
Now for the amp install
First, unplug the ground wire from the battery terminal.
Cut a hole in this rubber grommet to run your power wire. This was hardest part of the amplifier install as the rubber grommet is very thick and was a PITA to run the power wire through the firewall.
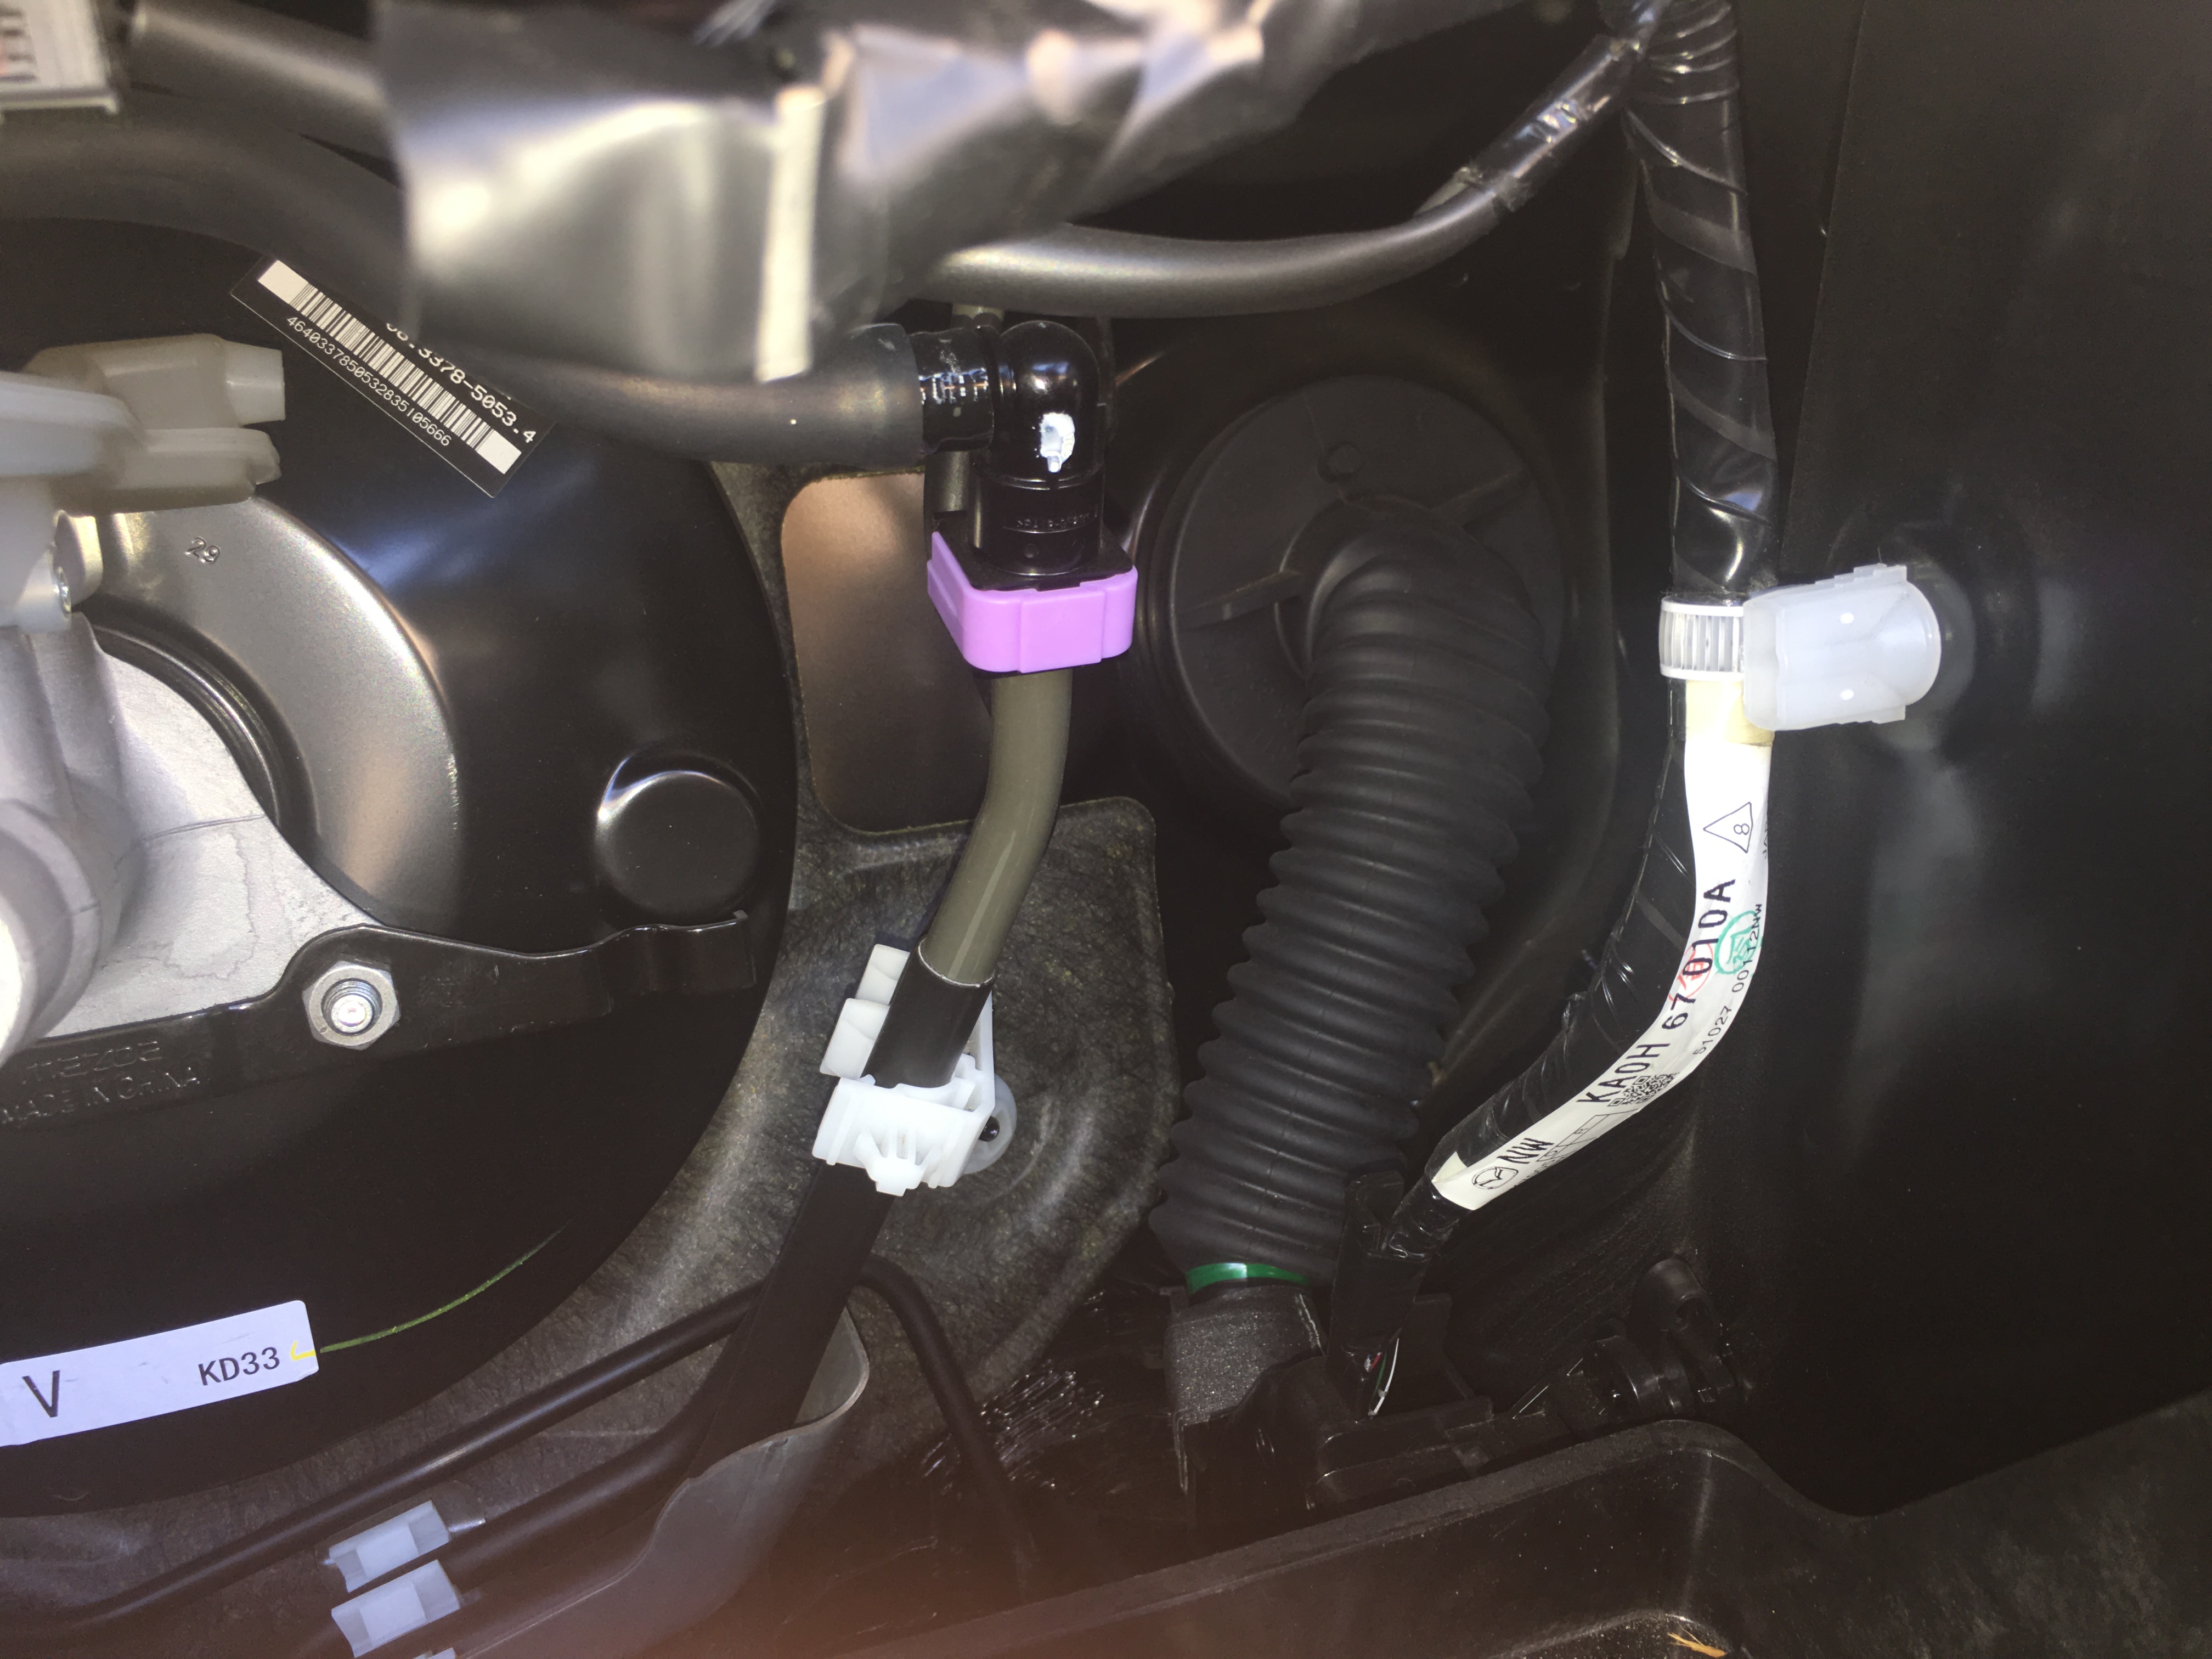
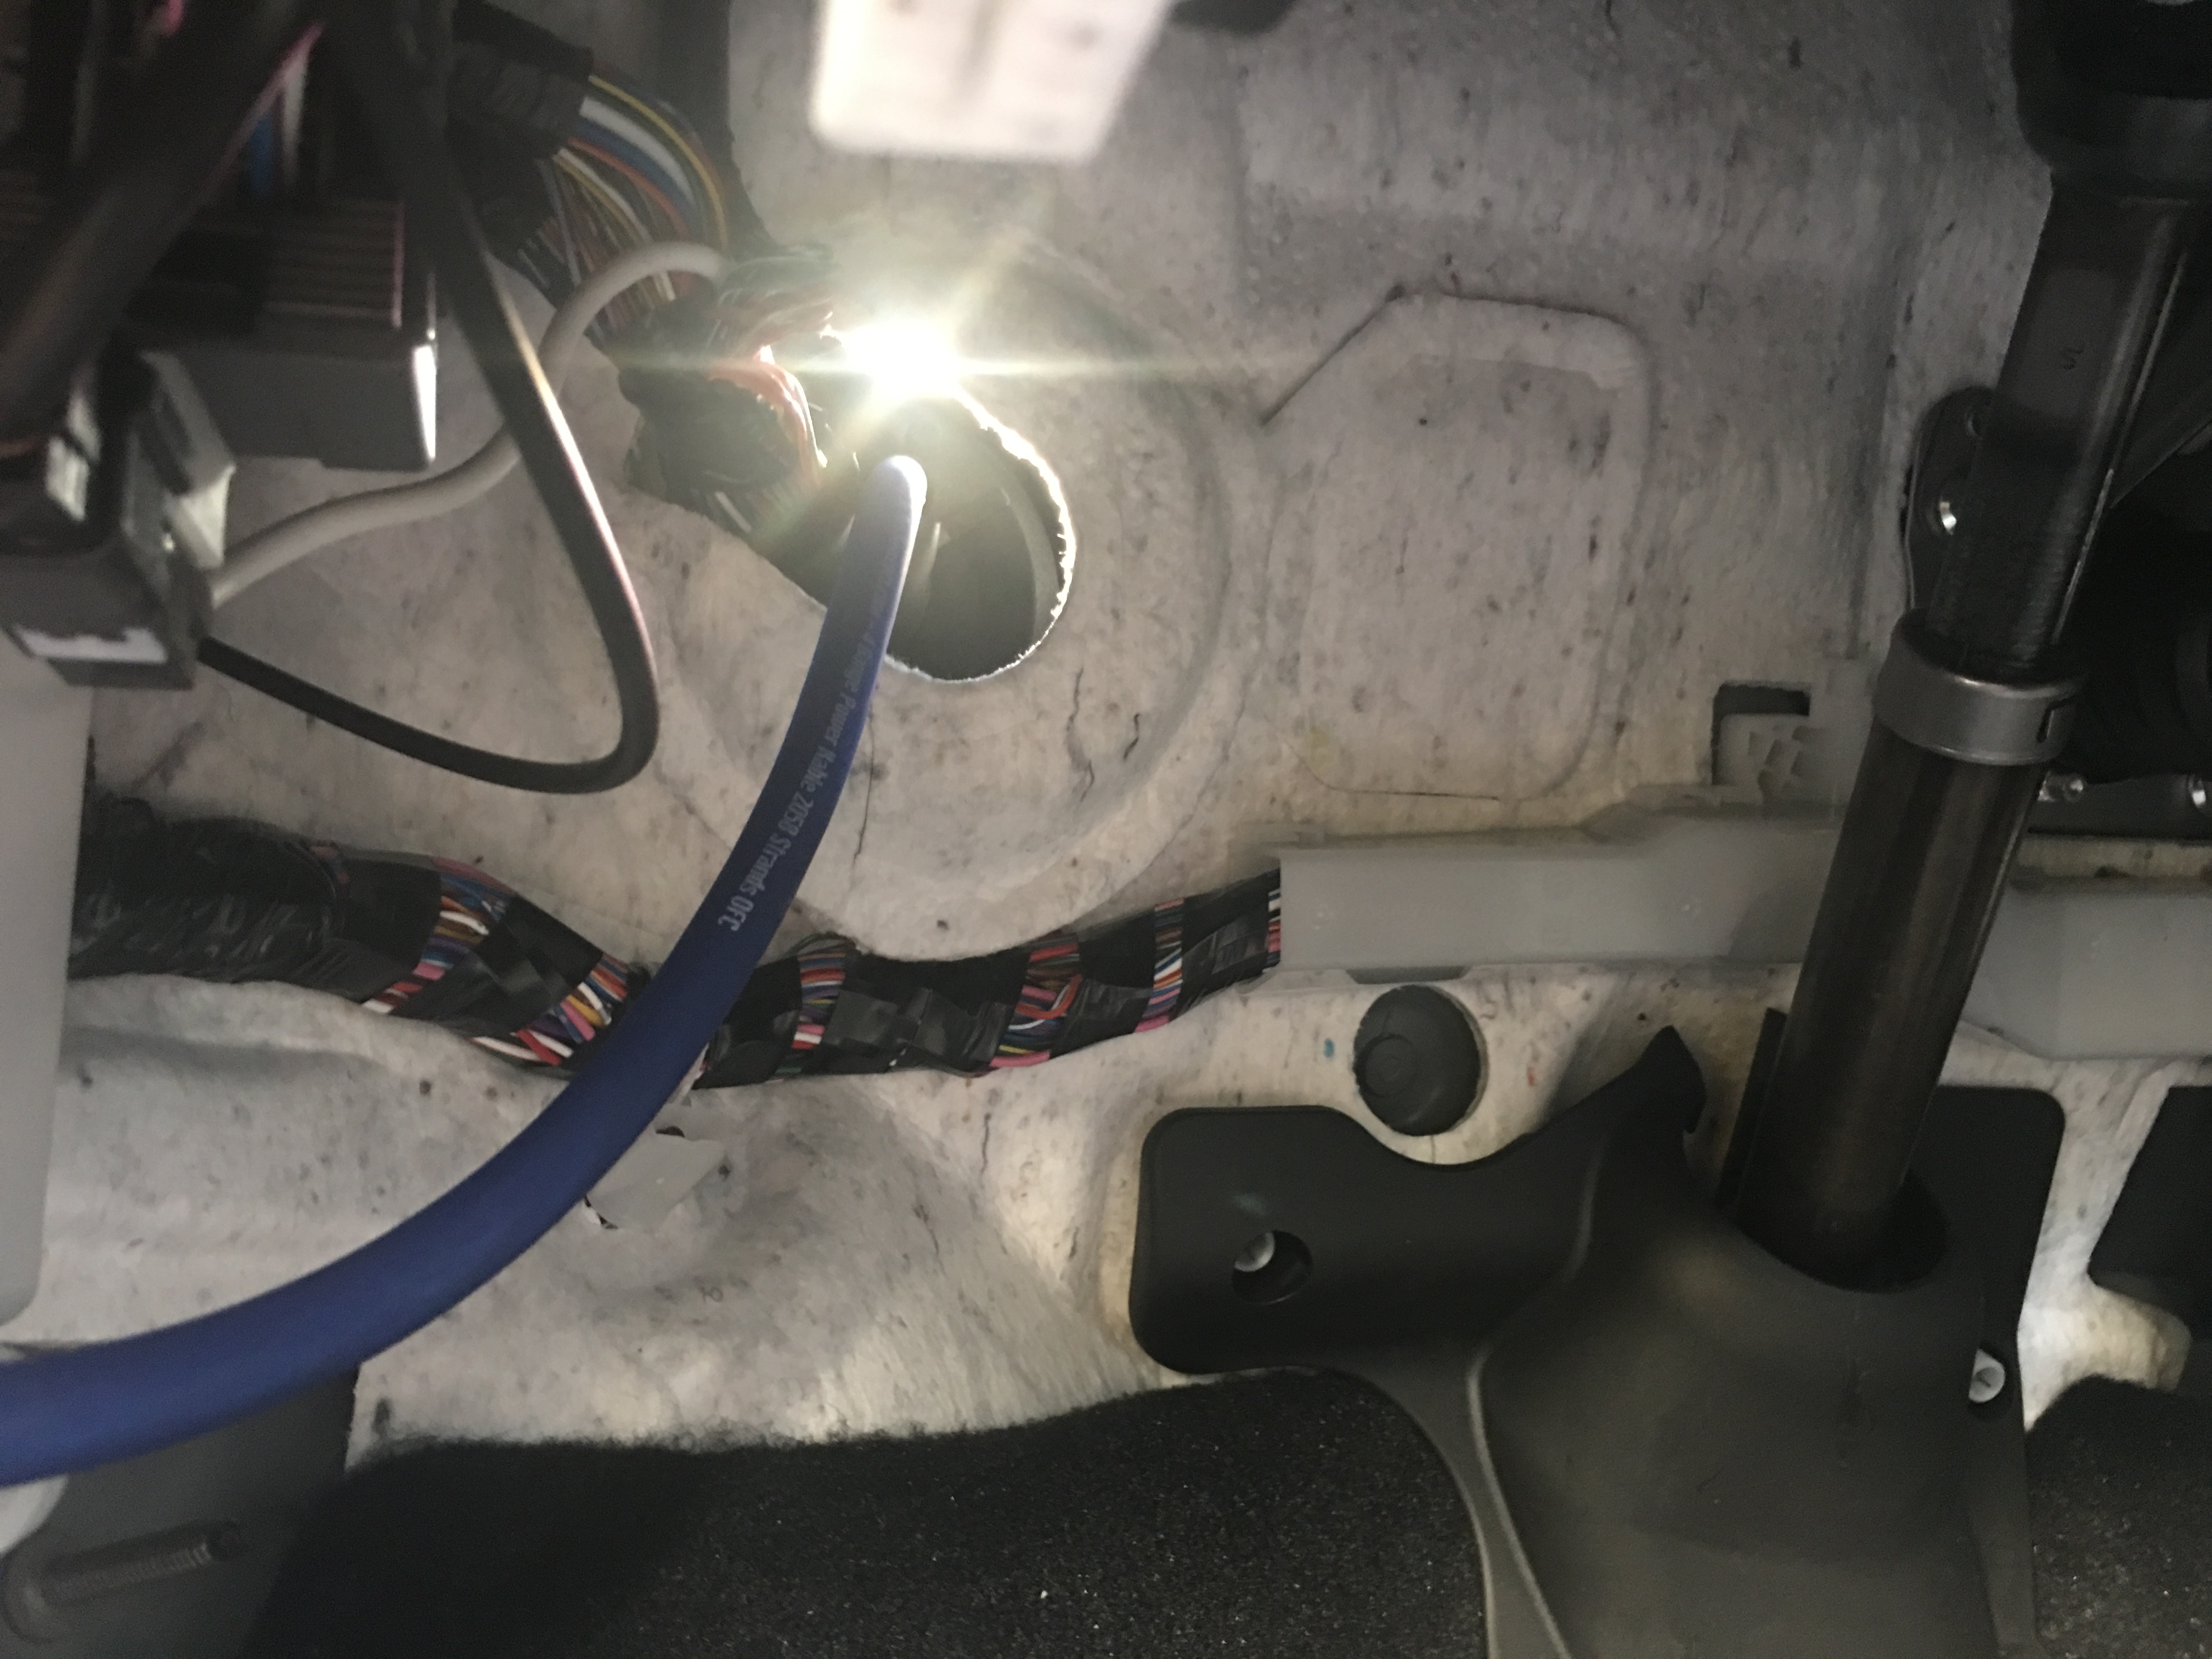
Run the amplifier power wire through the grommet and into the interior on the driver side footwell.
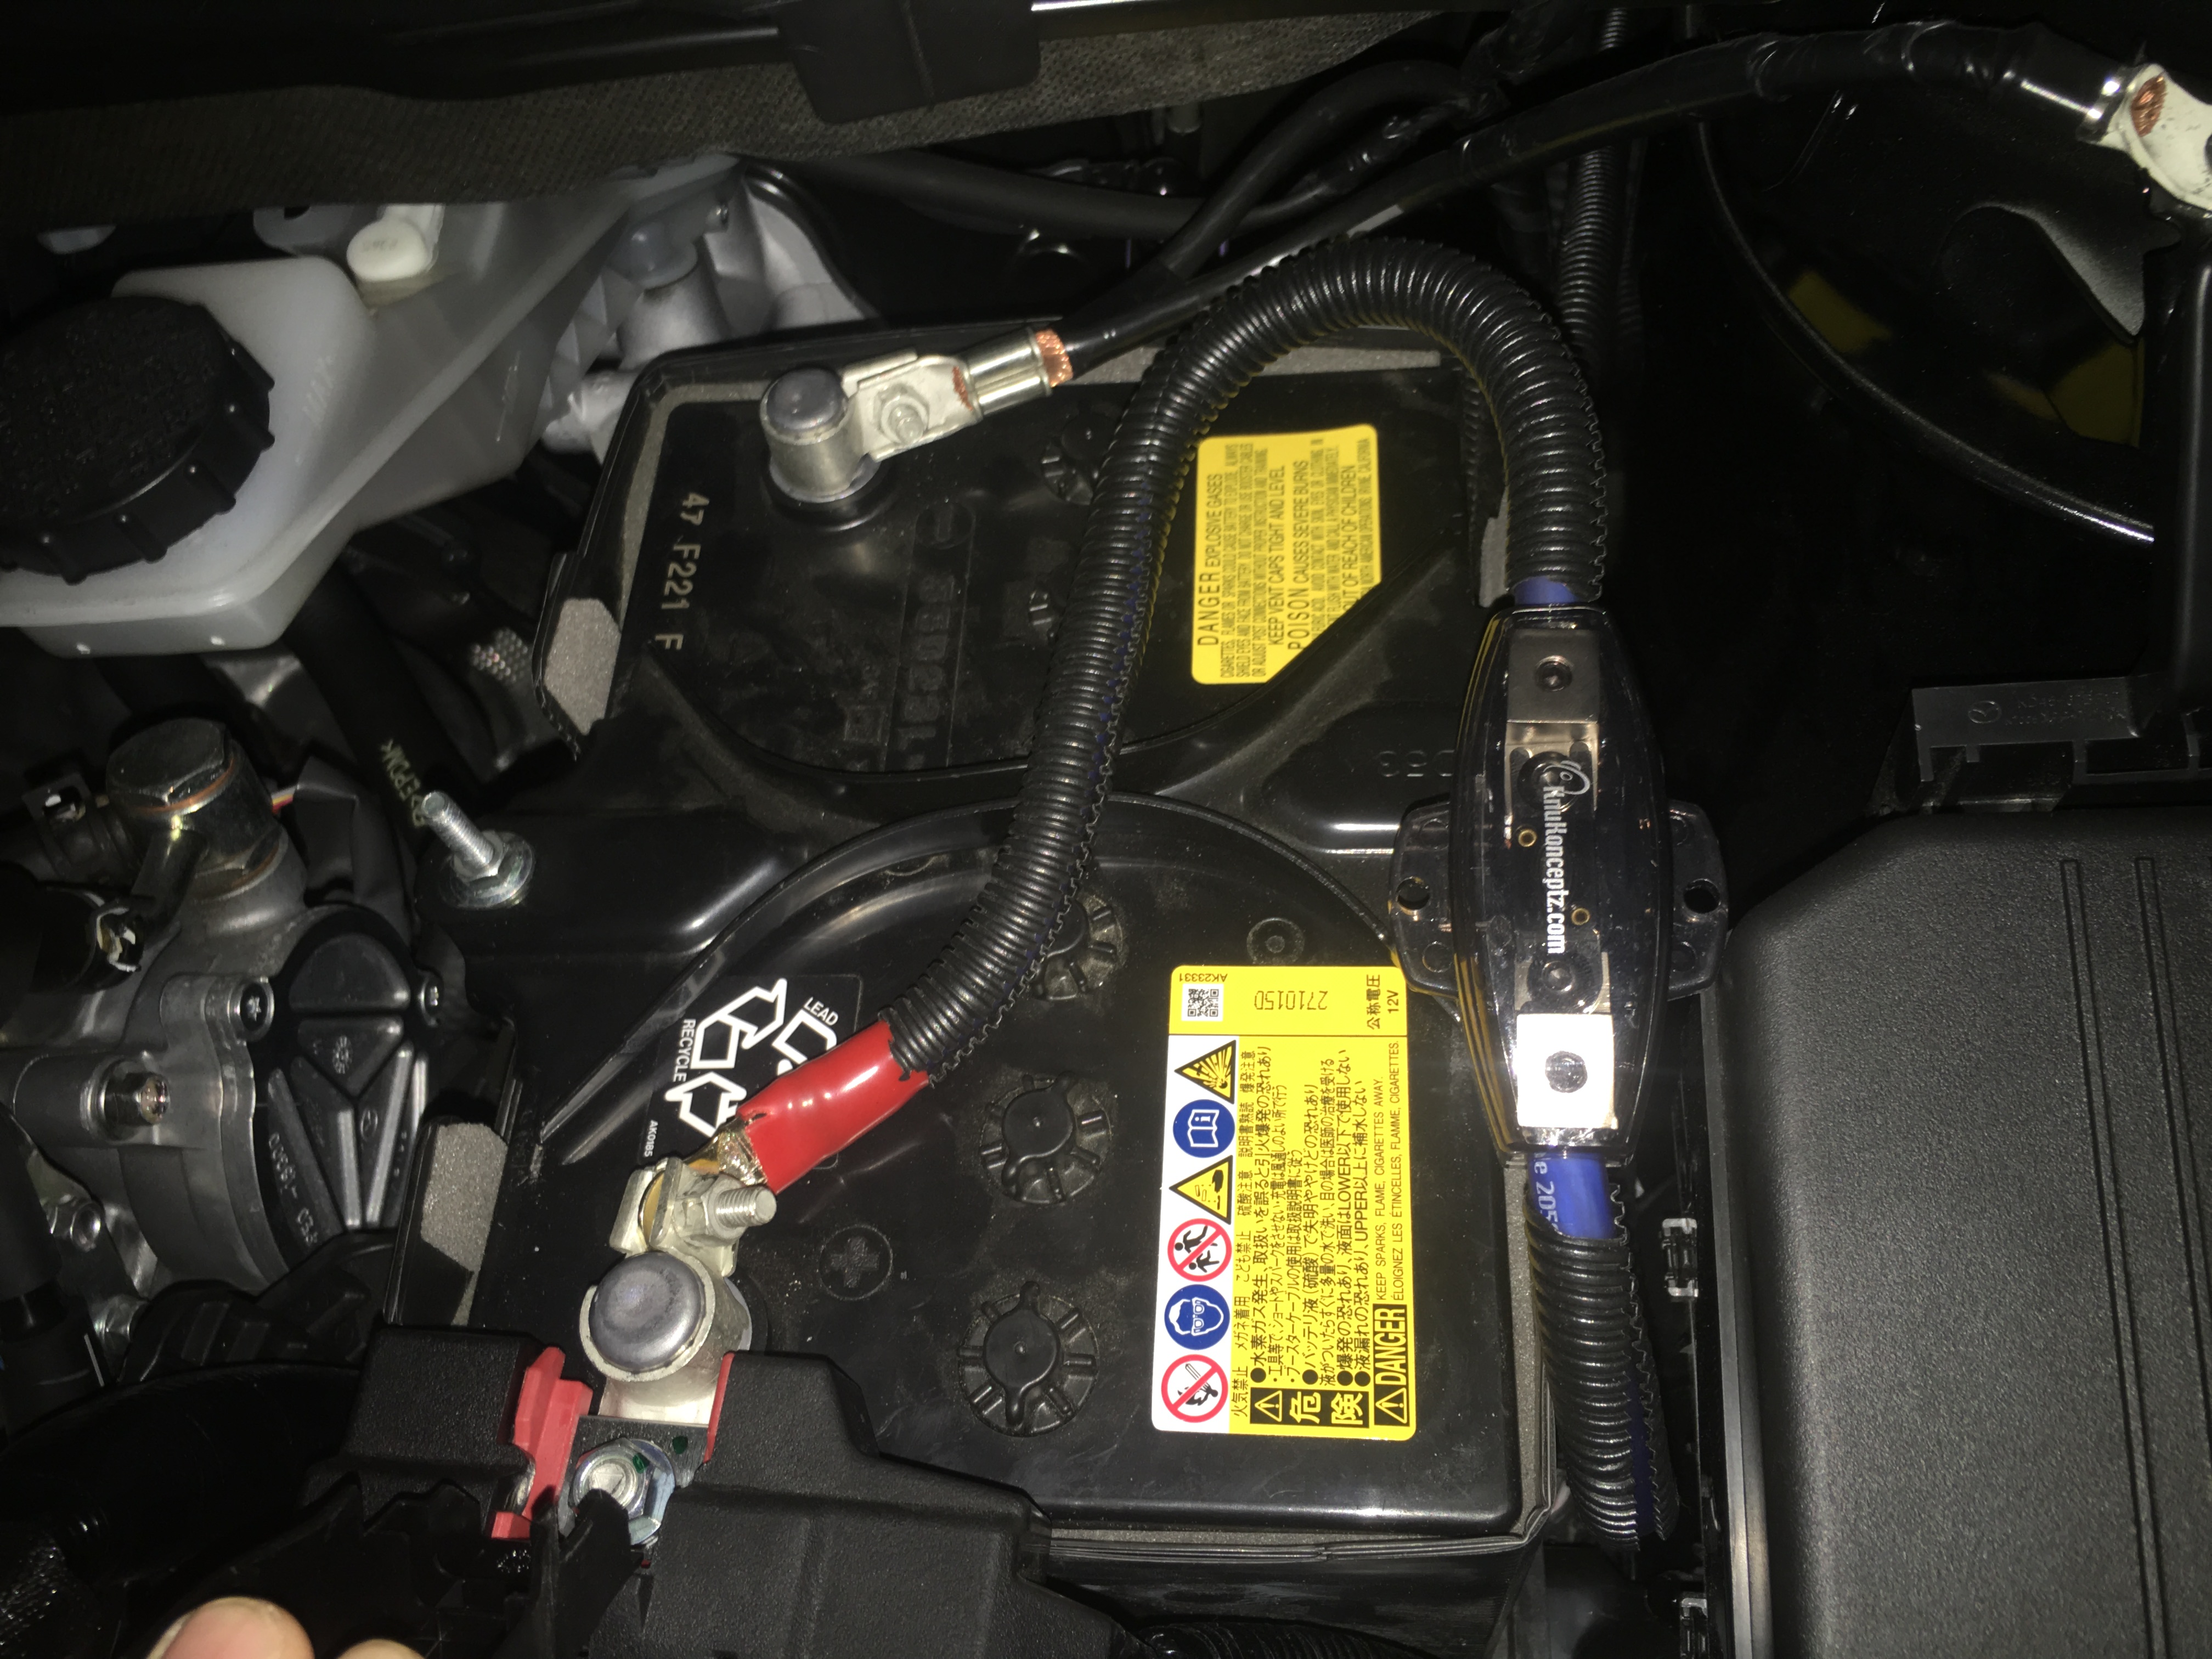
Connect the front end of the power wire to the positive battery terminal. Make sure to install an external fuse within 16 inches from the positive battery terminal. Your battery connection should look like something similar to this once it is all connected.
You'll need to find a location for the amplifier ground cable to attach to the vehicle chassis. Remove the driver side kick panel by turning the screw by hand and gently pull the panel off.
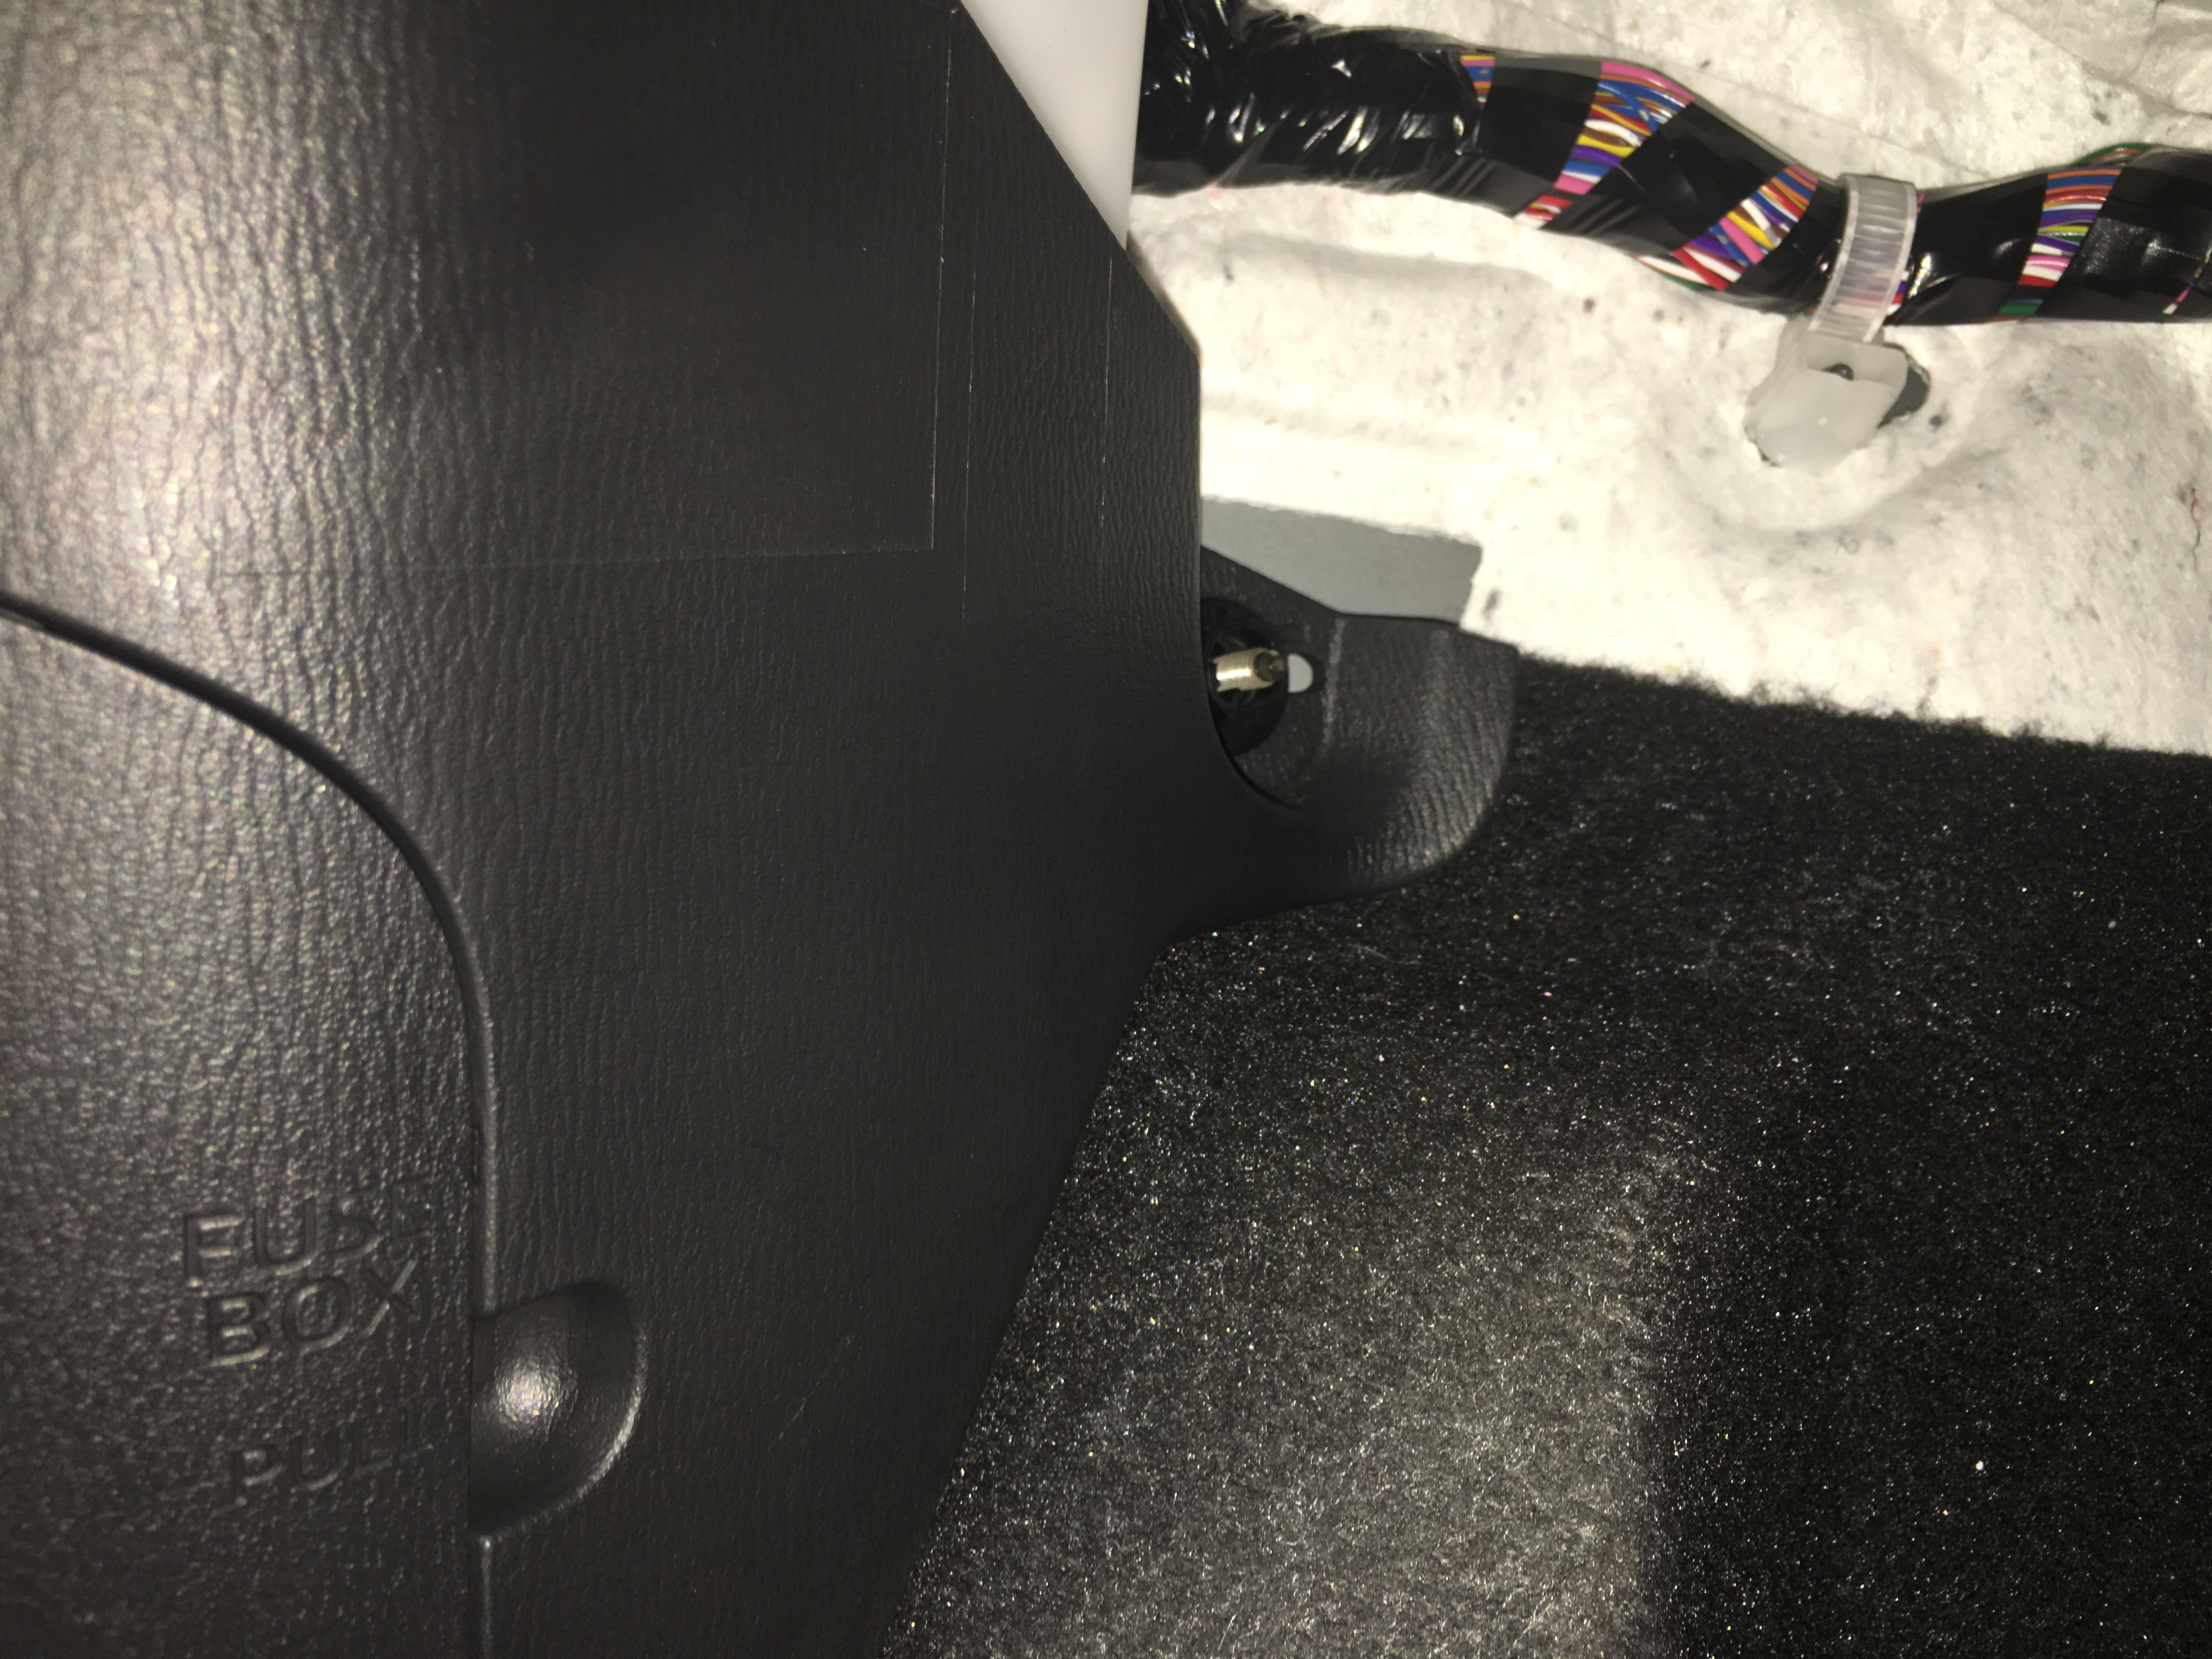
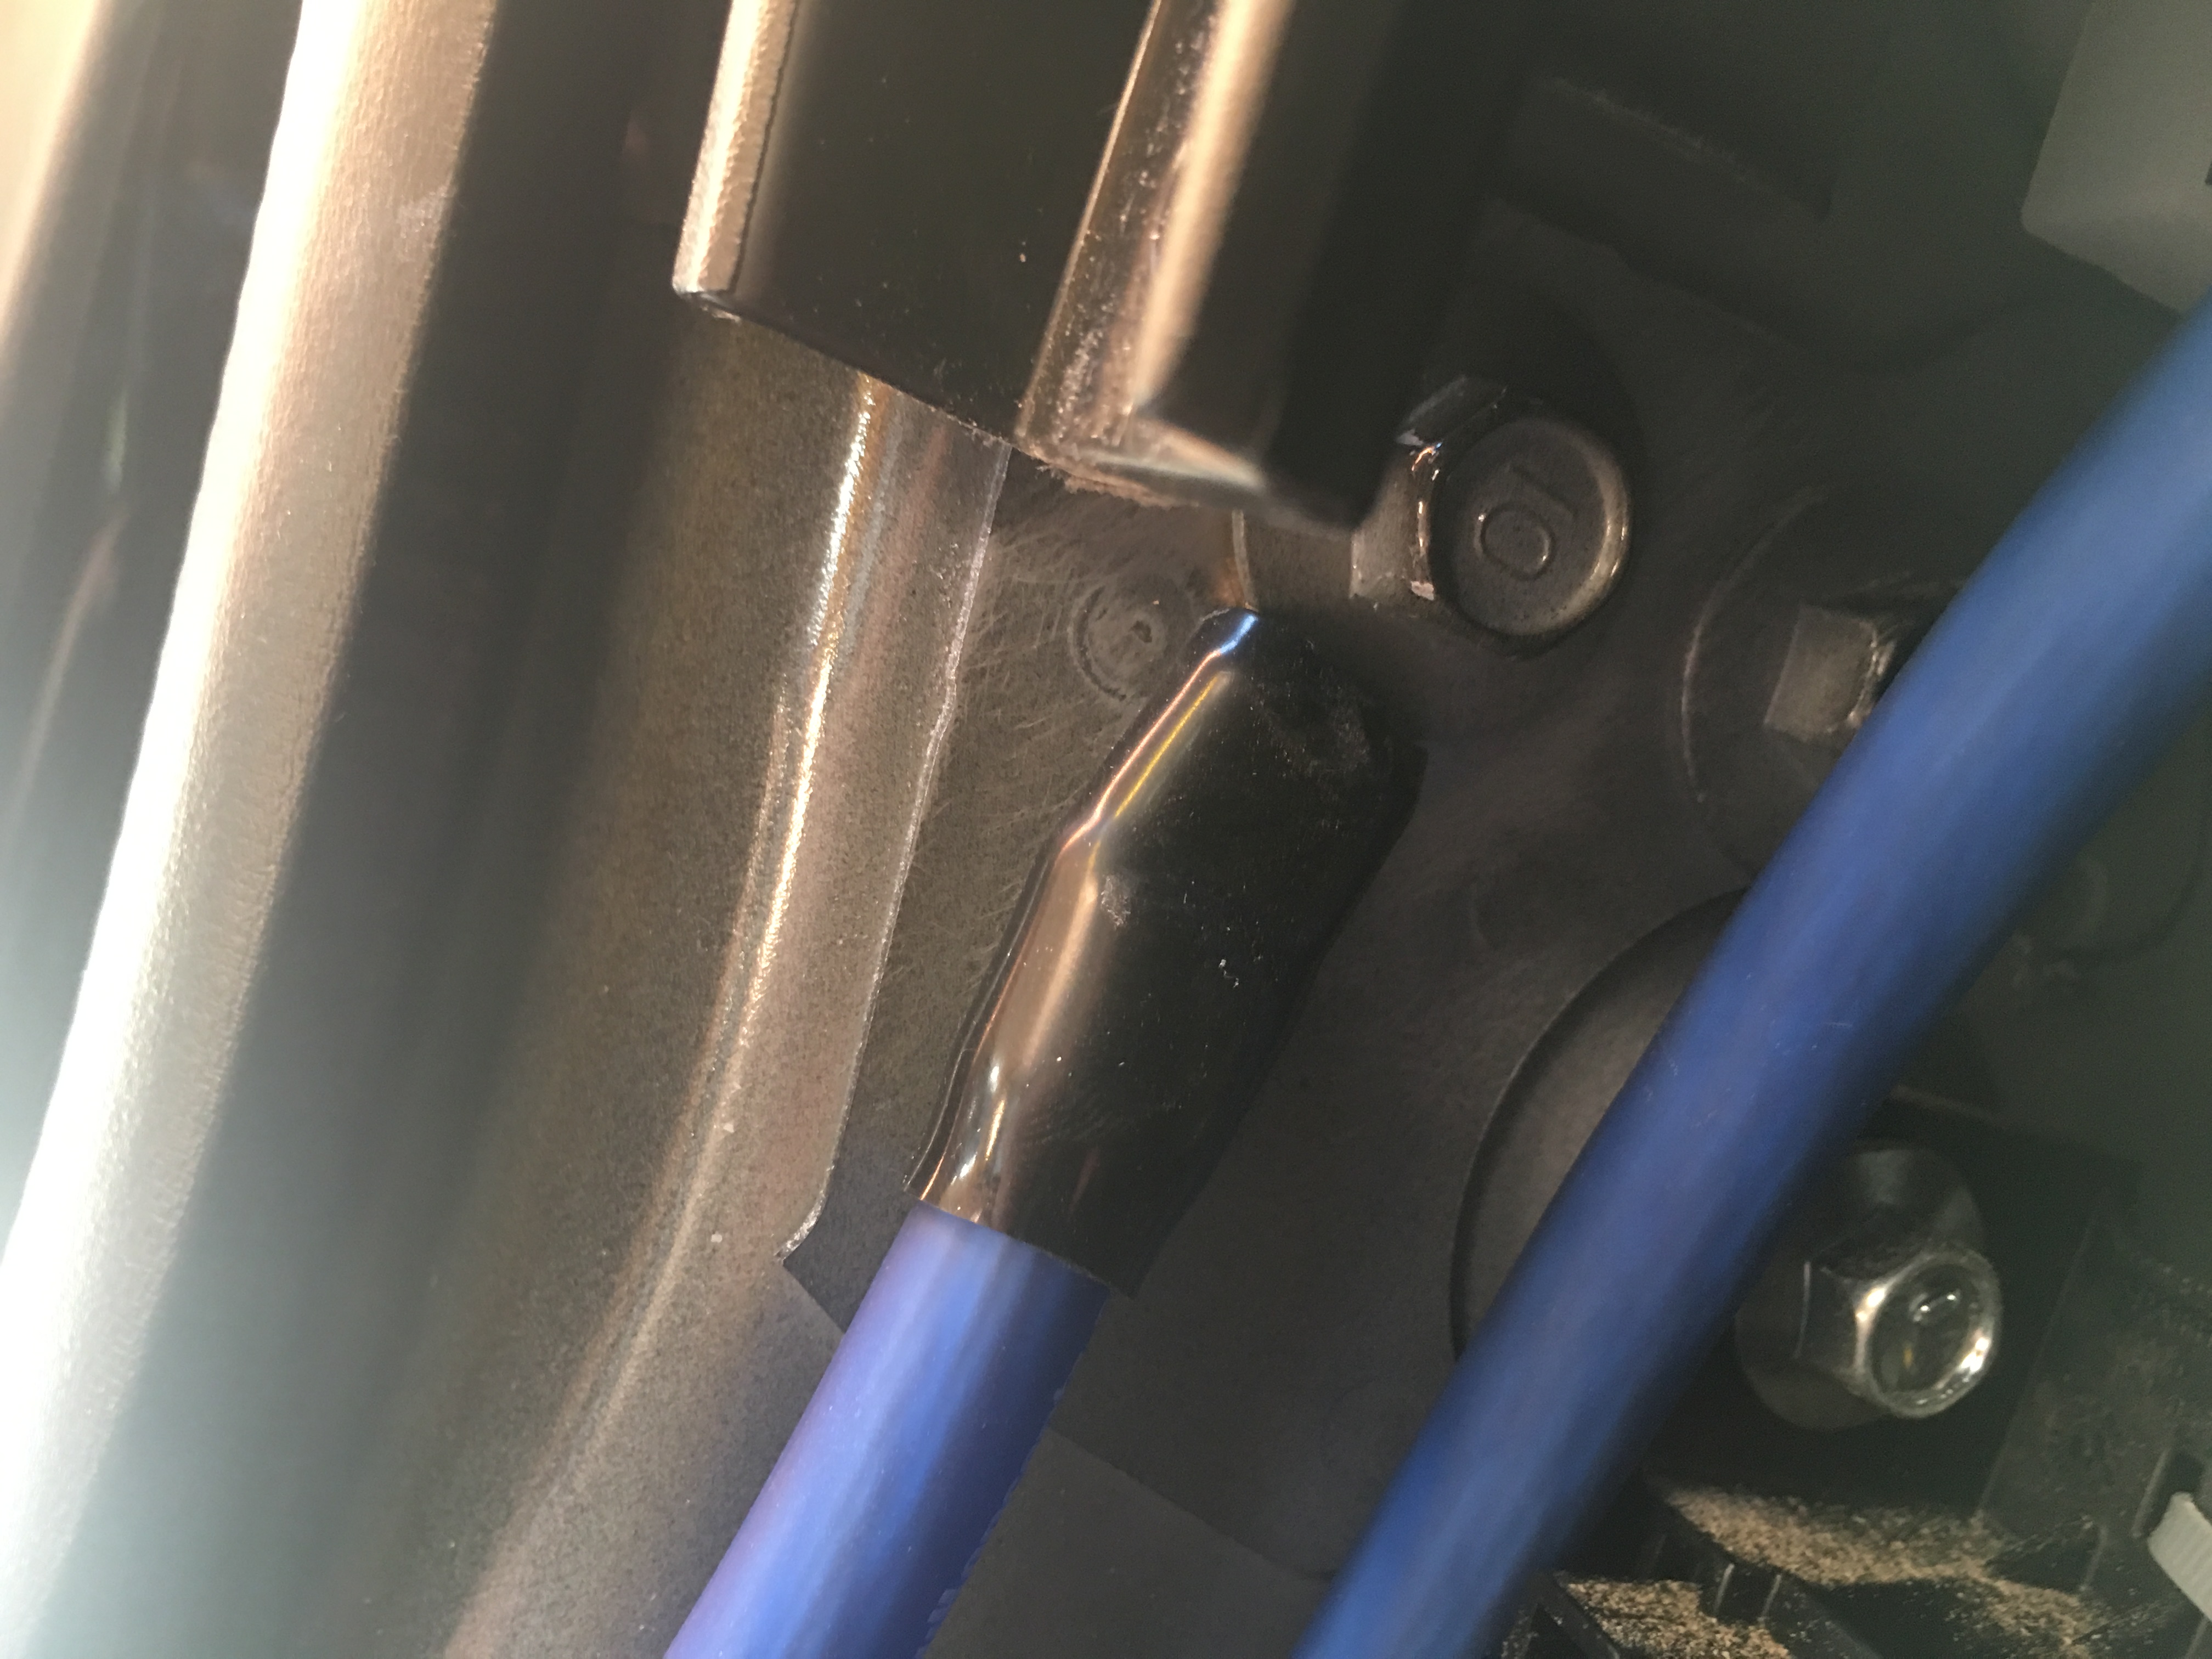
Behind the kick panel are two bolts. I unscrewed one of the bolts and attached the ground wire to the chassis. Remember to sand off some of the paint to ensure a good ground connection.
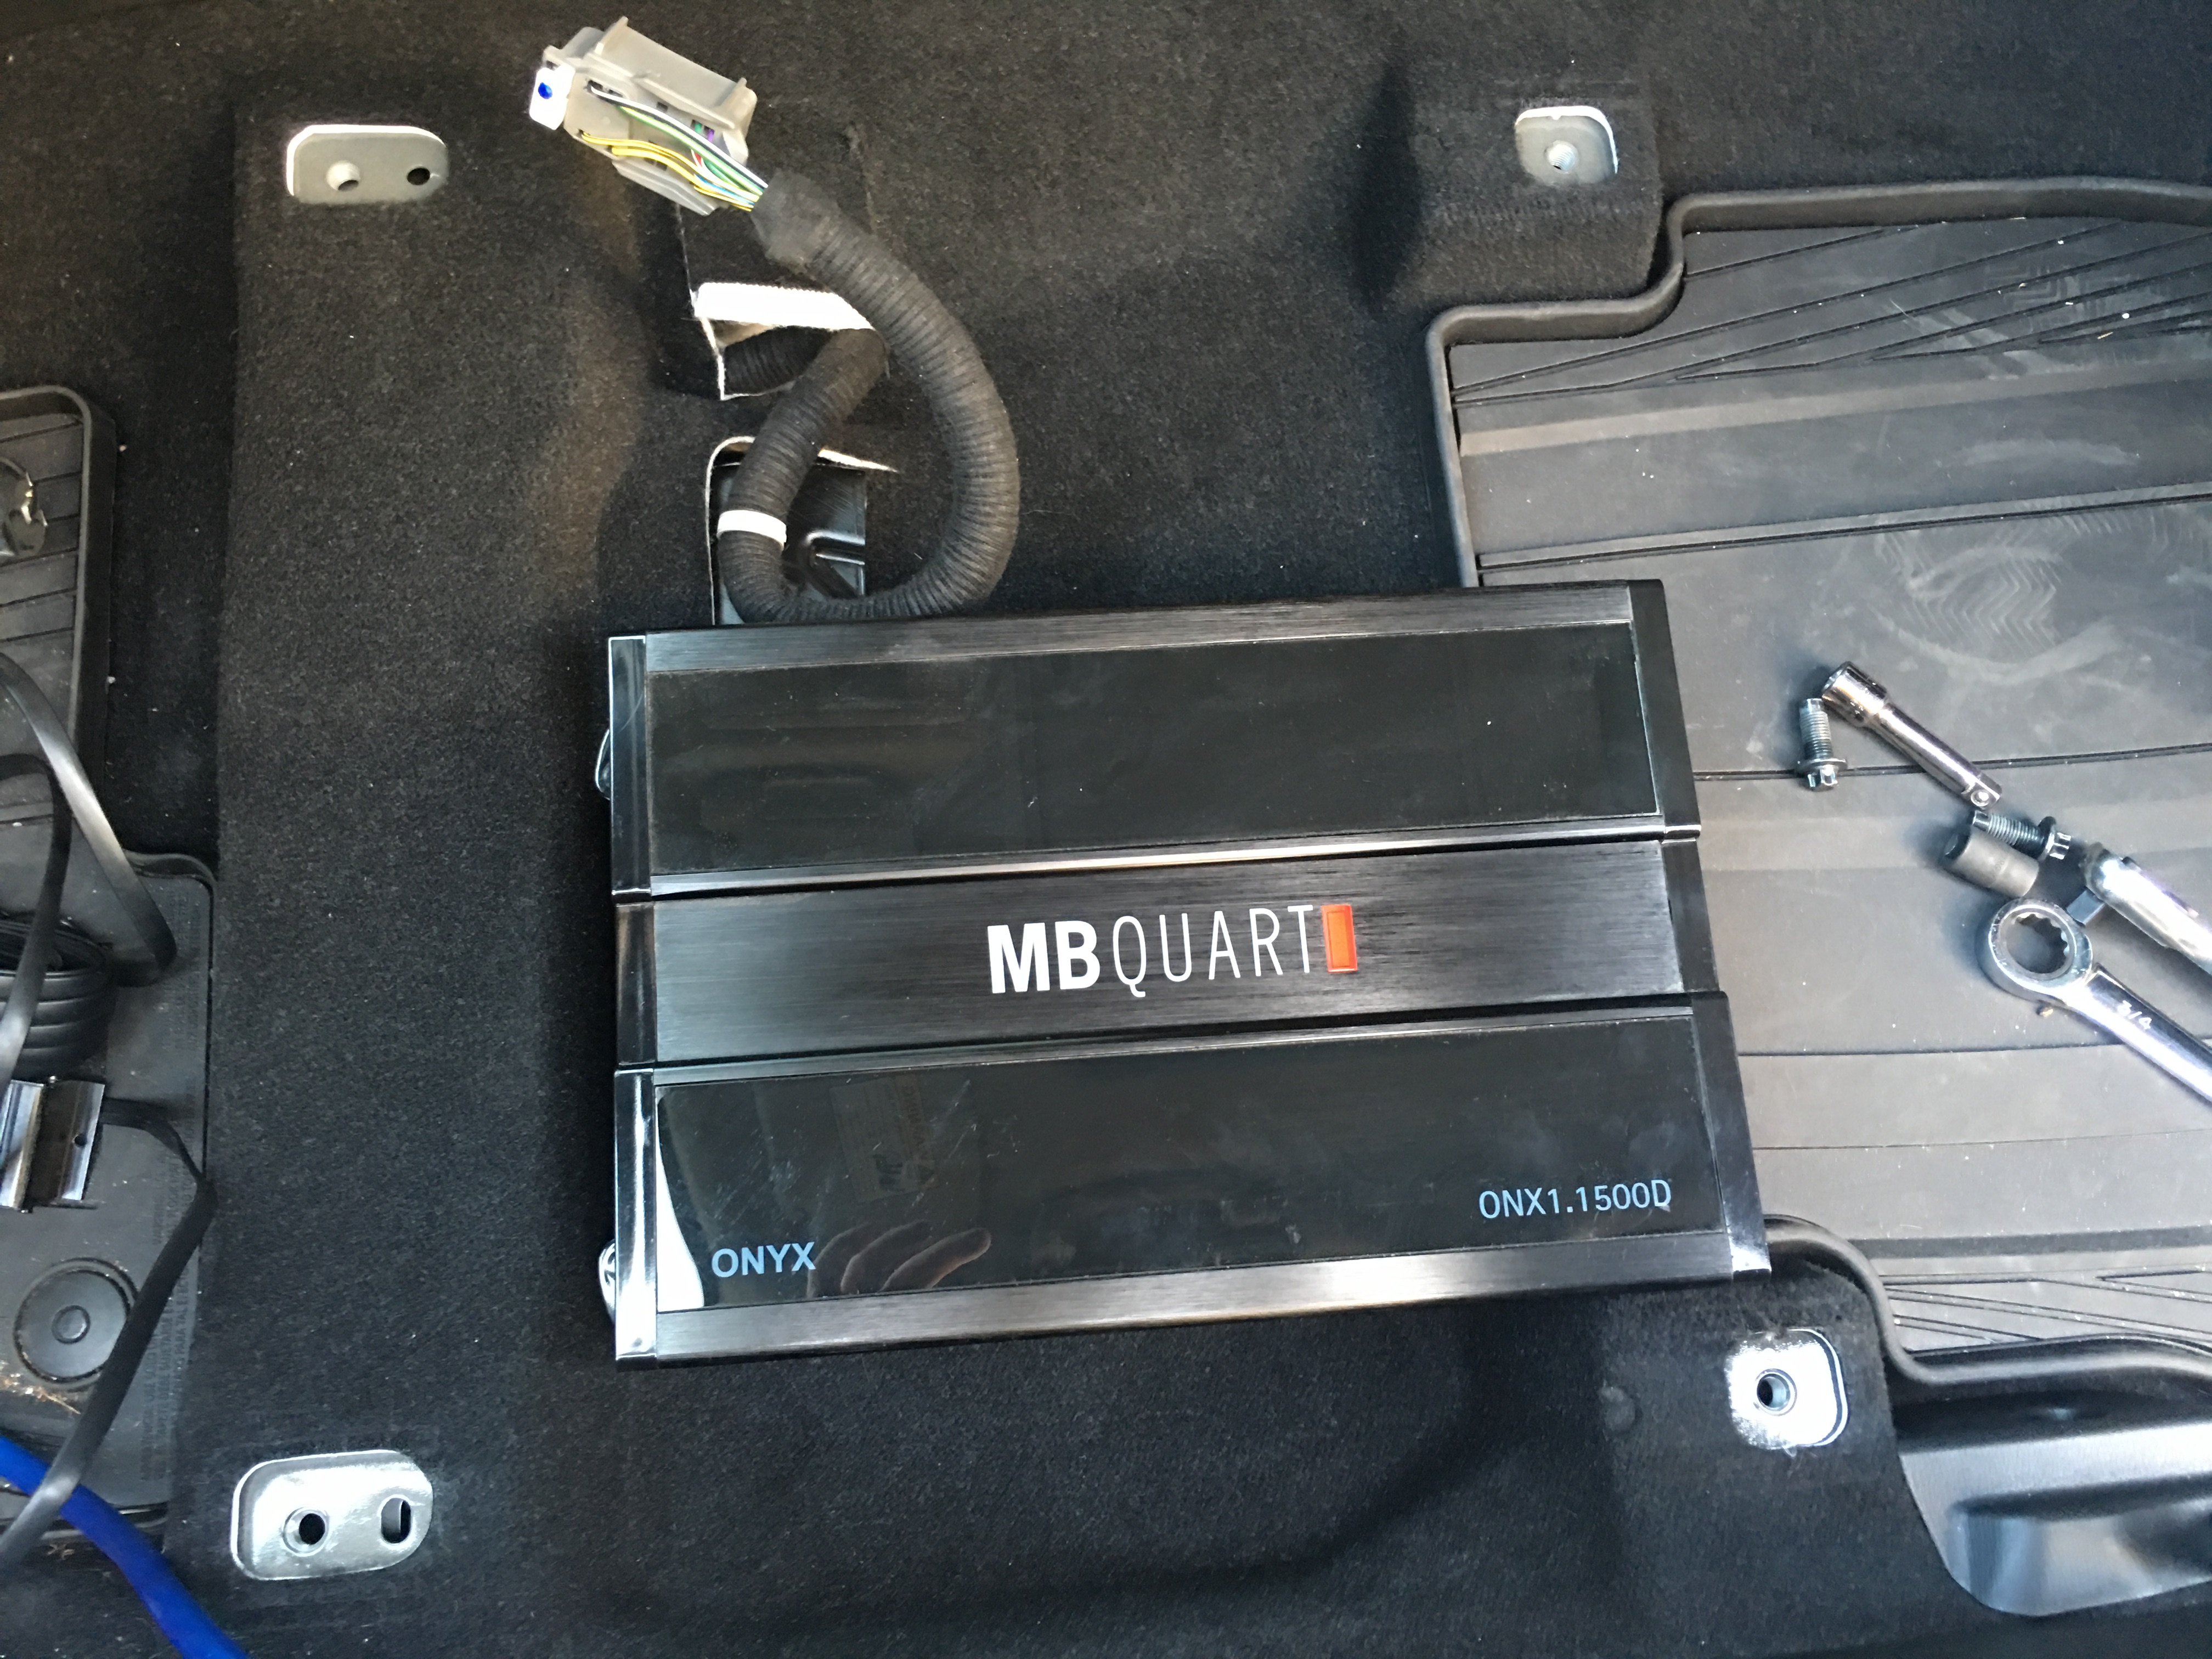
My plan was to install the my monoblock amplifier underneath the driver seat. To remove the seat you would need a Star/Torx size E14 socket to remove the 4 seat bolts.
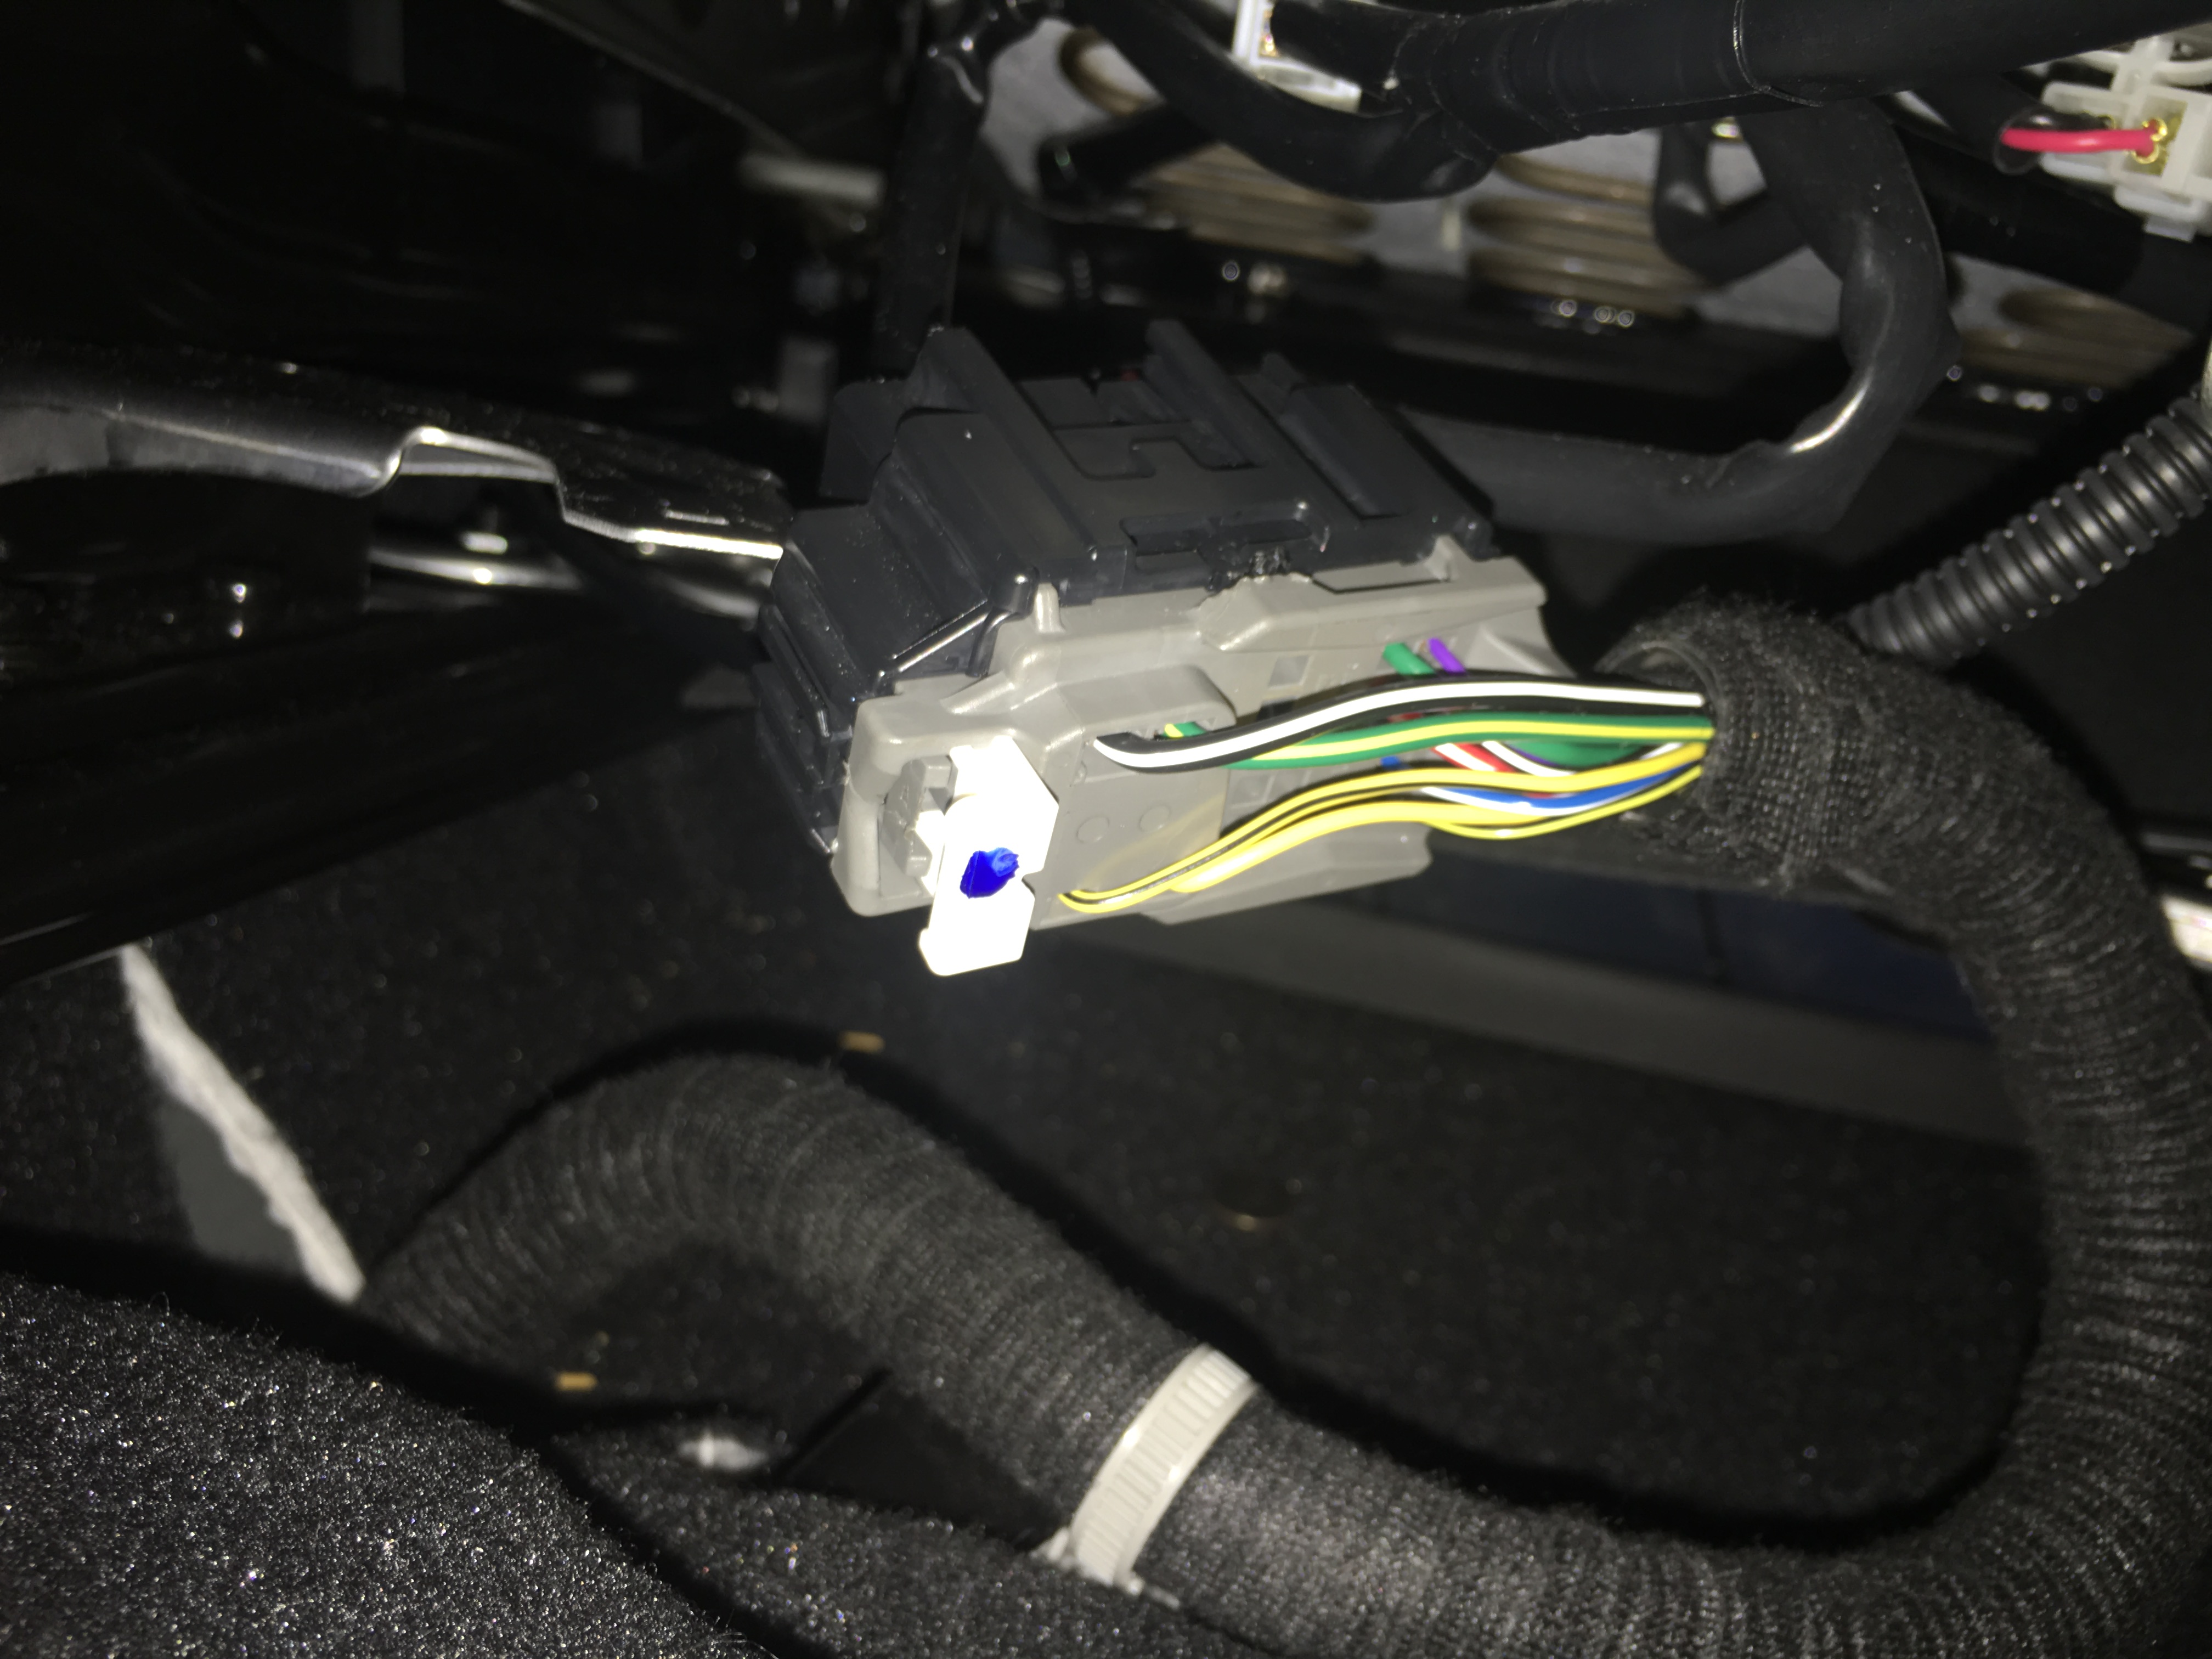
You will then need to unplug the seat's airbag/motor harness in order to take out the seat. Start by pulling up the white tab. Underneath the white tab is another side tab used to unplug the harness. DO NOT TURN ON THE IGNITION WITH THIS HARNESS UNPLUGGED as it might set off any airbag warnings.
Be sure to measure the dimensions of your amplifier because it is going to be a tight fit under the seat.
I didn't take a picture of this process, but I ran the RCA cables and the remote wire from the glove box down to the passenger side of the center console.
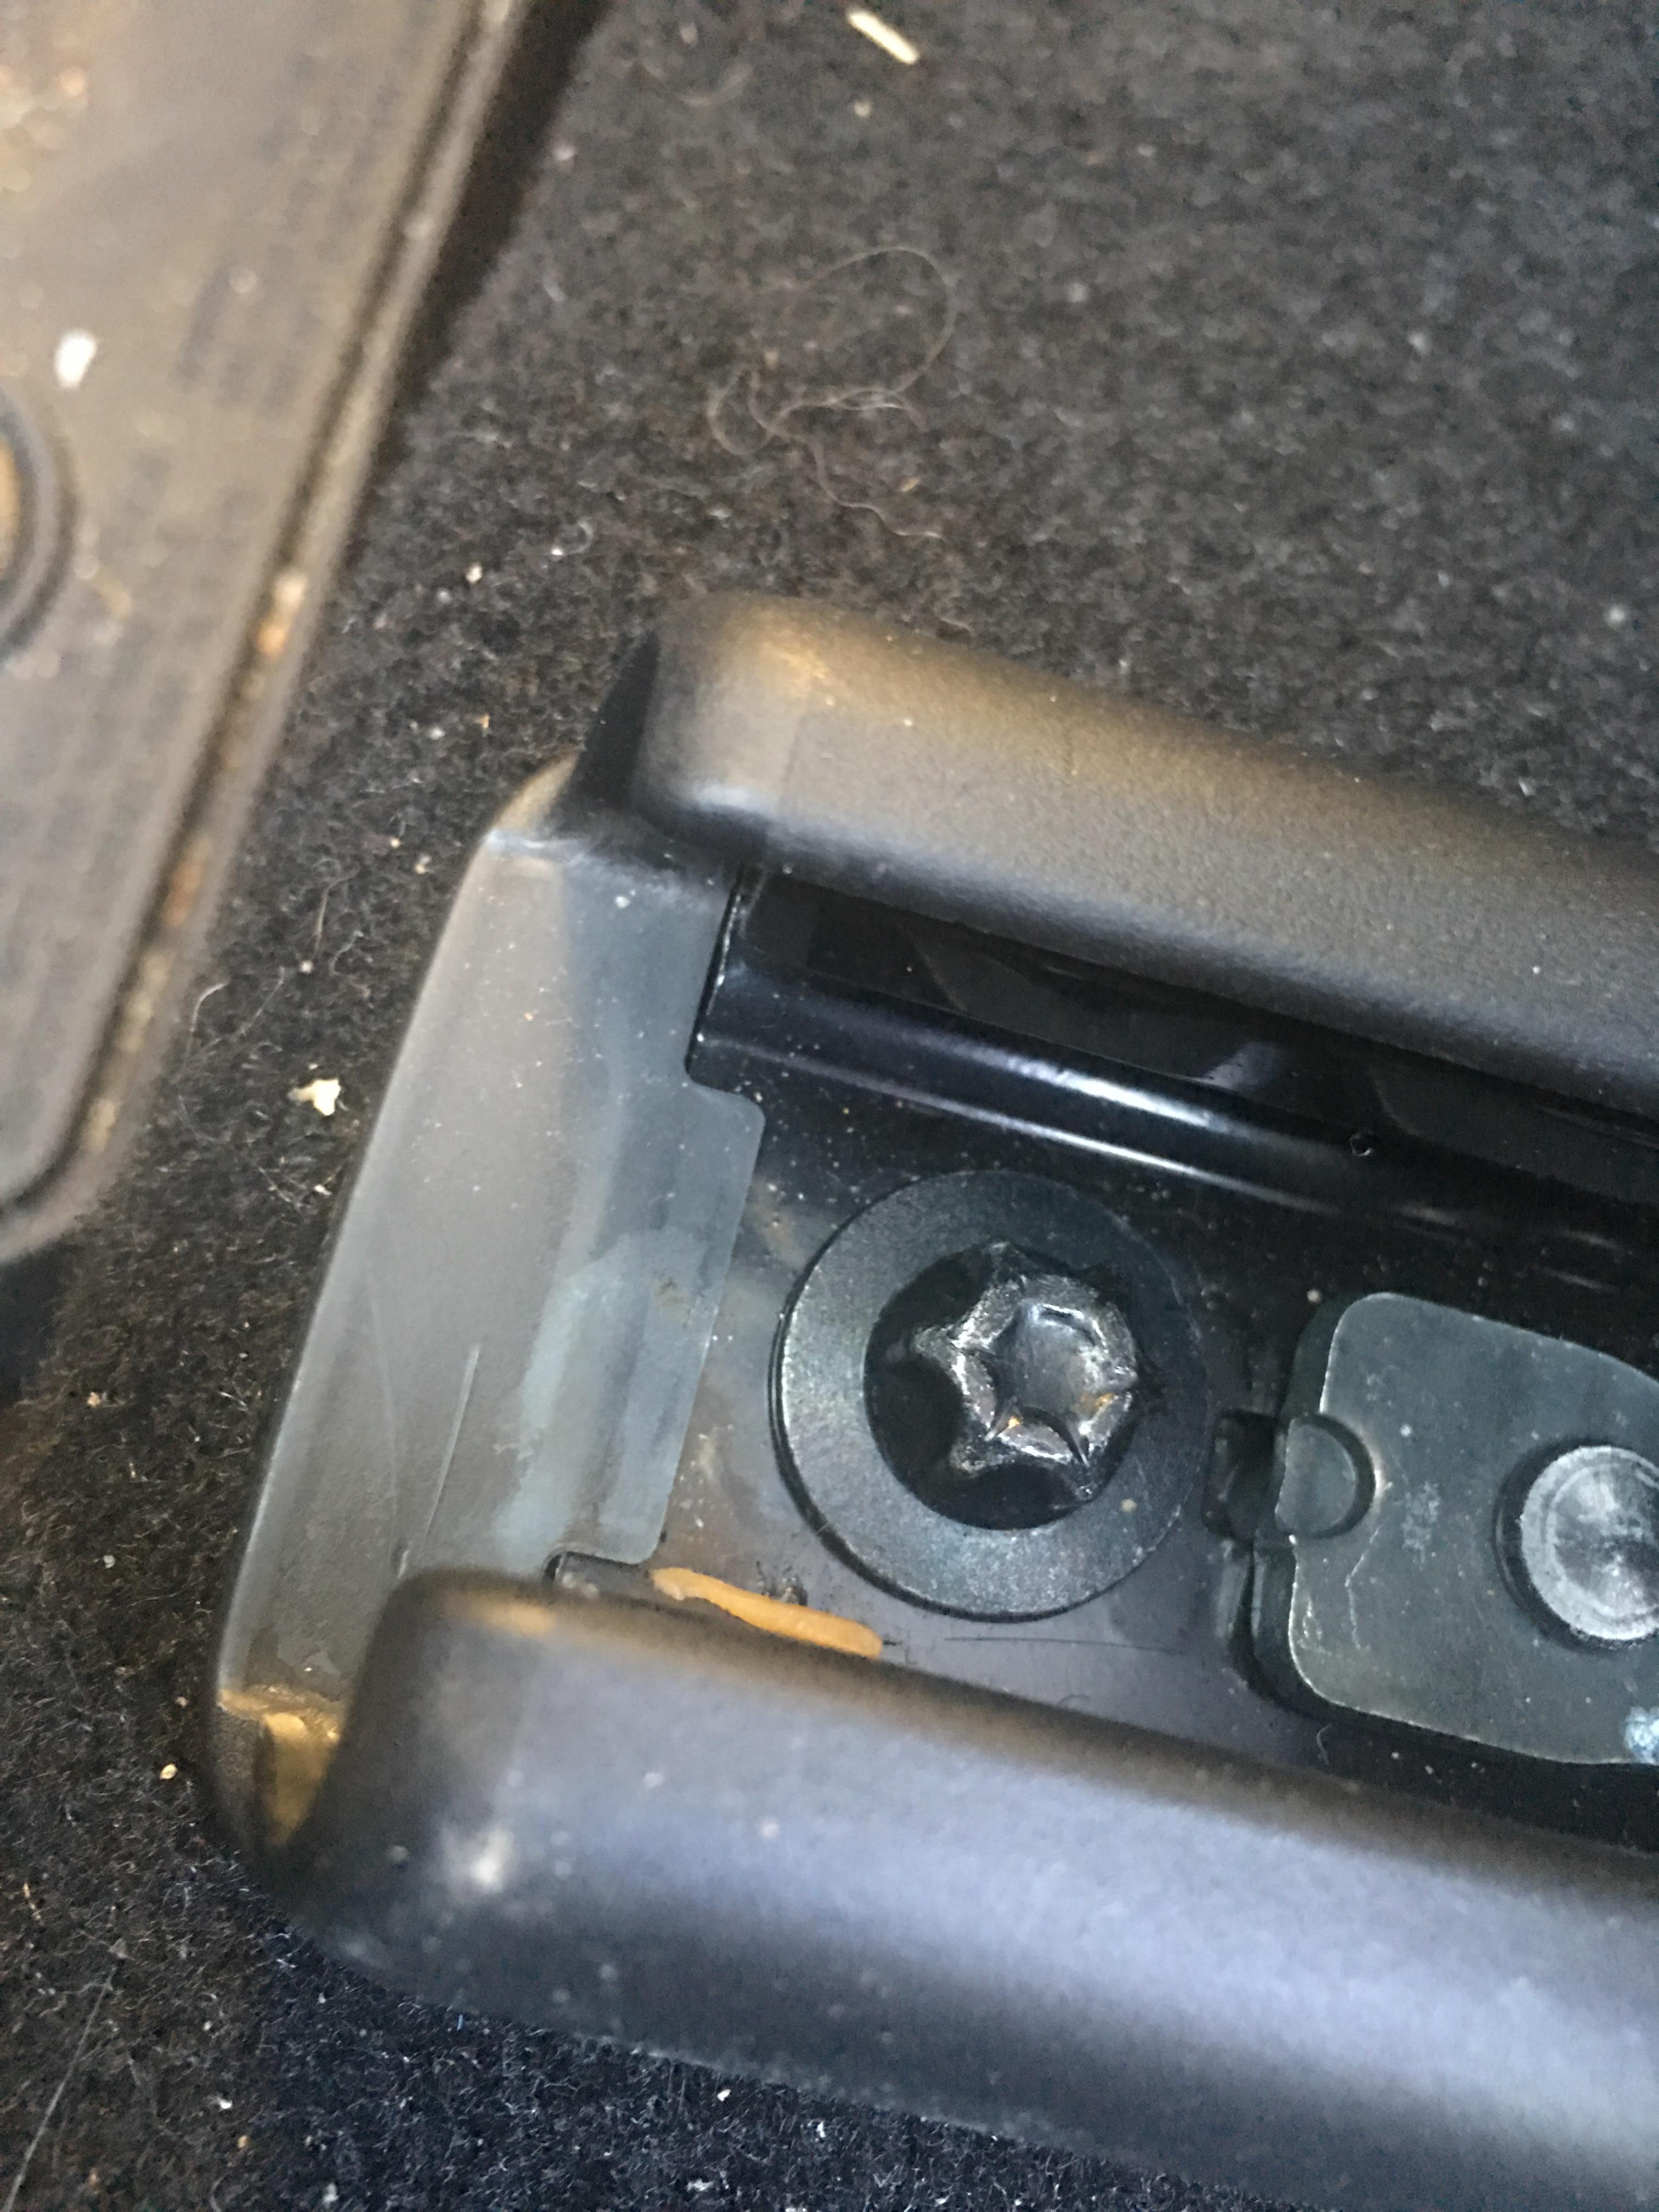
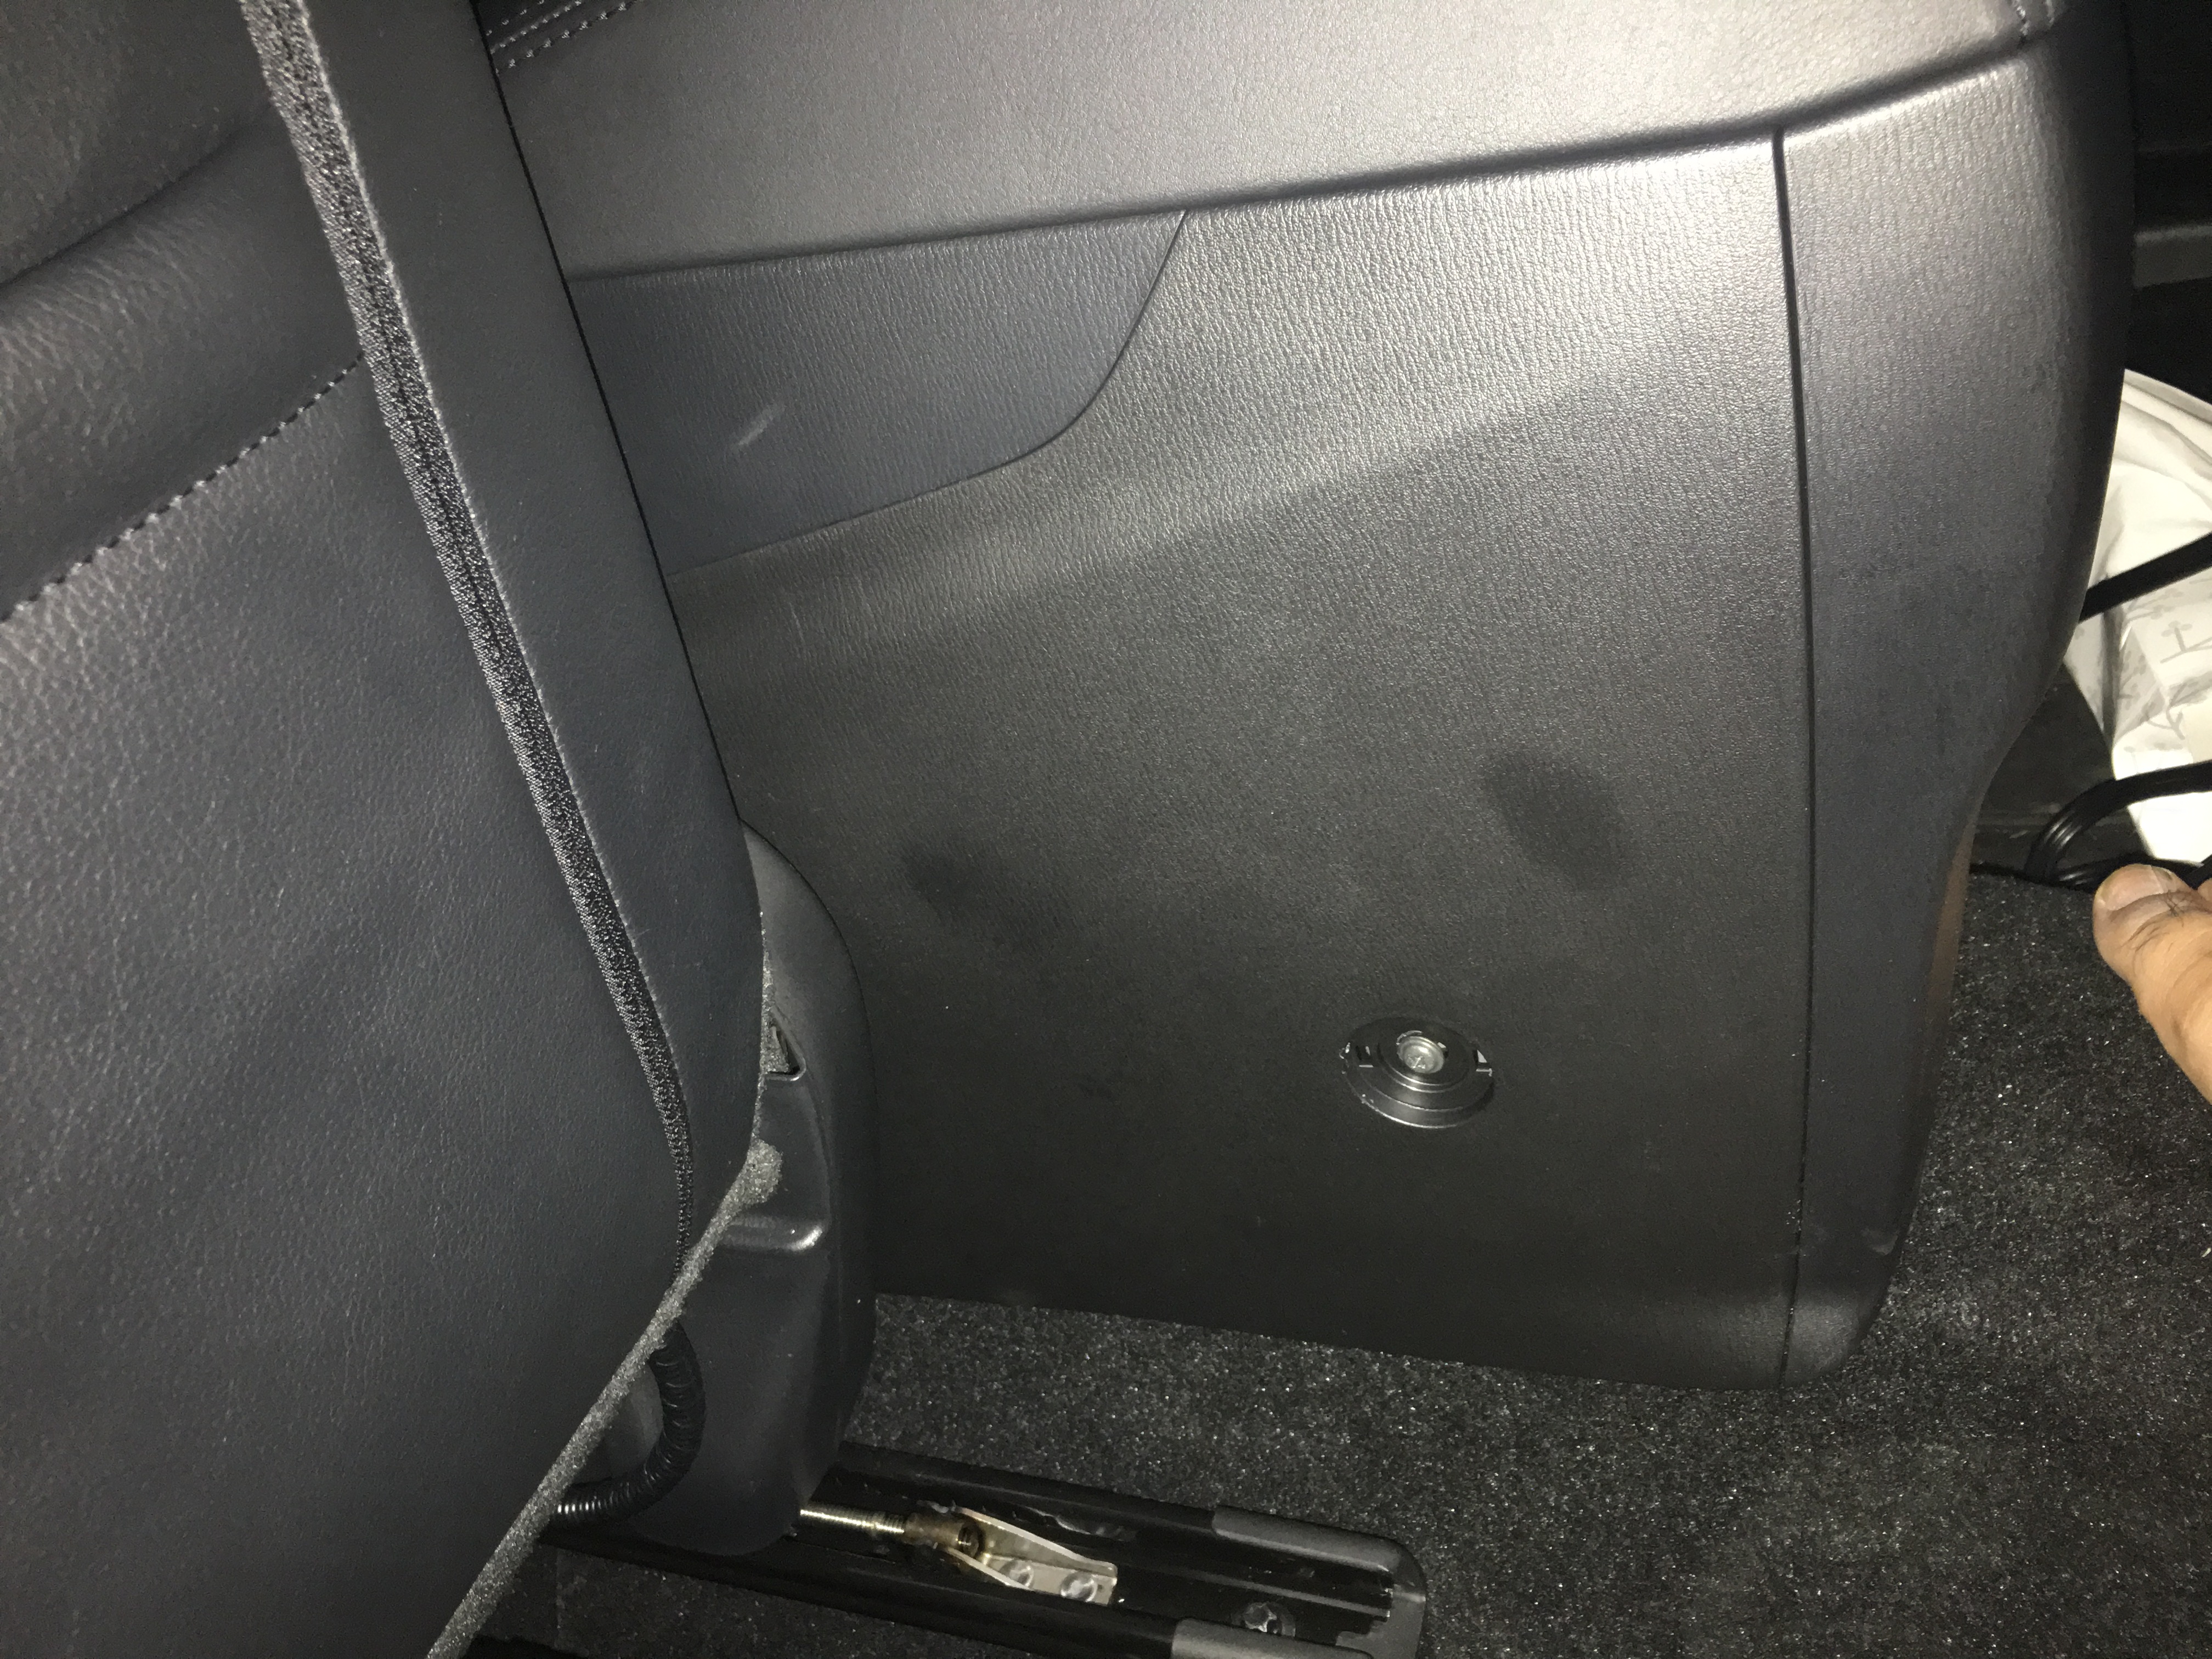
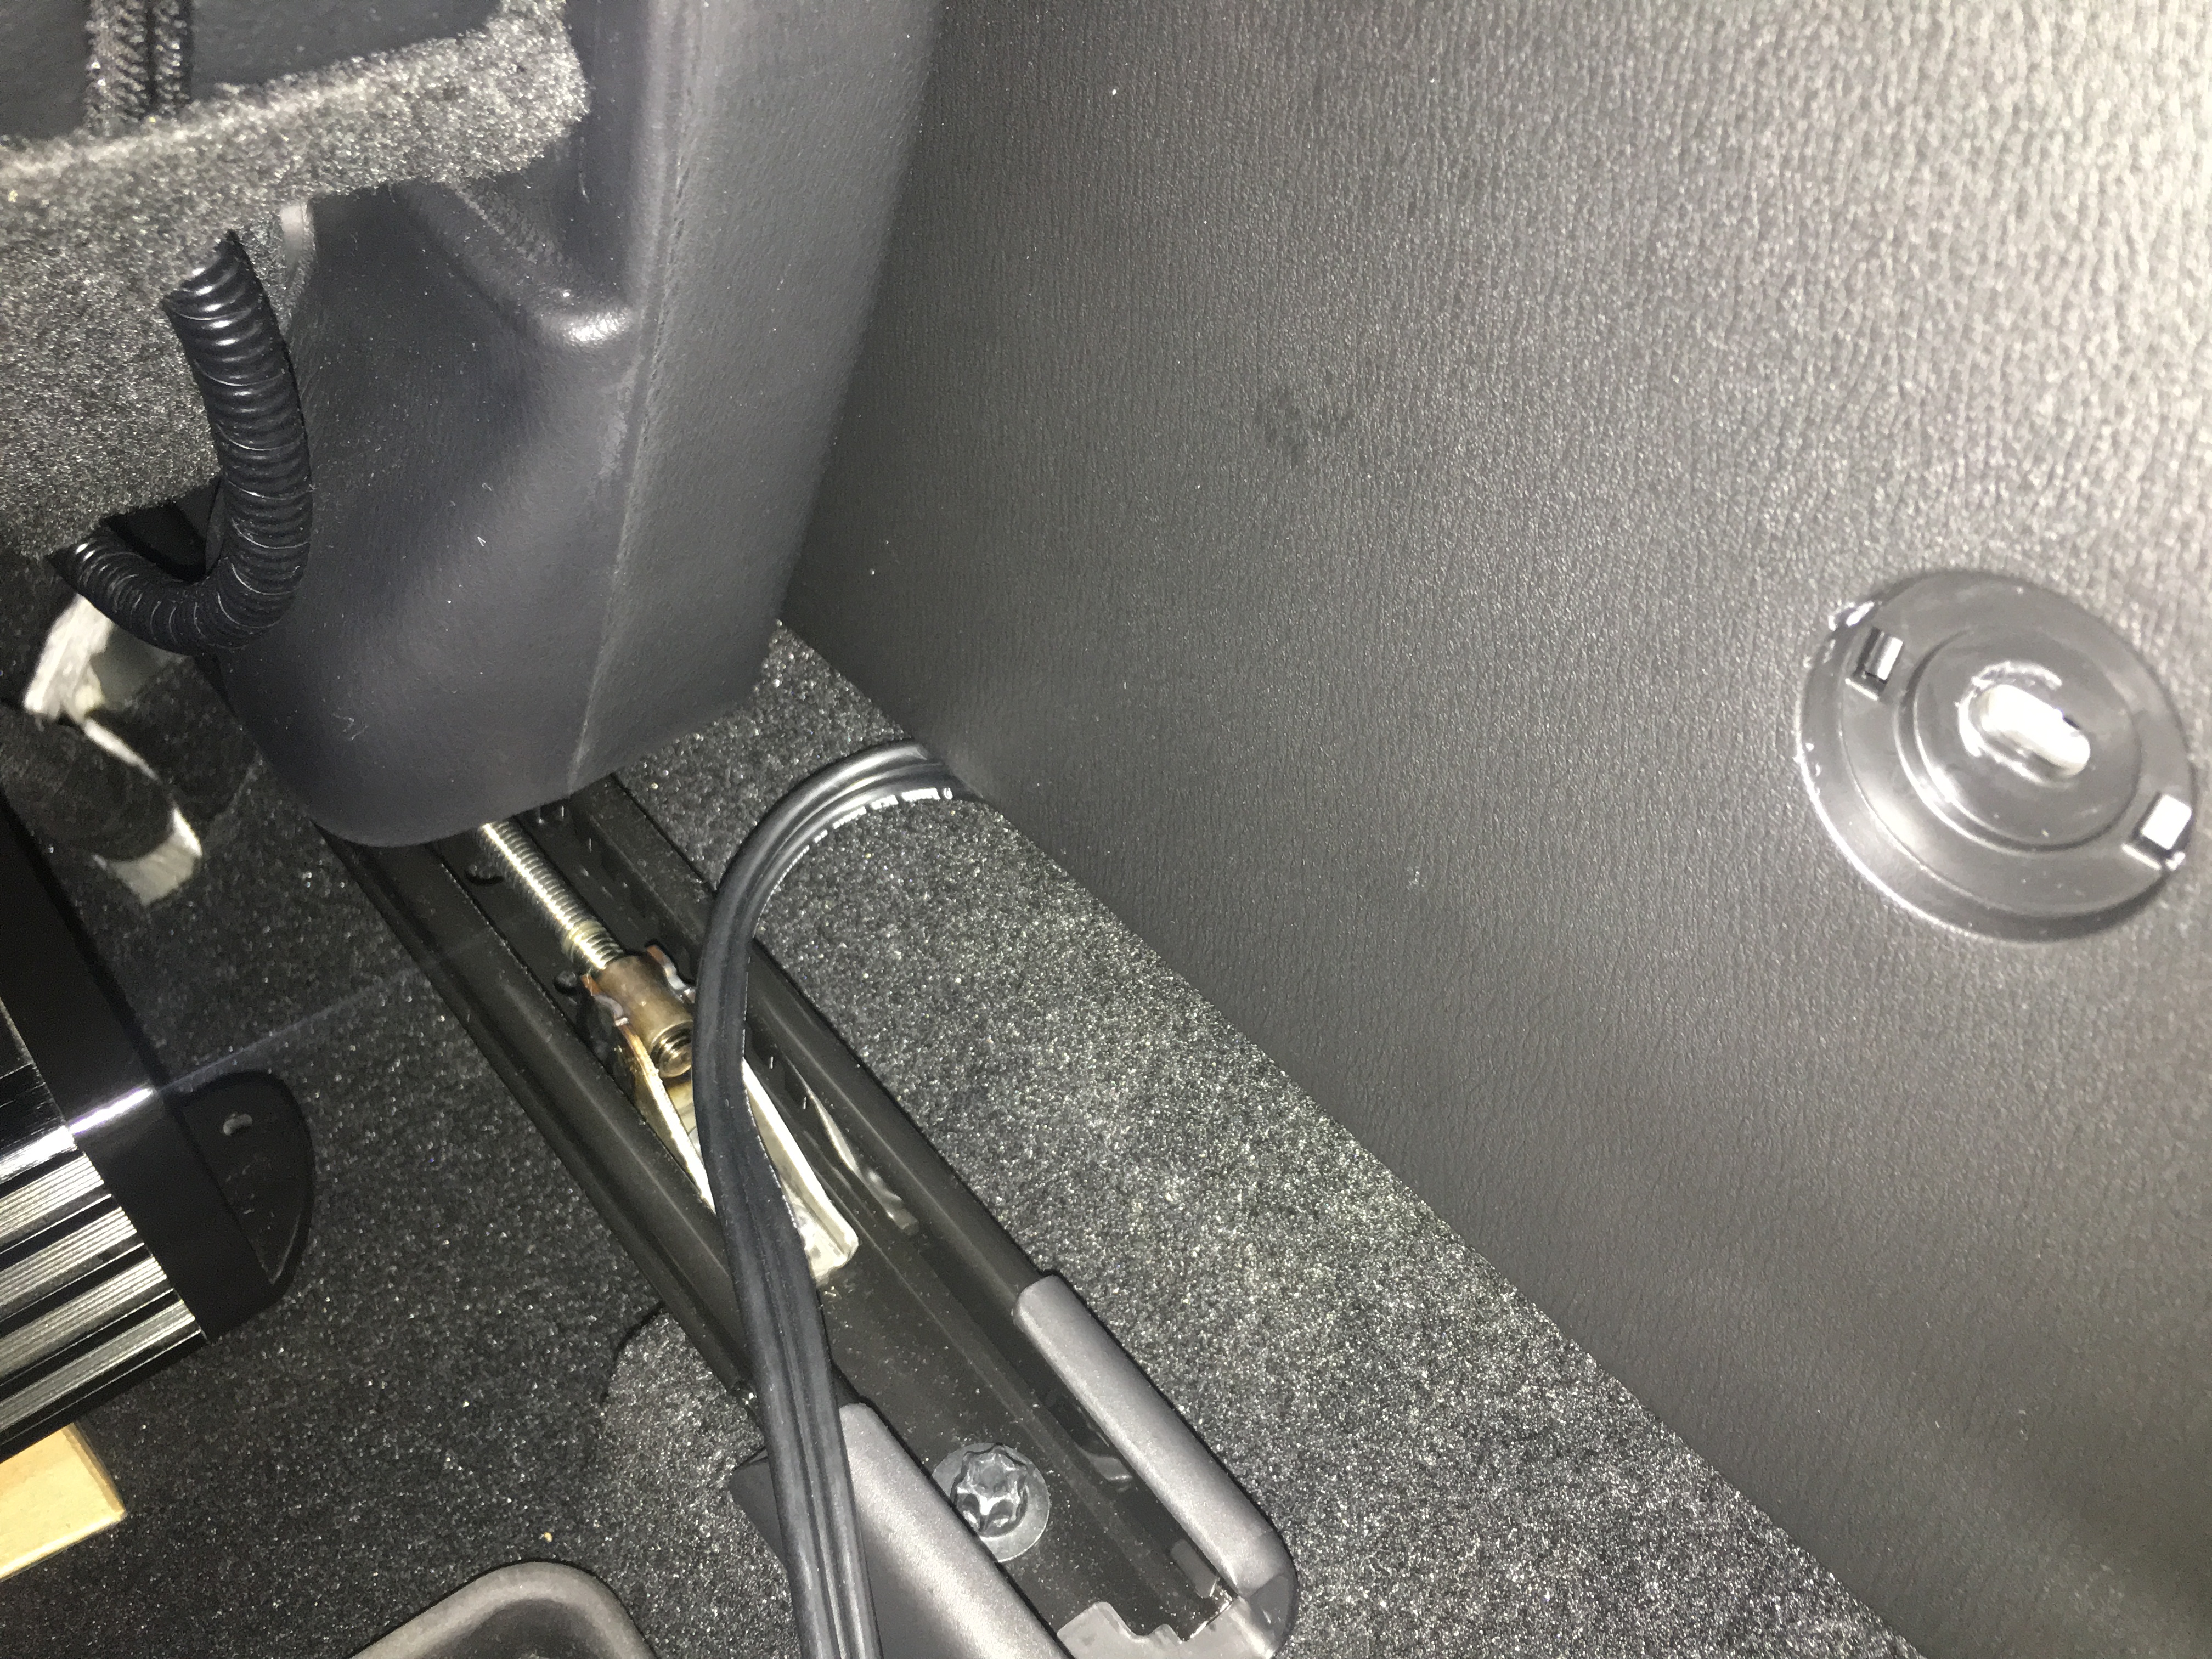
To bring the rca cables and remote wire to the driver side of the center console, remove the plastic cover and screws located on each side. You will then be able to lift the console just high enough to run the RCA cables and remote wire to the driver side where the amplifier is located.
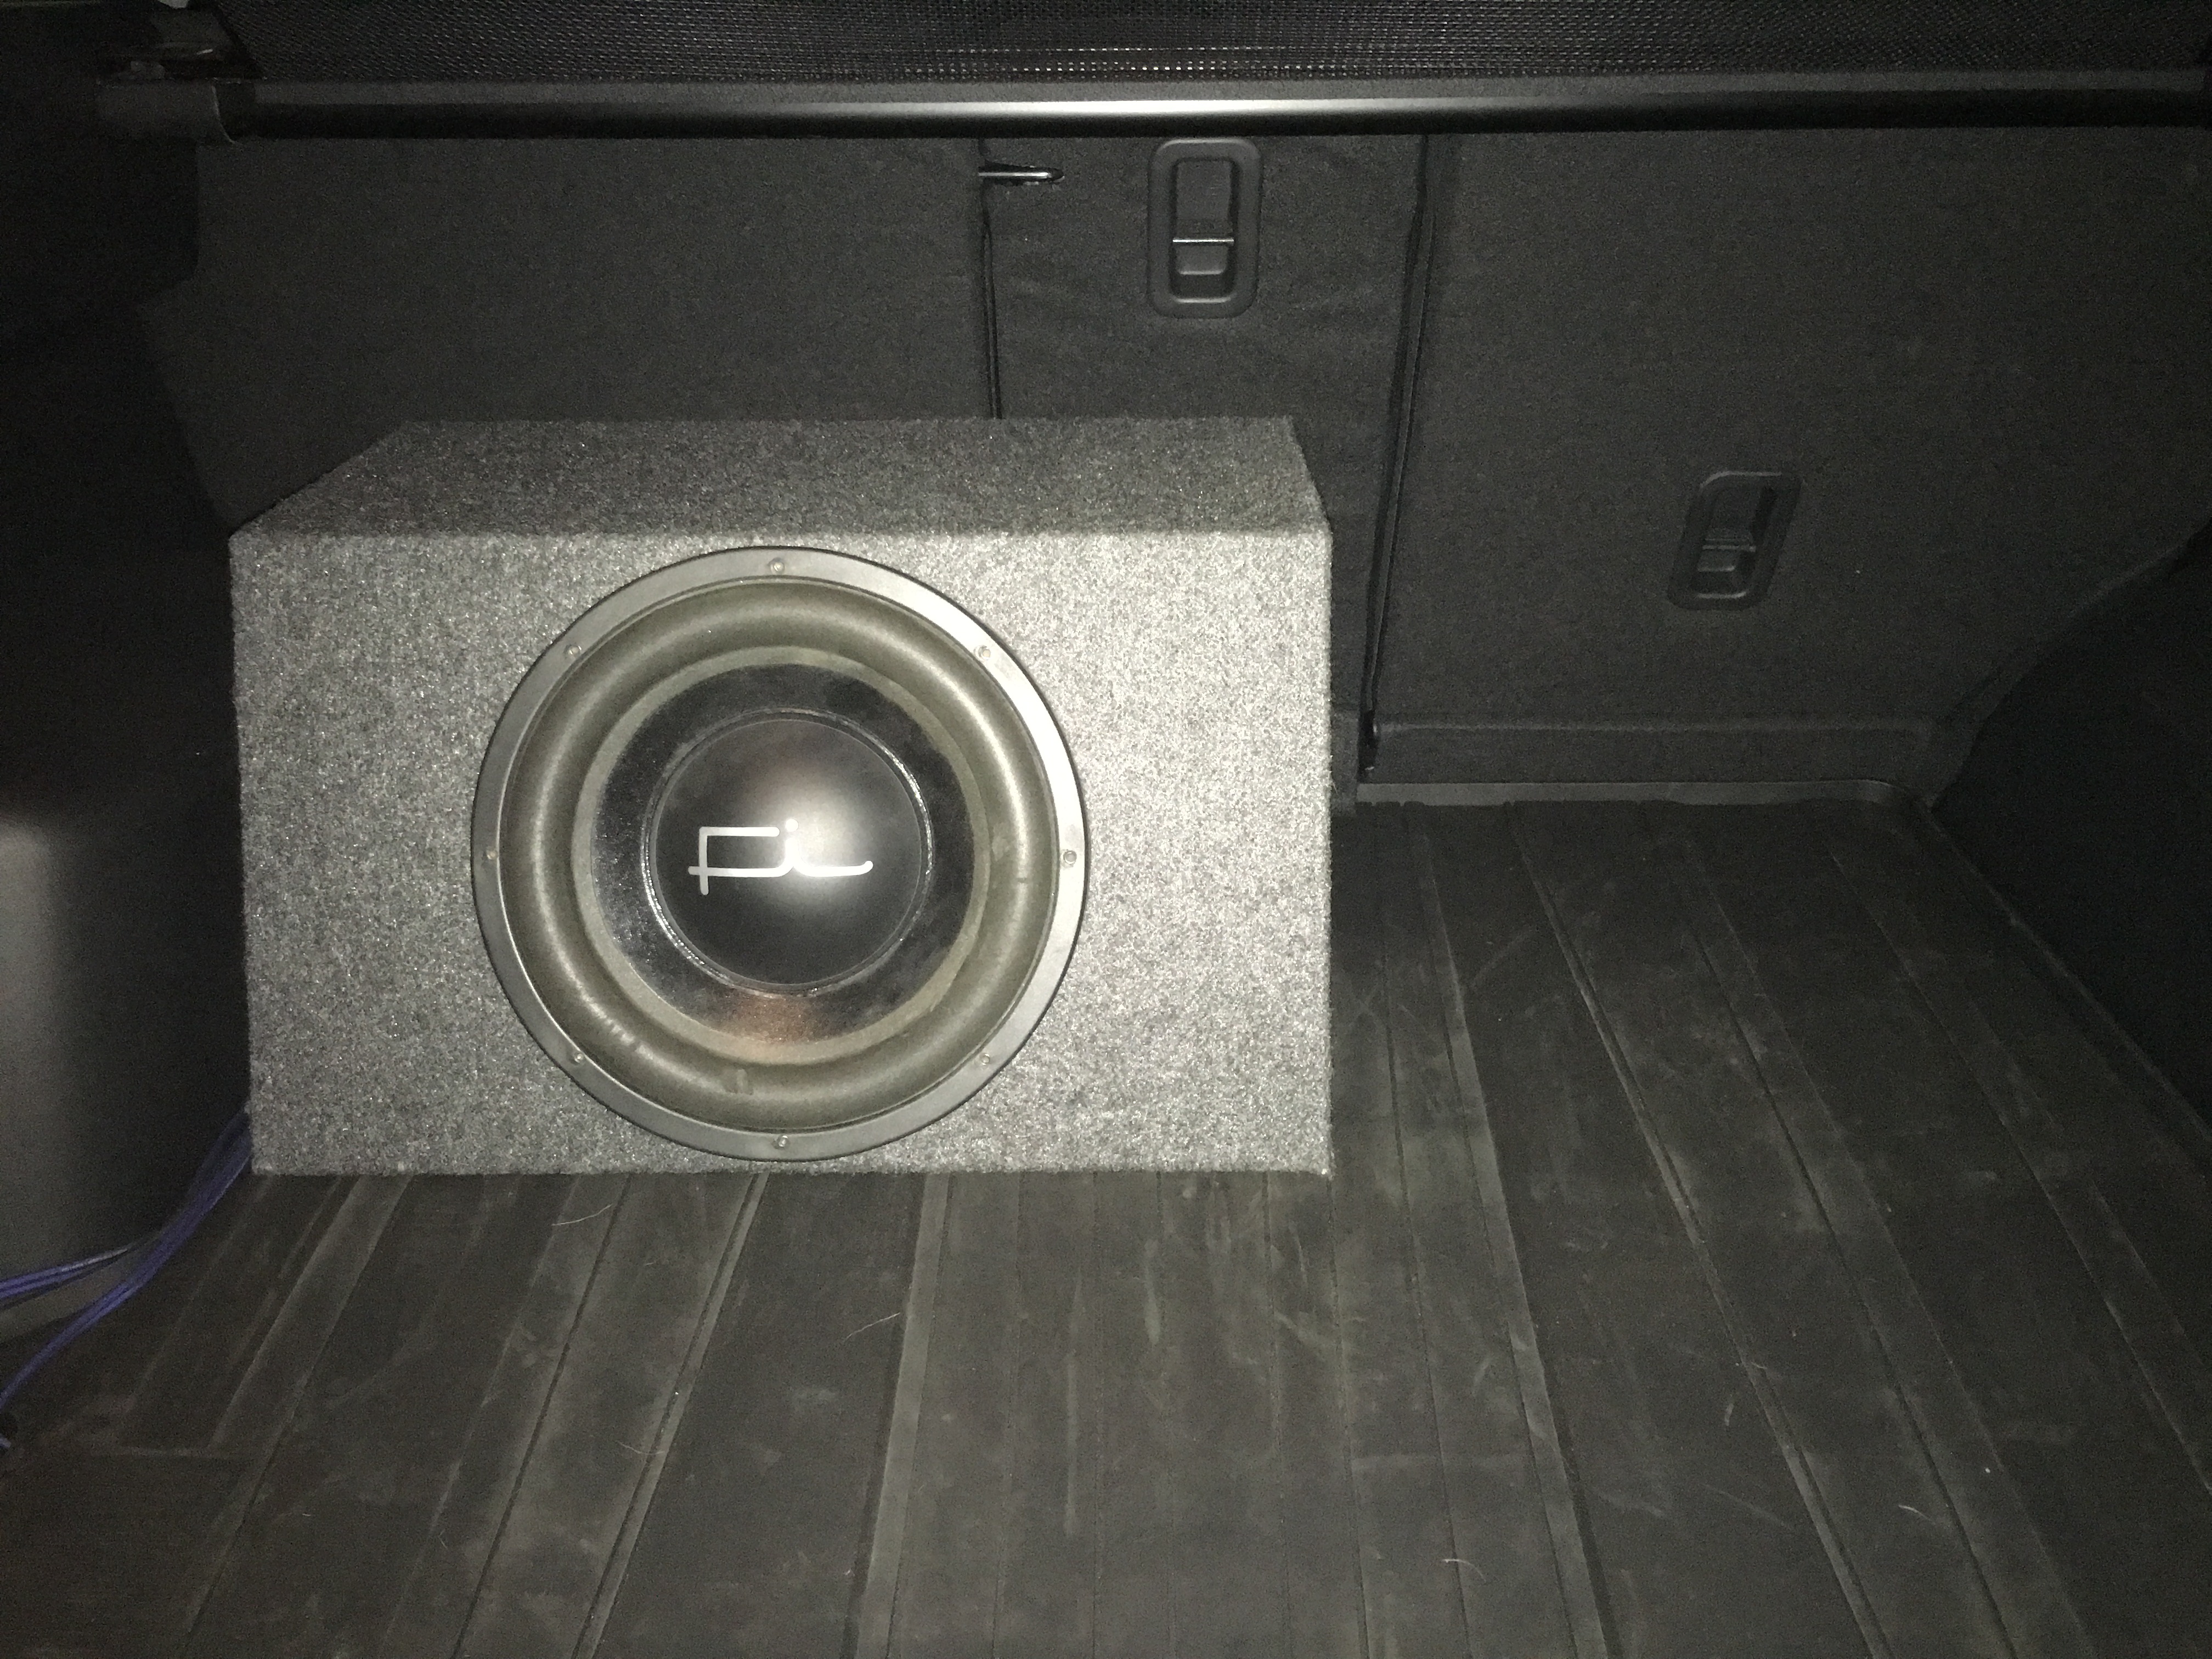
Finish connecting all the power wires for the amplifier and run a speaker wire from amplifier to the trunk.
Connect the speaker wire to the subwoofer, set your amplifier gains, and then enjoy the added bass to your system.
After installing the PAC AOEM-MAZ2 adapter, I can confirm that it does work for the 2016 CX-5 equipped with the bose system. The installation for this adapter was quite easy.
As for the sound, the subwoofer has added some much needed bass to the sound system. It sounds good but could better. I am experiencing some low frequency cutoff around 45Hz, possibly due to the sound processing from the Bose amplifier. You might be able to bring back the low end bass by adding an external bass restorer.
Overall, Im happy with the purchase of the PAC adapter, but just be aware that there is some low bass cutoff because of the sound processing from the Bose amplifier.
Heres are some pics of my install.
PAC Unit
The sticker behind the package.
Open the glove compartment to get to the Tuner Amp Unit(TAU). Unhook the little damper on the right side and push in both sides of the compartment to open the latch all the way down.
Here is the TAU located behind the glove compartment.
Unplug the white harness and plug it into the orange clip on the PAC. Use the white harness from the PAC and plug it back into the TAU.
Here it is all connected. Not pictured, is the other end of the PAC with two sets of RCA outputs(front/rear) and a blue remote wire. I used the front outputs for the subwoofer amplifier and turned the input level on PAC to the max setting.
Now for the amp install
First, unplug the ground wire from the battery terminal.
Cut a hole in this rubber grommet to run your power wire. This was hardest part of the amplifier install as the rubber grommet is very thick and was a PITA to run the power wire through the firewall.
Run the amplifier power wire through the grommet and into the interior on the driver side footwell.
Connect the front end of the power wire to the positive battery terminal. Make sure to install an external fuse within 16 inches from the positive battery terminal. Your battery connection should look like something similar to this once it is all connected.
You'll need to find a location for the amplifier ground cable to attach to the vehicle chassis. Remove the driver side kick panel by turning the screw by hand and gently pull the panel off.
Behind the kick panel are two bolts. I unscrewed one of the bolts and attached the ground wire to the chassis. Remember to sand off some of the paint to ensure a good ground connection.
My plan was to install the my monoblock amplifier underneath the driver seat. To remove the seat you would need a Star/Torx size E14 socket to remove the 4 seat bolts.
You will then need to unplug the seat's airbag/motor harness in order to take out the seat. Start by pulling up the white tab. Underneath the white tab is another side tab used to unplug the harness. DO NOT TURN ON THE IGNITION WITH THIS HARNESS UNPLUGGED as it might set off any airbag warnings.
Be sure to measure the dimensions of your amplifier because it is going to be a tight fit under the seat.
I didn't take a picture of this process, but I ran the RCA cables and the remote wire from the glove box down to the passenger side of the center console.
To bring the rca cables and remote wire to the driver side of the center console, remove the plastic cover and screws located on each side. You will then be able to lift the console just high enough to run the RCA cables and remote wire to the driver side where the amplifier is located.
Finish connecting all the power wires for the amplifier and run a speaker wire from amplifier to the trunk.
Connect the speaker wire to the subwoofer, set your amplifier gains, and then enjoy the added bass to your system.
Last edited:
") . make it blend in a lot better !!! i see you got the screw out of the center console . that should make it ezer for you to fish the rca under the carpet . there is a open area under there so if you use a peace of the 4ga wire you can fish that from the air vent on the driver side to up under the center console then streach it from under there to the out side from under the concole and above the carpet . tape your rca wires to the 4ga wire and pull it through . it is a pain in the ass but it can be done . it took me a bit of time to get it but i did it . might be ez for you now that you got the screw out .
. make it blend in a lot better !!! i see you got the screw out of the center console . that should make it ezer for you to fish the rca under the carpet . there is a open area under there so if you use a peace of the 4ga wire you can fish that from the air vent on the driver side to up under the center console then streach it from under there to the out side from under the concole and above the carpet . tape your rca wires to the 4ga wire and pull it through . it is a pain in the ass but it can be done . it took me a bit of time to get it but i did it . might be ez for you now that you got the screw out .