Marcs_sp20's project SP20

There ya go!

IMG_3369.jpg


IMG_3399.jpg


IMG_3305.jpg


IMG_3304.jpg


IMG_3311.jpg


IMG_3394.jpg
 
looks good man, im still debating to stick with the stock taillights and redout the signals or get me those Familia tails...

i def dig the rims although it does make the car look kinda high.
 
looks good man, im still debating to stick with the stock taillights and redout the signals or get me those Familia tails...

i def dig the rims although it does make the car look kinda high.

Cheers mate, have always admired your pro5 too ;)

I thought about getting blackout laminate from Lamin-X, but just cant do it :(

And would you believe me if I said the car is 5mm higher then if I had 195/50/16 tyres!
 
Put some un-needed bling on the AutoExe intake :p

IMG_3952.jpg


planning on giving the car a good clean this weekend, car is filthy and needs a good clean, havent done that in 3 months now :eek:
 
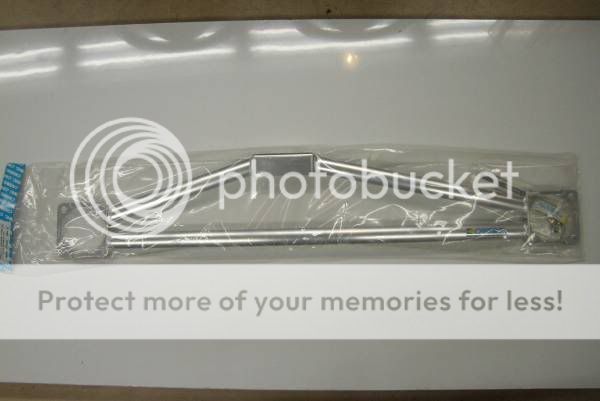
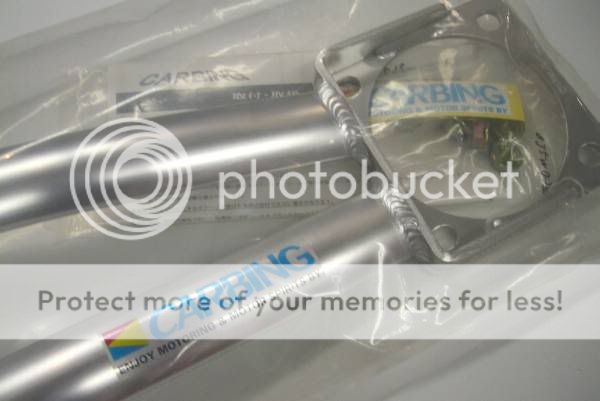
So I received my AutoExe 21mm rear swaybar & Tein Bonnet struts this afternoon at work, so this afternoon I raced home, and oggled at my new toys :p

After a bit of searching around Mazdas247 about how these bonnet struts are mounted, I unbolted the middle guard bolt, mounted up the bottom part, screwed the strut back on and bolted the top mount to the bonnet hinge, and hey presto, I got a passenger side strut! :D

IMG_4127.jpg


IMG_4121.jpg


Went to do other side, doing what I did before, and wasnt so succesful, the thread on the ball stud bolt snapped in the guard while tightening :(

IMG_4117.jpg


IMG_4118.jpg


IMG_4123.jpg


So anyways, I have one half of a completed project done, will be going anywhere I can to find another M12 Ball stud, as having only one bonnet strut is not enough to hold up the bonnet by itself, touch it and it falls :eek:

The AutoExe swaybar should hopefully be fitted up in a fortnight or 2, not in too much of a rush ;)

Cheers
Marc
 
Bit of an update,

Killed some time this evening as there was nothing on the telly, so I cut out the steering wheel surround to accomodate the scangauge! (thanks darryl for the idea! :D)

Here are the results:

IMG_4333.jpg


IMG_4332.jpg


IMG_4330.jpg


IMG_4341.jpg


As you can tell in the photo of it installed in the car, the scangauge facing downwards a little, I did this so its not "in ya face" all the time, and that I can see the entire cluster too...

I'll be installing the AutoExe swaybar & hopefully replacing the steering tomorrow :D

Cheers
Marc
 
Well yesterday morning I installed the AutoExe rear sway bar, and its improved handling dramatically, should have done the swap over sooner!! :D

All installed:
IMG_4346.jpg


Also this evening the SP20 decal on the hatch was pissing me off, so I removed it. Yet to polish up the area as yet considering the light conditions at 6.30 tonight, or the fact I cant see properly ;)
IMG_4361.jpg


And last but not least, I have my evil M sitting in a container of bleach, so later this week I will spray it up and install :D

Im currently concoting some ideas that includes Carbon Fibre Vinyl, all will be revealed in a couple days :D

Cheers
Marc
 
10-11-2010

CF wrapped the hatch handle this evening, 35mins all up

IMG_4364.jpg

IMG_4365.jpg


Tried to do the side mirrors, but seeing its got 6 sides, was a major fail :o Will be doing the eyelids tomorrow afternoon ;)

14-11-2010

Spent a good hour on vinyling the A pillars, painted my rear evil M badge and adjusted & ziptied the gearboot...

IMG_4391.jpg


IMG_4390.jpg


IMG_4392.jpg
 
16-11-2010

Its funny, a month ago I said I wasnt spending any more money on the SP20, and what do I find on the Yahoo Japan auctions, a BRAND NEW Carbing Front Strut brace for $61 Buy it Now!!! :eek::eek::eek: So I went ahead an purchased it, and altogether with EMS shipping was $240, not bad considering they are over $450 new :p Should be here in 3 Weeks :D
ctanext-img600x401-12849761054kuldc89916.jpg

ctanext-img600x401-1284976105ycx9gn89916.jpg

ctanext-img600x401-1284976105nx5iww89916.jpg


Other then that, going to respray the turtle cover in the colour of the car, and thats about it ;) For now :p

22-11-2010

Received some photo love at a car meet last wednesday :p

post-38577-12900637921270394059.jpg


Installed the Evil M last week:

IMG_4435.jpg


And this afternoon I removed the Honda lip, and surprisingly I rather the clean look again, lets hope the garage door lip mod doesnt make it ugly again :p

IMG_4437.jpg


IMG_4438.jpg
 
I did a bit on the weekend:

Washed it
Reapplied rear scuff plates
re-ziptied the gearboot - so that its inside (thanks bourbon for the tip! :D)
Went cruising through the mountains with a mate & his missus new toy ;)

IMG_4568.jpg

IMG_4578.jpg

IMG_4585.jpg

IMG_4594.jpg

IMG_4534.jpg

IMG_4533.jpg

IMG_4462.jpg

IMG_4463.jpg

IMG_4516.jpg

75771_10150095806978000_766502999_7266884_1985659_n.jpg


Going to be pulling the rear end apart on the weekend as I still have a clunk, and am now thinking its the left side (my passenger side :p) rear strut top, so will have to wait & see...
 
Looks sooooo good, mate. Nice and clean. Well done! That grassy shot is my favorite.
 
Well, my 3pt Carbing Brace was picked up this afternoon, and I got to work fitting it... and what a prick that is! :eek: I think I spent more time trying to get the back of the brace up under the water resovoir then taking the old one off!

Anyways pics as usual :p I dont have the turtle cover on as its currently being sanded down, and I desperately need to degrease the engine bay, yet another job after new years...

IMG_4661.jpg

IMG_4652.jpg

IMG_4651.jpg

IMG_4650.jpg
 
VERY nice looking, and performing, piece there. I'm very jealous!

Could you feel any difference between that bar and the stocker?
 
Back