mymmeryloss
Member
- :
- 13bT Mazda B2600i
Killer progress!

Thanks Jon!
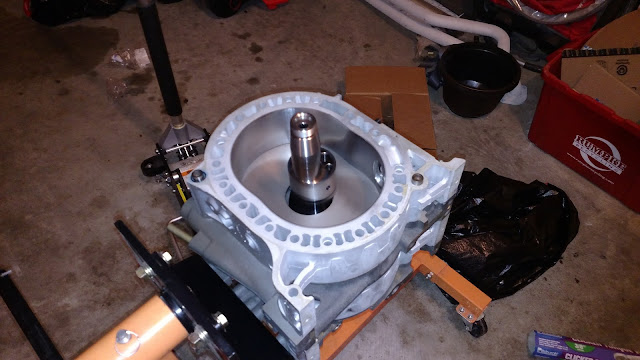
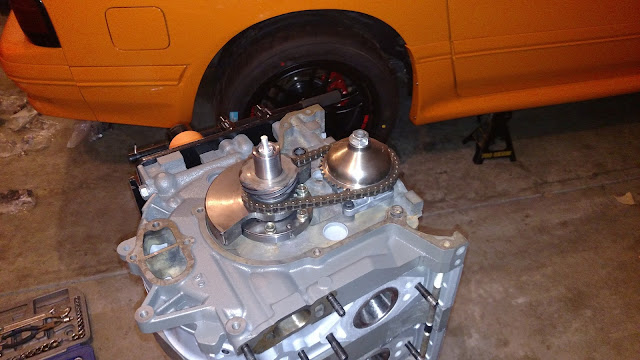
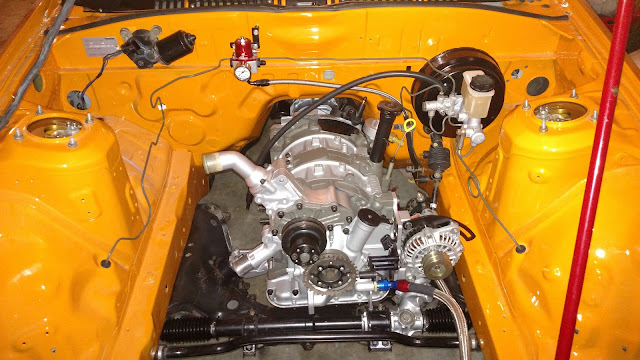
The rotary engine is pretty fascinating the more I see and read. What goes on the middle smaller lobe(s) in the pictures above?
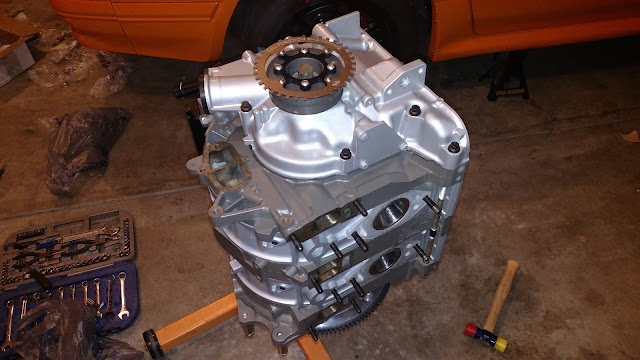


I've also been following this thread and I must say I'm really impressed with your progress...Big thanks for sharing your build with us and for including lots of juicy details! (2thumbs)
Seeing you rebuild your own rotary engine makes me wonder if I could do such a thing myself someday (with a lot of help)...Especially when considering how much a rotary rebuild costs in Japan. I could buy a brand new kei (small) car for the amount it would take to rebuild the 20B.
On a related note, what's your take on running premix vs the factory oil metering pump? Apologies if you mentioned it already but what are you going to run? I'm still running the factory electronic metering pump which I've heard can be problematic and my tuner (TCP Magic) says it's functioning now but it could fail at some point and to replace it (if possible) would cost a fortune...Another option I believe would be to run an older mechanical metering pump but I'm not sure that would work on the 20B. I'm also not keen on premixing and I'm not sure if that's possible with a street car in Japan...Anyway, your thoughts would be very much appreciated and keep up the awesome posts!
**********************************
On a related note, what's your take on running premix vs the factory oil metering pump? Apologies if you mentioned it already but what are you going to run? I'm still running the factory electronic metering pump which I've heard can be problematic and my tuner (TCP Magic) says it's functioning now but it could fail at some point and to replace it (if possible) would cost a fortune...Another option I believe would be to run an older mechanical metering pump but I'm not sure that would work on the 20B. I'm also not keen on premixing and I'm not sure if that's possible with a street car in Japan...Anyway, your thoughts would be very much appreciated and keep up the awesome posts!

Jon
As I usually say, Nice Work !!!
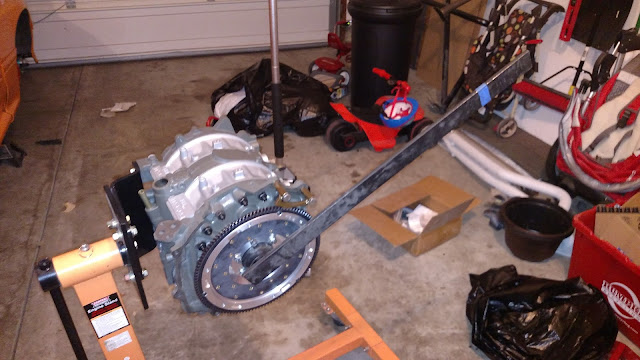
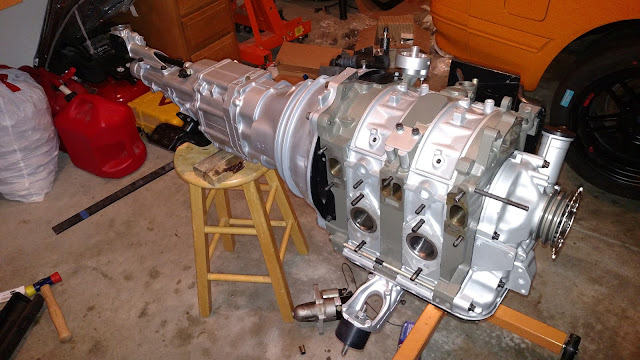
I will say it's significantly easier to bolt the transmission to the engine when it's out of the car.
I guess I will find out later this winter, I am doing a refresh of the 79 rx7. Mostly seals and bearings in the drive line.

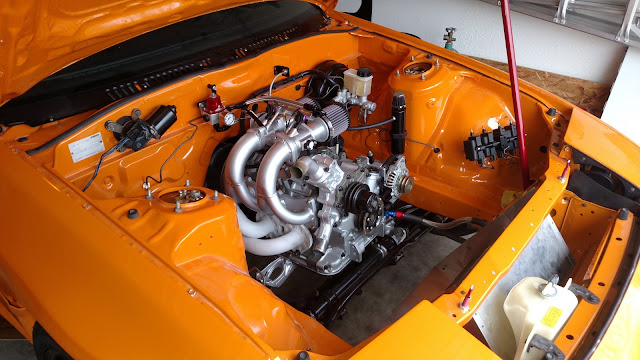
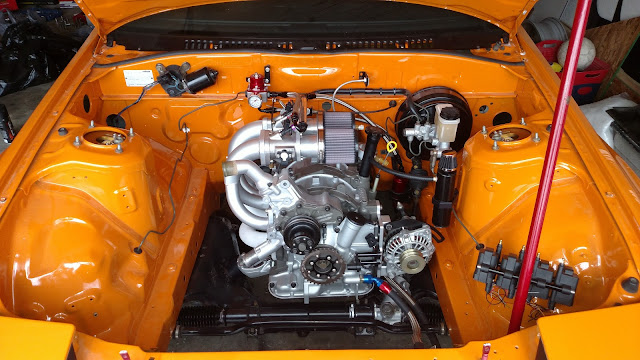
I found a good way to figure out the oil cooler line routing and length was to cut up a garden hose an insert it into the fittings to see if would interfere with any thing and then measure the hose and make a copy of it out areoquip line. That car is looking dangerously close to running. loving the color

