
- :
- 2008 Mazda5 Touring
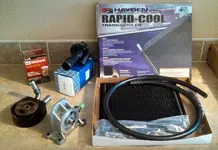
I had a number of replacement parts and upgrades to do to this vehicle today. They included installing something myself and others have been talking about doing for a loooong time - an auxiliary transmission cooler. Well, I finally did it, and here you go. Before we get started though, here is the whole spread of items that I tackled in the scorching heat and humidity.

Since I was removing the oil cooler for sanding/painting because it exhibited more rust than I was comfortable with, I also decided to do the spin-on oil filter conversion. And since removing the oil cooler required draining the antifreeze/coolant, I decided to replace the thermostat. Therefore this project kinda snowballed, but here I will focus on the ATF cooler.
First thing you need to do is choose a cooler to satisfy your needs, for me it was the https://www.amazon.com (commissions earned). Since we plan on purchasing a camper of some sort this year, I wanted a larger cooler. This cooler comes with about 4' of 11/32" hose, you will need another 4' from your local auto parts store. I chose to use fuel line hose clamps too, because I don't like worm gear type, about $2.50 from AutoZone.
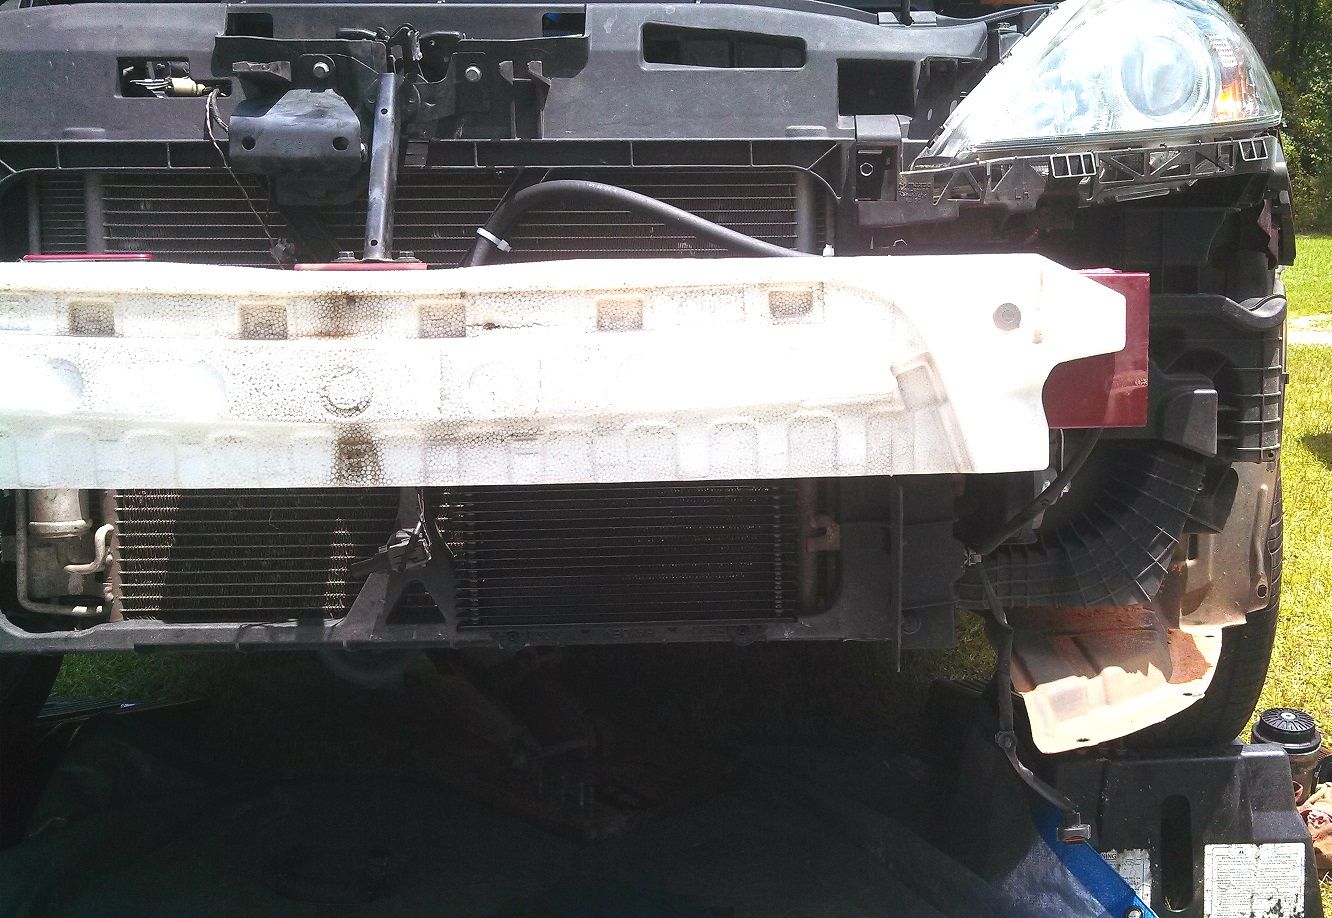
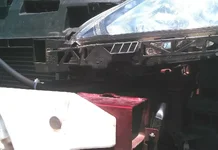
First remove the front bumper cover, I followed this guy's very helpful guide. 10 minutes tops to get it off.
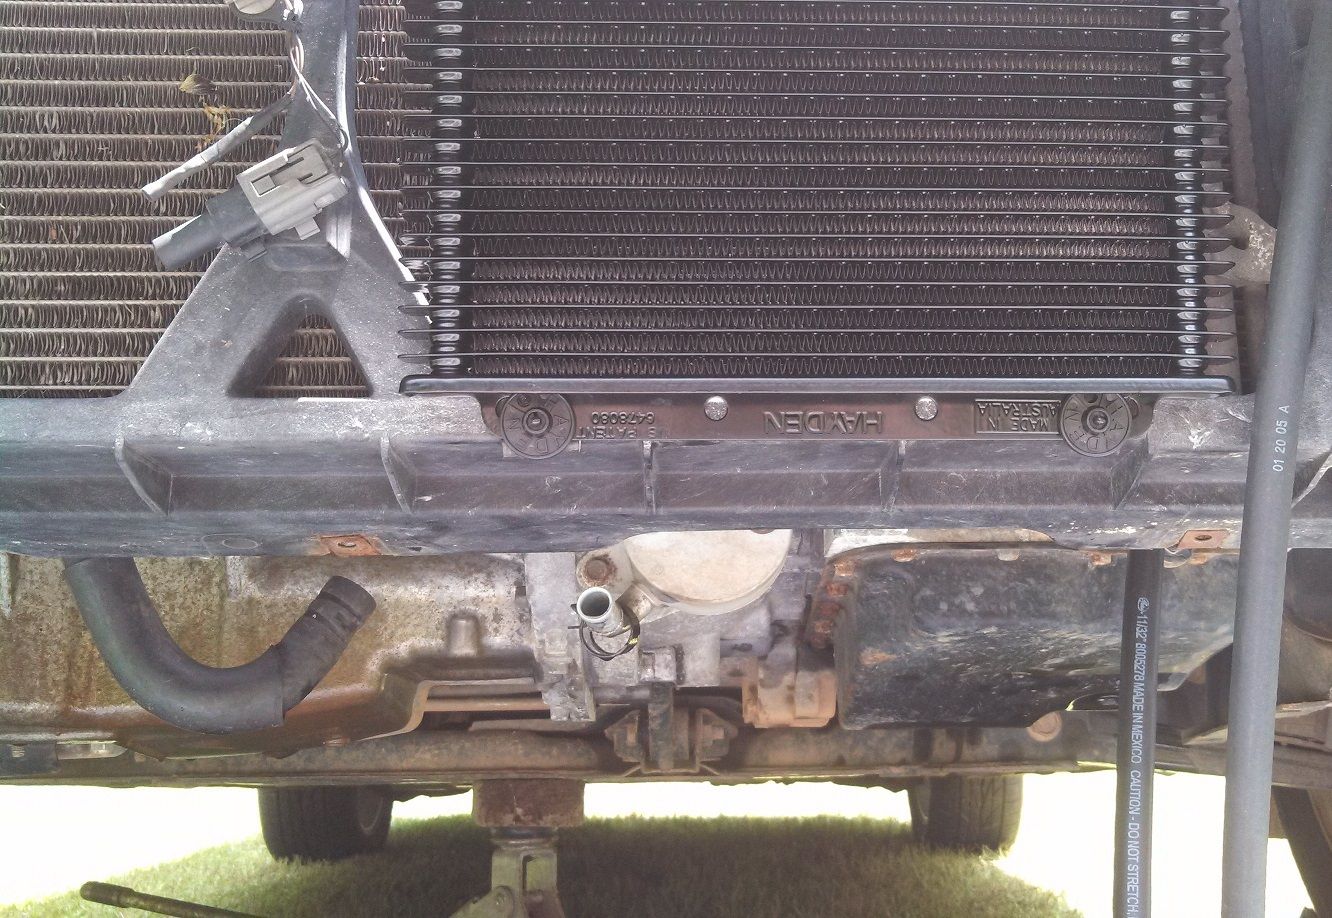
I had also purchased some aluminum bar angle and stainless steel hardware because I anticipated mounting it securely to the radiator core support, but since this structure is fiberglass composite and irregularly shaped, this didn't work. The solution I came up with was to drill 2 small holes (1/8") in the lower support, pop up the radiator and condenser and insert 2 of the zip-ties that come with the cooler through the holes from the back. This supports only the bottom of the cooler, but the hoses zip-tied in place secure the top adequately.
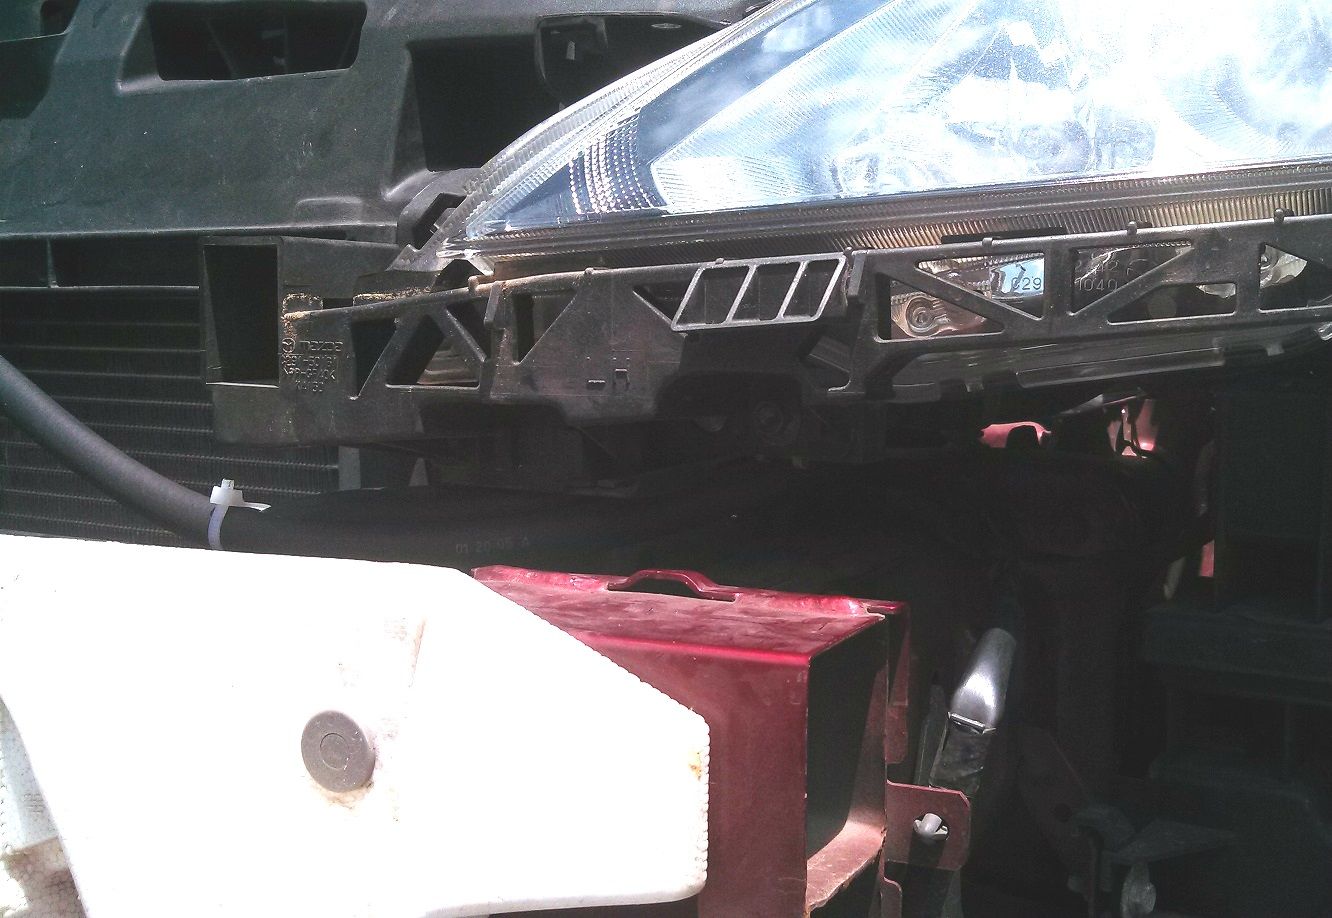
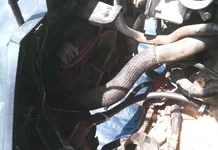
*The best route for the hoses is under the driver's headlight.
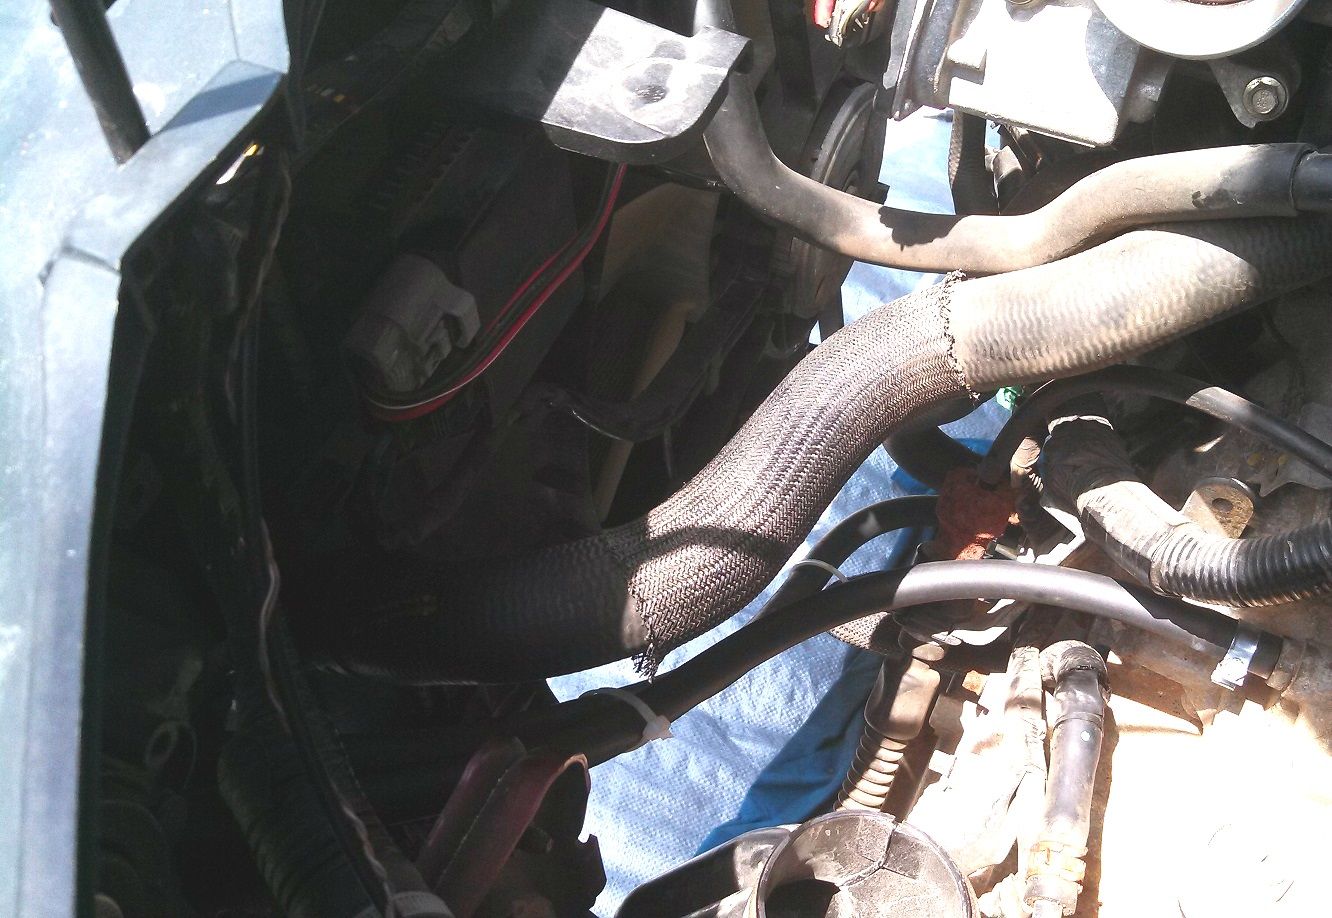
*You also have to remove the airbox to get to the transmission for connecting. My choice was to have the AFT outlet line feed the new cooler first, then to the stock heat exchanger, both in series. This should help to not over-cool the fluid in cold weather.
Since I was removing the oil cooler for sanding/painting because it exhibited more rust than I was comfortable with, I also decided to do the spin-on oil filter conversion. And since removing the oil cooler required draining the antifreeze/coolant, I decided to replace the thermostat. Therefore this project kinda snowballed, but here I will focus on the ATF cooler.
First thing you need to do is choose a cooler to satisfy your needs, for me it was the https://www.amazon.com (commissions earned). Since we plan on purchasing a camper of some sort this year, I wanted a larger cooler. This cooler comes with about 4' of 11/32" hose, you will need another 4' from your local auto parts store. I chose to use fuel line hose clamps too, because I don't like worm gear type, about $2.50 from AutoZone.
First remove the front bumper cover, I followed this guy's very helpful guide. 10 minutes tops to get it off.
I had also purchased some aluminum bar angle and stainless steel hardware because I anticipated mounting it securely to the radiator core support, but since this structure is fiberglass composite and irregularly shaped, this didn't work. The solution I came up with was to drill 2 small holes (1/8") in the lower support, pop up the radiator and condenser and insert 2 of the zip-ties that come with the cooler through the holes from the back. This supports only the bottom of the cooler, but the hoses zip-tied in place secure the top adequately.
*The best route for the hoses is under the driver's headlight.
*You also have to remove the airbox to get to the transmission for connecting. My choice was to have the AFT outlet line feed the new cooler first, then to the stock heat exchanger, both in series. This should help to not over-cool the fluid in cold weather.


 . Have you also though about adding an external transmission filter? From some of the cut-outs I've seen on BITOG, they do an admirable job!