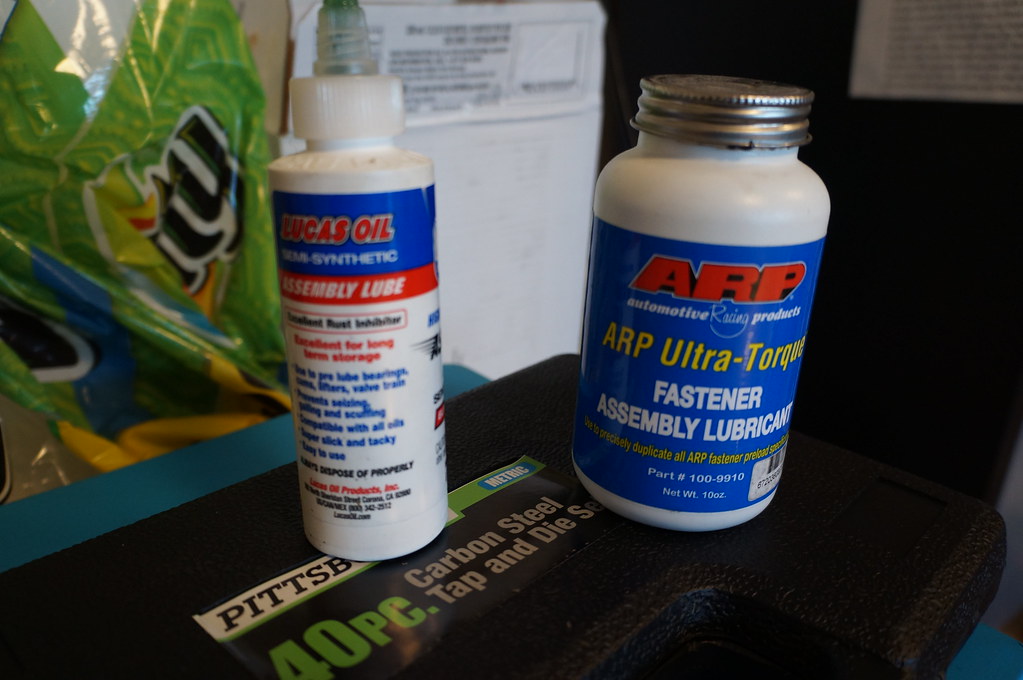
Despite it still being chilly, got back out in the garage and moved forward. I neglected to talk about using lubricant when installing the parts on the head. If the cams/lifters aren't lubed, the first start with result in a lot of wear at a minimum. In the past I have used a moly paste, while I was out the other day I looked to see what was available in an parts store and found some Lucas semi-synthetic lube that was a liquid. With the ARP head studs I have you also have to use lubricant, they have their own special formula. When you buy the stud kit they send you a little packet of the stuff, but I went through that and went ahead and bought a can of it. Here is what I am talking about:
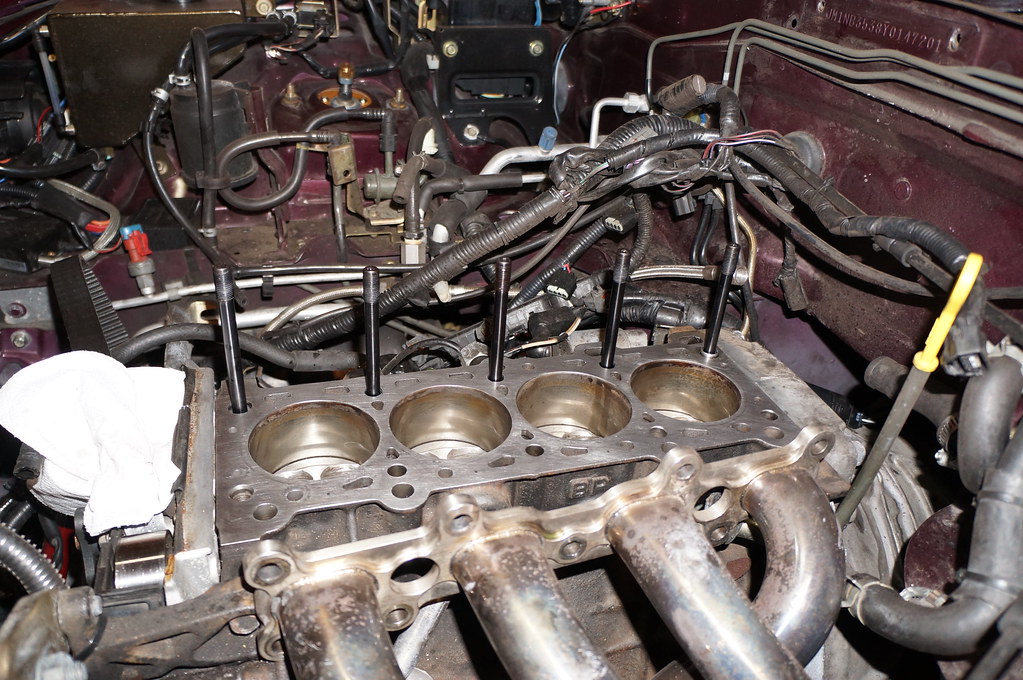
Started off with cleaning things up. First thing done was chasing the threads in the hole for the exhaust manifold stud that fought me during removal with a tap from a set I picked up from Harbor Freight (this one takes a M10 X 1.25). I used BrakeKleen and sprayed down into the stud holes in the block to clean them out. You don't want to leave any liquid inside the holes, you can actually get hydraulic lock when installing the fasteners and they won't seat properly. I use a paper towel that I screw into a taper and insert that to absorb the fluid. Next I finished cleaning up the mating surface of the block using my sanding board. Cleaned all that residue off. Next up was cleaning all the assembly lube off the studs. Again I used BrakeKleen, wiping the studs down with a paper towel. In order to get any crud out of the threads I use a paper towel forced into the thread valley with my thumbnail and then turn the stud. Works great. Next step was to lube the threads and insert the studs into the block. You don't want to glob the lube on but you want to make sure there is an even coat on all the threads. Couldn't really get a good picture, the gray on the threads is what I'm talking about:
Once the studs are in the block, you will see the forward-most one sticks up a little compared to the others. This is not an issue:
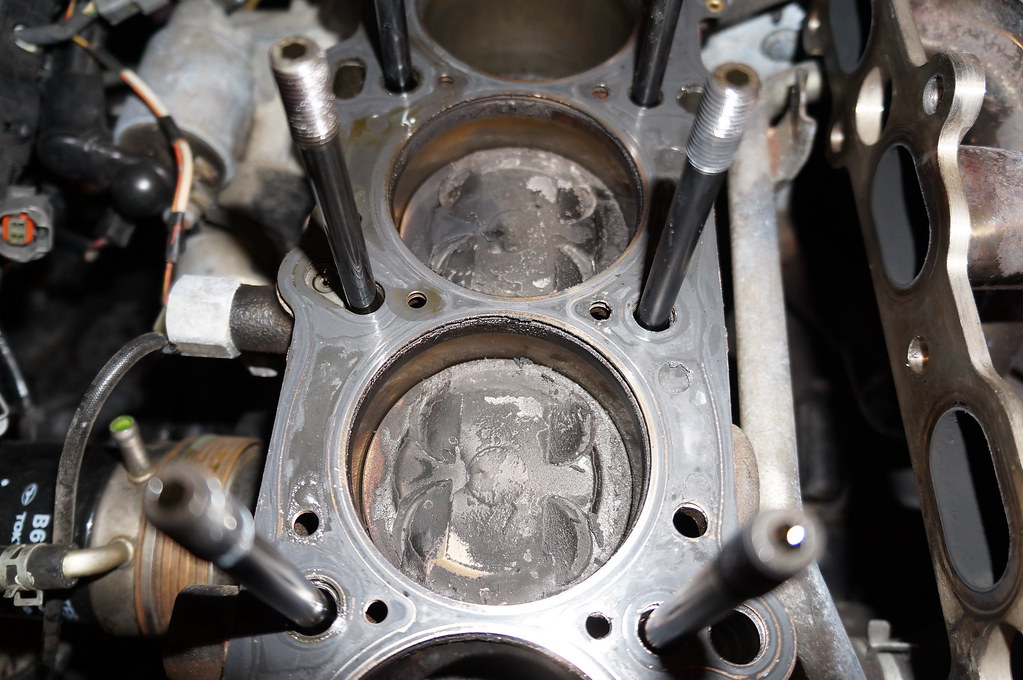
Got all the studs installed, put the gasket in place double-checking that I had it aligned correctly, lubed the upper threads on the studs then put the head in place. Cleaned up the nuts and washers, then lubed them and put all on. At this point I want to touch on the importance of constantly researching. I came across something about the torque values that ARP gives for the head studs. General consensus is that they are too high. Originally their instructions said torque to 80 lb-ft, now they have dropped that to 65 lb-ft. Factory spec is 56-60 lb-ft. I decided to torqued the new head to 56 lb-ft in three steps. Got that all done without issue.
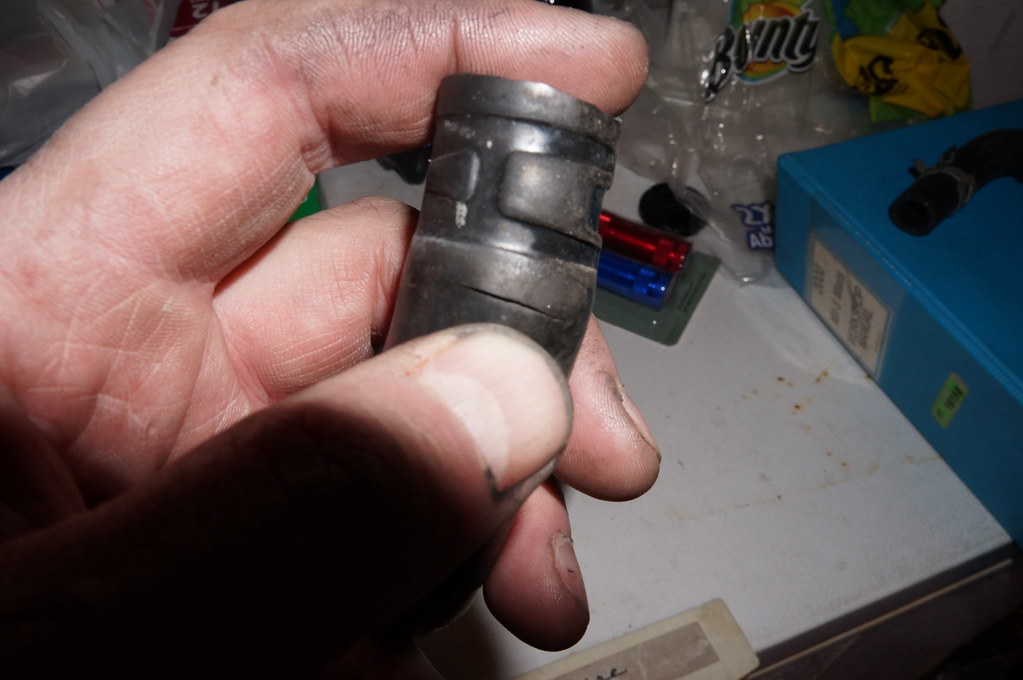
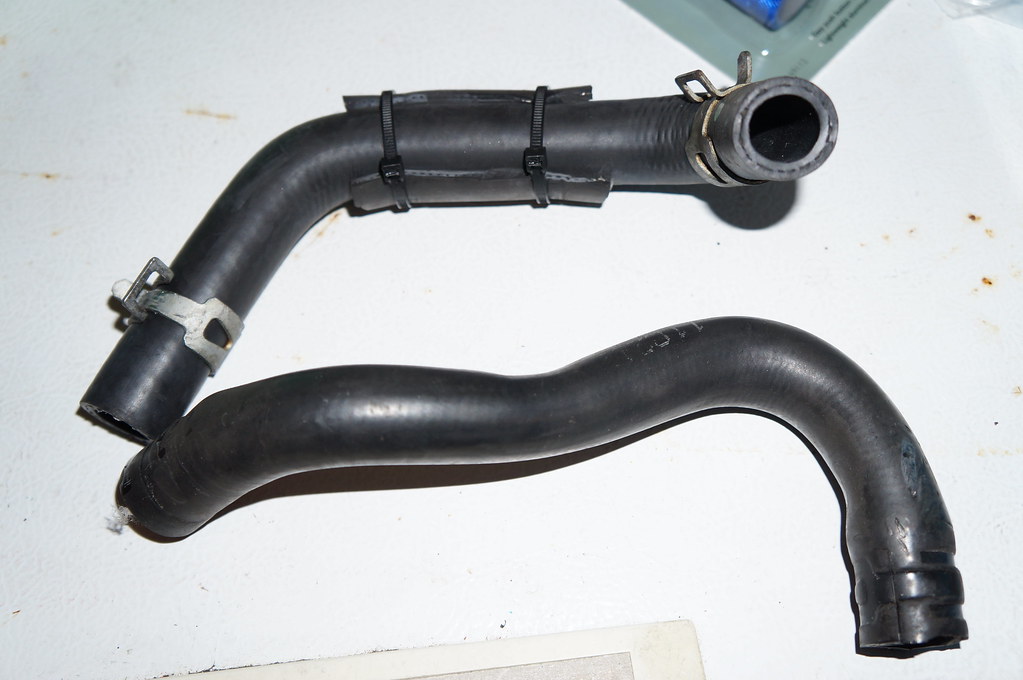
Whenever you do any work to your car, it's a good idea to take a look around where you are working, even at stuff you aren't touching. When I was disassembling things I found one of the heater hoses was being cut right where the end of the pipe it was attached to ended. Bought a replacement from Mazda and changed that out. You can see from the following pictures how it was being cut. Also, the new hose is slightly different in configuration from the old one (I had changed these hoses since buying the car, but I can't recall where I got them from).
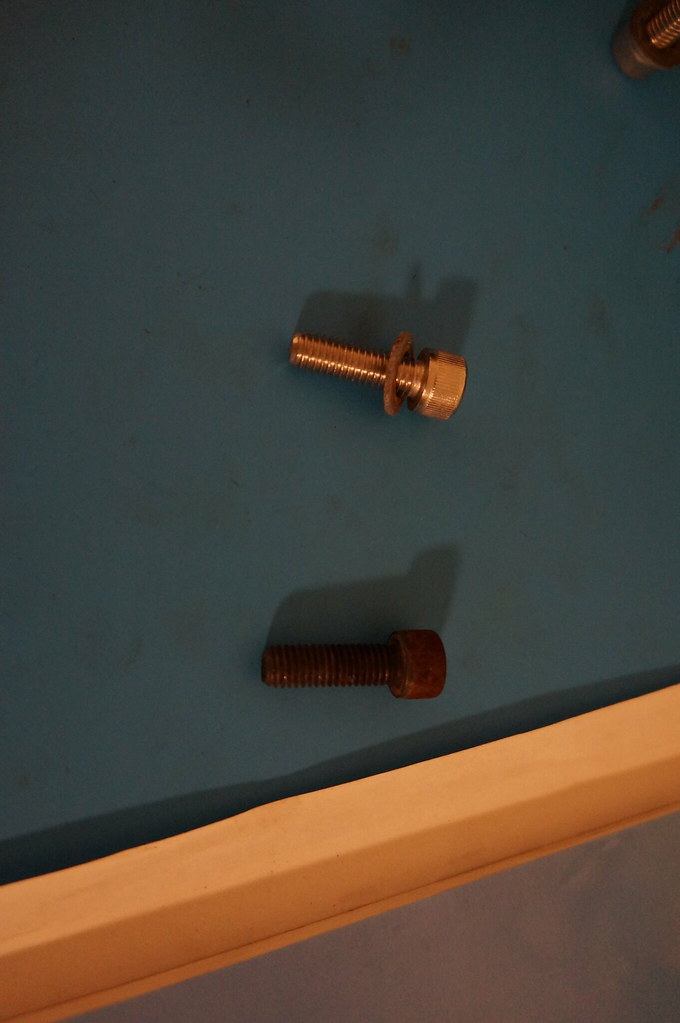
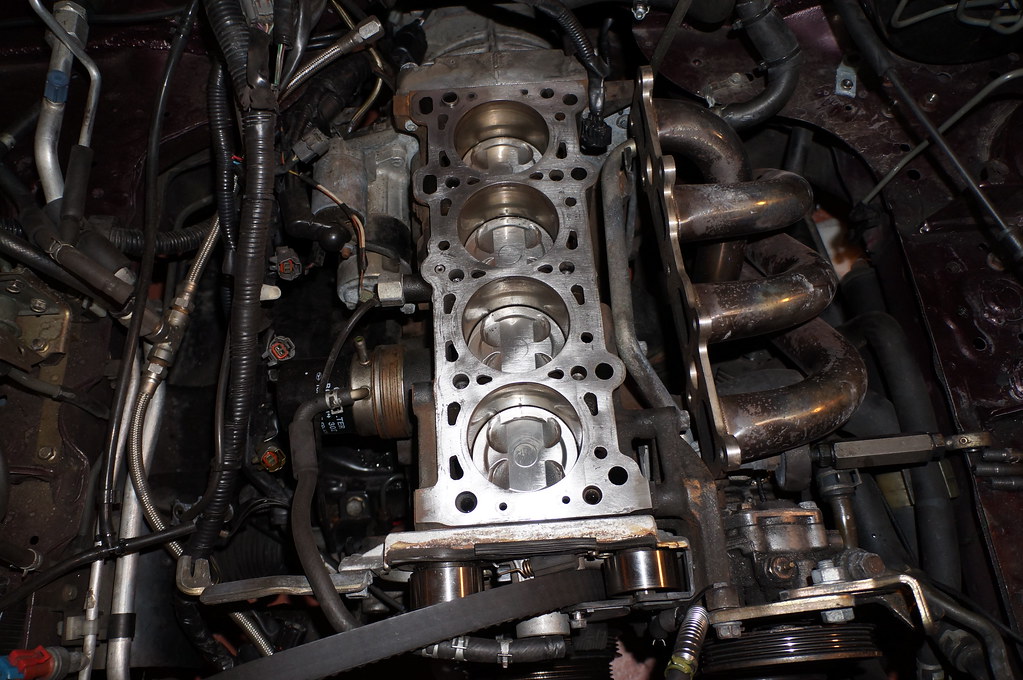
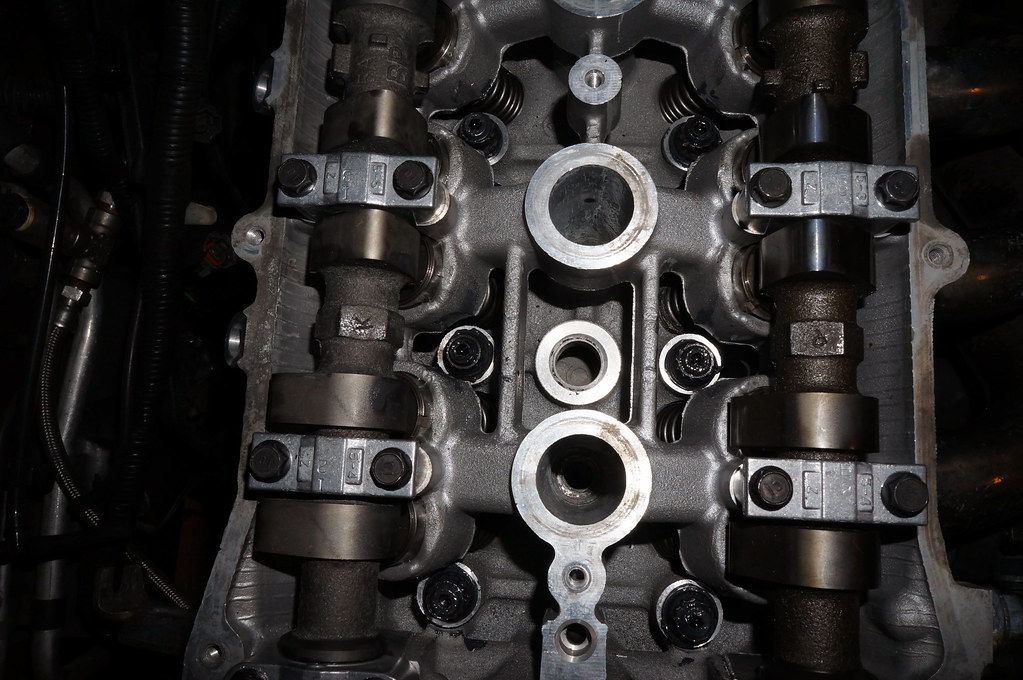
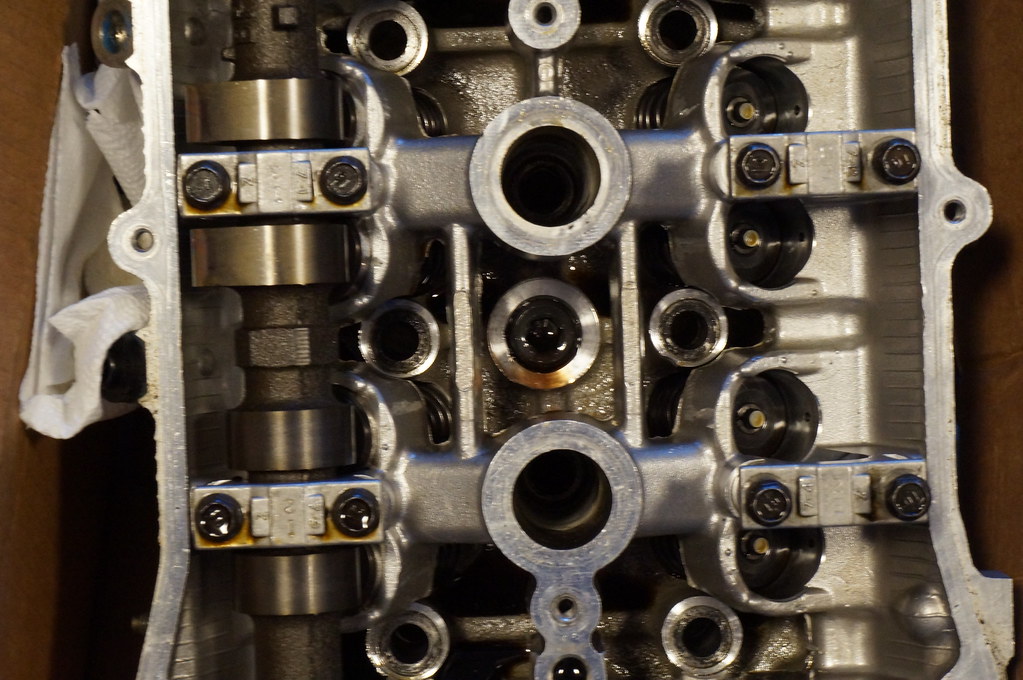
Put the exhaust manifold in place with a couple of nuts on it finger tight just to keep it from banging around. Finally, while looking things over to make sure I hadn't missed anything, I noticed a couple of big holes in the center of the head that I couldn't recall taking anything out of. Checked the old head and there are two Allen head plugs in those holes:
I have no idea of the purpose of these, or why the shop that ported the head left them out. My big impact didn't budge either one, so I was plying the threads with Kroil to try and loosen them up.