Well damn. I figured the ol third gen section needed some life so I thought I would document the transformation of my 2001 LX into something that I like to drive.
I recently paid off my car but I take a train to work so I hardly drive it. It has about 40,000 miles on it. So rather than sell it for beans and picking up a car payment with interest I decided to mess around with my car till it is fun or I kill it. I can write off any loss on the car with the benefit of garage therapy.
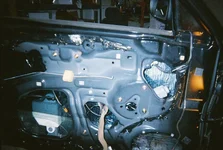
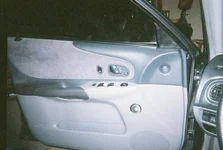
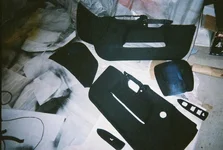
I have messed around with stereo systems for years and know my way around in that department but I have never actually done anything else to the cars that I have owned. Not even an oil change. So while searching around for a way to take apart my door I stumbled upon this site and decided to give my car an upgrade using the how to's that I like and the stereo will be my own contribution.
I've take a week off of work and dedicated that to closing out on some of the projects I've started. I am moving in 3 months and after that I won't have a garage so I gotta get everything in now.
I'll ad more detail later but for now I am going to post as many pics as I can and go to bed.
I recently paid off my car but I take a train to work so I hardly drive it. It has about 40,000 miles on it. So rather than sell it for beans and picking up a car payment with interest I decided to mess around with my car till it is fun or I kill it. I can write off any loss on the car with the benefit of garage therapy.
I have messed around with stereo systems for years and know my way around in that department but I have never actually done anything else to the cars that I have owned. Not even an oil change. So while searching around for a way to take apart my door I stumbled upon this site and decided to give my car an upgrade using the how to's that I like and the stereo will be my own contribution.
I've take a week off of work and dedicated that to closing out on some of the projects I've started. I am moving in 3 months and after that I won't have a garage so I gotta get everything in now.
I'll ad more detail later but for now I am going to post as many pics as I can and go to bed.
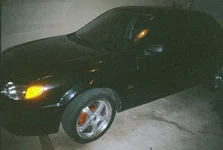

 03 black dx....i miss her.