Need help/idea/opinion with front shock install

:
2008 Mazda5 GT
Wouldn't ya know that this is my first time doing coilovers and I happen to have one that offers a great benefit, which also turns out to be a thorn in the butt. The YellowSpeed COs use a pillow ball top mount. This means the top can rotate and TILT (guessing 20ish degrees). This removes tension that typical COs endure which some lead to creak/pop/noises. The problem is that since the top tilts/rotates, it's quite hard align and force into the shock mount. When I try to jack the mount up, it moves the shock body at an angle. Doesn't help that only the front is on jack stands (gravity pulls it back slightly). Yes, lots of oil/grease but the issues is getting it aligned.

Any ideas? I'm thinking a hone to clean and widen the radius a tad and a crow bar to pry (need to find leverage) the mount open a bit more. Thoughts? The OE shocks came out pretty easily.

Assuming they fit without clearance issues, I always lifted the strut or coilover by hand to guide it into the strut tower and hand threaded the nuts to let it hang. I would then attach the lower end to the steering knuckle only after I had the top side connected. Was always easier for me to wrestle with the bottom half afterward.
 
Kind of like rod said, I've always been able to lean over the fender and hold the strut up with one hand while getting one bolt/nut started with the other. Note: I am NOT endowed with any upper body strength, and I can still do this with assemblies heavier than the Mazda unit. If you can't do it as a one-man job, just borrow your wife for 5 minutes and have her hand start one bolt on each side while you hold the strut from underneath.

The OEM Mazda design is a PITA using bolts that you have to align and thread into the strut mount, instead of studs on the strut mounts that are easy to align and poke through the holes in the chassis.
 
Since both of you interpret the issue with the top, it’s gotta be my poor (or leading :p) description…

I’ll try to explain better.
The YS top mounts come with (3) fixed studs that, which you inset into the shock “top” (to chassis) mount. It also comes with (3) nuts with a flair base to secure it. I’m not endowed with super upper body strength but I’m pretty sure anyone greater than 100 lbs can do this :D

The problem is once I get the top on, I find it difficult to align the shock “bottom” (to knuckle) mount. The stock spring/shock setup is one fixed. Once the top is mounted, you essentially have a protruding stick that is more or less fixed. You can roughly align and jack the knuckle into the shock base. The YS’s shock body rotates b/c it can tilt at the top hat. I think this is really nice to have BUUUT when I try to jack the knuckle into the shock “bottom” mount, both the knuckle and shock move too much and end up misaligning. The YS base is 2” diameter. I’m thinking what I need to do is widen the knuckle mount enough so that the YS shock base can just slide in. OR is there another/easier way?
 
Ah, now I understand. Yeah, there are various ways to spread that mount - bolt & quarter, knuckle spreader tool, big screwdriver, etc. How did you get it apart - BFH?

If you have a bolt and a bench grinder, you can make your own knuckle spreader tool.

457568_x800.jpg
 
Knuckle spreader would be the right tool to use. Are these loaner tools anywhere? I've NEVER had need to use one (done about 6 different manufactures) and would prefer not having to buying one. The unique situation here is due to the YS COs.

To your question, I use penetrating oil (Kroil) and inserted washer + bolt to break loose a little (for the oil to penetrate). I can then stomp it off with my foot (boots) vs. banging with a BFH. It does not offer enough clearance to "slide" in the new shock. Granted, I did not clean the inner walls of the knuckle either, which does have some crud build-up. I guess the spreader it is? Perhaps I'll also get a hone as backup.


^^ pic above. What am I looking at?? Is that a round head with one flat side to insert into the slot to rotate and spread? OR is the middle oblong piece the spreader? More details on that? Does it evenly distribute force?
 
457569_x800.jpg


It's like a hex socket, shaved down into that elliptical shape. Insert it, turn 90 degrees, install strut. It's not expensive, but it's not that common to find at your local Autozone either. Simple and it works, as I mentioned if you have a bench grinder it would take a matter or minutes to make your own out of an appropriately sized bolt.
 
good point but it won't be as pretty for a long term keeper. knuckle spreader is not a loaner tool (only called autozone). Guess I'll make one with a grade 8 bolt. Thanks.
 
Other thoughts:
1. sanding of the knuckle ID to remove surface rust/gunk
2. sanding of the strut OD to remove excess paint thickness
3. light filing/grinding of the knuckle/strut to create a chamfer on the edges (or maybe to make the current chamfer larger). Trying to put a 50mm tube with a square edge into a 50mm hole with a square edge is going to be difficult.
4. Lube, soapy water or iso alchohol
5. A second set of hands, or ratchet straps, or other method to steady the assembly as it goes together.
 
Just wanted to add that making this "whatchamacallit" tool is easy as pie. I don't have a bench grinder. Just a bench vice to hold down the bolt and a cutting disc to ground the sucker. It works GREAT at splitting the knuckle to take out the shock but not as helpful (in my case) with insetting the new one B/C it does not stay in place. It would be fine if I had a helping hand to hold it down (splitting the knuckle) while I guide and insert. I may need the knuckle splitter device to make this an easier one may job. I don't have much time with car. Been traveling a lot lately and left her on jack stand for about 3 weeks now (sad). Hope to get her done this weekend.


EDIT: Had a eureka moment this morning. Use "whatchamacallit" to split the knuckle and jam in some shims/washers to keep it open while inserting shocks - duh!...
 
Last edited:
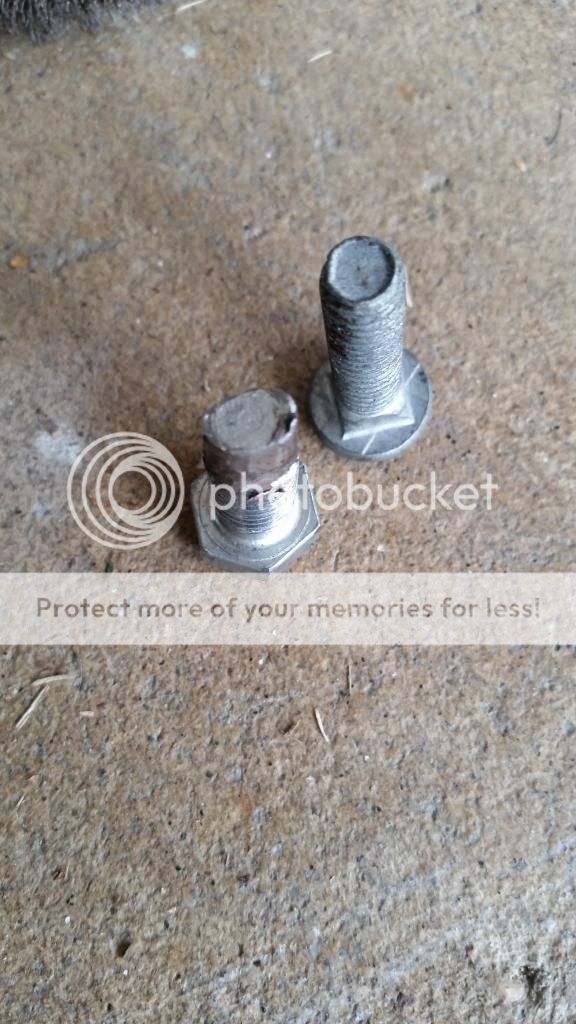
Thanks for the suggestion Sac. This simple contraction can save you a LOT of headache. Oblong headed bolt to split knuckle and insert another bolt to keep it open - genius!. I cut mine so that it can stay in place but antoher bolt ensure it won't pop out. I also used a 2" wire wheel to clean the inside + grease and the shock body slides up and down like butta :). For anyone doing front shocks, MAKE THIS THING. Super easy to make, cost nothing, and save yourself a lot of frustration. I will make a better looking one with a hex socket for a keeper.


In case anyone else gets YS, they can rotate circular when the top is secured... PITA to inset without something to keep the knuckle open.

 
Silentnoise, do you mind share what size bolt you used and how wide the gap on the knuckle is measured? I have no access to the car and wanna cut the bolt at work for a HR spring install this weekend. Thanks in advance.
 
Sry, I don't have measurements. I just picked two scrap bolts (one slighly smaller as the jam bolt) and measured them against the gap behind the knuckle. I won't have access to the car anytime soon but anyone can check/measure this gap and post back to give you a heads up. My guestimate is 3/8" dia ball park.
 
Back