What have you done to your Miata today?

Finally got the tow-rig home. 2012 Armada 4wd

https://scontent-b-iad.xx.fbcdn.net...264334_935539005614_6608657569783491850_n.jpg

She's a big ol' girl :D

Nice!

You can just weld that sucker right up!

Here's an initial view of my modified thermostat housing:

https://farm6.staticflickr.com/5591/14070958301_15532650e6_n.jpg

The guy who welded it for me knew I was going to be drilling a hole so he put that center hole in it for me to make it easier.

Sorry for the smaller size, Flickr apparently changed things since I was last in there and I need to figure out how to get the size I want.

Looks pretty good, especially for cast aluminum.
 
Nice Maff, now don't turn into one of those "I'm driving a big truck so get out of my way" folks!

The change in sway bar sizes is a success. The car feels more supple over the road surface, and while I haven't had a chance to really push things, it does feel better in the corners as well.

I finally ran a dedicated ground wire from the intake manifold ground point for the AFR and boost gauges. I didn't notice any change in the readings on the AFR but that's not saying it isn't an improvement. Looks like rain here shortly so I'll wait until tomorrow to take her out and do some tuning. I also regapped the plugs to 0.035, and relieved the base of the COPS where they were hitting on the valve cover. I did not see this before and were it not for buying another set which had this done, I would not have known of it (it was not mentioned in the instructions from TSE). If you don't do this then you will end up with some indents on either side of the plug valley on your valve cover.
 
Nice Andrew.

Re-painted the calipers with G2 and put clear PlastiDip on the wheels, the powder coating was beginning to fade. Need to paint the center caps still.
 
Anyone have any experience or suggestions regarding replacing fuel lines?

Mine are pretty rotted, and with the engine out they're really easy to get at and replace.

I'm not even sure what diameter or connectors to get.
 
Anyone have any experience or suggestions regarding replacing fuel lines?

Mine are pretty rotted, and with the engine out they're really easy to get at and replace.

I'm not even sure what diameter or connectors to get.

The hardlines, or the lines from the hardlines to the tank and fuel rail? I replaced mine with stockers, IIRC. Alternately:

http://www.summitracing.com/parts/gtr-65128/overview/
 
Hard lines definitely (original 170k NE steel lines), and maybe soft lines depending on condition.
 
Got the thermo housing modification done, just have to wait for the JB Weld to set up so I can install it tomorrow:

13904364680_c7c83d0dc4_c.jpg


I drilled the hole to about 0.03 mm smaller than the pipe so it's a press-fit. A little JB Weld before I inserted the pipe should help keep it in one piece with no leakage. Should...
 
Got the thermo housings swapped out this morning. Test drive shows no leaks, but I will have to source a new hose for the water pump bleed as the stocker is running too close to the PS belt. No pictures as my laptop died and just typing this from my wife's Apple whatever is a PITA.

Got my tech form filled out for Monday's track day at Mid-Ohio. Gonna be fun...
 
Nice Chief.

Getting mine teched tonite for autox. First race is May 10th. Chomping at the bit. Get the new tires installed Tuesday.
 
Lots of work over the weekend. The new/used replacement engine was in decent shape, but not good enough to just drop in, unfortunately. Initial leakdown numbers, and leakage location, were:

1-13% blow by
2-7% exhaust valve
3-20% exhaust valve
4-12% blow by

After a bit of massaging (nominally letting stuff soak in seafoam overnight) I got:

1-5% blow by
2-8% exhaust valve
3-25% exhaust valve
4-3% blow by

Other clues:
-Oil in plug wells (valve cover gasket clearly never replaced) i.e. ignition severely compromised
-Spark plugs caked black in carbon
-Tons of carbon build-up in exhaust ports

Conclusion: car was running like s***, lots of carbon deposits caked onto everything. Adding seafoam probably freed up the rings a bit, and partly (but not entirely) cleaned off the exhaust valves and seats, causing extra leakage.

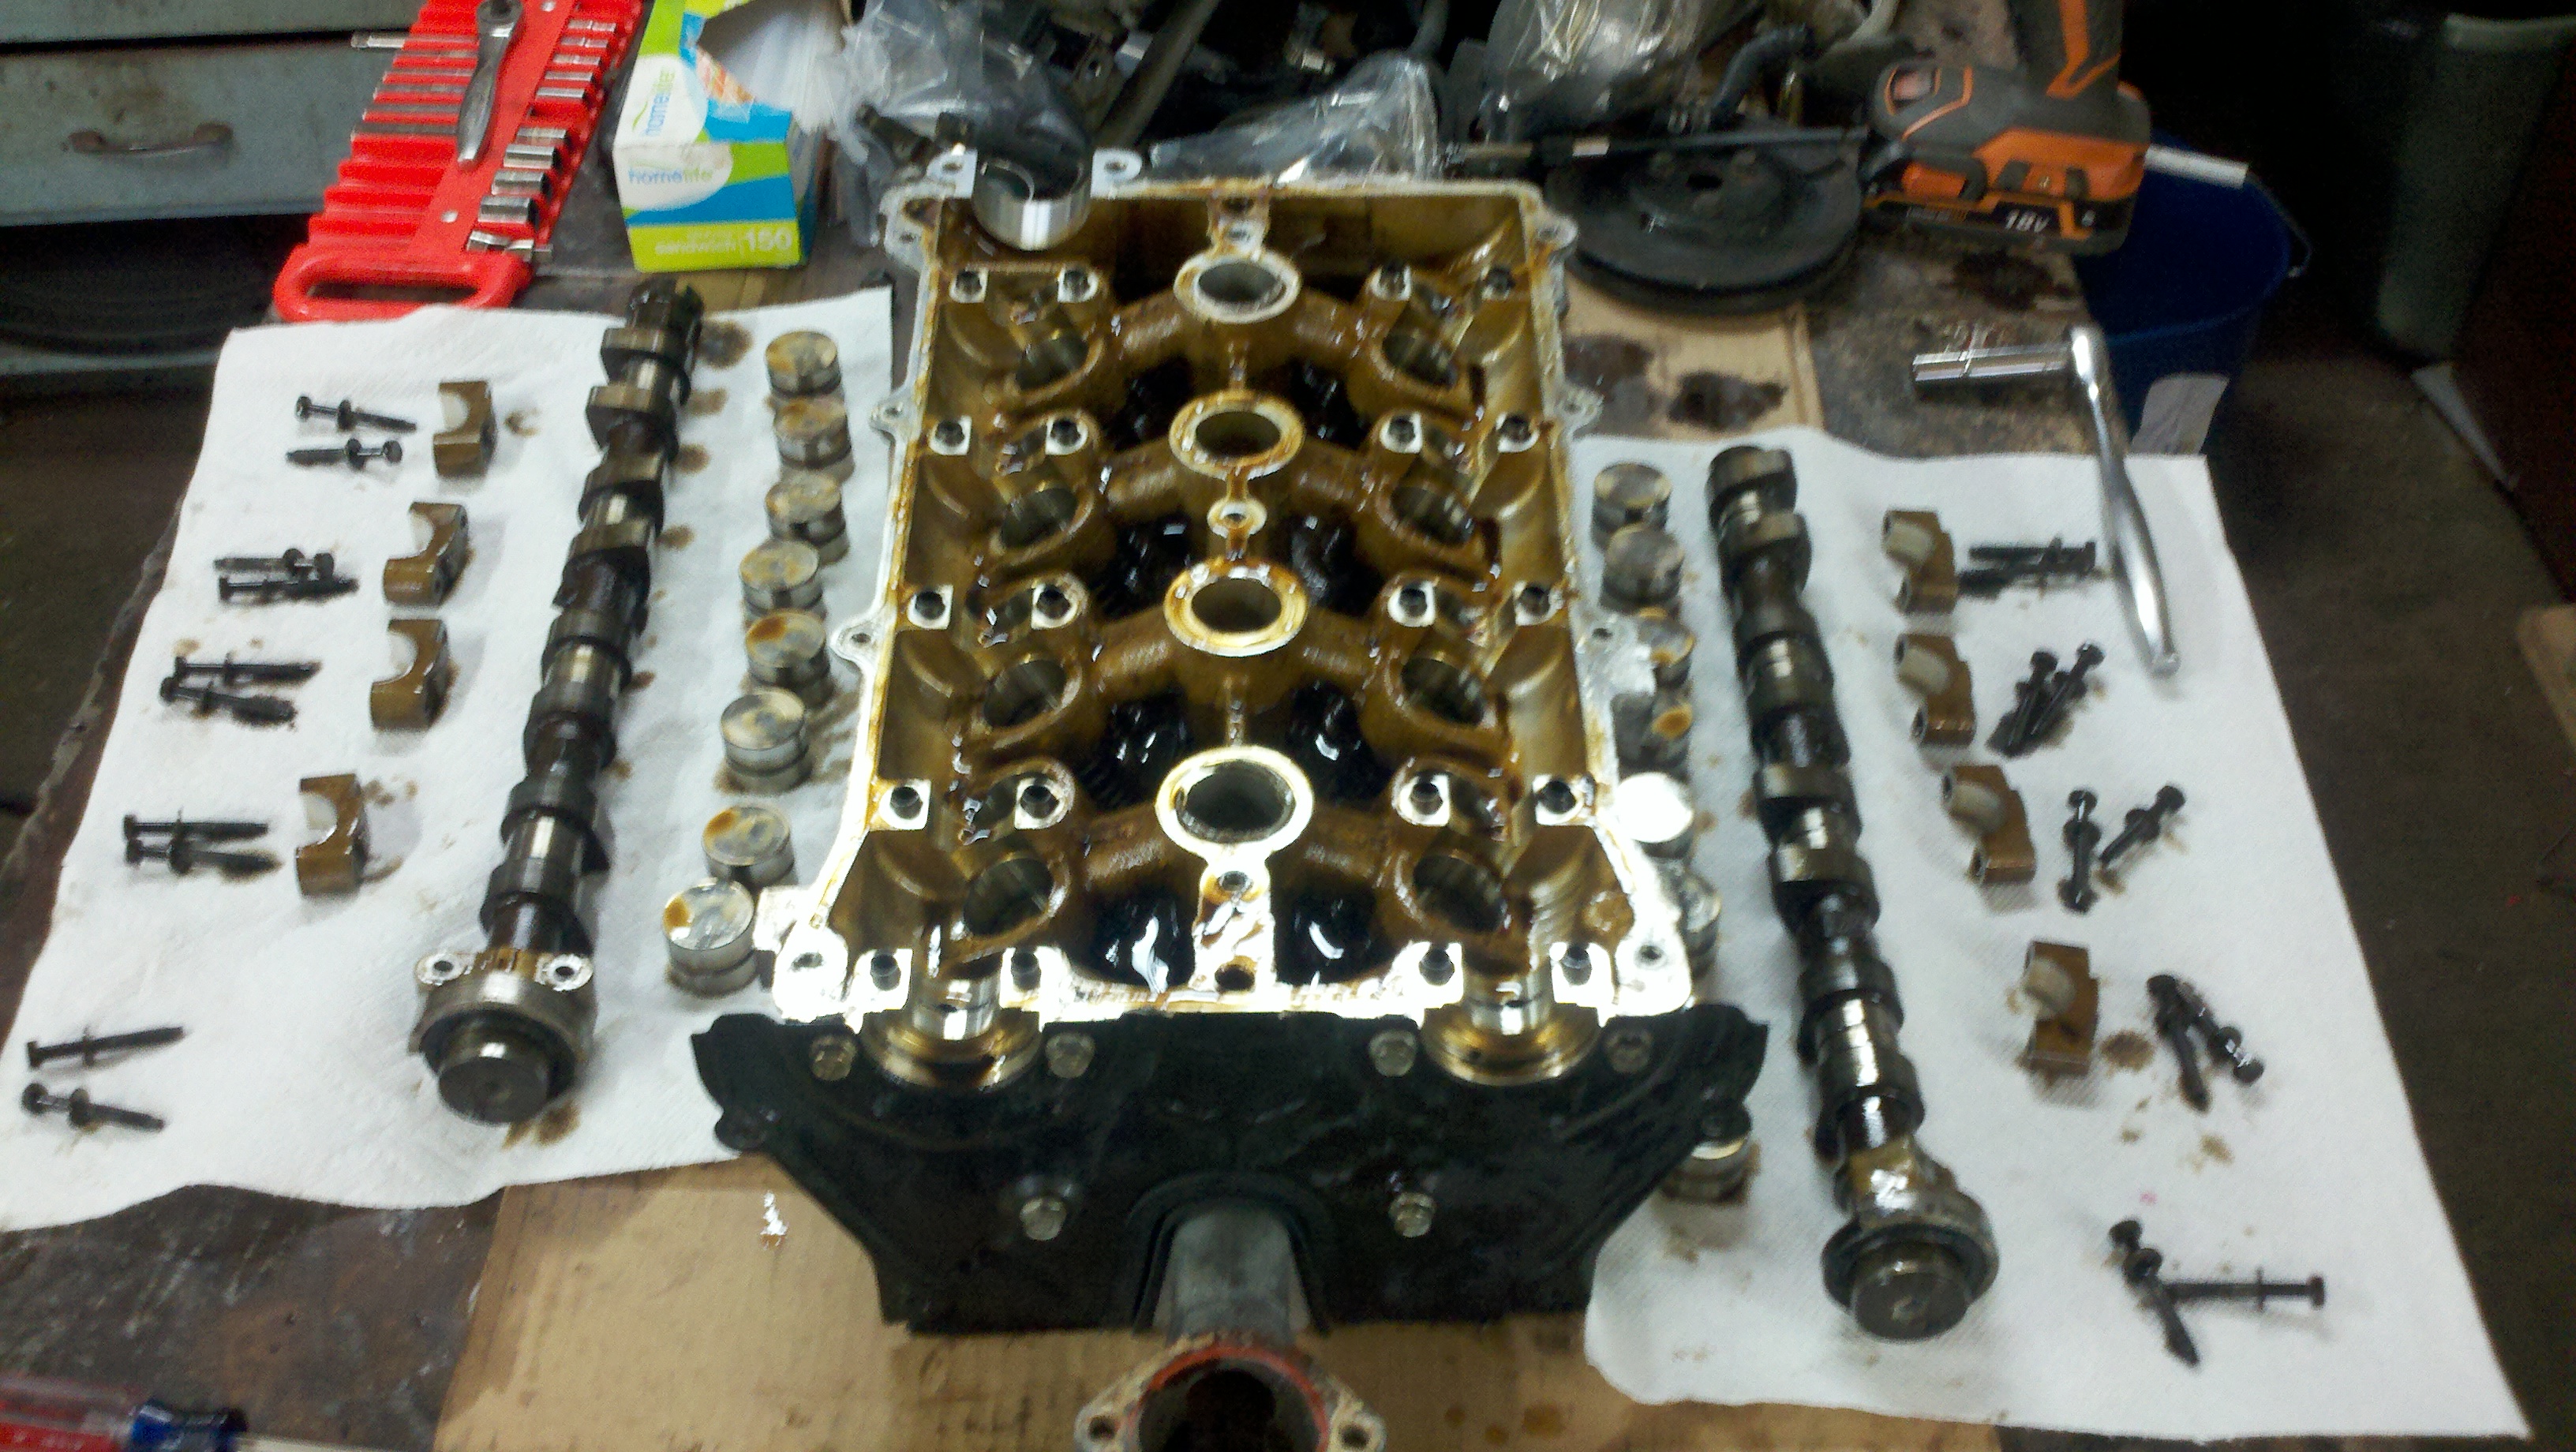
Action: disassemble engine head. Clean head, lap valves, reassemble.

Engine on engine stand. The chain fall is making life really not suck right now. With it I can do everything by myself.

X2GuWza.jpg


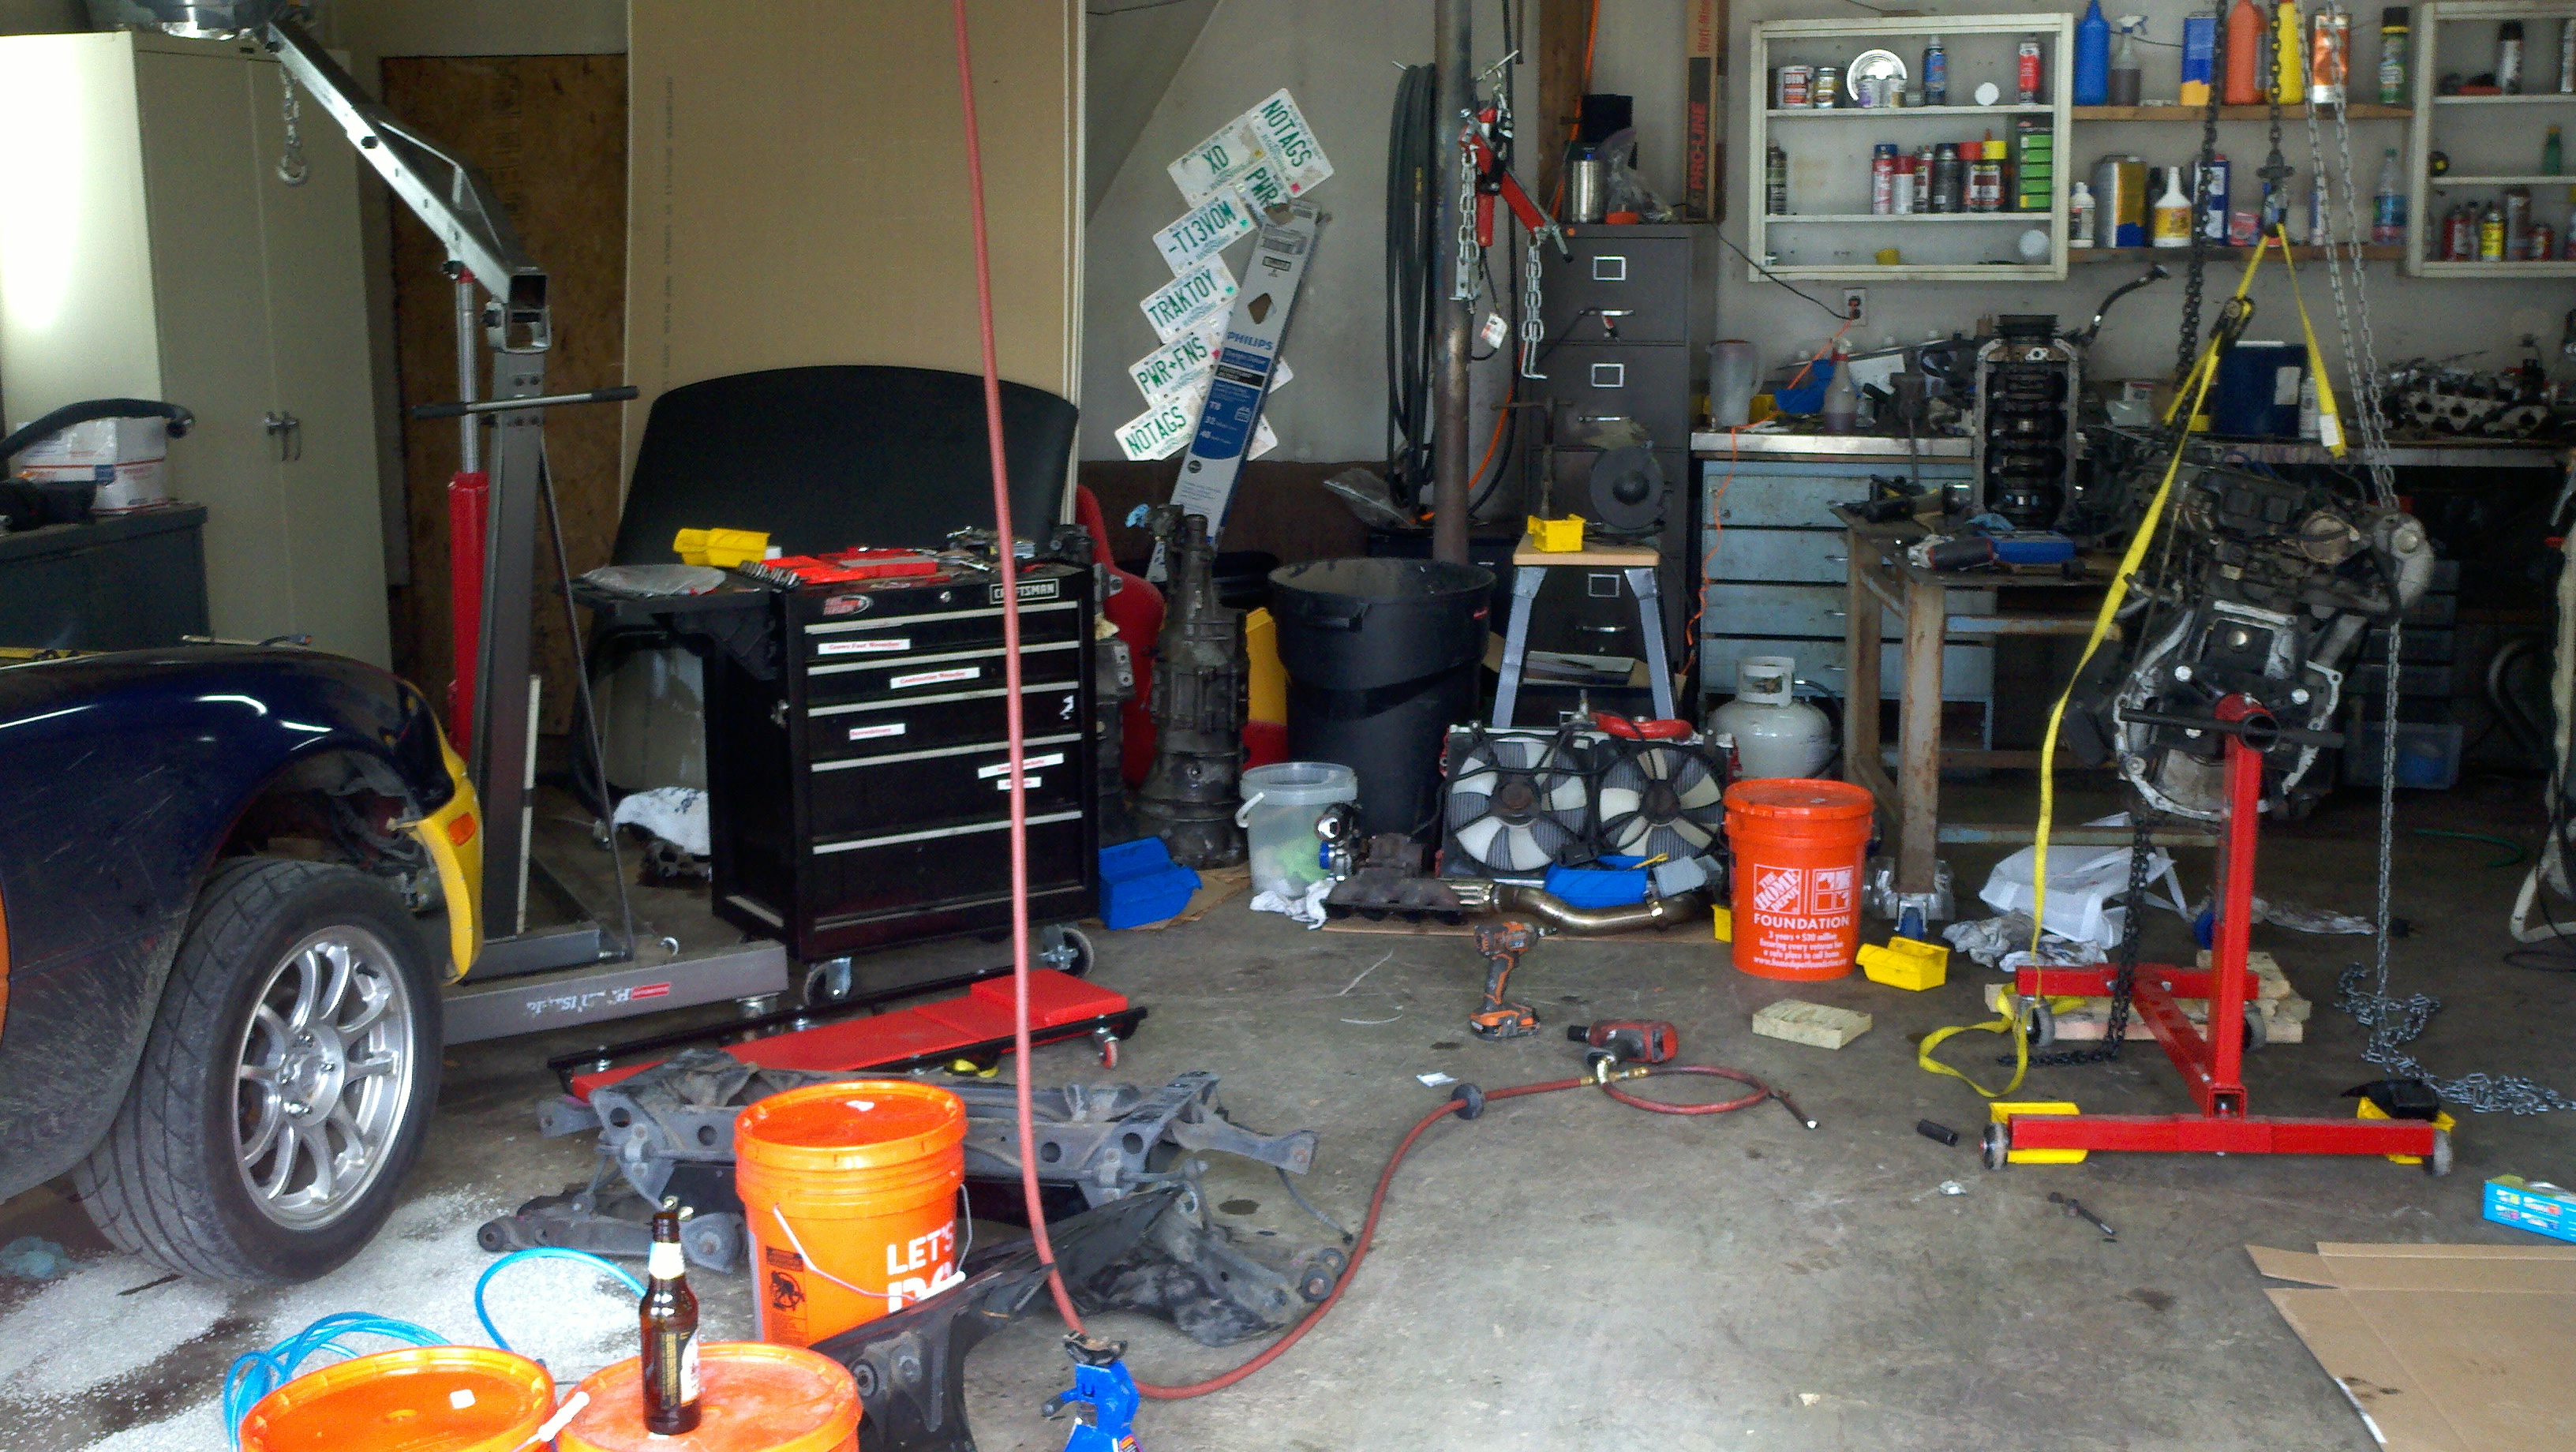
Miata drivetrains have exploded across my garage. It's a disaster.

PBSgKgu.jpg


Three blocks, two heads, dressing for two engines, an extra front and rear subframe (I'm welding up a rear subframe for a guy's V8 conversion), and lots of other crap.

Taking the head apart I found several jammed/clogged HLAs. I'll take them apart and clean them.

4fqhbDW.jpg


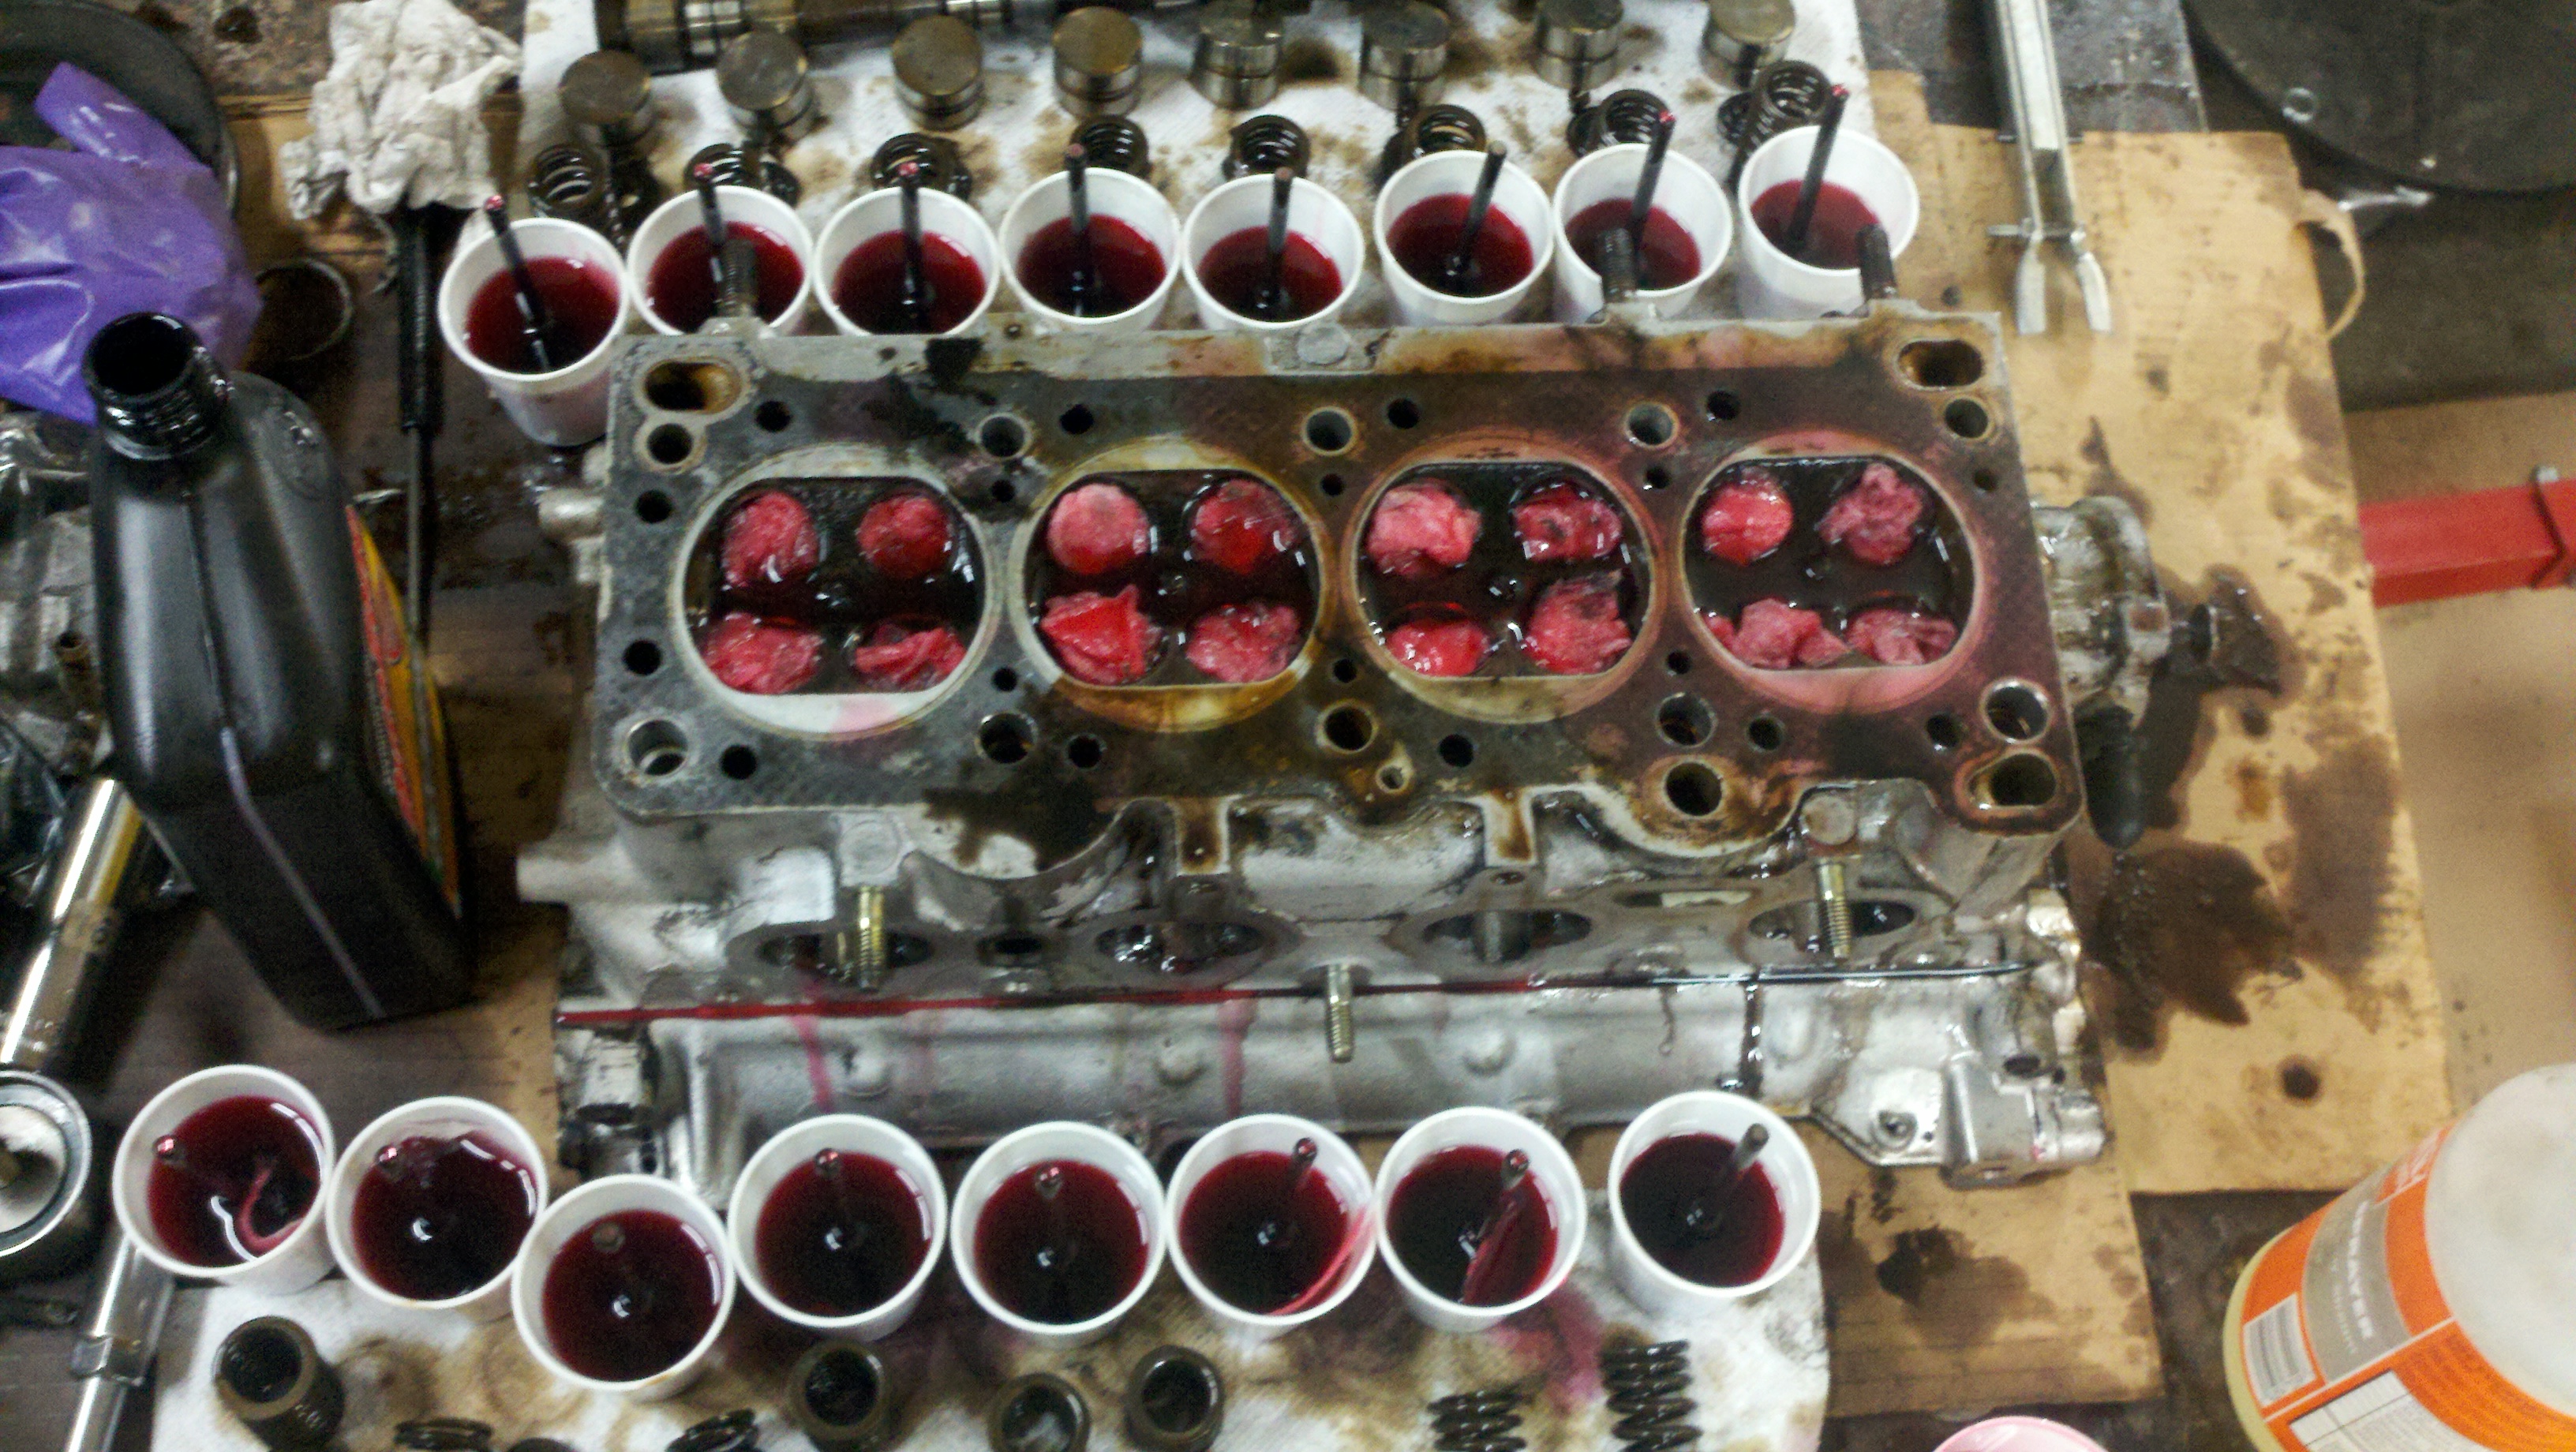
Everything apart and soaking in ATF to clean off the immense amount of carbon buildup (way worse than the engine that came out). Learned how to use a valve spring compressor, made pretty quick work of it all things said and done.

rXtm6Jz.jpg


The bottom end looks good. No scoring, decent hatching, smooth movements with no detectable slop. I poured oil on top of each cylinder to prevent rust and to give the rings even more opportunity to free up.

Hopefully tonight I'll be able to clean out the ports and valves and maybe be able to lap the valves. Any tips or advice on lapping?

I ordered new valve guide seals (because why not?) so reassembly will be a little delayed. I could reassemble the block and transmission (when the parts for that arrives) and drop that into the car if I'm still waiting on the head, but I'd rather do it all at once if possible.
 
Took a break from rebuilding the head for my engine to start welding up the sub-frame differential brackets for a guy doing a V8 swap.

t9ih7py.jpg
 
So those troublesome lower rear control arm bolts are out! I didn't even have to break out the acetone/ATF combo. I just laid underneath the car and heated the entire exposed section, hit it with an impact and it came right out. I did the same thing for the side that I hadn't done anything to, and had it out in 2 minutes.

Like an idiot, I was heating the wrong thing the entire time!

Anywho, got all the control arm bushings replaced now, just need to tighten everything back up and double check everything. New brake pads and rotors are getting ordered today.
 
Back