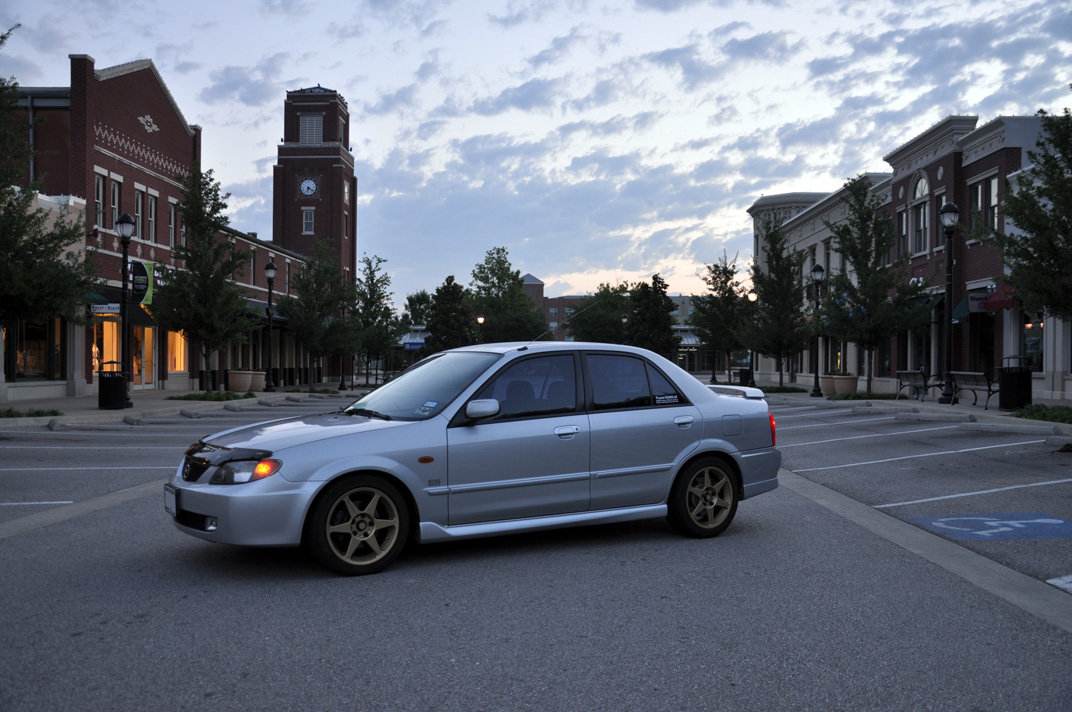
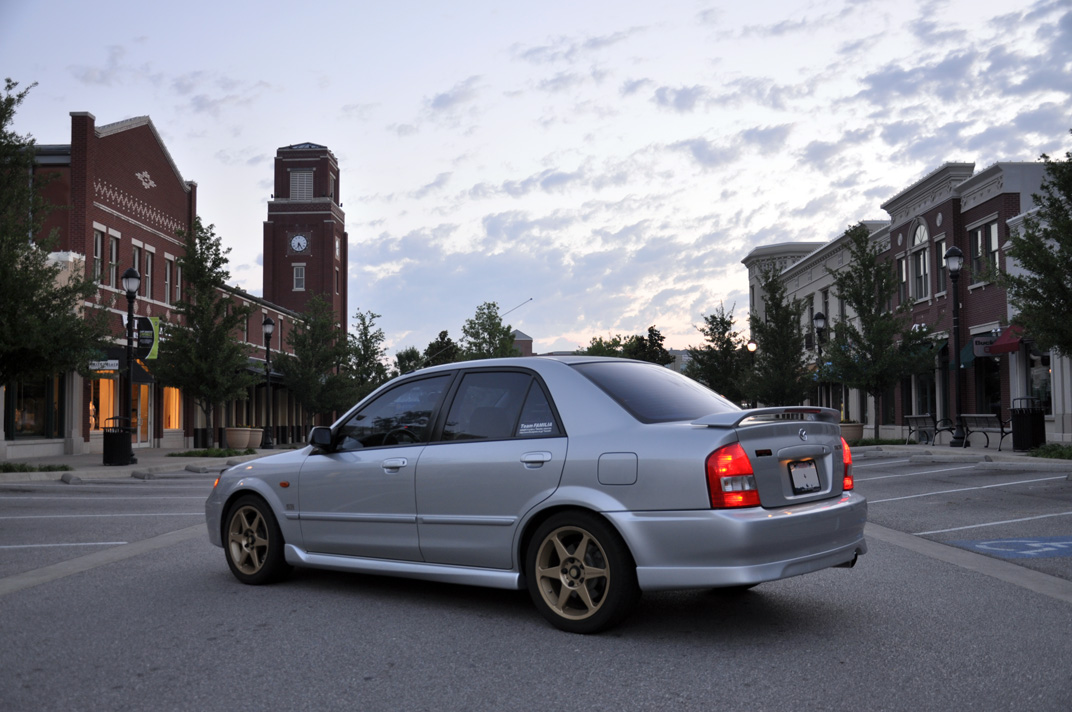
The long road and into the final stretch...

:
2001 BJFP MT
:
2016 BMYFS AT

"It's been a long road, getting from there to here."


Dorks will get that reference. 😅

I guess I've had "self conscious" issues and never really posted actual pics of my car over the years ever since it got "violated" from a wreck 22 years ago. Only a few dozen people have seen it, and some pics of it might've been posted over the years by someone else as part of their car meet photos.

Well, I finally couldn't wait any longer​

and spent enough money (that could buy a clapped out MSP) "restomodding" it to the way I nearly wanted 23 years ago when I bought my car.

It likely would've costed even more money if I didn't have the local connections and negotiations/agreements like I did, and probably wouldn't have been done to my satisfaction because hardly anyone knows Proteges at the level that I do. So, the body shop's owner was kind enough to let me tear down the car, do some of the prep work, and swap out the parts I wanted. All he would do was basically do the painting and the associated basic work involved with that.

As I have said, I already had a "master plan" and vision of what I wanted my car to be since pretty much the day I bought it, 23 years ago. This allowed me to collect various parts over the years, some of which are now long discontinued and became "new old stock". This of course, also puts a smaller dent on the wallet because parts have gotten so expensive since COVID and some of which are impossible to get now. The only things I bought in recent years were the EDM headlights and the JDM Sport20 bumper, both of which were two different challenges and went over budget. You can learn more about the EDM headlights here: EDM 323F Sportive Headlights -- In-depth Look

Perhaps I would've posted pics of my car long ago if the shop (which I took my cars there for maintenance in my young and inexperienced days) that fixed my car 22 years ago actually did the job right. Even thinking about the things they did and didn't do today makes my blood boil. "I'll help you save your deductible. Bring it to me, lifetime guarantee!". Yup, instead of brand new door, it was a junk yard door that was not repainted inside, broke the weather strip while repainting the visible parts to the color of my car, painted right over the door lock mechanism that makes it hard to unlock the door by hand. Orange peel, and then peeling clear coat later. Fun. Mismatched black window frame paint and poor blending between the front and back doors. Headlight gap because the idiot didn't know he installed the headlight above a bolt that doesn't belong there (headlight supposed to bolt into that hole). You just feel violated, especially when the shop won't make things right!

Lessons learned, but money can solve the problem, so I made it happen. But what fun spending the week off work working up a sweat, just like the good old days? 🙄

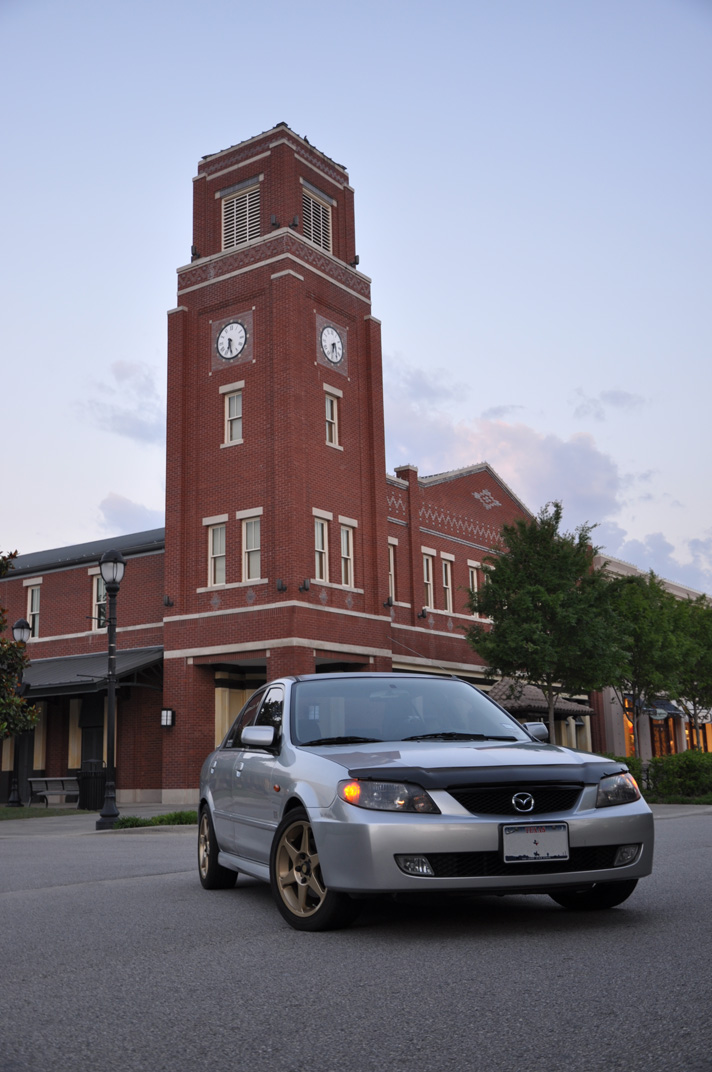
Let the pics tell the rest of the story.

What it was, before it went into "rehab":
mall3.jpg

mall1.jpg

mall2.jpg


22 years worth of parts I got out of the mothballs. The radiator box has most of the parts from my original door when the car got wrecked. I reused everything from my original door because they were last known to work perfectly, and that they still do. The wind noise and door lock problem is finally fixed!
449162501_8105979409452297_2946293984175463040_n.jpg


Mazda discontinued their primered bumpers more than 10 years ago. That just sucks!
450164372_8105983549451883_5360160216903947383_n.jpg


Got the door off the car, and stripped it down to bare shell for painting.
450147080_8105983632785208_5924390753386128192_n.jpg

450164414_8105983642785207_4935785397424104235_n.jpg


Hood liner, washer nozzles, stock bumper off.
450159618_8105983622785209_7019007006971236464_n.jpg


Inside of door restored to its original glory. Whole car ready for the paint booth.
450104775_8105988966118008_1047565045163457287_n.jpg


Hood had the "normal" wear and tear chips on it over the years, but there was a huge dent right above the driver's side headlight. Some kid threw a ball or something out onto the main road years ago and it just came down from "out of nowhere" and literally went "boing" off the hood. I never saw where it came from. I'm doing the car no justice if I didn't repaint the hood.
450017469_8105994159450822_3339200523267097300_n.jpg


Side skirt repainted. JDM bumper painted.
449164468_8105994212784150_4510326623831573938_n.jpg


Fresh out of the paint booth
450165341_8105994192784152_4764302563298275416_n.jpg


Door fully restored, sort of. The lock knob got totally scratched up by the shop, so I have new ones on the way from Japan (discontinued in the US)
450158697_8105998156117089_6234140051163641290_n.jpg


Here, you can see the Yamaha "performance damper" brace with custom made brackets, and the JDM bumper support brackets all bolted up. The keen eye will also see there's the EDM low tone horn that goes behind the bumper. Only some EDM Protege's had dual horns! Before, I had another stock horn bolted up in front of what's now the intercooler. It never really fit well there and was worse after the intercooler was added (crack the "tool tray" part of the stock grille, but it already got damaged from solvents by accident before).
450147065_8105999422783629_4875444930086565017_n.jpg


EDM headlights all bolted up and under testing
450163967_8105999349450303_7277606338565600005_n.jpg


JDM bumper getting loaded up with the lower grille, MP3 fog lights with Flossler selective yellow +90 H3 bulbs, and MP3/MSP/MSF wind splitter
450159636_8105999302783641_713350119199978216_n.jpg


Bumper installed and fog light test
450024625_8105999446116960_4311470218540185969_n.jpg


Ready for the final paint buff
450151520_8106481222735449_7917552107180135786_n.jpg


Ready to go home!
450164112_8105999382783633_7556184393626718663_n.jpg
 
Detailed oriented guys will probably notice these things from the pics...

First:
This Sport20 bumper is just another MP3/MSP bumper right? Sort of... the license plate holes are predrilled from the factory. But the biggest difference is, no heavy 25-30lbs steel reinforcement bar that does nothing to enhance the crash safety of the car except for better parking lot damage protection. All it does is provide 5MPH protection. The weight savings from getting rid of this is substantial and is still fully legal, as the bumper is now a 2.5MPH one. Now, it's just light weight brackets and a plastic reinforcement that weighs about 6lbs at most.
450017470_8106026216114283_6784756727741057242_n.jpg

The plastic reinforcement bar is screwed into the back of the bumper
450154850_8106029559447282_6669254716069409422_n.jpg


But, without either the stock plastic reinforcement bar my car had or the P5/MP3/MSP steel one, there's some loss in chassis rigidity. So full weight reduction (and better weight distribution) is not possible if you want to maintain good handling. A small shop called "Team Front Force 2nd" made a body brace that goes in place where the USDM bumper reinforcement bar normally goes more than 20 years ago: [*** *****S-***]??? **********
It was already elusive a couple of years after the Protege ended production. I tried to find one for years but no avail.

So, I was going to get one made myself, until I found out (due in part of owning a Corolla daily driver and doing basic mods to it, such as strut bars) that the Lexus CT200h (and newer Lexus' since then) has a body brace that goes behind the back bumper. That brace has a nitrogen filled damper that dampens chassis vibrations while still stiffening the chassis. The CT200h also has a front strut bar made of a similar damper (my Corolla has OEM strut bars with them added). Neat high tech stuff that was developed about 30 years ago by Yamaha. Naysayers and ignorant people talk s*** about it, thinking that it's a weak movable part. In a pure racing environment, it probably matters, but on the street it doesn't, and still provides significant chassis stiffening to be noticeable. This works well enough that several tuning companies in Japan actually sell them in their private label, such as TRD, Mugen, and AutoExe. You can learn more about it here: Performance Dampers | YAMAHA MOTOR CO., LTD.

So, I found a CT200h brace from eBay cheap a few years ago, and then had a local metal fabrication shop make brackets for me that fits underneath the non-USDM bumper support brackets. Since that shop doesn't have a stamping press that could make curled/folded edges, a thicker gauge steel was used to maintain stiffness. The CT200h brace bolts onto it for simplicity and ease of removal. The brackets were later painted for rust protection. With these extra parts, this brings up the weight to 8-10lbs total at most, including the bumper support brackets. Still acceptably light.
450163530_8106083232775248_8202822331974202006_n.jpg


The 2.2l washer fluid reservoir was swapped out for the big 5l Canadian one, which adds a low level sensor. I still need to install a bulb in the gauge cluster so that it works, but that will wait for later when I install my Defi Racer boost gauge. The weight savings from the lighter bumper is probably cancelled out if I filled it up full, but for now, it's just filled with what I dumped out of the stock washer tank.
In continuation with the headlight swap "project", I had to swap the entire front body harness in order for everything to function properly. It's hard but not to hard with the bumper off. The real hard part was in front of the radiator. It has to come out from behind the A/C condenser but front of the radiator. I had to take out the radiator brackets, and the turbo "hot pipe" to swing the radiator back enough to slip the harness out. Unplugging/plugging in the harness in the engine bay fuse box was pretty easy by comparison. The rest of it runs behind the driver's side fender then into the car. It's just easy plug and play under the dashboard, above the fuse box.
449977481_8106118352771736_5279472224774153809_n.jpg


I drilled the bumper for the MP3/MSP/MSF wind splitter before it went into the paint booth. Less risky this way. Afterwards, I put on Toyota/Lexus anti-static tape behind each corner of both bumpers. This is one of those trick "when you're bored, you spend the R&D money researching something superfluous" technologies that Toyota developed within the past 10-15 years that slightly improves the aerodynamics and driver comfort of their higher end cars.
https://rts.i-car.com/crn-1959.html
Expensive to get here, but they're relatively cheap from Japan.
449160688_8106141172769454_2358283307675038185_n.jpg


The headlights and the aftermarket rubber caps barely fit with the washer reservoir in place. Even if it had halogen H7 bulbs in it, you can barely change the bulbs out. This bulls*** is why I didn't want to get these headlights to begin with, until those quasi-legal LED bulbs came out in Germany a few years ago. I just don't want to mess with changing the bulbs in these headlights, halogen or not.
449162661_8106151169435121_1139407491921565495_n.jpg

On the driver's side, it would've fit fine if the alarm siren wasn't there. I had to modify the bracket and move it slightly. I thought about putting it under the headlight next to the 2nd horn, but I didn't want to risk water damage.
450151190_8106556102727961_2784464344577430041_n.jpg


Engine cooling and A/C performance has noticeably improved with the larger bumper openings and lack of USDM reinforcement bar blocking the air. There's plenty of space behind the bumper for air to go through the heat exchangers compared to before!

With the CT200h brace installed, there is noticeably much less road vibrations from the steering wheel. The whole car just vibrates less as a whole, and the front suspension seems to be dampening a lot better with those super stiff JDM MazdaSpeed B-Spec suspension on the car. The car also handles a lot better, and the handling limit seems to have raised significantly. When the car is pushed hard, the TTL suspension's passive 4WS kicks in, and the back end just turns without losing grip. It is a strange feeling I haven't felt in this car for a long time since the stock suspension days on wet surface. It's quite addictive, and it's almost like driving an AWD car fast. Halfway decent LanEvo and WRX drivers will know what it's like to drive it fast, as liberal amounts of throttle use makes the car rotate well. Those different durometer "soft" lateral link stock bushings were designed for this very purpose. Call yourself a passive 4WS hater if you got Megan Racing lateral links because the consistent "solid" bushings essentially defeats the passive 4WS. FC RX-7 guys used to do this also with a "DTSS delete" kit.

But anyway, I like this CT200h brace so much, I bought another one and will work on making brackets for it to fit in the back later.
450164815_8106516722731899_8266864895582056095_n.jpg
 
I’m sure not to your level, but trying to restore to its former glory! Looking forward to coming updates!
View attachment 329659
Always nice to give some TLC. You should've taken off the back door handle though... painting with it on, you'll never get paint around it well, and where new paint can't get sprayed around the door handle edges becomes over spray and a chip zone. I almost didn't take mine off, but was persuaded to do so. It's not hard... you have to take off the door panel obvious, but you'll need to drop the door lock out of the way first before you can get to one of the 2 screws holding the door handle in place.... it's arguably easier than the front door handle which has a bunch of s*** in the way, and you have to unhook the linkages
 
Back