Hi guys,
New to the forum but have been on Probetalk for years but figured I'd see what interest there is on this forum for my build.
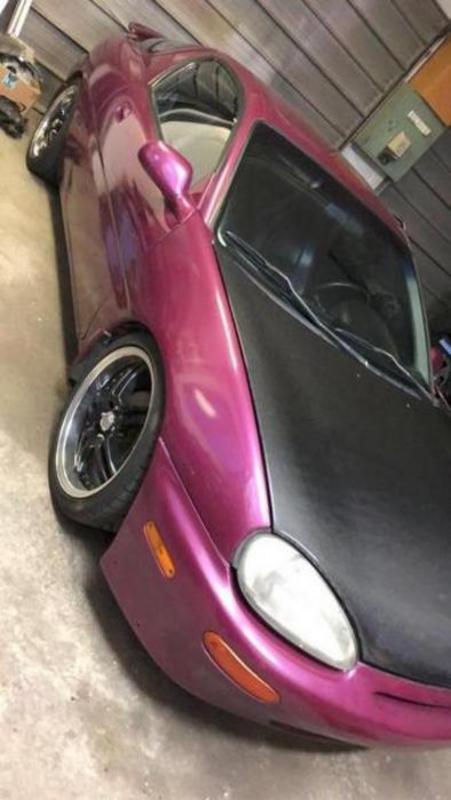
Recently started building my MX-3 and the build is coming along really well. Here is a list of the parts on hand so far and a few of the future plans as well.
Current parts on hand...
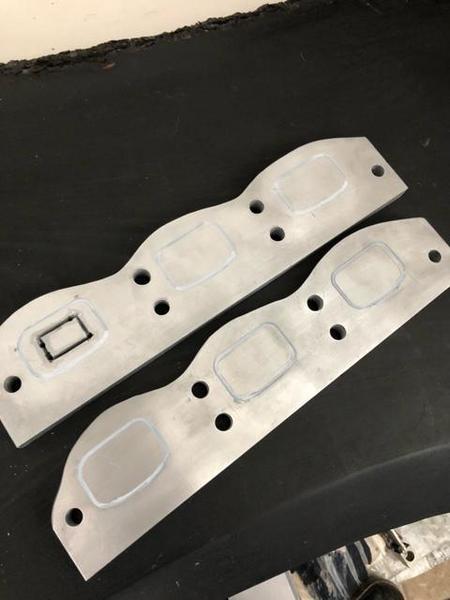
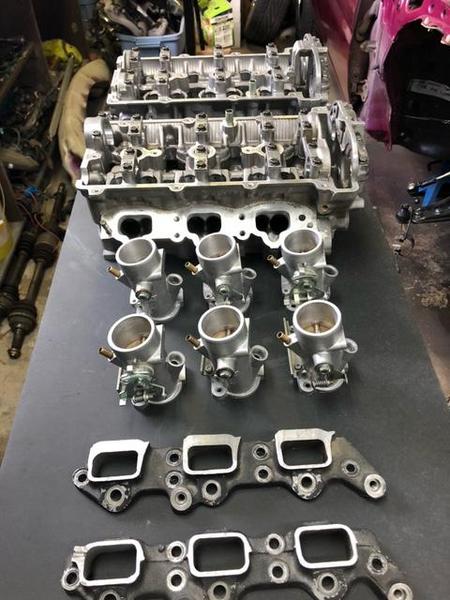
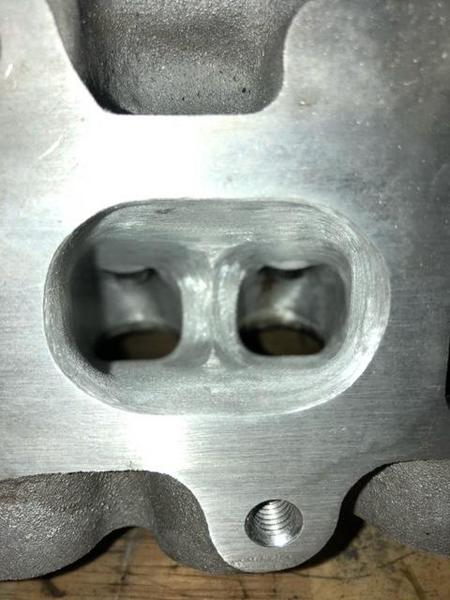
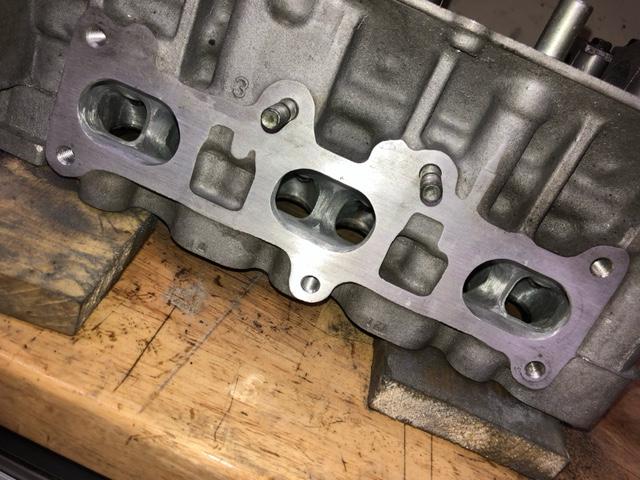
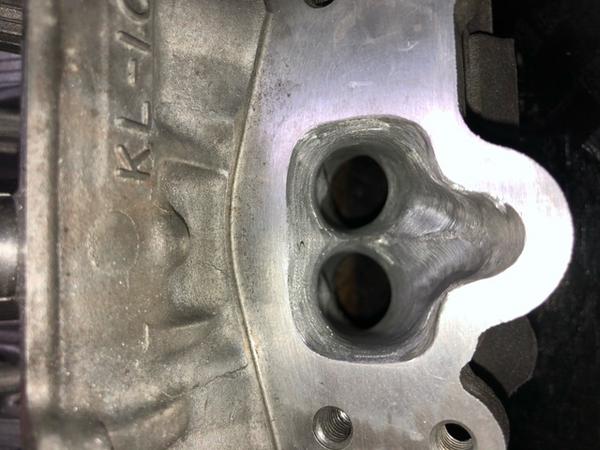
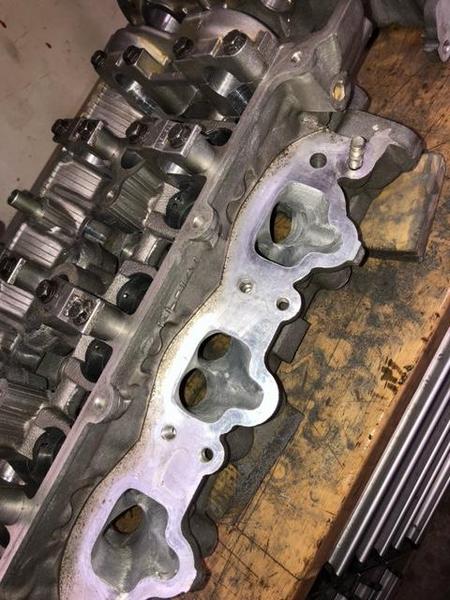
Kl-de heads port matched to ze manifold
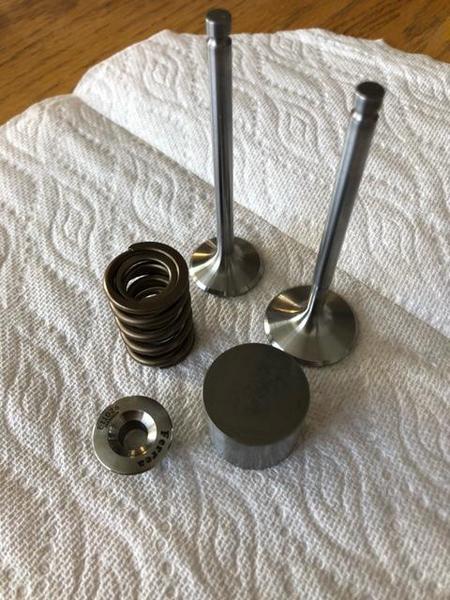
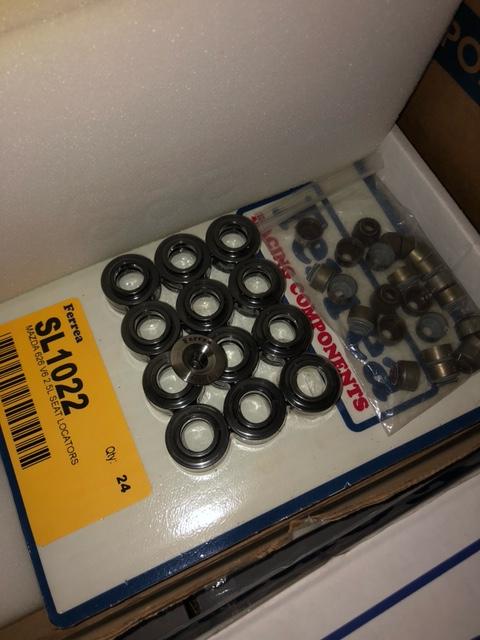
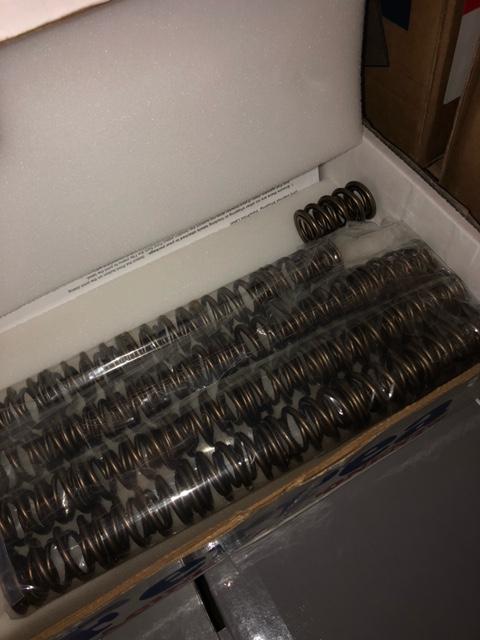
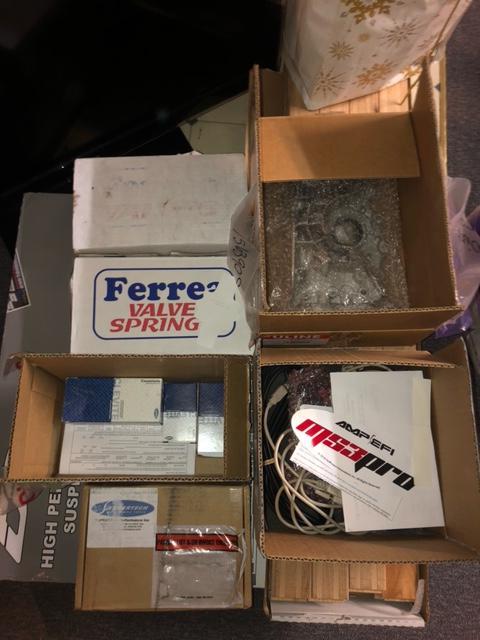
Ferrea dual valve springs
Ferrea retainers
Ferrea oversized valves
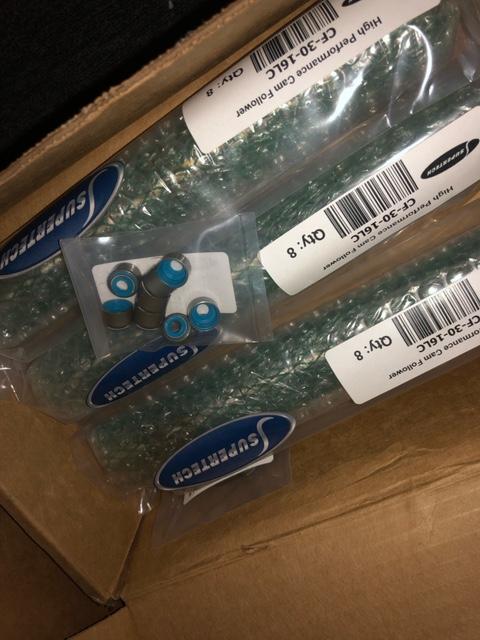
Supertech shim under bucket lifters
Supertech valve seals
Bronze valve guides
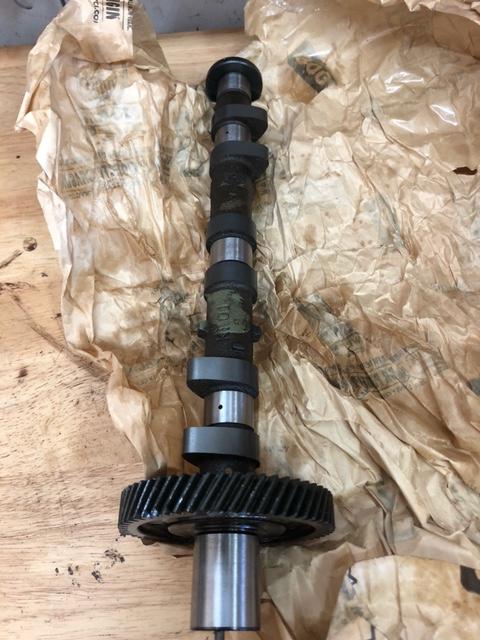
Custom cams from colt cams (231 / 392)
Arp head studs
Wiseco 11:5:1 pistons (85mm)
K1 rods 21mm pin
Clevite 77 bearings
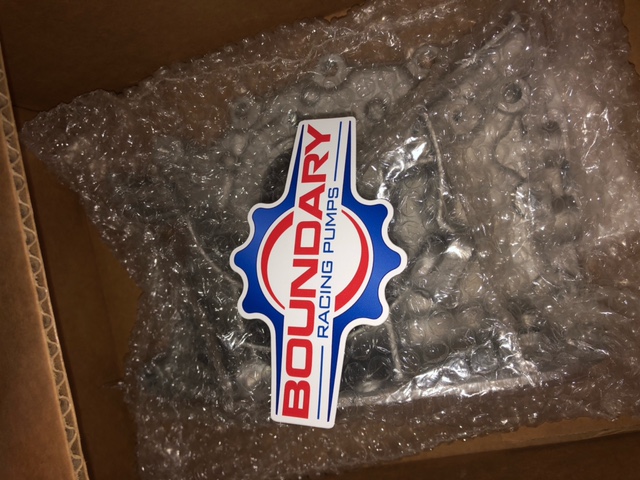
Boundary oil pump
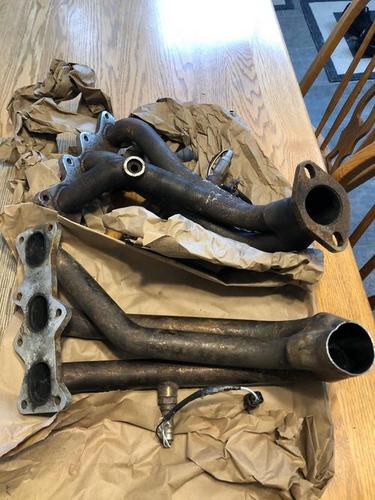
Custom long tube headers
Coil packs (626)
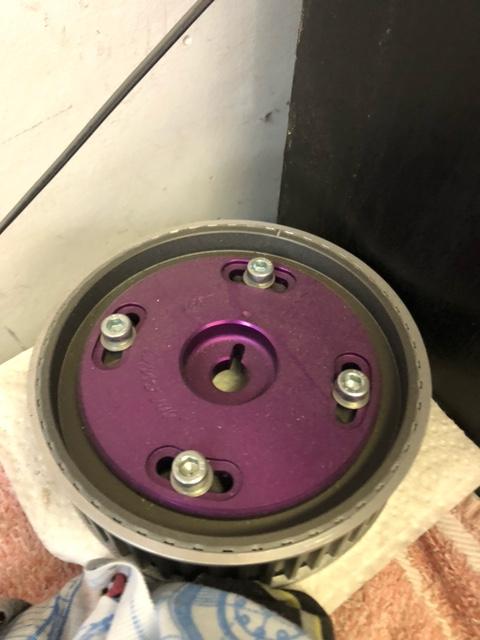
Adjustable cam gears
Megasquirt plug n play
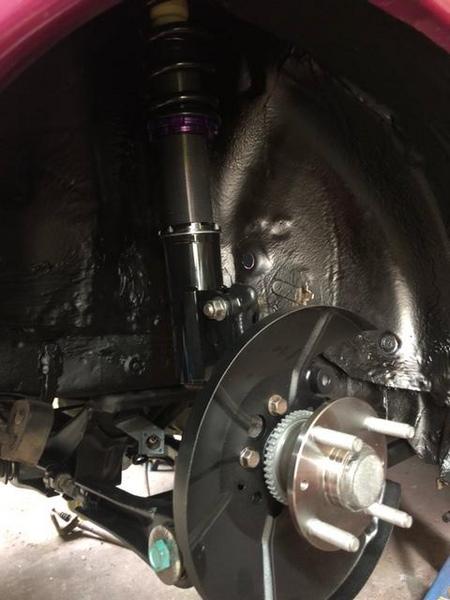
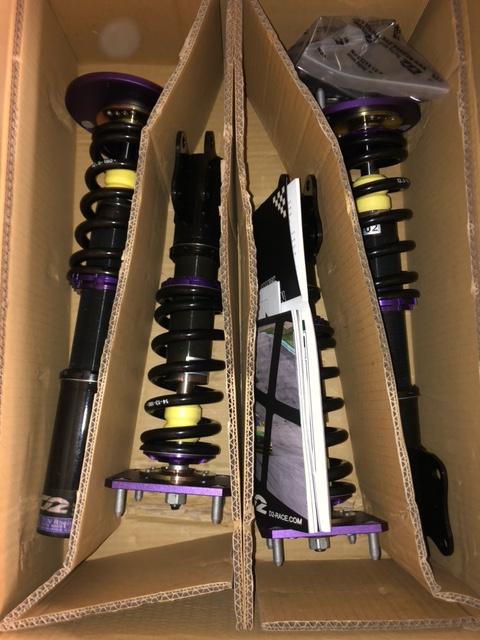
D2 coil overs
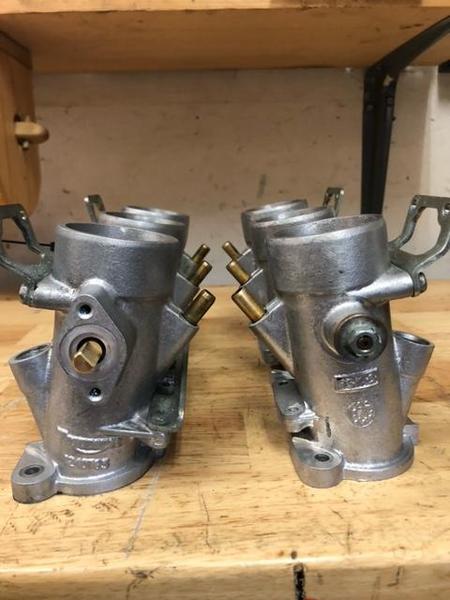
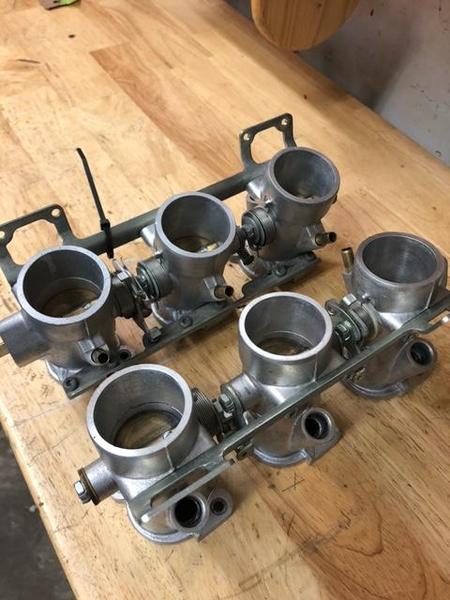
T595 Throttle body's
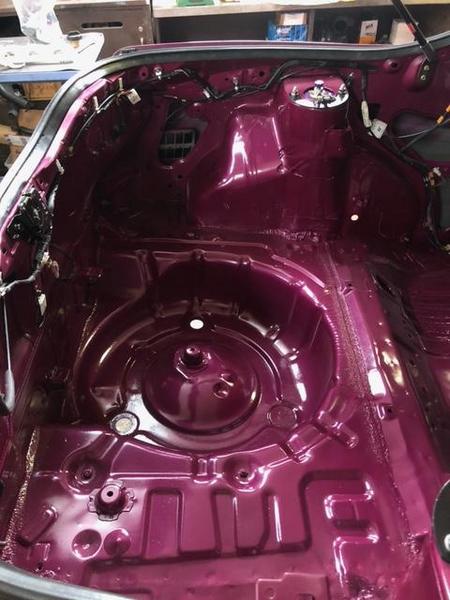
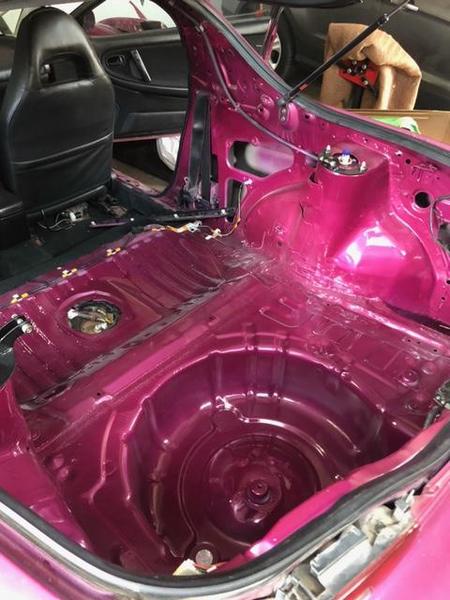
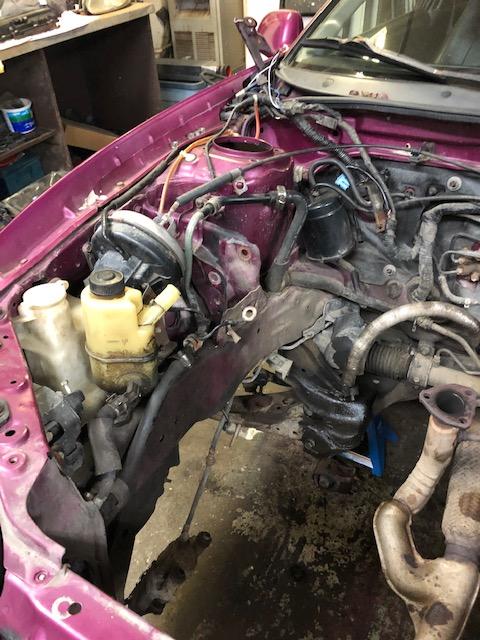
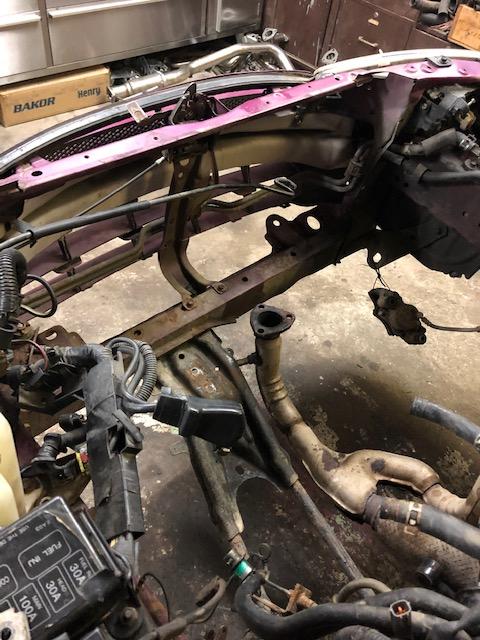
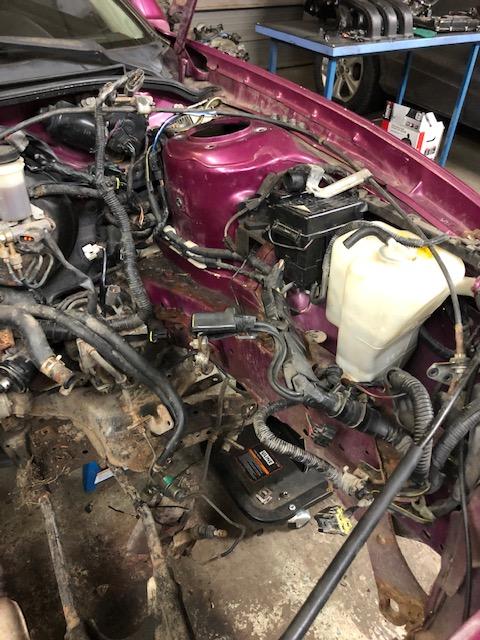
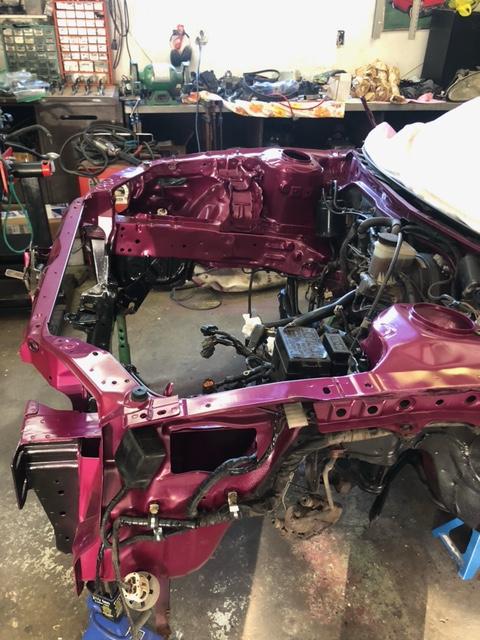
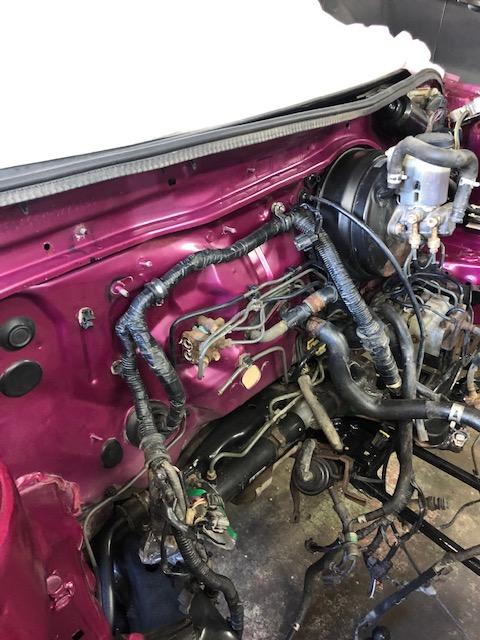
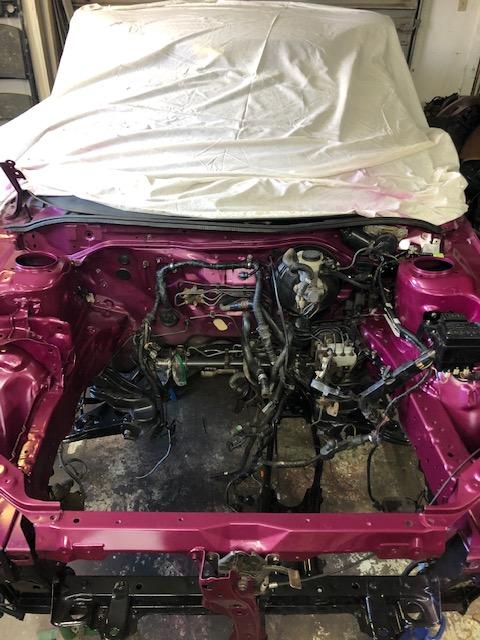
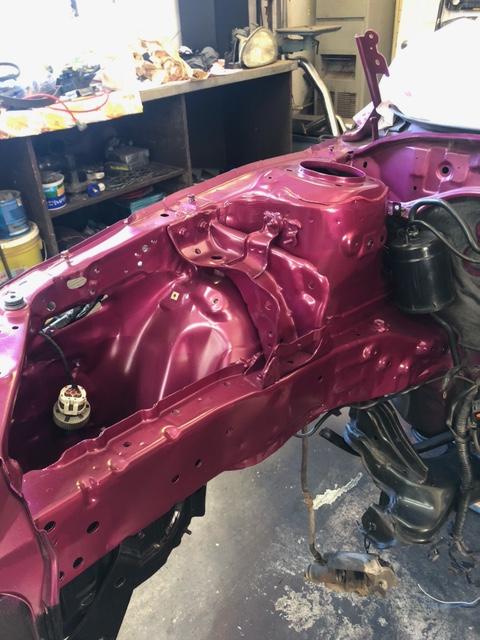
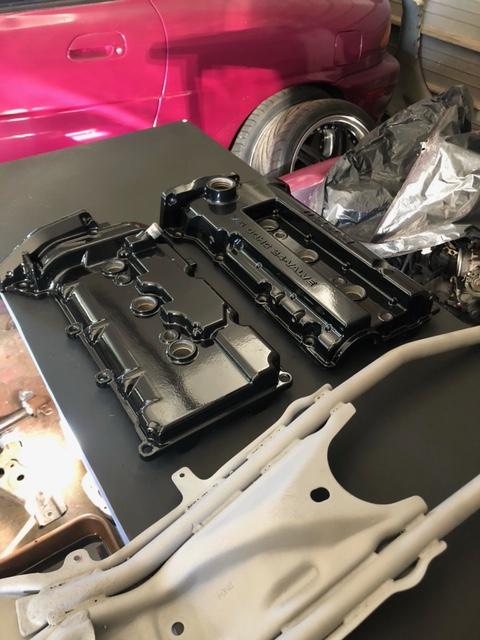
Currently the block is in the machine shop getting everything balanced and bored to size. Recently decided to do some modifications in the block for better oil flow along with the ITB setup, I was going to make a custom intake manifold but after weeks of failed ideas I finally caved and went the simpler ITB route which may not be a bad idea anyways.
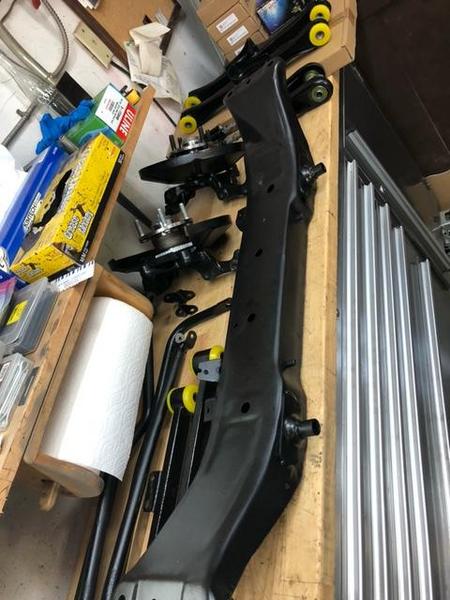
I'm going to post up some pics of the build right away as I already have a thread going on probetalk for it, I can also send that link as well to anyone on that forum.
New to the forum but have been on Probetalk for years but figured I'd see what interest there is on this forum for my build.
Recently started building my MX-3 and the build is coming along really well. Here is a list of the parts on hand so far and a few of the future plans as well.
Current parts on hand...
Kl-de heads port matched to ze manifold
Ferrea dual valve springs
Ferrea retainers
Ferrea oversized valves
Supertech shim under bucket lifters
Supertech valve seals
Bronze valve guides
Custom cams from colt cams (231 / 392)
Arp head studs
Wiseco 11:5:1 pistons (85mm)
K1 rods 21mm pin
Clevite 77 bearings
Boundary oil pump
Custom long tube headers
Coil packs (626)
Adjustable cam gears
Megasquirt plug n play
D2 coil overs
T595 Throttle body's
Currently the block is in the machine shop getting everything balanced and bored to size. Recently decided to do some modifications in the block for better oil flow along with the ITB setup, I was going to make a custom intake manifold but after weeks of failed ideas I finally caved and went the simpler ITB route which may not be a bad idea anyways.
I'm going to post up some pics of the build right away as I already have a thread going on probetalk for it, I can also send that link as well to anyone on that forum.

")
")
 Great update, thanks for sharing..