Disclaimer! I take NO responsibility for any damage, death, or dismemberment to you or your car from following my How To. This is simply showing you how "I" did my install. It is only meant to be a reference for any one looking at installing one of these for themselves. Always be safe. Make sure your car is cooled down. This install may void your warranty.
Okay! I just installed my Saikou Michi Stage 2 OCC. It was pretty simple actually. But I decided to make it an all day project. Taking many pictures along the way. And trying to find the best mounting location. And the best hose route for this install.
This install is for the PCV to intake. Perhaps later on I will do the install for the cam cover breather to intake/cai install. Installing an OCC after the PCV helps keep unwanted oil out of the intake and through combustion. Oil can pool up in the intake manifold and head causing it to get very dirty/gritty. Which can decrease performance and engine life.
This page will have approximately 25 pictures. So please be patient. If you have dial up.... sucks to be you! :silly: Also, this is done on a 2007 Speed 3 with the CP-e FMIC installed. So some things may be different. Mainly the location of the power steering lines and mounting bracket. Plus I'm using a Saikou Michi OCC. Using other brand OCC may require a different mounting bracket or even different mounting location. This install is in the passenger side wheel well bumper area.
Step 1 Gather your supplies.
Tools required; Money
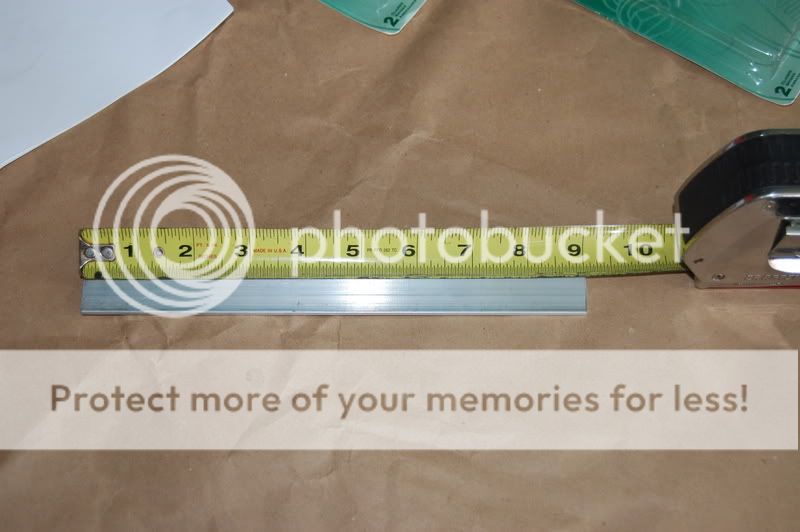
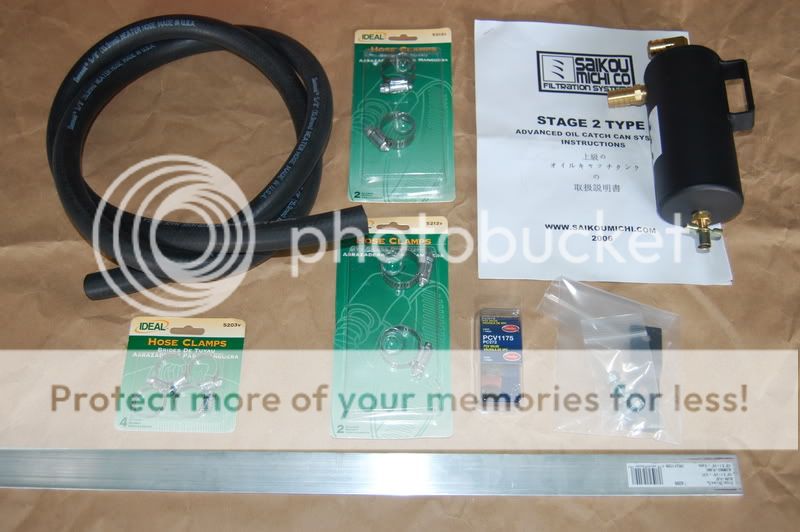
As stated, I'm using a Saikou Michi Stage 2 OCC. This unit has 5/8" fittings. This closely matches our the PCV's 15mm fittings. It comes with 2 mounting bolts, 2 washers, 2 lock nuts, and a black mounting bracket (which I do not use). I have about 5 feet of heater/oil hose (5/8" id.) I had various hose clamps. But I only used the 4 pack. Please buy a good brand of clamp. These were cheap and easy to strip. I may change them out with better brand or even mini "T" bolt clamps. Also used is a PCV valve mounted inline between the OCC and intake manifold (This AutoZone PCV is no longer used. See below for the updated PCV). This prevents the OCC from being pressurize from the boost pressure in the intake manifold. And lastly is an aluminum strip from Lowes. I used this to make a mounting bracket for my OCC.
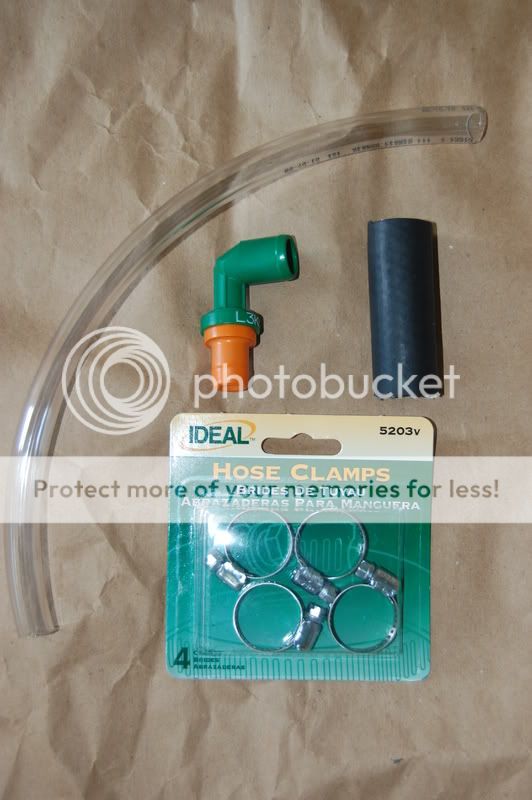
Added!! Here is the PCV valve from the dealer. A clear hose from Lowes. It is 5/8" outer diameter and 1/2" inner diameter. I bought 1 foot for 28. But you will only need 1 inch of it. A short 5/8" inner diameter hose (from the 5 foot hose above). And some more clamps.
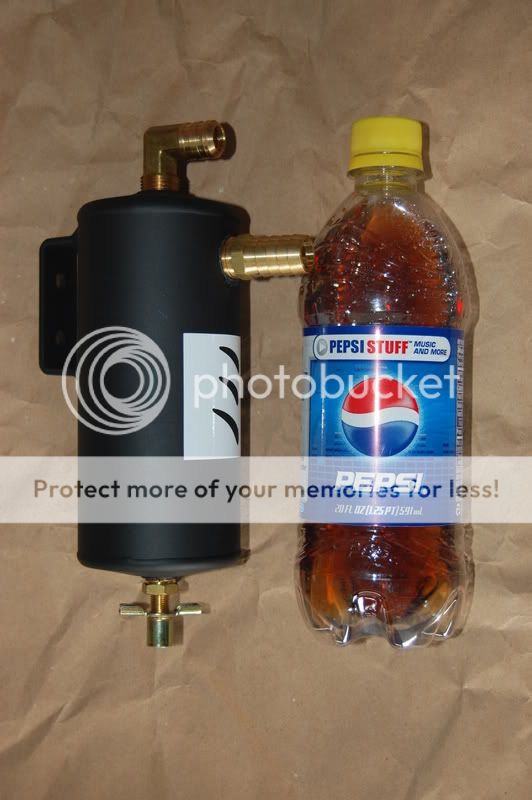
Here is a pic showing the size of the OCC vs a Pepsi 20oz bottle.
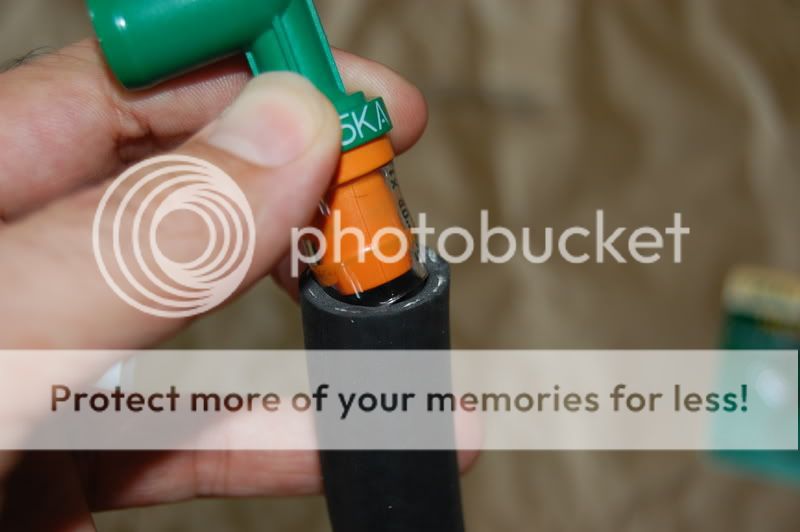
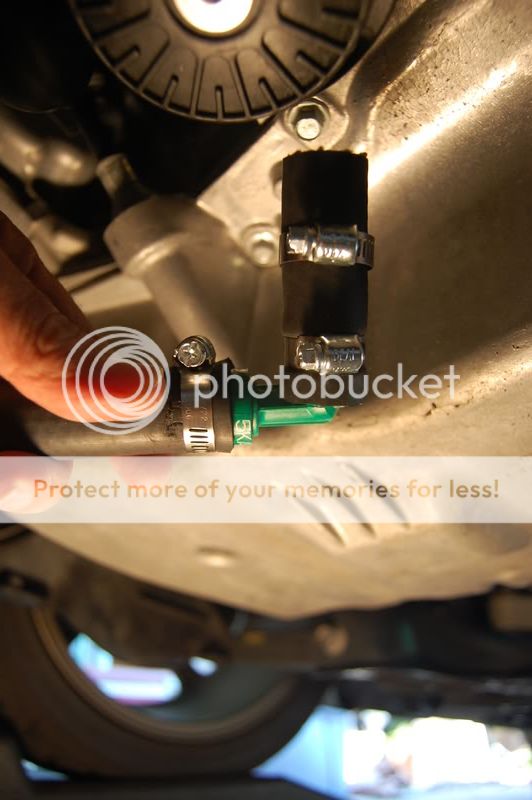
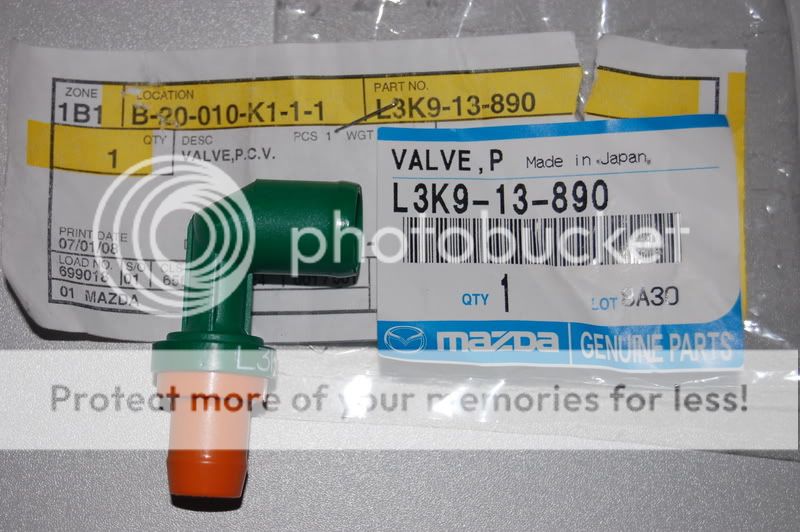
Updated!! And here is a closer pic of the PCV valve I used inline with the OCC and intake manifold. This is the same factory PCV that is on your car now. I bought this from the local dealer. Just give them the part number. My local dealer is not MazdaSpeed certified. But they can still get this part because it's shared with the CX7. It'll run you around $20 after taxes. When installing this after the OCC, the green end will face the intake manifold. The orange end will go to the OCC. Now here is the problem. The green end will fit the 5/8" hose you just bought. However, the orange end is too small. It is about 1/2" wide. This is where the clear hose comes into play. We will address this later on.
Step 2 Prep the car.
Tools required; Set of ramps or lift. 10mm socket/nut driver. 8mm socket/nut driver. Short philips head screw driver or philips hex adapter. Flat head screw driver.
Put your car up on some ramps (of lift if you are lucky).
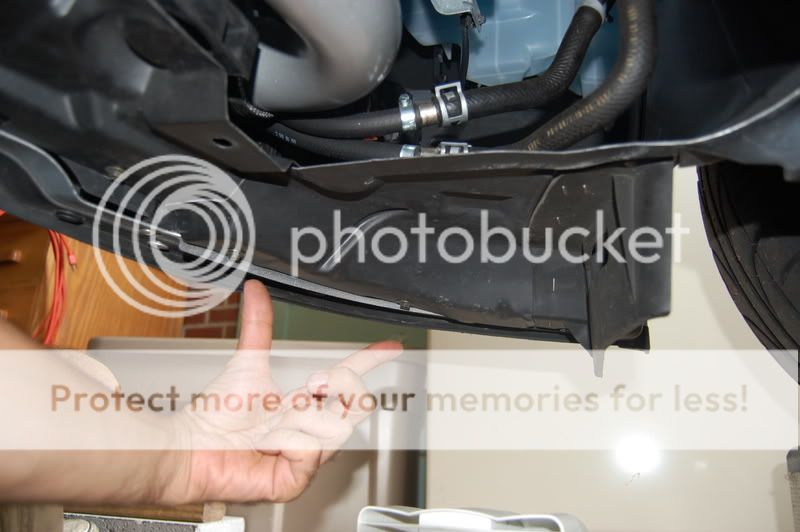
Then take off the under tray. You can even take off the small thin strip in front of your under tray. I took off the strip mainly so I could make sure all my IC hose clamps were tight. But this may help a little with room and flexibility with the wheel well liner.

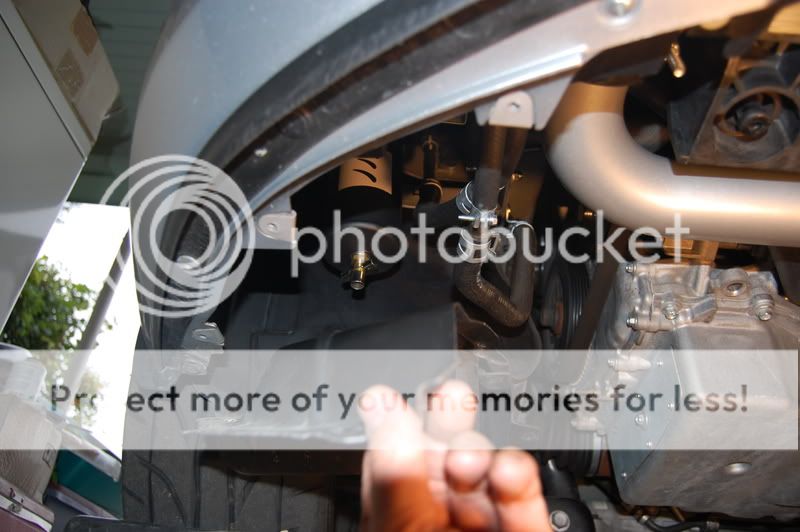
Next take off the 3 screws from the bottom of the passenger side wheel well liner. I am pointing to 2 of the screws here.
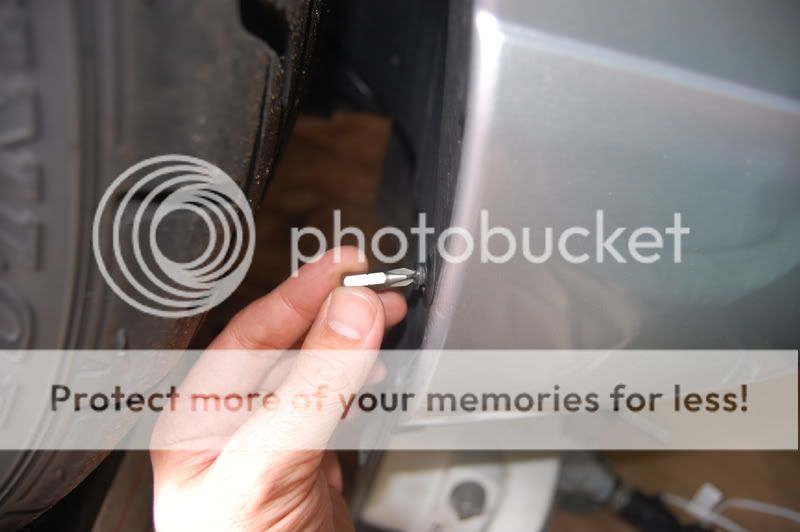
Then using a short philips screw driver or philips hex adapter type (like I used), take off the 2 lower plastic pop in liner fasteners that are in front of your tire.
Now the liner should just hang down slightly. This'll give you room and flexibility to work inside the bumper well.
Step 3 Location and removal of the PCV hose.
Tools required; Pliers, Channel Lock Pliers, or Needle Nose Pliers.
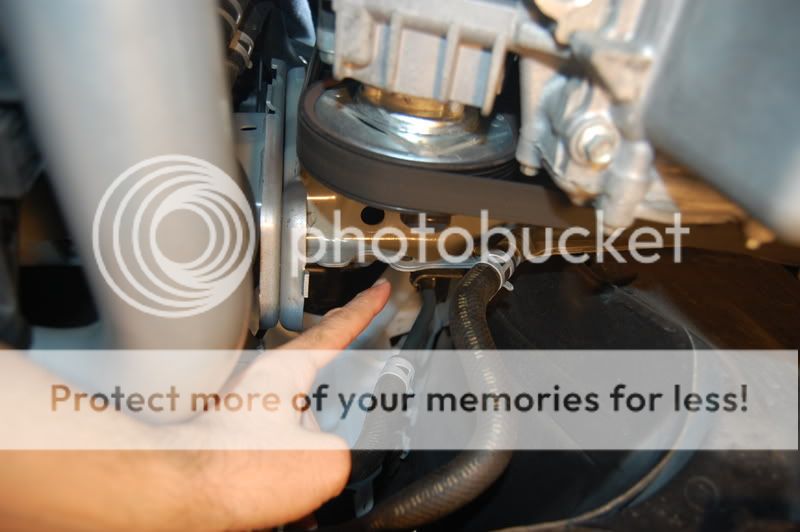
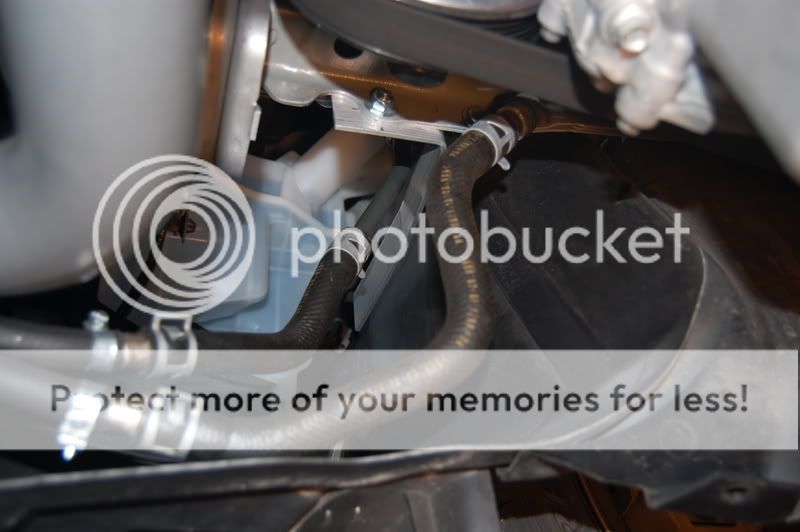
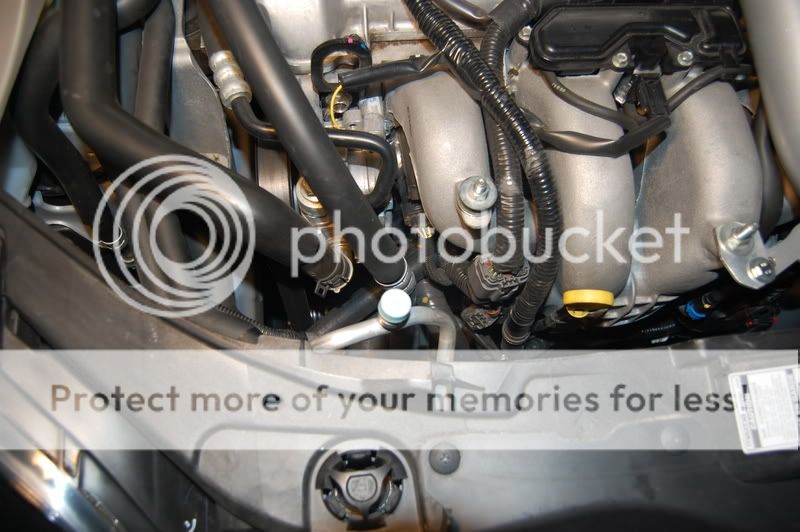
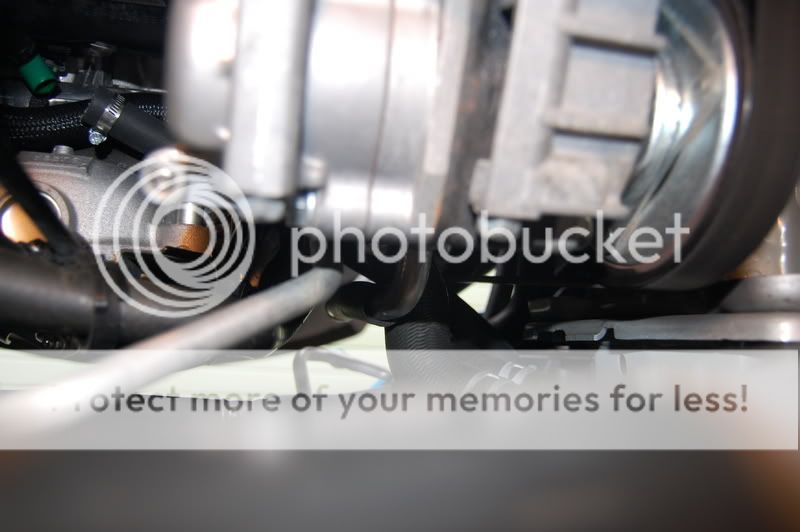
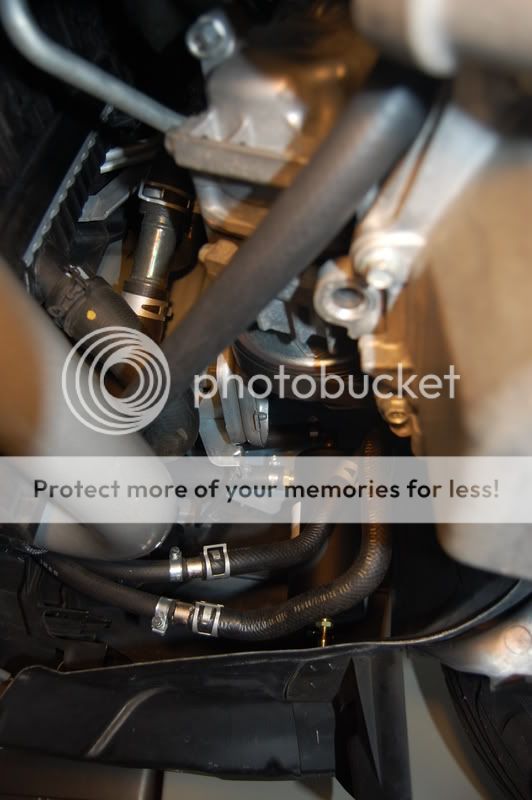
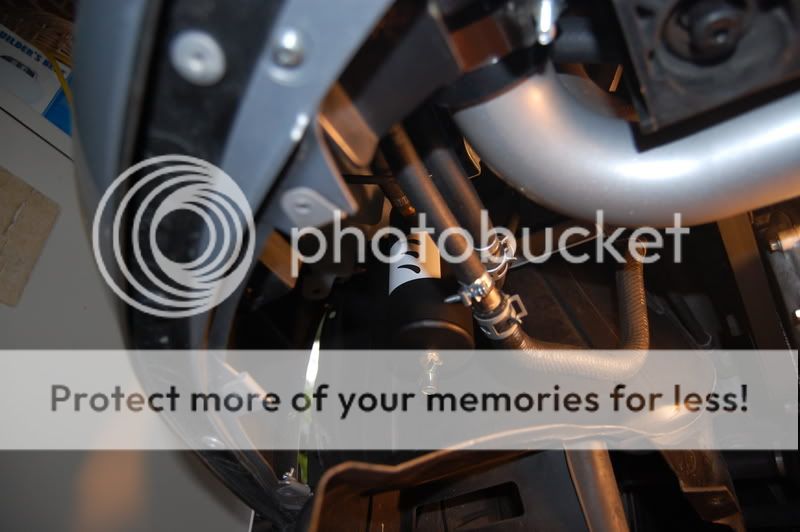
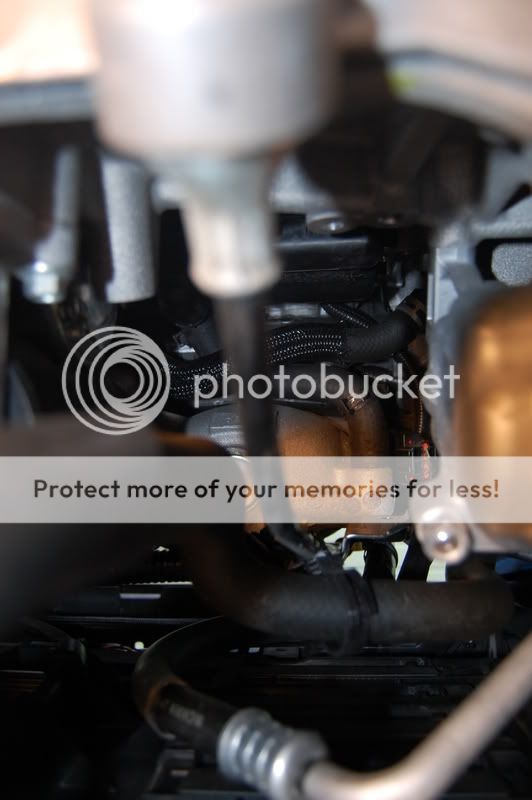
From under the car, locate the intake manifold. Then locate the hose connecting the intake manifold to the PCV valve. This is pretty simple. But taking off the hose is very hard if you have large hands. So you may have to con a smaller buddy into helping you out! The top of the pic is the engine. The bottom of the pic is the radiator. You can see the hose coming out of the intake manifold and snaking to the left under the shiny hose and up into the PCV valve. You'll see a clamp on each end. These are taken off with some pliers and/or small channel lock pliers. The bottom clamp is already raised off in the pic.
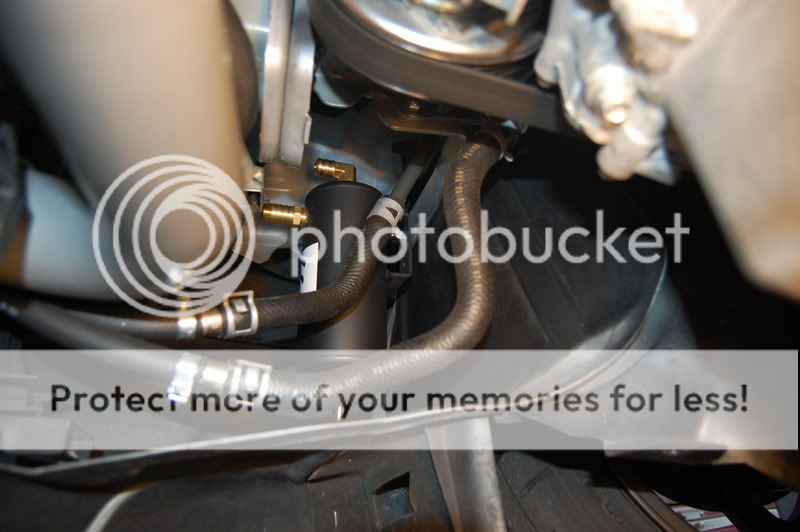
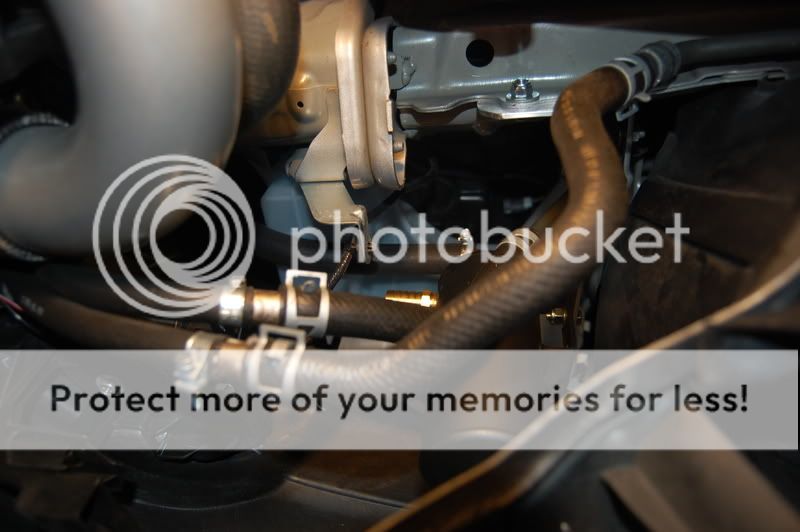
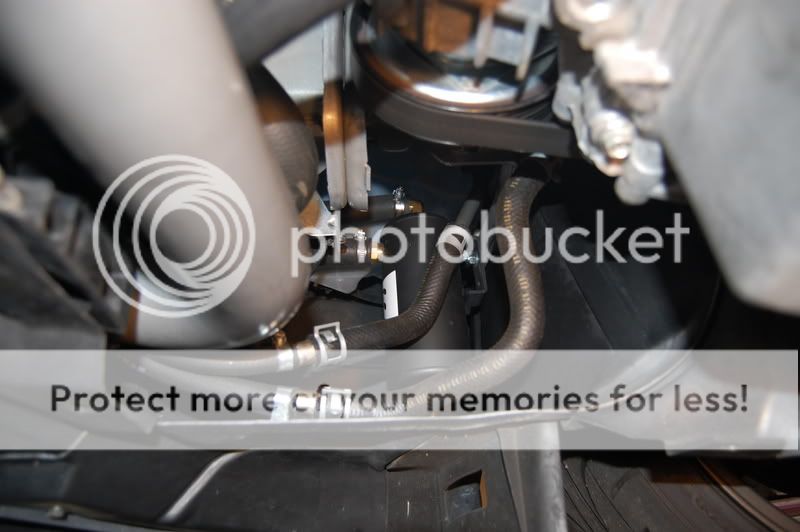
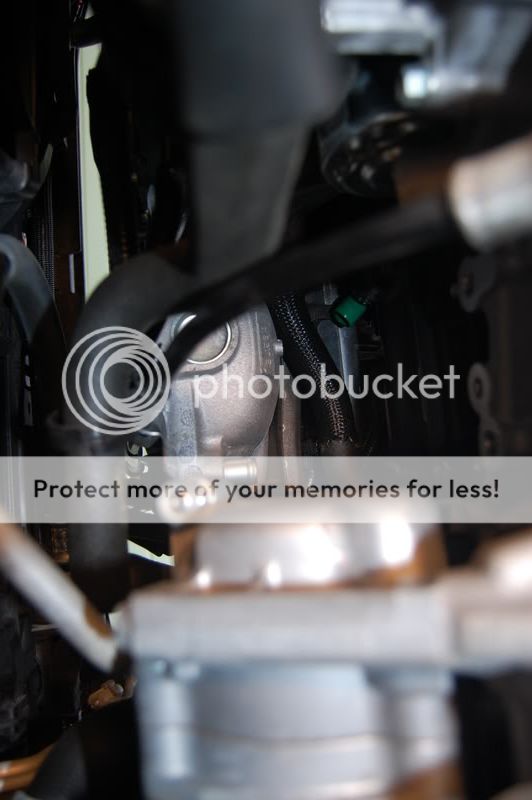
Here is a pic with the hose off. You can now see the nipple on the intake manifold. And the green plastic nipple on the PCV valve.
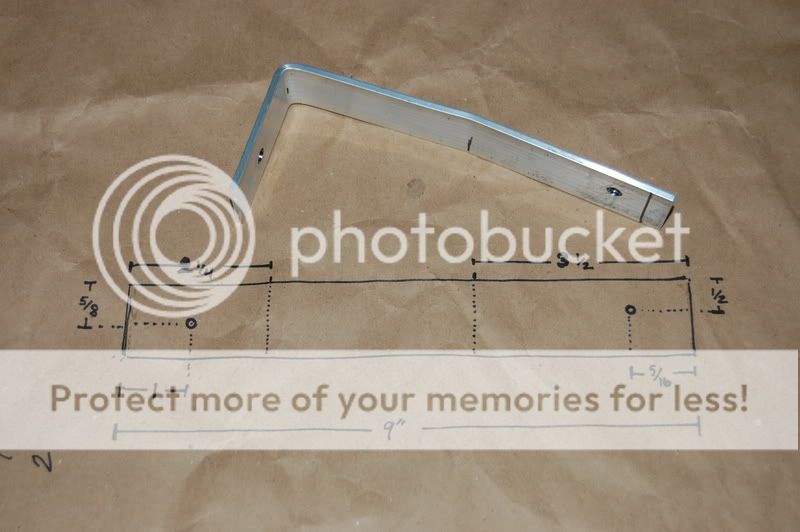
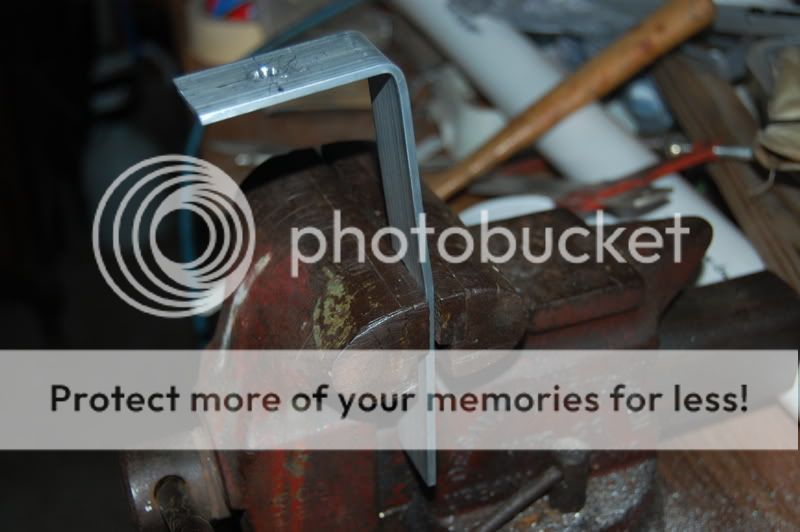
Next... Selecting your location. And making your bracket.
Okay! I just installed my Saikou Michi Stage 2 OCC. It was pretty simple actually. But I decided to make it an all day project. Taking many pictures along the way. And trying to find the best mounting location. And the best hose route for this install.
This install is for the PCV to intake. Perhaps later on I will do the install for the cam cover breather to intake/cai install. Installing an OCC after the PCV helps keep unwanted oil out of the intake and through combustion. Oil can pool up in the intake manifold and head causing it to get very dirty/gritty. Which can decrease performance and engine life.
This page will have approximately 25 pictures. So please be patient. If you have dial up.... sucks to be you! :silly: Also, this is done on a 2007 Speed 3 with the CP-e FMIC installed. So some things may be different. Mainly the location of the power steering lines and mounting bracket. Plus I'm using a Saikou Michi OCC. Using other brand OCC may require a different mounting bracket or even different mounting location. This install is in the passenger side wheel well bumper area.
Step 1 Gather your supplies.
Tools required; Money
As stated, I'm using a Saikou Michi Stage 2 OCC. This unit has 5/8" fittings. This closely matches our the PCV's 15mm fittings. It comes with 2 mounting bolts, 2 washers, 2 lock nuts, and a black mounting bracket (which I do not use). I have about 5 feet of heater/oil hose (5/8" id.) I had various hose clamps. But I only used the 4 pack. Please buy a good brand of clamp. These were cheap and easy to strip. I may change them out with better brand or even mini "T" bolt clamps. Also used is a PCV valve mounted inline between the OCC and intake manifold (This AutoZone PCV is no longer used. See below for the updated PCV). This prevents the OCC from being pressurize from the boost pressure in the intake manifold. And lastly is an aluminum strip from Lowes. I used this to make a mounting bracket for my OCC.
Added!! Here is the PCV valve from the dealer. A clear hose from Lowes. It is 5/8" outer diameter and 1/2" inner diameter. I bought 1 foot for 28. But you will only need 1 inch of it. A short 5/8" inner diameter hose (from the 5 foot hose above). And some more clamps.
Here is a pic showing the size of the OCC vs a Pepsi 20oz bottle.
Updated!! And here is a closer pic of the PCV valve I used inline with the OCC and intake manifold. This is the same factory PCV that is on your car now. I bought this from the local dealer. Just give them the part number. My local dealer is not MazdaSpeed certified. But they can still get this part because it's shared with the CX7. It'll run you around $20 after taxes. When installing this after the OCC, the green end will face the intake manifold. The orange end will go to the OCC. Now here is the problem. The green end will fit the 5/8" hose you just bought. However, the orange end is too small. It is about 1/2" wide. This is where the clear hose comes into play. We will address this later on.
Step 2 Prep the car.
Tools required; Set of ramps or lift. 10mm socket/nut driver. 8mm socket/nut driver. Short philips head screw driver or philips hex adapter. Flat head screw driver.
Put your car up on some ramps (of lift if you are lucky).
Then take off the under tray. You can even take off the small thin strip in front of your under tray. I took off the strip mainly so I could make sure all my IC hose clamps were tight. But this may help a little with room and flexibility with the wheel well liner.
Next take off the 3 screws from the bottom of the passenger side wheel well liner. I am pointing to 2 of the screws here.
Then using a short philips screw driver or philips hex adapter type (like I used), take off the 2 lower plastic pop in liner fasteners that are in front of your tire.
Now the liner should just hang down slightly. This'll give you room and flexibility to work inside the bumper well.
Step 3 Location and removal of the PCV hose.
Tools required; Pliers, Channel Lock Pliers, or Needle Nose Pliers.
From under the car, locate the intake manifold. Then locate the hose connecting the intake manifold to the PCV valve. This is pretty simple. But taking off the hose is very hard if you have large hands. So you may have to con a smaller buddy into helping you out! The top of the pic is the engine. The bottom of the pic is the radiator. You can see the hose coming out of the intake manifold and snaking to the left under the shiny hose and up into the PCV valve. You'll see a clamp on each end. These are taken off with some pliers and/or small channel lock pliers. The bottom clamp is already raised off in the pic.
Here is a pic with the hose off. You can now see the nipple on the intake manifold. And the green plastic nipple on the PCV valve.
Next... Selecting your location. And making your bracket.
Last edited: