
deepfriedsushi
Member
- :
- 95 Miata, 14 CX5 Touring FWD, 18 CX9 GT FWD
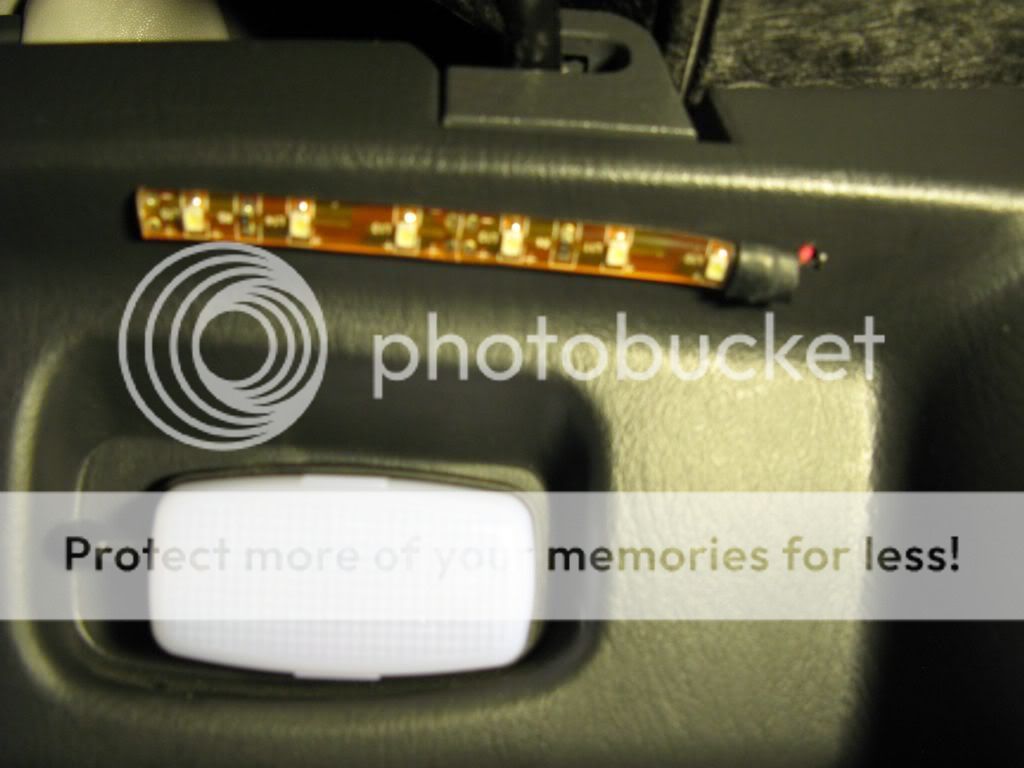
The VLED light strips do have wires attached, the ones in the picture.
I wish I had the technical experience to make the install cleaner and install a fuse but it'll do for now.
Can't wait to see what you come up with.
That's so awesome. I'm definitely excited now. Probably going to order the 5k temp from them soon (6k is too blue for me). Their prices aren't bad.
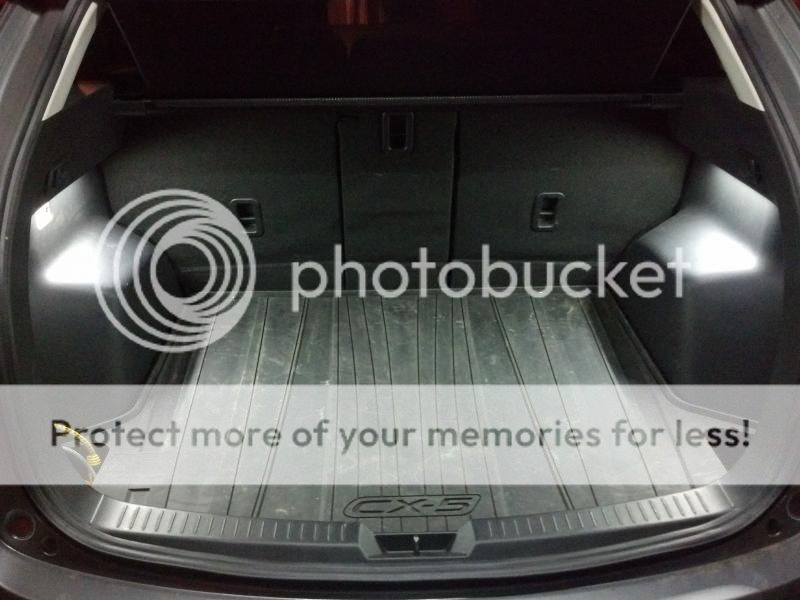
I think I'm going to use the same LED placement as you and possibly drill holes into the panels or on the edge of the access panels for a slightly cleaner finish. I think 12" strips on each wheel well and two on the hatch would be plenty of light. I also have the cargo cover, so freestyle's overhead placement wouldn't work. I love how the hatch LED placement can also provide overhead light to the standing area. Super helpful if you drop something. I would then power them up using freestyle's methods on the cig lighter and mercury switch placement.
For reference here's how my p5 looked.


")
") )
)


