NB MX-5 Hey, it's Minnie!

@bazooka joe No, that is what Tam said. So should I fall victim to a slasher that comes out of the woods, she can say "I told him" at my service. lol

Robin did good, just looked at pics and it is nice inside and the porch is great too.
 
Transmission has been feeling notchy so I figured it might be time to change the fluid. Looked back through my maintenance log and couldn’t find when I had changed it the first time. After perusing my build thread I saw I had done it soon after buying the car. Looked in my log and I had a date/mileage entry with nothing written. I had changed the oil/filter and trans fluid then but for some reason didn’t fill in the log past the date/mileage. Hey, at least now I know what I did at that time (entry has been made)! Turns out the fluid had almost exactly 40,000 miles on it. I ordered new Motorcraft fluid from Rock Auto last week, their price is pretty decent even including shipping costs.

We got a break from rain today so I took her out for a spin to warm things up. Got home, jockeyed cars around, put her in the garage and up in the air. First I removed the center console and shifter (for any who aren’t yet aware the 6 speed transmission can be filled from the shifter hole). Then creeped underneath and pulled the drain plug. While that was going I cleaned up the shifter and other bits. Installed the drain plug with a new washer (Mazda part #99564-1800, it’s the same for both the drain and fill plugs) and then pulled the fill plug. FYI both the fill and drain plugs are 24mm hex heads. Then it was back up top to fill it. I put a towel around the opening to catch any spillage like so:

52552605092_71fec2d704_c.jpg


I did spill a little from the first quart which (naturally) worked its way to the bottom about the time I went back down to install the fill plug. I put in both quarts, only a little overflowed from the fill plug. I lubed up the shifter balls with some Valvoline red automotive grease I had (was going to use white lithium but it wouldn’t come out of the spray nozzle so into the trash it went). I was happy to see that both shifter boots were still in good condition. Finished up with installing the console and topped things off with the new factory shift knob I had sitting around.
 
Rain came back so no test drive. Shifting into reverse and first to maneuver her back into her slot felt good though.
 
I remember how much better my 6 speed shifted after a drink of the motorcraft elixir!
 
The first time I put it in, it took about two weeks before things smoothed out (I don't know what was in there before that). I am curious to see how this second application does. It has been getting somewhat difficult going into first at a rest if the car isn't moving, shift into second has been a bit notchy and going into reverse sometimes takes a couple of clutch actuations.
 
I would have to push the clutch in at least twice to get into reverse!
After swapping in the 5 speed I never looked back!
 
Last week when I was doing the transmission fluid change I looked around underneath as normal. The last time I had to remove the FM butterfly brace center section I left it out to see if I noticed any difference (I didn’t). I had left the wings that connect the center piece to the frame rails. I saw that both sides had a spot where they were hard up against the bottom of the car. Hmm, maybe some transmittal of vibration through them?

52569160117_1f5e6fb4eb_c.jpg


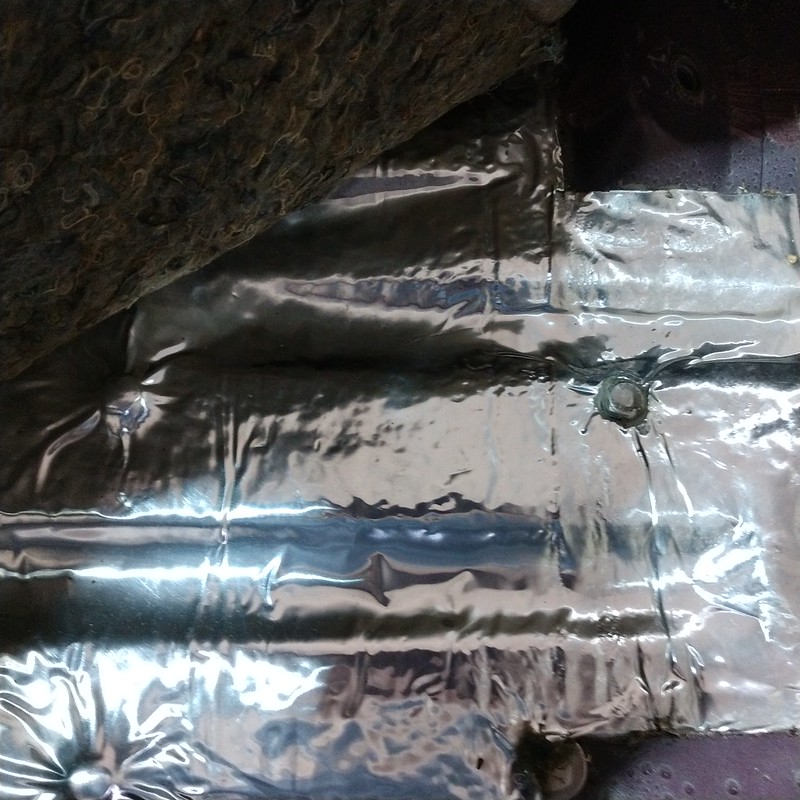
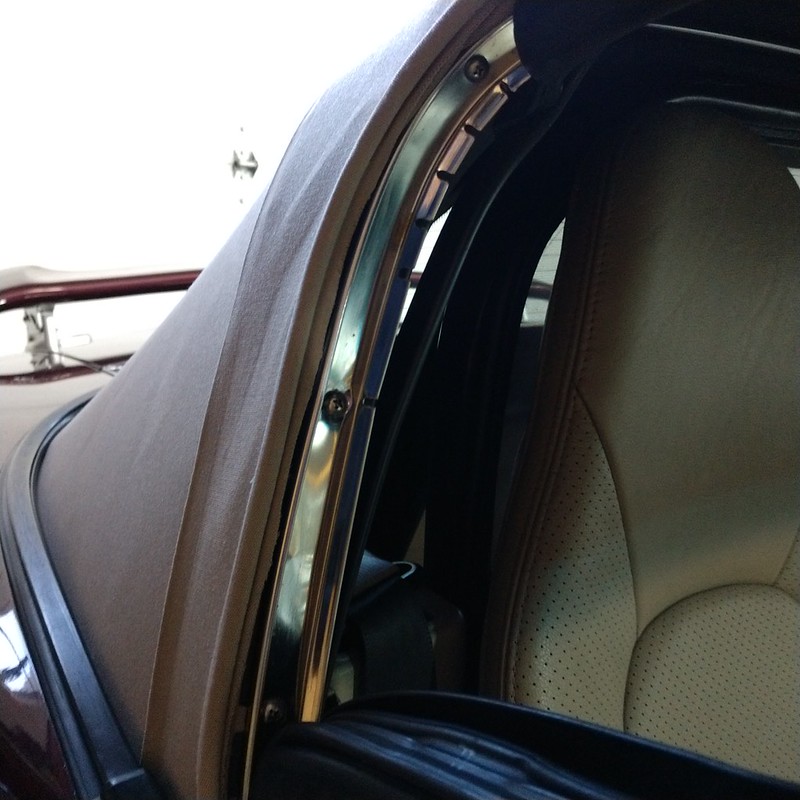
Since they are no longer serving any purpose, I decided to remove them today. Worked on the passenger side first as it is more difficult as you will see. Removed the seat and lower seatbelt bolt along with the side sill scuff plate. This was enough to allow me to get under the carpet to access the top of the bolts. I had to cut away my sound deadening pad in way of two bolt heads:

52570146778_002aa5021d_c.jpg


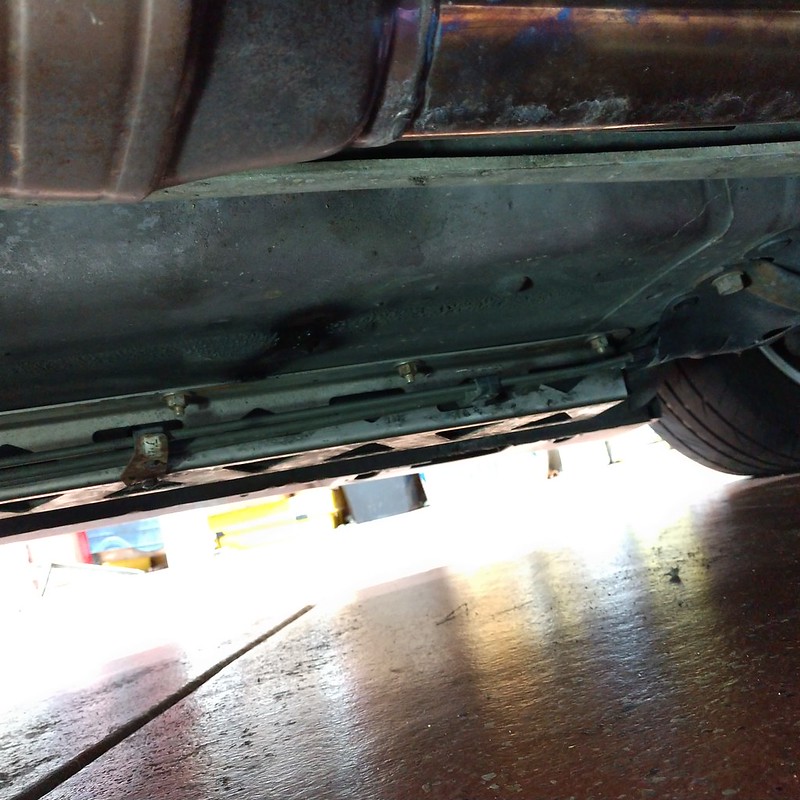
The passenger side of the frame rail has a couple of studs to reroute the brake line brackets along that side. This is what makes the inner bolts on that side harder to access. Picture from the other side after I did the passenger side wing removal, you can clearly see the lines running inboard of the frame rail.

52570064330_28a51ccb07_c.jpg


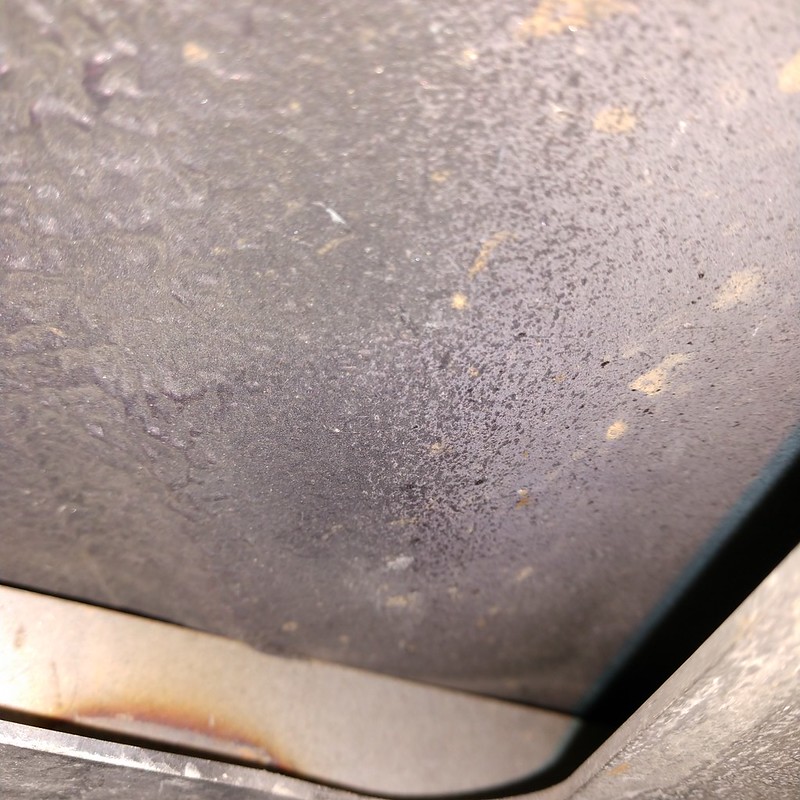
The job actually went a little quicker than when I installed everything as I now have a 3/8” impact wrench that I didn’t have before. Still took some finagling to get the lines out of the way far enough to access the nuts. Got the nuts all off and removed the wing. Sprayed the spot where the wing was on the body with some Rustoleum aerosol undercoating I had around. Dropped that side and did the same thing on the driver’s side but quicker. Here’s how the contact point on the driver’s side looked prior to undercoating:

52570146738_fa8a3171df_c.jpg


While the seats were out I vacuumed underneath (if you have never done this you would be surprised how much you are unable to reach trying to vacuum under the seats with them in place). Did a little spot removal too. I probably won’t notice a lot of difference, I hardly ever drive with the top up so my points of reference are few and far between. But hey, weight reduction is always good!
 
Last edited:
I ended up taking a drive with the top up. I can recommend doing this occasionally so you can find problems you might not otherwise. Interior seems quieter now, however I did notice some wind noise coming from the passenger side at the back of the window. Got home and had a look, there was a bit of a gap between the window and the weatherstrip:

52577801812_792f7edf21_c.jpg


It’s a little hard to see but it was there. Easy enough to adjust if you haven’t before. Simply pull the weatherstrip away from the channel to reveal three screws:

52578267416_8d2b11ee60_c.jpg


They are in oval holes to provide for adjustment. I loosened all and pulled the bottom as far as I could towards the outside, then tightened the screws. Replace the weatherstrip back in the channel and voila!

52578706105_bfd908f17a_c.jpg


Had her out again today top up and that noise is gone. The shifter is making a rattling noise now, it goes away if I lightly touch it. I figure it’s either something not assembled correctly after my transmission fluid change, or maybe the new shift knob is a different weight. Either is easy enough to test.
 
Yeah, those are the best. I am going to look at the factory manual to see if I need to move the window to get better compression of the weatherstrip. The procedure for adjusting everything to get the weatherstripping set right is fairly well documented. The rail only allowed me to move it about 1/16" and I feel like the window could stand more push against the weatherstripping. Just have to wait for the temperature to get back up to a reasonable level.
 
Well Done
Thanks.

Today was somewhat warm so I set about replacing the headlight film. My last set was X-pel but I wasn’t really happy with how they turned out (couple of large bubbles around the edges). I couldn’t find and X-pel kits so had to settle for Laminex.

First step was to remove the old film. This was somewhat easy with the judicious use of my heat gun. Once I got an edge lifted I then pulled it back on itself and it came right off without leaving any residue. Laminex instructions say to clean the lens using only water so that was done. Then you mist the lens with clean water, remove the backing from the film and put it on. This is a challenge given all the curvature of the NB headlights, but I feel like I did a better job than with the last set. Ended up with the film adhered to the headlight about ¾ of the way around from the inside edge. Then you spray the outside of the film with more water and use the provided squeegee to work the film down. I had a couple of spots that kind of folded so lifted those back up to straighten it out. Now I just have to wait for it all to set up and then trim around the outside edge with the provided razor knife. Pictures will follow once that is done, it’s hard to take pictures working this film in place with only two hands.

After some thought I decided to replace the urethane exhaust hangers previously installed with some factory style rubber ones to see if that gets rid of some of the interior noise with the top up. Those are incoming from Rock Auto.
 
Nice little updates Mike. Good to see you are staying busy while on-shore. haha

I used X-pel on the fogs of my P5. No issues with bubbles but I was also working with a flat surface. I did use Lamin-X for the bumper markers on the NC and it held up well. Trying to get it to wrap around and stick without creasing in the corners was some fun though, I can only imagine doing a headlight. I have to give it to the people who do wraps for a living, it is a craft and an art form! I did get a heat gun for Christmas though so what should I wrap first? lol

Going to guess you opted for clear? I have been considering the lighter smoked color for my head lights and tail lights. I'd pay a local shop to do it though to save me the frustration.
 
I'd pay a local shop to do it though to save me the frustration.
Consider it a challenge, a test of your patience and ability to do something you’ve never done before! 😉
 
Back