sensinitas
Member
- :
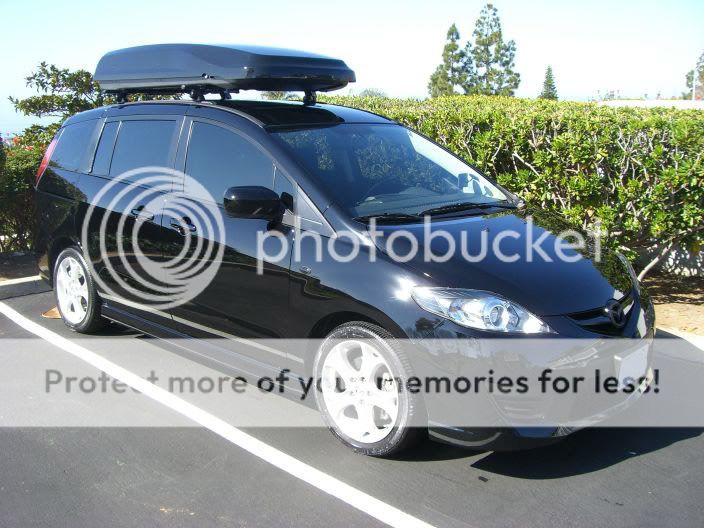
- 08 Mazda 5
I've been wanting to do this for a while. After asking around, I couldn't find ONE PERSON who had done this to their 5. So after recently discovering it can be done to the 3, I knew it was possible. I've gone through this mod to my Subaru, so I already went through all the nerves associated with putting your headlight in the oven! Trust me, it's not that big of a deal. Don't stress  . You'll see how easy it is once you start.
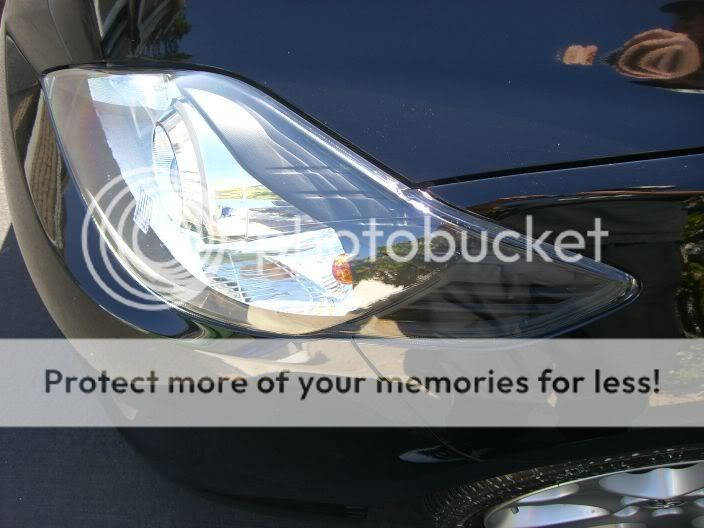
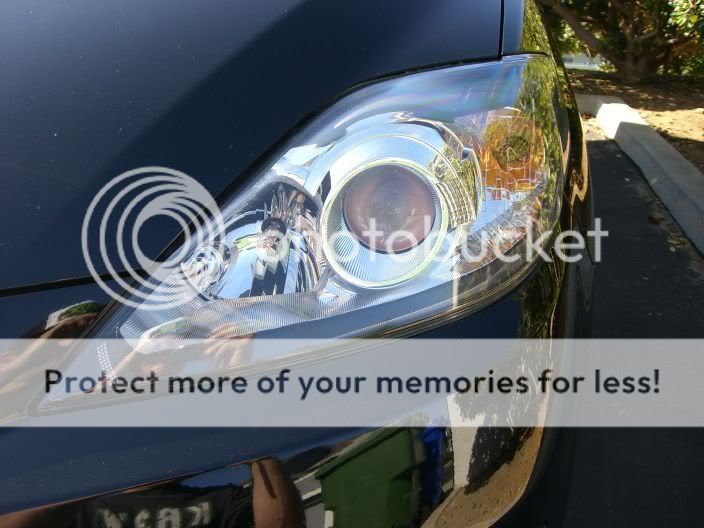
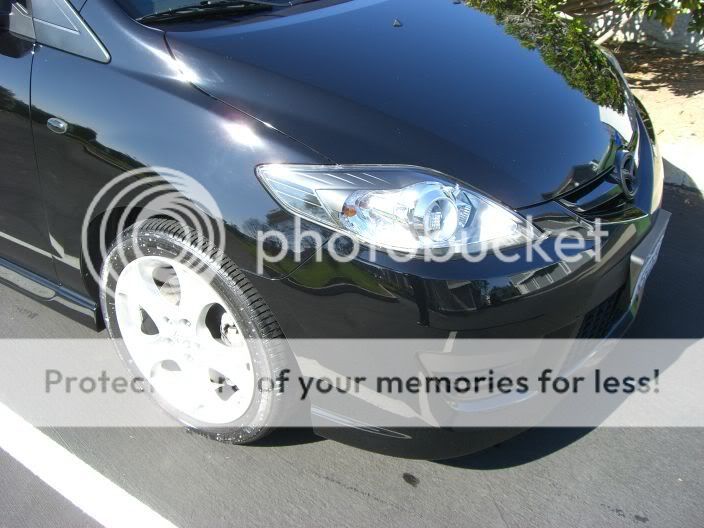
By the way, my car was dirty. Sorry...(dunno)
Also, I'm open to any suggestions or hints. If made a mistake, or if there is an easier way to do something, post up and let us know!
Disclaimer: I'm not responsible for any damaged, broken, ugly-looking headlights, parts, cars, tools, hands, or anything else associated with this mod. This is just a tool for reference for those thinking of trying this.
Tools Required
5/16 socket
10mm socket
Flat head screwdriver
Philips head (one regular size, one small)
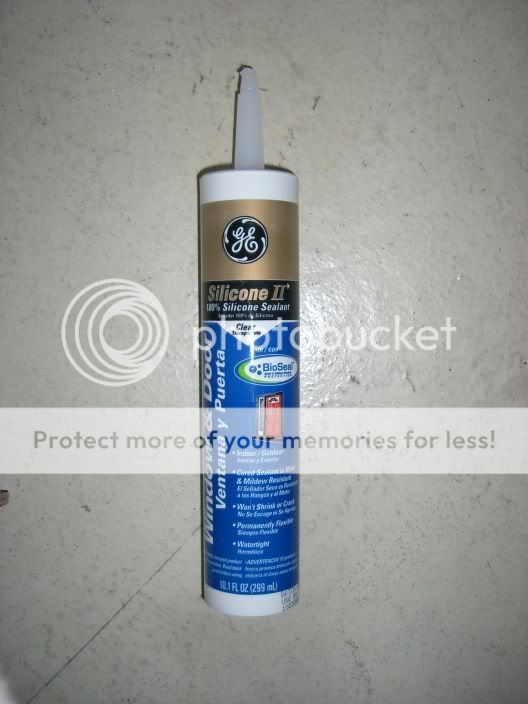
Clear Silicone sealant
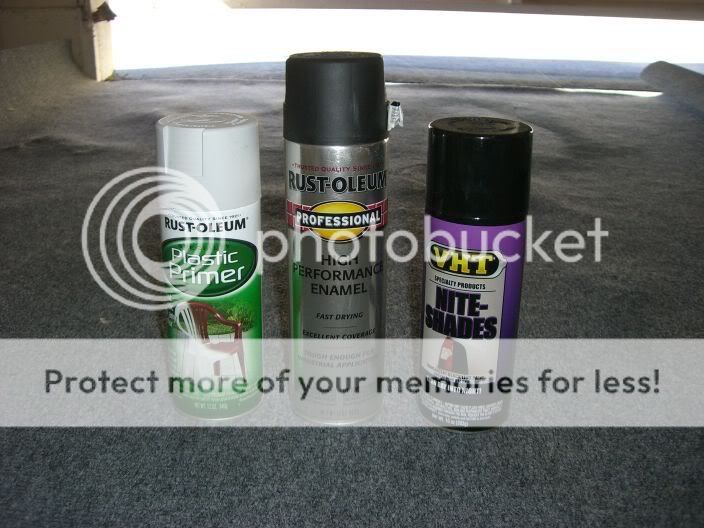
Plastic primer
Flat black spray paint
Workers gloves (The headlight will be hot out of the oven. If you don't have gloves, then improvise!)
Sharpie (you'll read why in a bit)
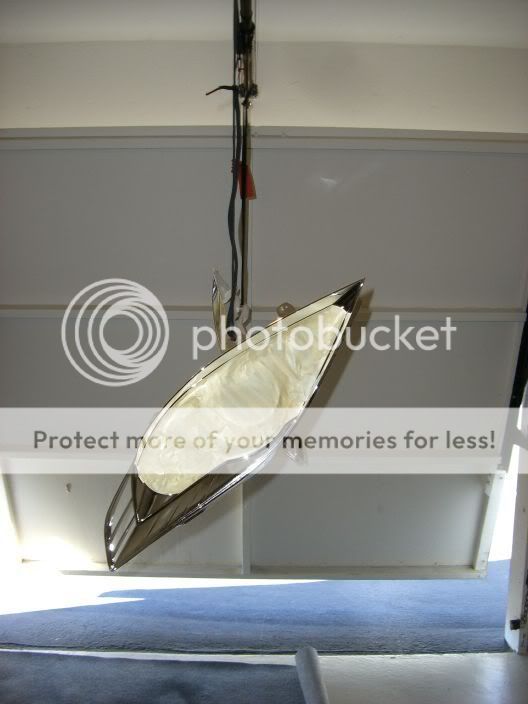
*This whole process took me 7 hours. I would designate your entire day to it. Take you time. Do it right!
Step One: Bumper Removal
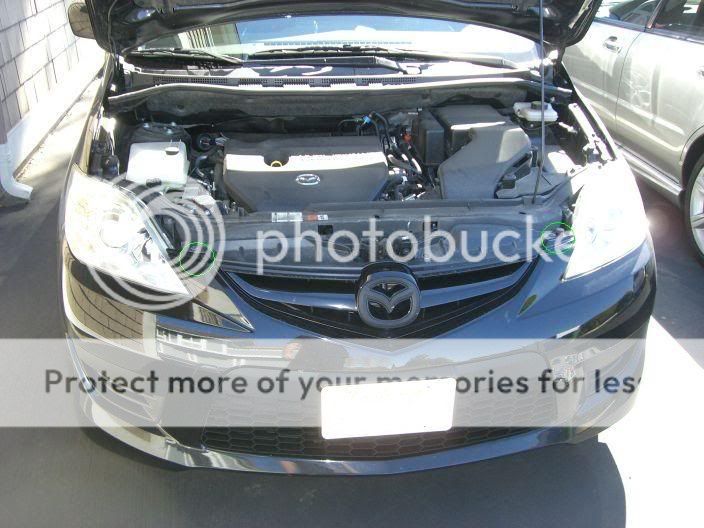
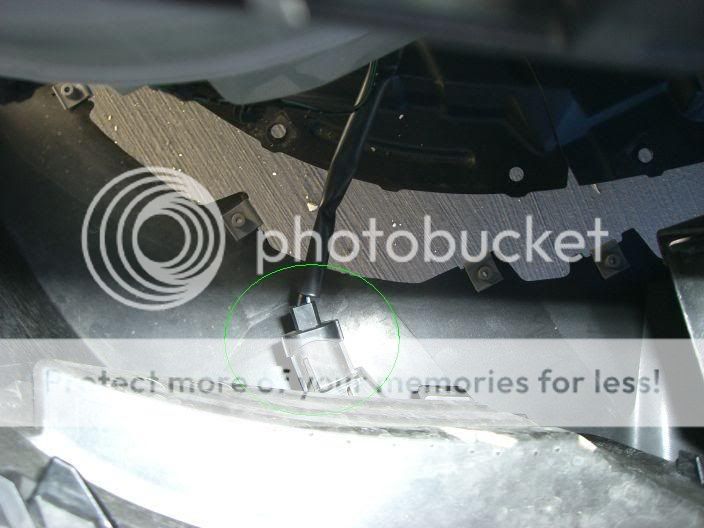
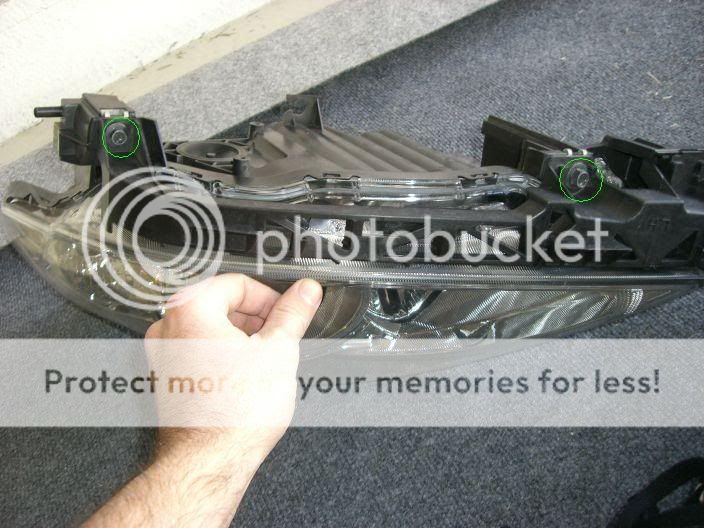
Park you car somewhere where you can get underneath it, and away from where you will be painting. Pop the hood and remove the two screws and rivets located in the green circles below.
Then get underneath and remove the 9 screws (? - can't remember if it was 8 or 9, but you'll see them (yes)).

Next - depending on what side you start on, turn the wheels towards the car so you can easily reach the next set of rivets and screw. Use a philips to twist out the plug part of the rivet, then pop the whole thing out.
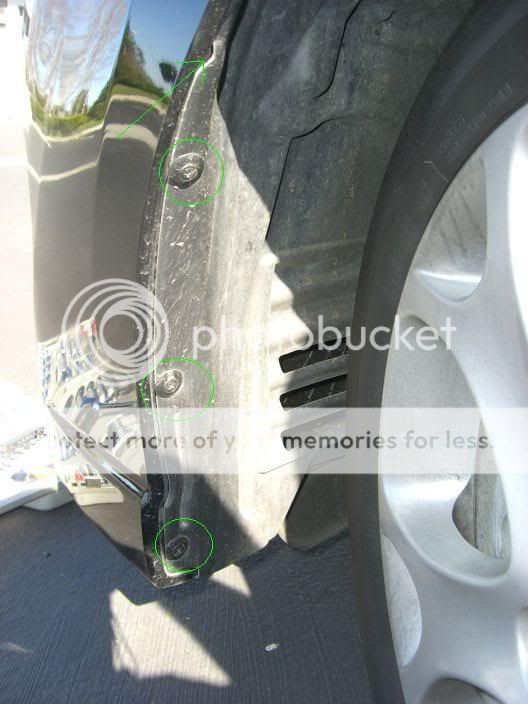
Once all three are removed, pull back the splash guard to get to the final screw.

Now that all the screws and rivets are removed, start by pulling out the sides of the bumper. These are held in by snaps. It shouldn't take too much force to do this.
Then grab under the license plate holder, and in the middle of the top of the bumper, and shimmy the bumper off. DON'T YANK IT OFF. There are fog light connections to disconnect. I have a Sport with no fog lights, but the connections are still there from the factory. Reach down and squeeze the release part of the plug and seperate. On the driver's side, my harness ran through a clip that's plugged into the bumper. Just pop it out.
Congrats, your bumper is off! Go stash it somewhere safe and away from where you will be painting.
Step Two: Headlight Removal
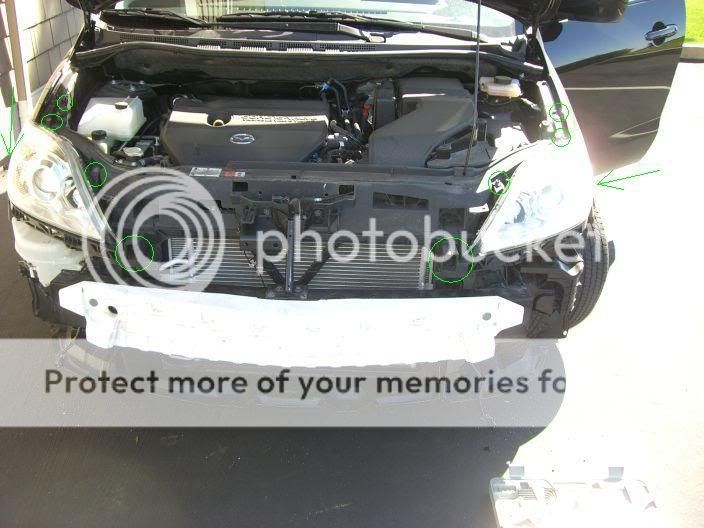
There are four screws and one rivet holding the lights on.
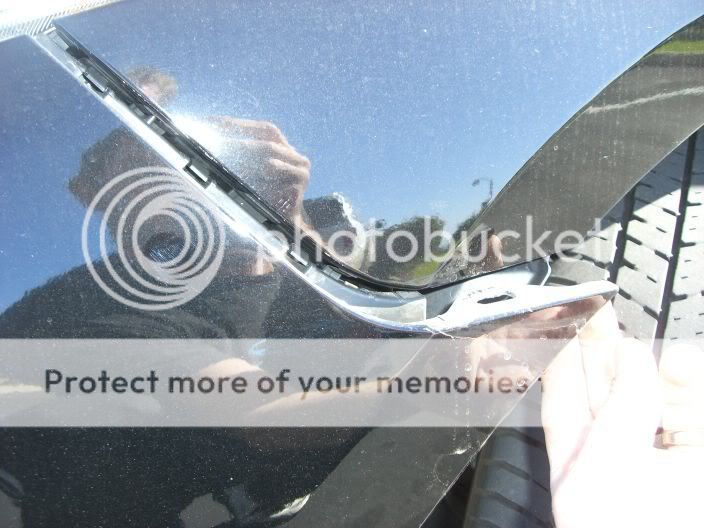
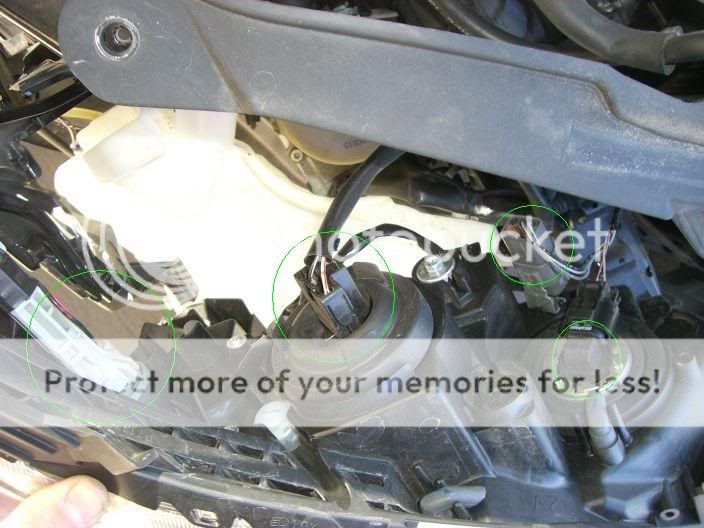
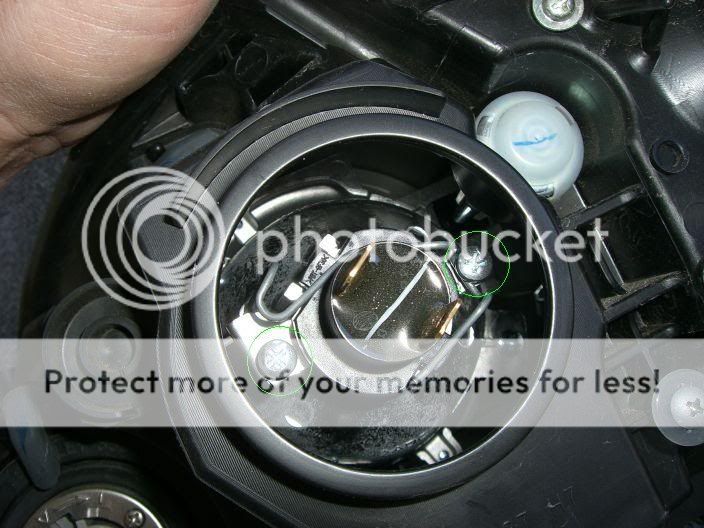
Remove the screws and take notes that the one on top, closest to the passenger compartment is SHORTER than the other three. Pop out the rivet. The light should be loose. Pull it out so you can get to the lightbulb sockets and harness. Here's the view looking down as you pull the headlight out:
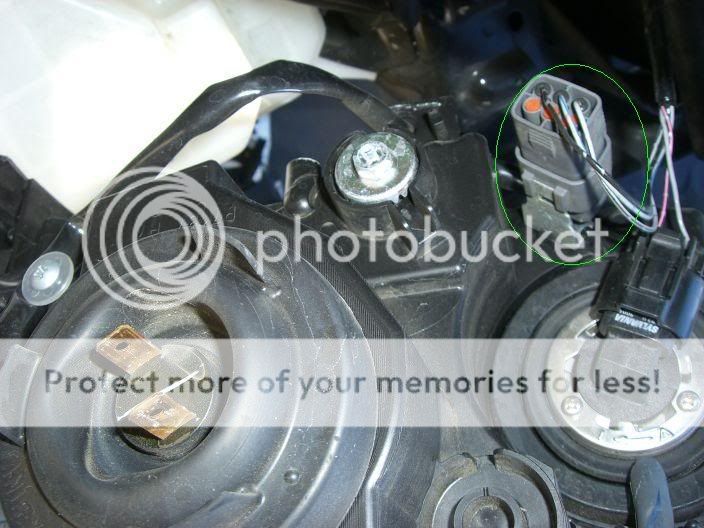
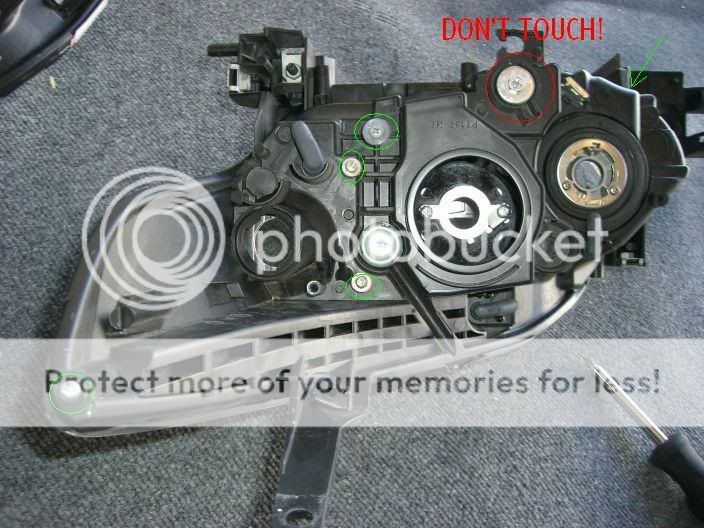
Everything in green is what you need to remove. Unclip the headlight and the harness for the blinker and highbeam. Twist out the highbeam and blinker sockets (don't touch the highbeam bulb. The grease from your hands will damage it). Unclip the second part of this harness seen here:
Carefully remove the wiring that is held in place by different clips. If you need to, you can loosen the screw with the plastic washer holding the wiring in place.
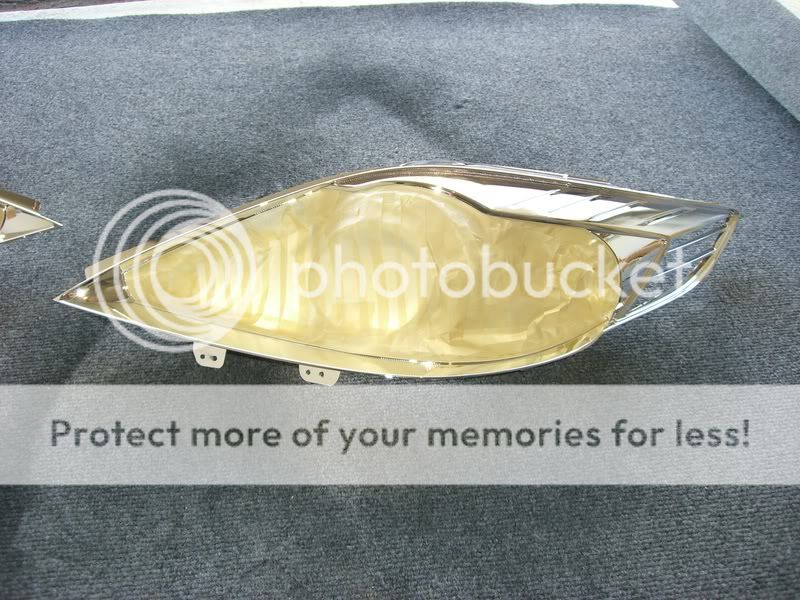
Congrats. Your headlights are now removed and your car looks like you rear-ended someone!
Part 2 below
. You'll see how easy it is once you start.By the way, my car was dirty. Sorry...(dunno)
Also, I'm open to any suggestions or hints. If made a mistake, or if there is an easier way to do something, post up and let us know!
Disclaimer: I'm not responsible for any damaged, broken, ugly-looking headlights, parts, cars, tools, hands, or anything else associated with this mod. This is just a tool for reference for those thinking of trying this.
Tools Required
5/16 socket
10mm socket
Flat head screwdriver
Philips head (one regular size, one small)
Clear Silicone sealant
Plastic primer
Flat black spray paint
Workers gloves (The headlight will be hot out of the oven. If you don't have gloves, then improvise!)
Sharpie (you'll read why in a bit)
*This whole process took me 7 hours. I would designate your entire day to it. Take you time. Do it right!
Step One: Bumper Removal
Park you car somewhere where you can get underneath it, and away from where you will be painting. Pop the hood and remove the two screws and rivets located in the green circles below.
Then get underneath and remove the 9 screws (? - can't remember if it was 8 or 9, but you'll see them (yes)).
Next - depending on what side you start on, turn the wheels towards the car so you can easily reach the next set of rivets and screw. Use a philips to twist out the plug part of the rivet, then pop the whole thing out.
Once all three are removed, pull back the splash guard to get to the final screw.
Now that all the screws and rivets are removed, start by pulling out the sides of the bumper. These are held in by snaps. It shouldn't take too much force to do this.
Then grab under the license plate holder, and in the middle of the top of the bumper, and shimmy the bumper off. DON'T YANK IT OFF. There are fog light connections to disconnect. I have a Sport with no fog lights, but the connections are still there from the factory. Reach down and squeeze the release part of the plug and seperate. On the driver's side, my harness ran through a clip that's plugged into the bumper. Just pop it out.
Congrats, your bumper is off! Go stash it somewhere safe and away from where you will be painting.
Step Two: Headlight Removal
There are four screws and one rivet holding the lights on.
Remove the screws and take notes that the one on top, closest to the passenger compartment is SHORTER than the other three. Pop out the rivet. The light should be loose. Pull it out so you can get to the lightbulb sockets and harness. Here's the view looking down as you pull the headlight out:
Everything in green is what you need to remove. Unclip the headlight and the harness for the blinker and highbeam. Twist out the highbeam and blinker sockets (don't touch the highbeam bulb. The grease from your hands will damage it). Unclip the second part of this harness seen here:
Carefully remove the wiring that is held in place by different clips. If you need to, you can loosen the screw with the plastic washer holding the wiring in place.
Congrats. Your headlights are now removed and your car looks like you rear-ended someone!
Part 2 below
Last edited:


")