Intro
I've been reading this forum for some time, and now it is time to start my first thread about a step by step tutorial to install JBL Component Speakers in a Mazda CX-5.
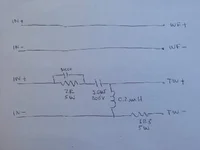
Let's start from the beginning with some theory. Below you can see the wiring diagram of the radio (LCD Radio without Bose Amplifier) and speakers.
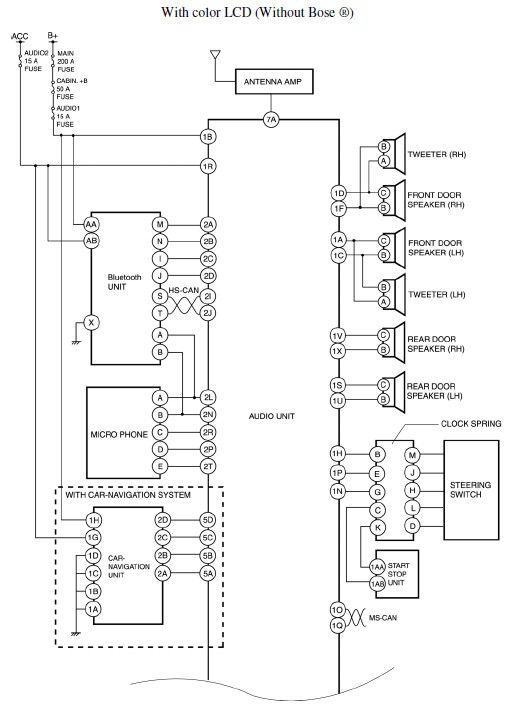

In the diagram we can see that Dashboard Speakers and Front Door Speakers are connected in parallel to the same radio output, this is important and we will remind it later
I am going to install the following speakers:


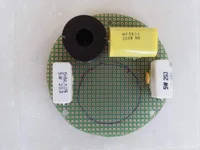
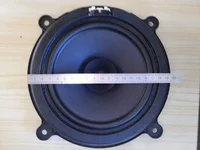
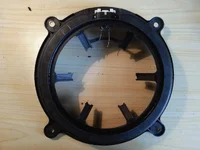
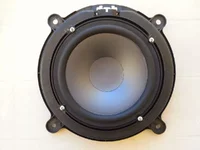
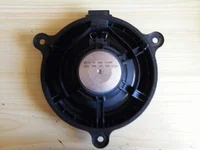
Front: JBL GTO 609C (Woofer in Front Door and Tweeter in dash side)
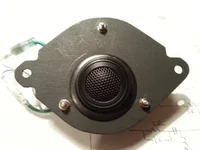
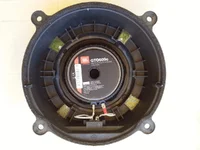
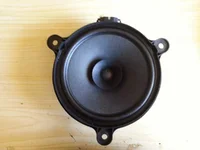
Rear Door: JBL GTO 629
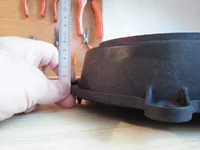
To remove the door panel clips (Christmas Tree clips) I used the following Fork-Screwdriver from Amazon, by using it is less likely to break the clips:

Now, after the theory, lets start with the hands on installation of the speakers, I'll explain how to install:
I've been reading this forum for some time, and now it is time to start my first thread about a step by step tutorial to install JBL Component Speakers in a Mazda CX-5.
Let's start from the beginning with some theory. Below you can see the wiring diagram of the radio (LCD Radio without Bose Amplifier) and speakers.
In the diagram we can see that Dashboard Speakers and Front Door Speakers are connected in parallel to the same radio output, this is important and we will remind it later
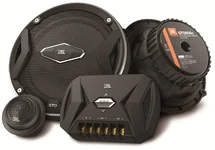
I am going to install the following speakers:
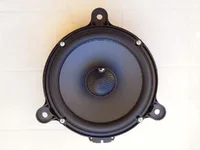
Front: JBL GTO 609C (Woofer in Front Door and Tweeter in dash side)
- Woofer 6-1/2" (165 mm) and Tweeter.
- Passive LC filter with dimensions 100 x 120mm.
- Maximum Peak Power: 270W
- RMS Power: 75W RMS
- Nominal Impedance: 3 ohms
- Sensitivity (2.83V/1m): 92dB
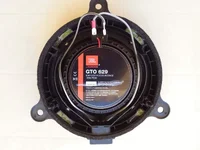
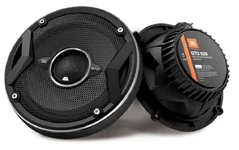
Rear Door: JBL GTO 629
- Coaxial: 6-1/2" (165 mm)
- Maximum Peak Power: 180W
- RMS Power: 60W RMS
- Nominal Impedance: 3 ohms
- Sensitivity (2.83V/1m): 93dB
To remove the door panel clips (Christmas Tree clips) I used the following Fork-Screwdriver from Amazon, by using it is less likely to break the clips:
Now, after the theory, lets start with the hands on installation of the speakers, I'll explain how to install:
- Tweeter in Dashboard
- Pasive Filter in Dashboard
- Woofer in Front Doors
- Coaxial Speaker in Rear Doors.
Attachments


Last edited: