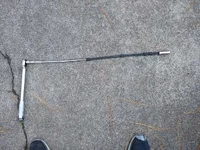
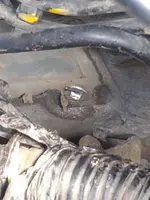
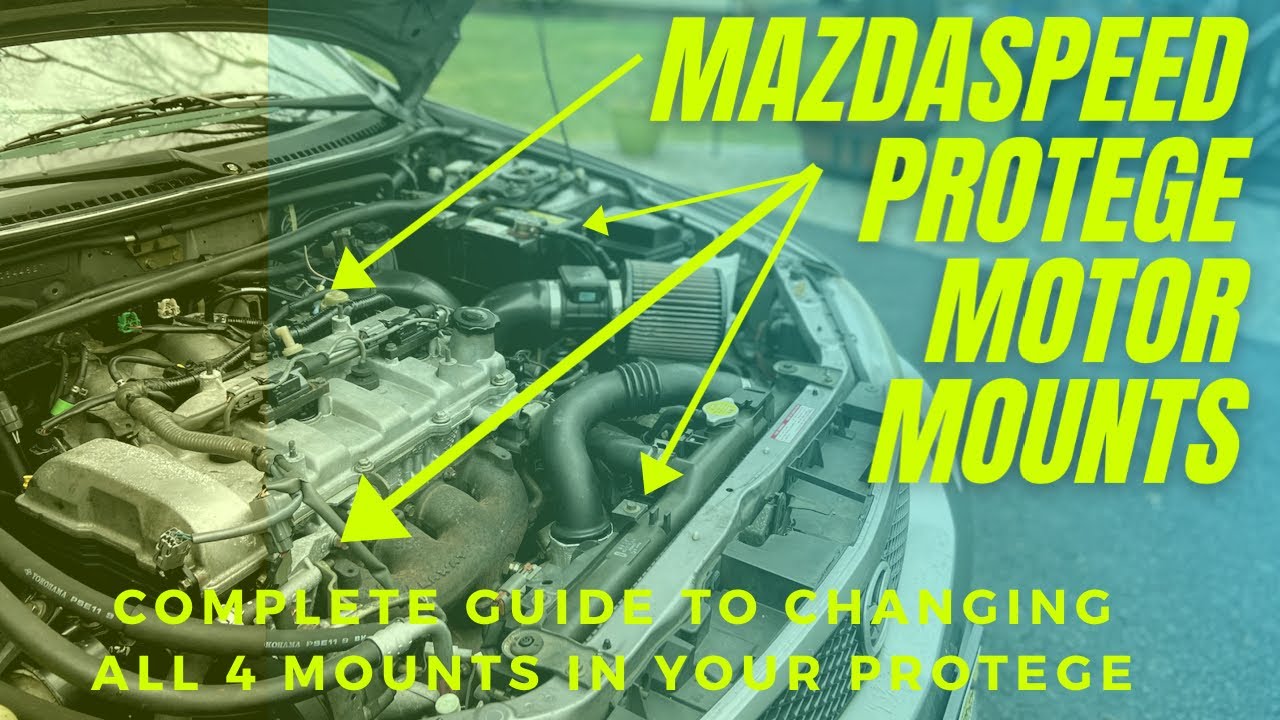
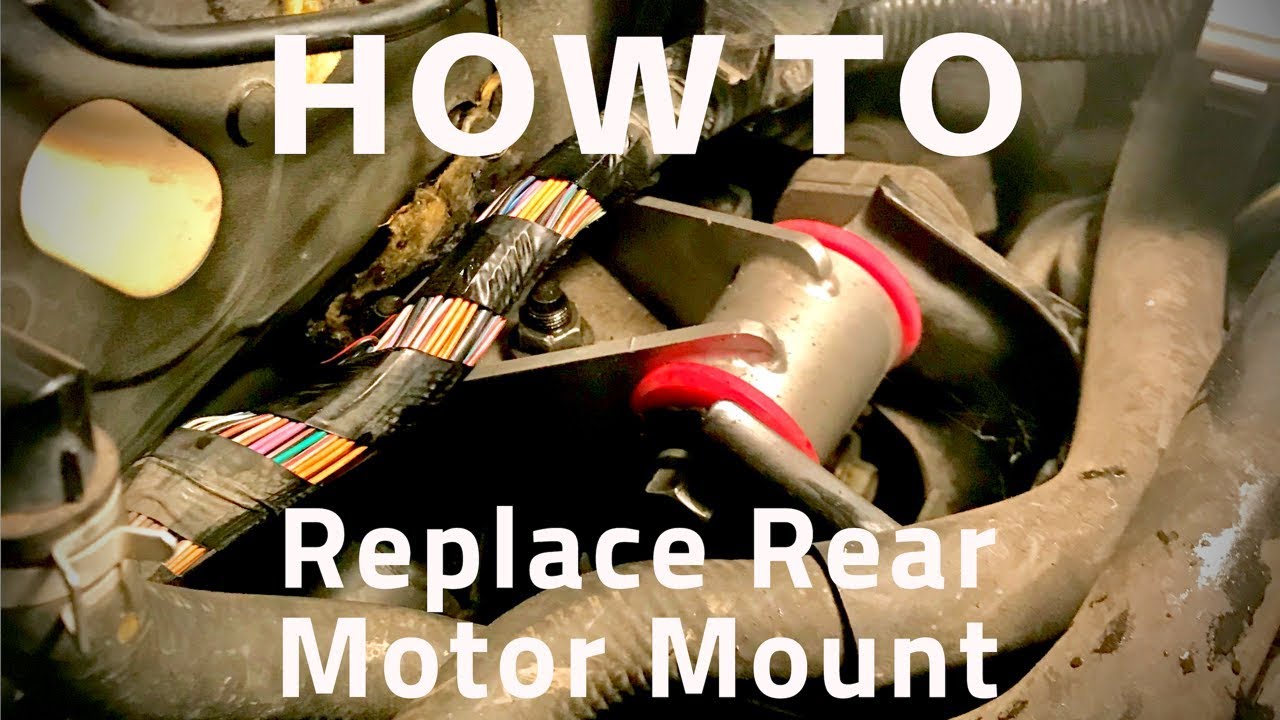
Hey now Everyone! I haven't had much luck finding a guide on replacing the rear engine mount on the p5. The only video I found is this. After watching the video, I'm thinking about letting an mechanic to do it since it seems like a lot of work.
Would love to hear your thoughts or if there is an easy way to fix it (like shoving a piece of rubber in there and calling it a day.
2002 Mazda Protege 5 rear engine mount removal (tagalog) PT #01. Sadly I do not speak tagalog. : (
I also found this: not sure if the protege front is exactly the same as the p5. How to - Change Rear Motor Mount - Mazda Protege
Thank you as always!