Update...
Happy New Year everyone!! I have couple of projects to finish off this year and maybe new one to start later on")
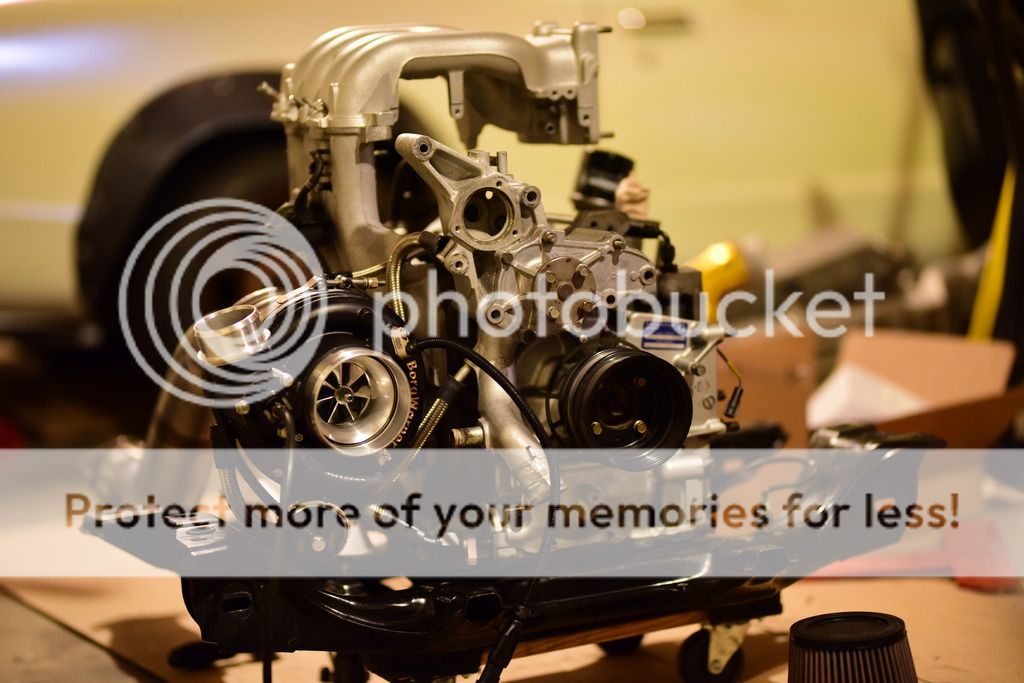
2 Rotor update..
Going with couple of different stuff this year..
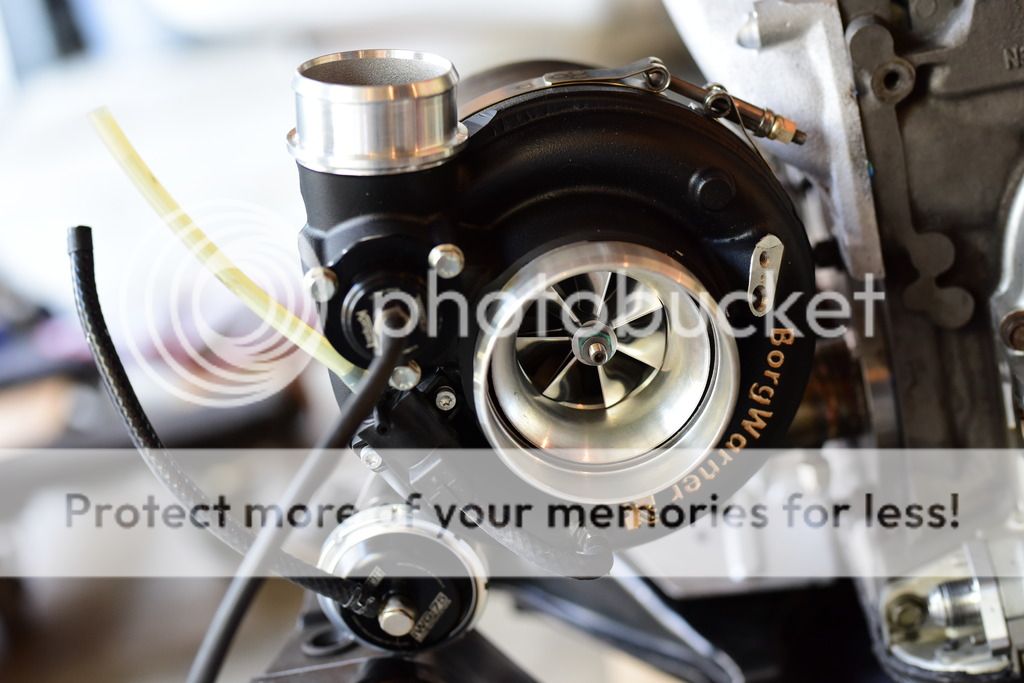
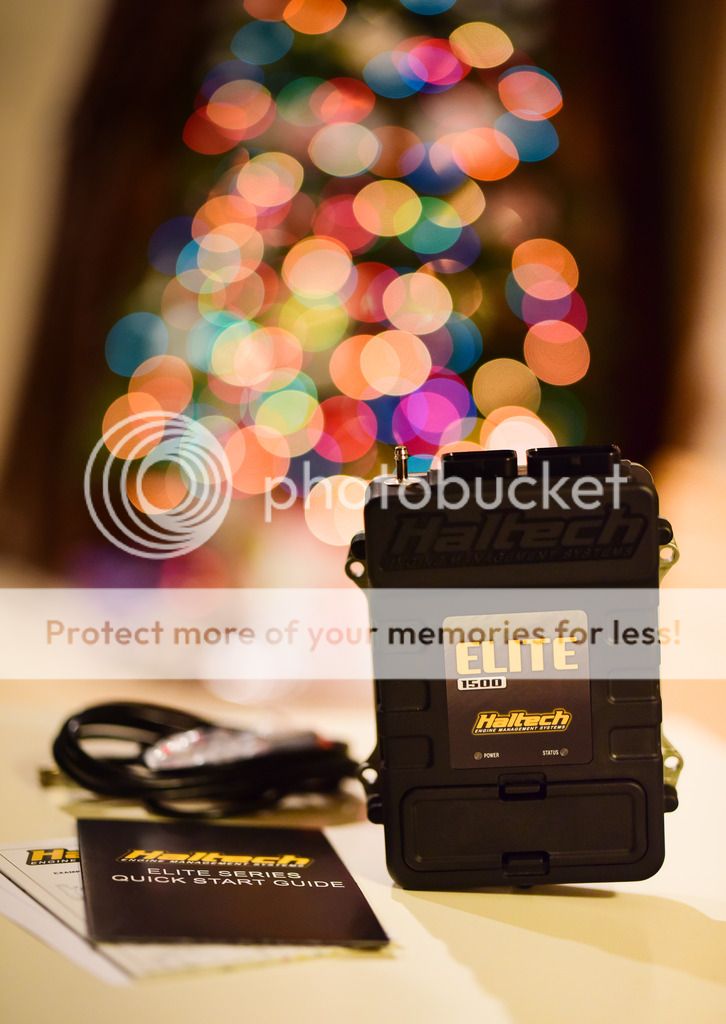
1. Haltech Elite 1500. It has loads of features. One of the thing I didn't realize was the OBD II output. This means that I can still use my Defi Dash and get more reading out of it by using this ECU. This time, I'll be adding Haltech flexfuel, 2 x EGT, Borg Warner Speed sensor for the turbo, wideband, etc. and keep the OMP.
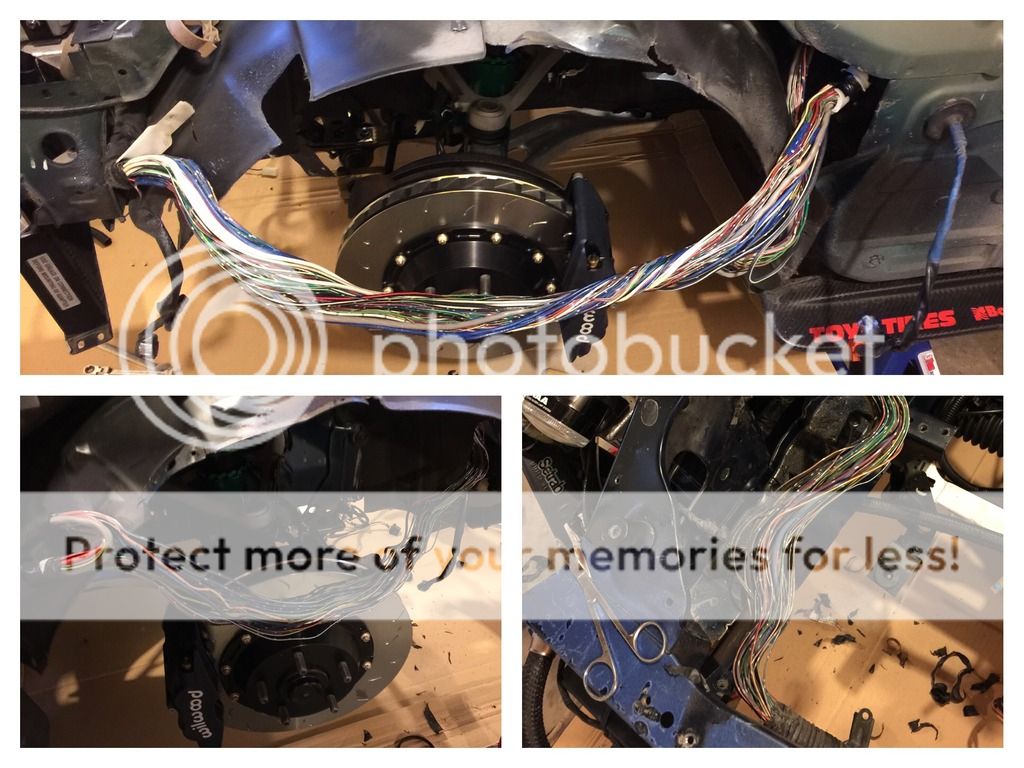
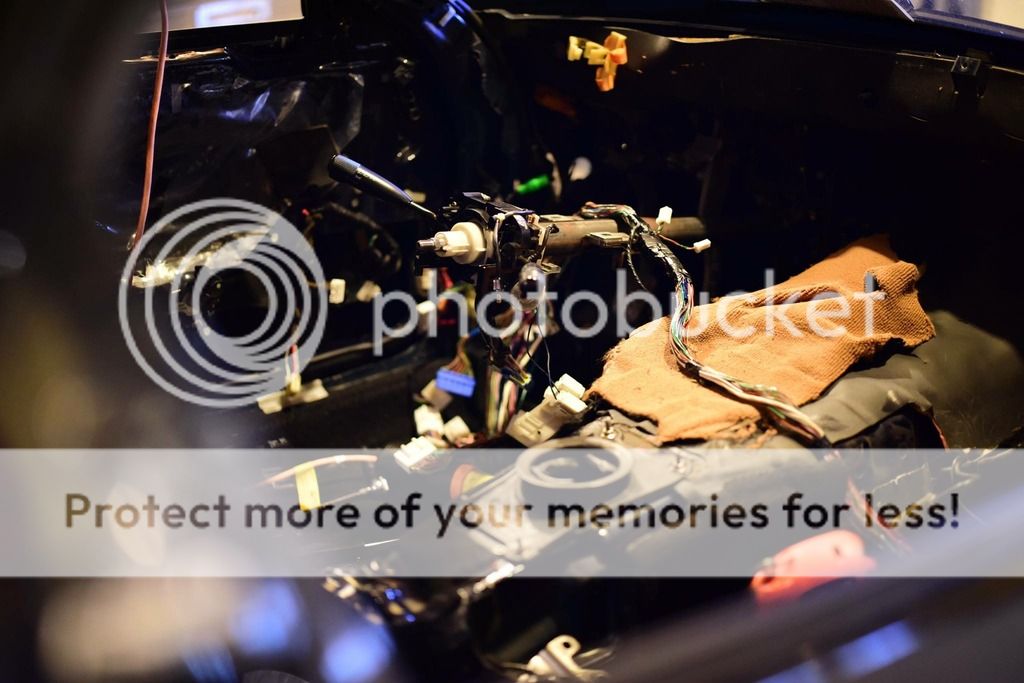
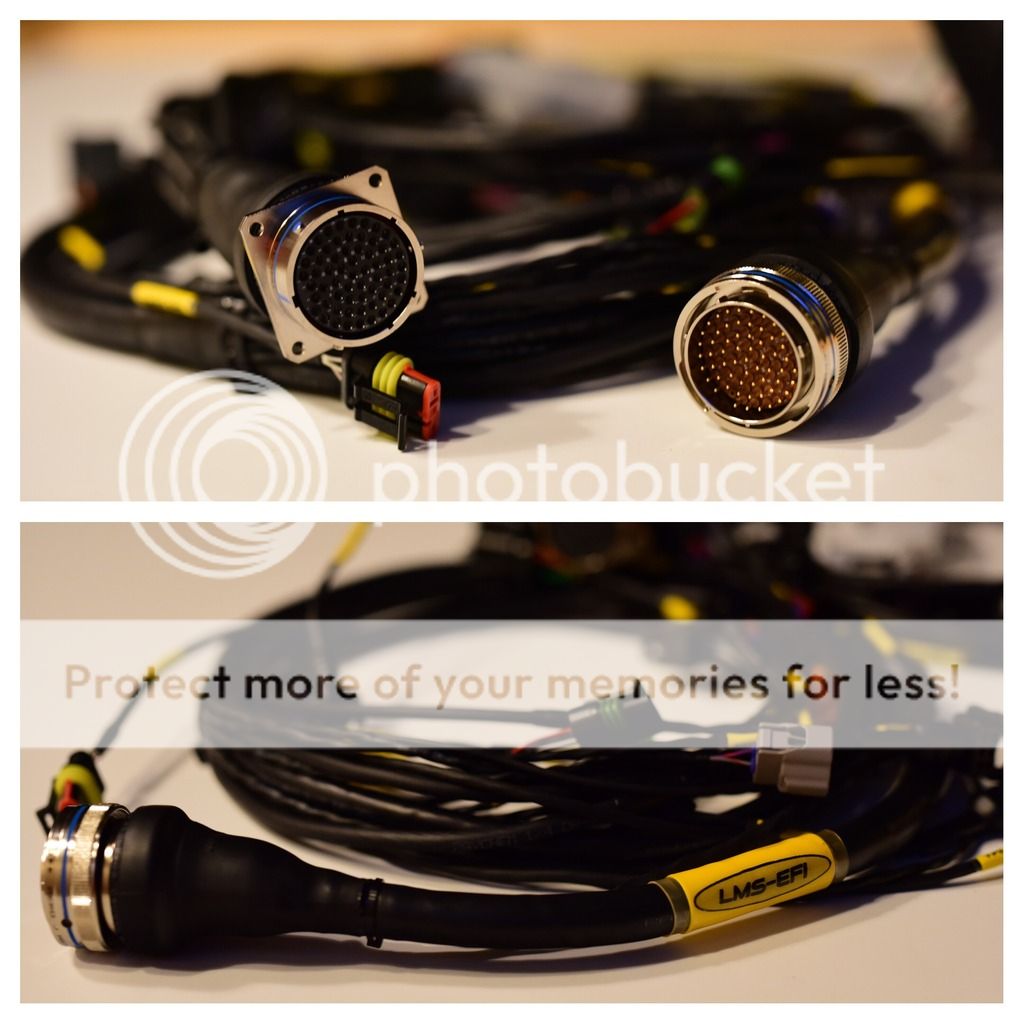
2. Chris Ludwig/ Ludwig Motorsports (LMS-EFI) harness for the Haltech. Amazing details on this harness!! This is my second harnesses by LMS-EFI and I highly recommend. They will be also attending DGRR 2017 and will be doing a seminar and Q&A at the event.
Happy New Year everyone!! I have couple of projects to finish off this year and maybe new one to start later on
2 Rotor update..
Going with couple of different stuff this year..
1. Haltech Elite 1500. It has loads of features. One of the thing I didn't realize was the OBD II output. This means that I can still use my Defi Dash and get more reading out of it by using this ECU. This time, I'll be adding Haltech flexfuel, 2 x EGT, Borg Warner Speed sensor for the turbo, wideband, etc. and keep the OMP.
2. Chris Ludwig/ Ludwig Motorsports (LMS-EFI) harness for the Haltech. Amazing details on this harness!! This is my second harnesses by LMS-EFI and I highly recommend. They will be also attending DGRR 2017 and will be doing a seminar and Q&A at the event.