Alright peeps,
All the previous info on the Bose system wires are correct.
Ecniemann suggested power route is good/correct.
Everyone has their own system setup / modifications, So I hope this verified information with pictures will at least help you in your connections, if you decide to tap into your Bose system rather than change every thing out.
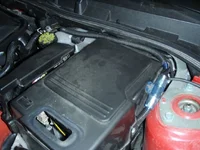
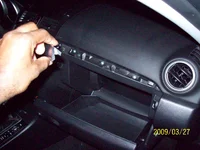
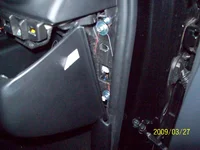
Ecniemann, I was hunting for those two screws to remove the glove box like a 4 year old in a square mile easter egg hunt
")
. I googled [uninstall MS3 Glovebox] and found out those two screws where hiding in the upper trim.
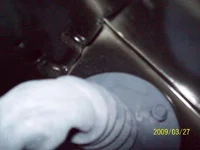
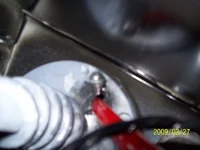
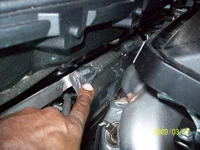
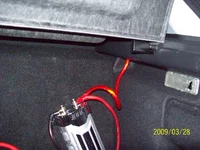
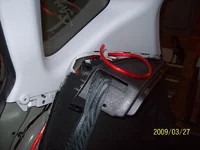
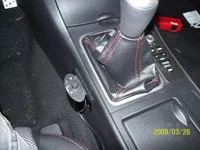
Everyone else... When routing power cable... Make sure you cut around the knob on the gorment and not just the knod if you are using 4 gage.... very tight with lube. My amp pwr cable was 17'... just enuff with non-2-spare after running across engine comparment to capacitor in MS3 trunk. I had to buy a $24 cap install kit to use those wires for amp pos term to capacitor.
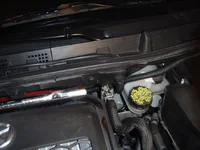
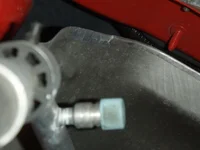
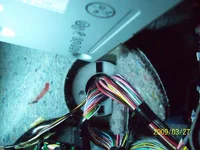
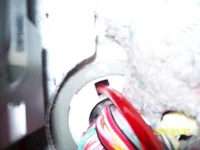
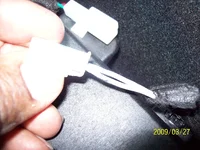
AFTER MARKET AMPLIFIER TURN WIRE
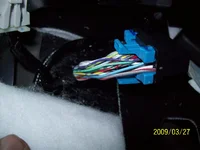
The Bose amp.... motha to get to.... has two plugs. The biggest plug has a SOLID BLUE wire in its plug... that is the wire you need to connect your Amp turnon wire too. (easy to remember Blue wire to Blue wire). I scarped off the shielding on that blue wire like broken scales on a rotten fish....#*$#@ another motha install.
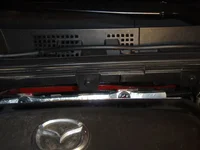
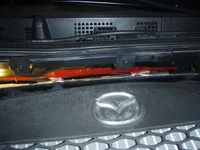
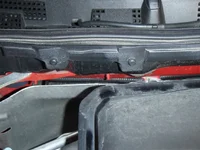
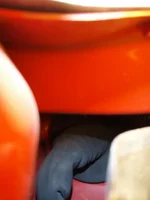
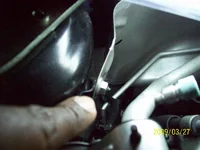
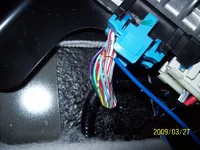
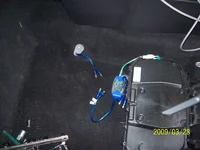
BOSE SUBWOOFER
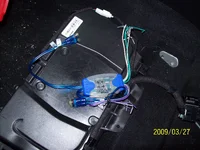
Easier install. You cannot see the wire color in picture, but BLUE/WHITE is POS and GREY/WHITE is neg. I unplugged the Bose wires, cut off plug, and splice my LOC wires to it. My LOC is a 4 channel LOC, and I only needed two channels, so as you can see, the other 2 LOC channels are not used in my installation. NOTE: On the other side of the BOSE blu/wht-gry/wht plug, the wire are red and black.
Other than that I lost 2 crews in engine compartment trying to install Fuse holder, broken (accidently stepped on) a siding cover, and kept pulling out subwoofer box and trunk cover mat due to forgetting to route a wire under the rear seats.