Hi all,
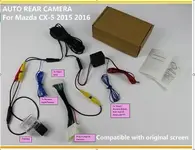
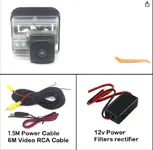
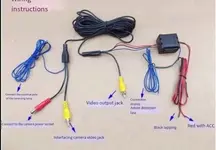
I have a mazda cx5 2016. I purchased a backup camera kit from Amazon, and to no surprise it was missing wiring instructions. Here is a pic of the kit:

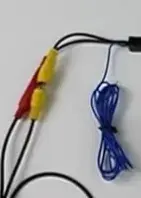
I expect the blue wire near the camera should go to a reverse light for reverse signal
 ,
,
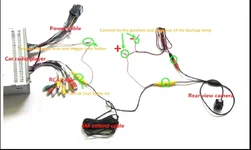
and assume the red wire from the adapter wiring harness
 should go to a revers connection at the radio (but am not sure where).
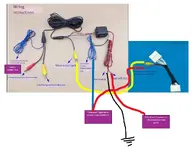
The blue and black/red connectors from the black box I assume are for power but have no idea where they should be connected.

Can anyone help?
I have a mazda cx5 2016. I purchased a backup camera kit from Amazon, and to no surprise it was missing wiring instructions. Here is a pic of the kit:
I expect the blue wire near the camera should go to a reverse light for reverse signal
and assume the red wire from the adapter wiring harness
The blue and black/red connectors from the black box I assume are for power but have no idea where they should be connected.
Can anyone help?