BigBlueDart
Member
- :
- 2012 Mazda2 Touring MT
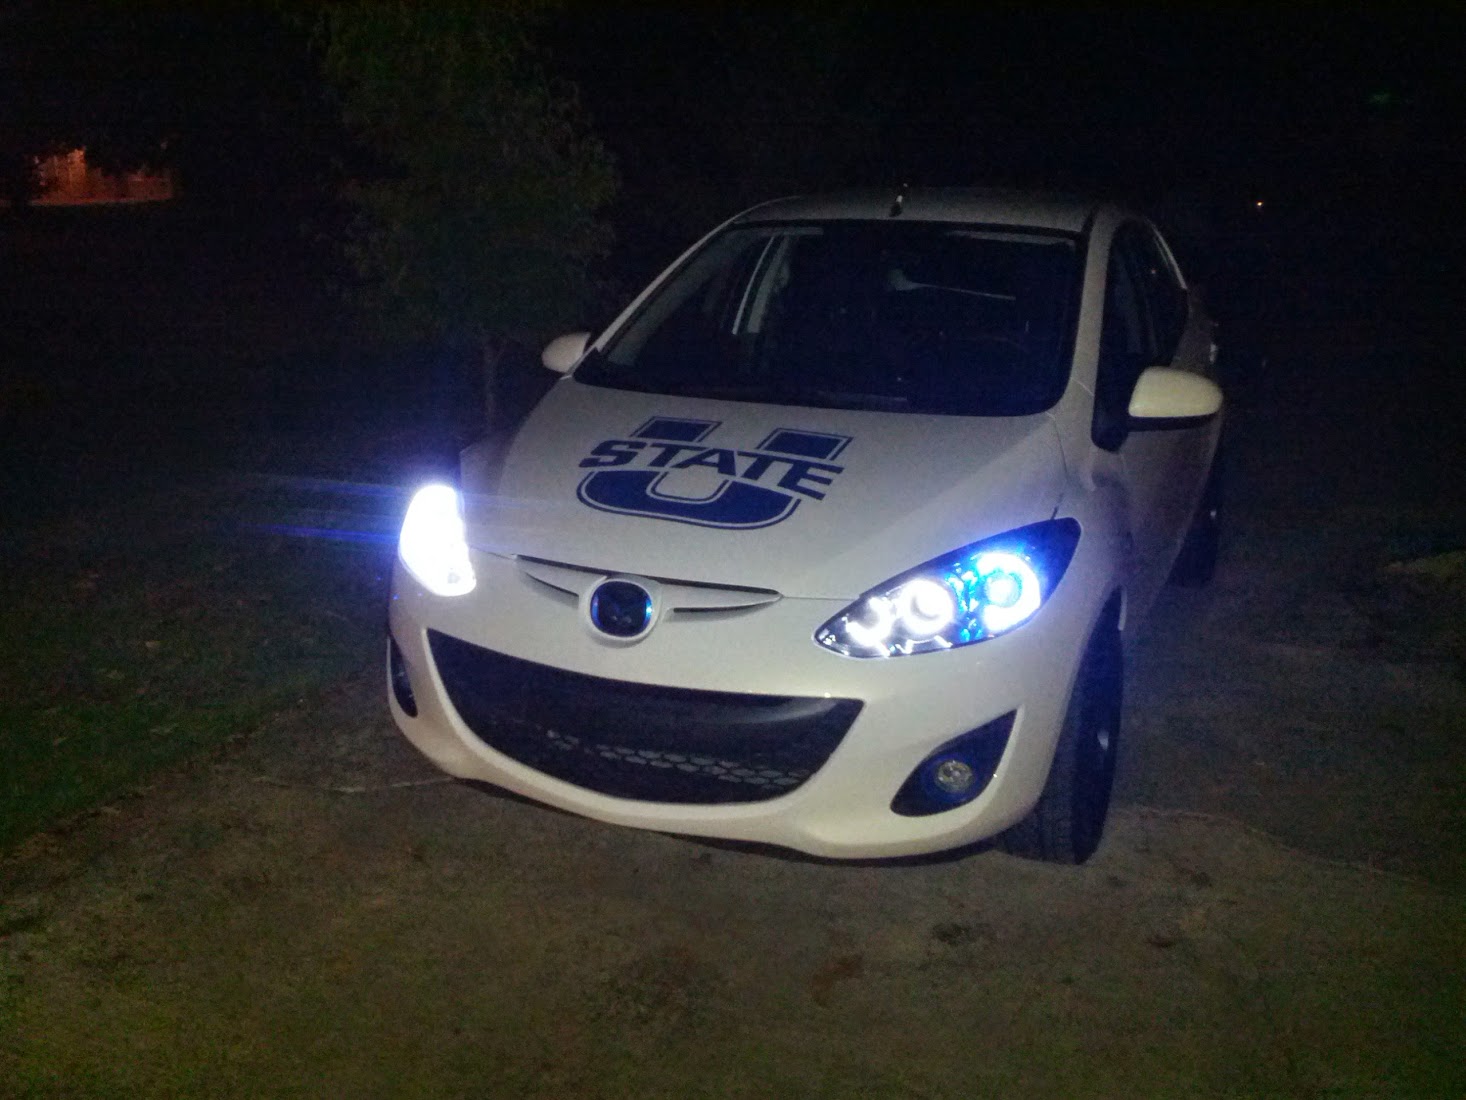
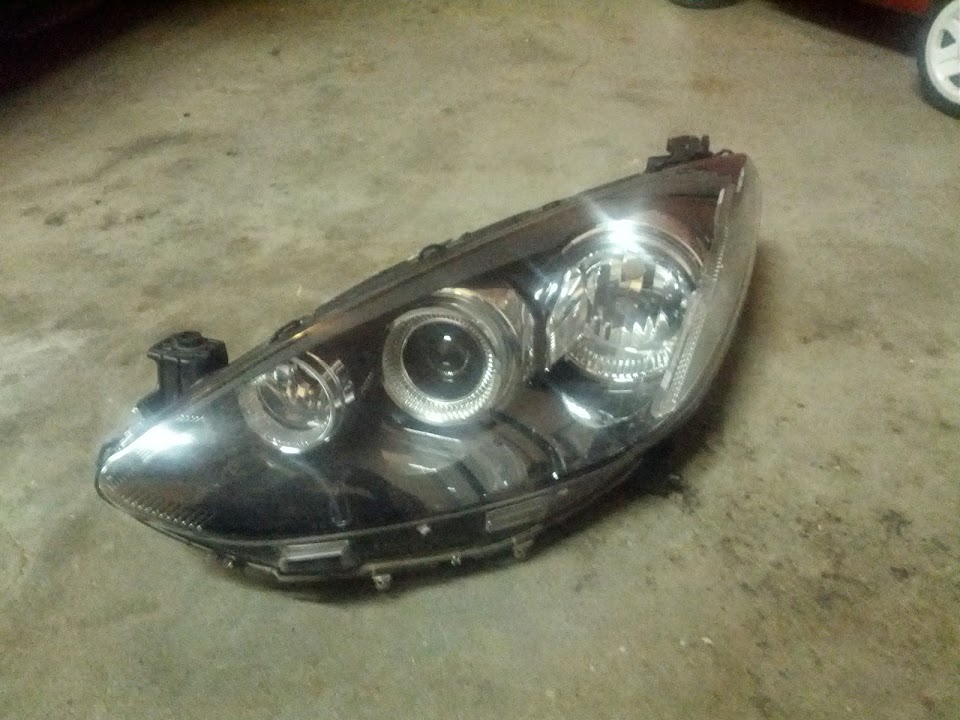
Hey, all. I posted some time ago that I purchased some JDM headlights to retrofit and put on my 2. With my recent wreck involving replacing a headlight I figured now would be as good a time as any to really start working this project. I don't have a whole lot of pictures yet (sorry), but I will post pictures over the next couple of weeks or so as I work to finish this. I'll just start things off by explaining what I plan to do and how much I've gotten done so far.
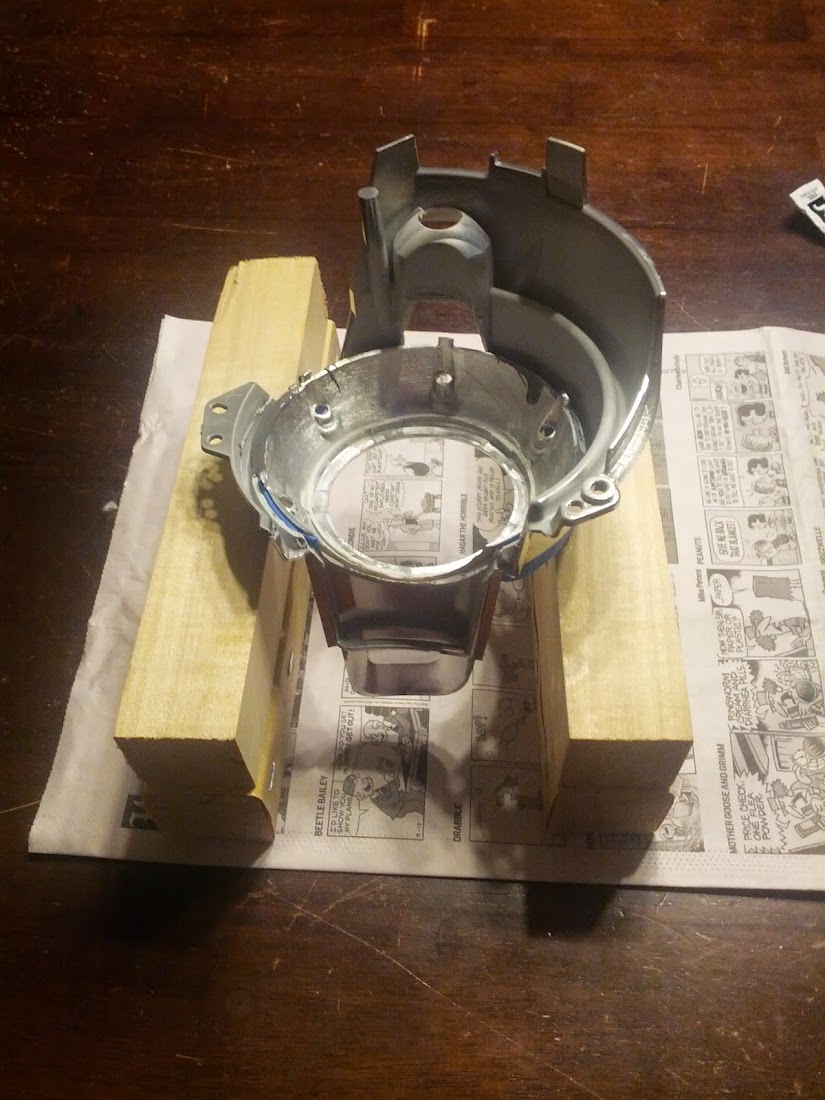
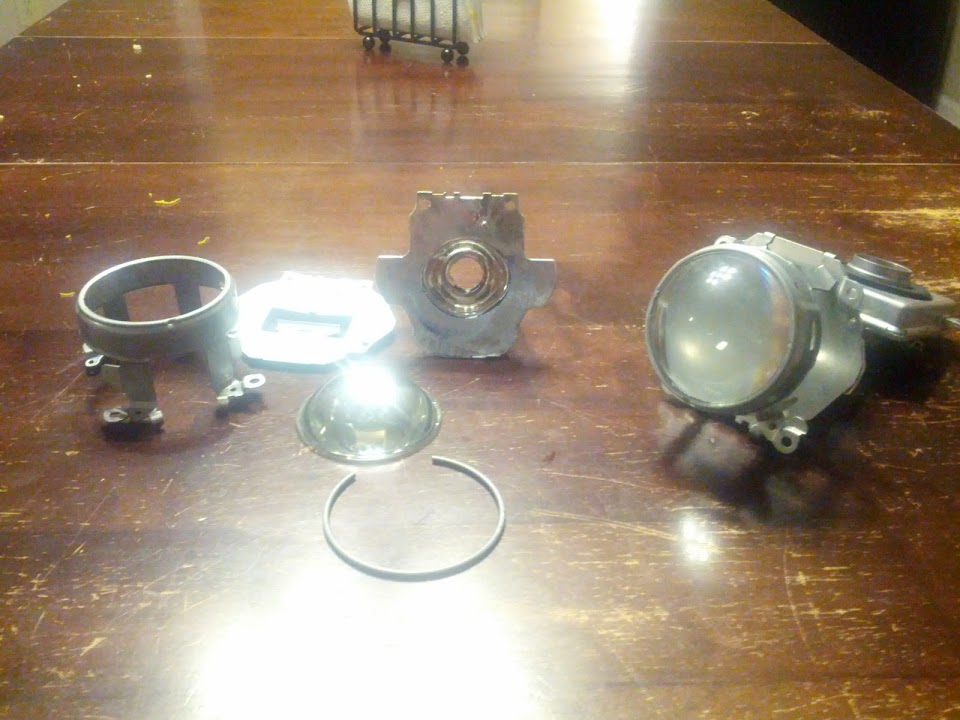
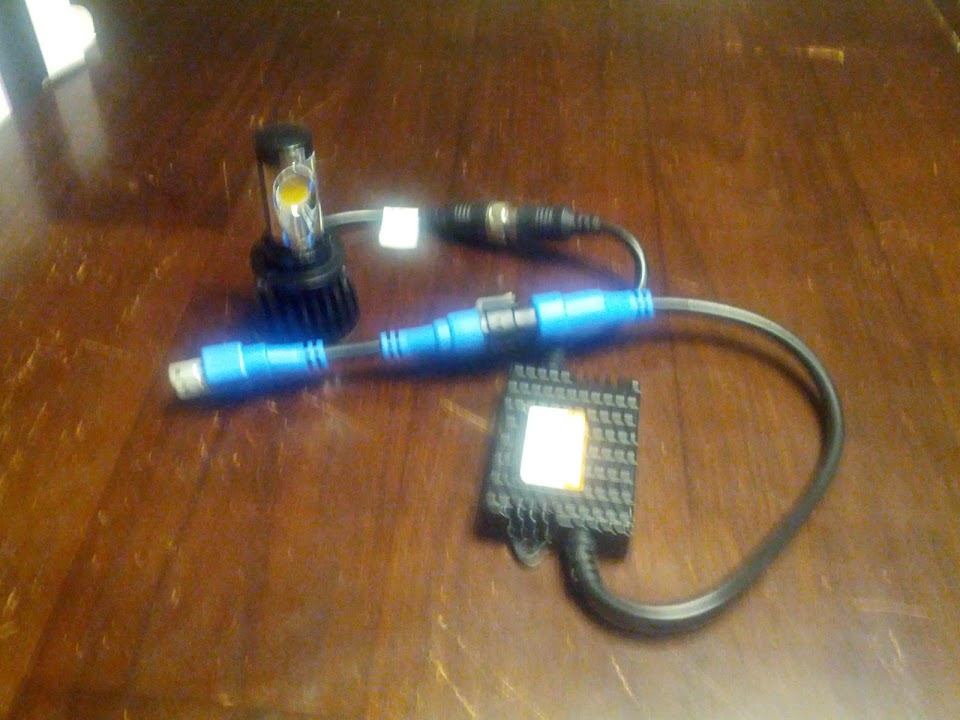
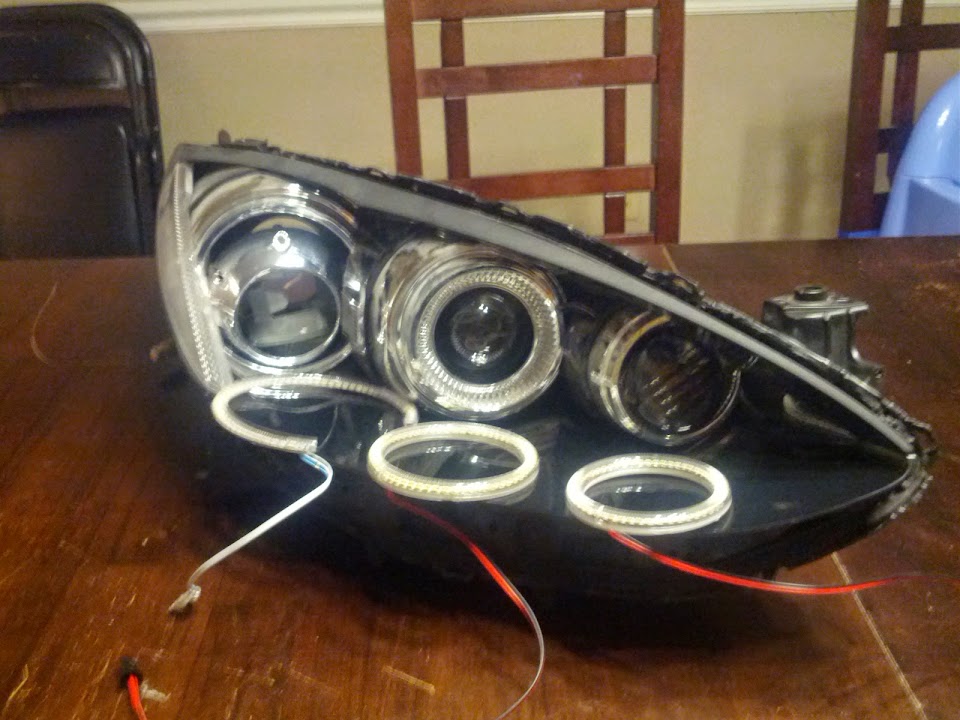
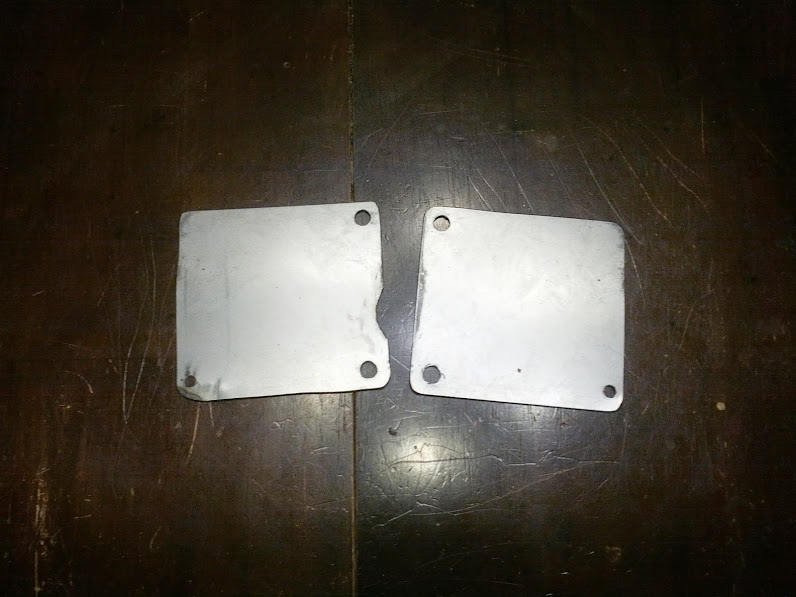
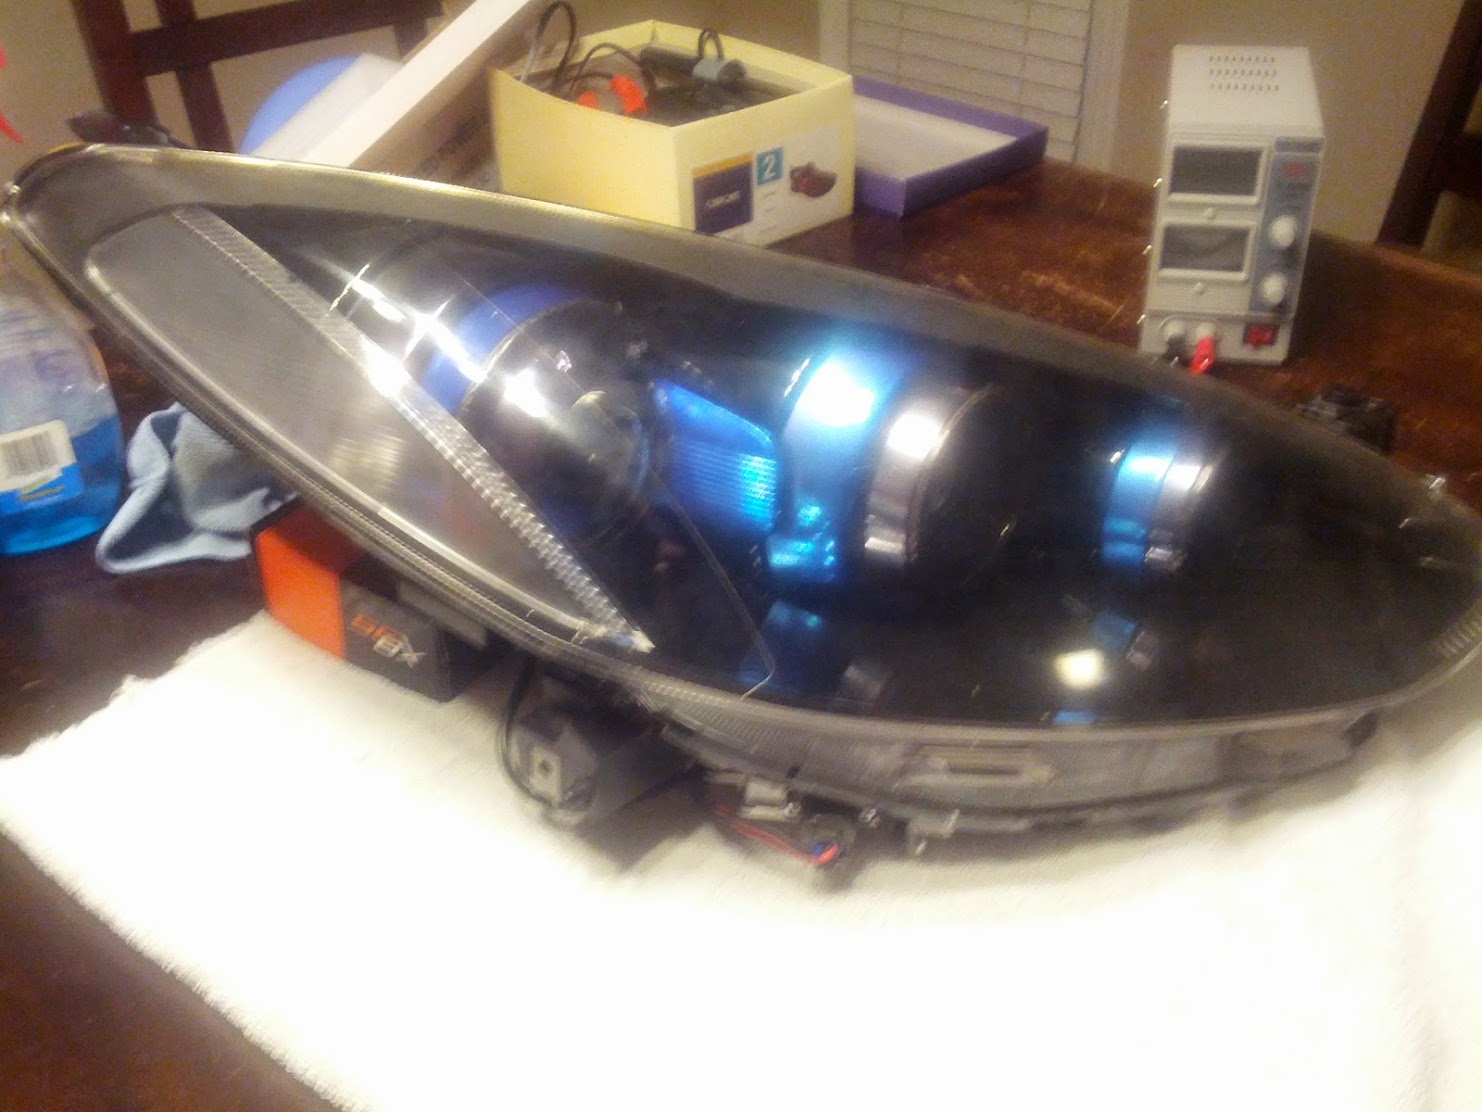
First of all I did take a few queues from Font's headlight project. Namely, I've gotten projectors for the high-beams and covers for the turn signal (same kind as Font, in fact). In my case I kept the stock low-beam projectors and will be using the stock HID setup. I picked up a pair of Mitsubishi ballasts that mount to the bottom of the headlight housing. I am getting some new optically clear lenses, though. The high-beam projectors I got are 3" Valeo halogen projectors, which I think can be found in some Volvos and a few other cars. I'm trimming the stock shrouds on the high-beam side and getting some inner shrouds to attach to the projectors. I have a pair of H7 LED headlight units (supposedly stronger than a stock halogen bulb), and I also have some clear lenses ordered for these projectors.
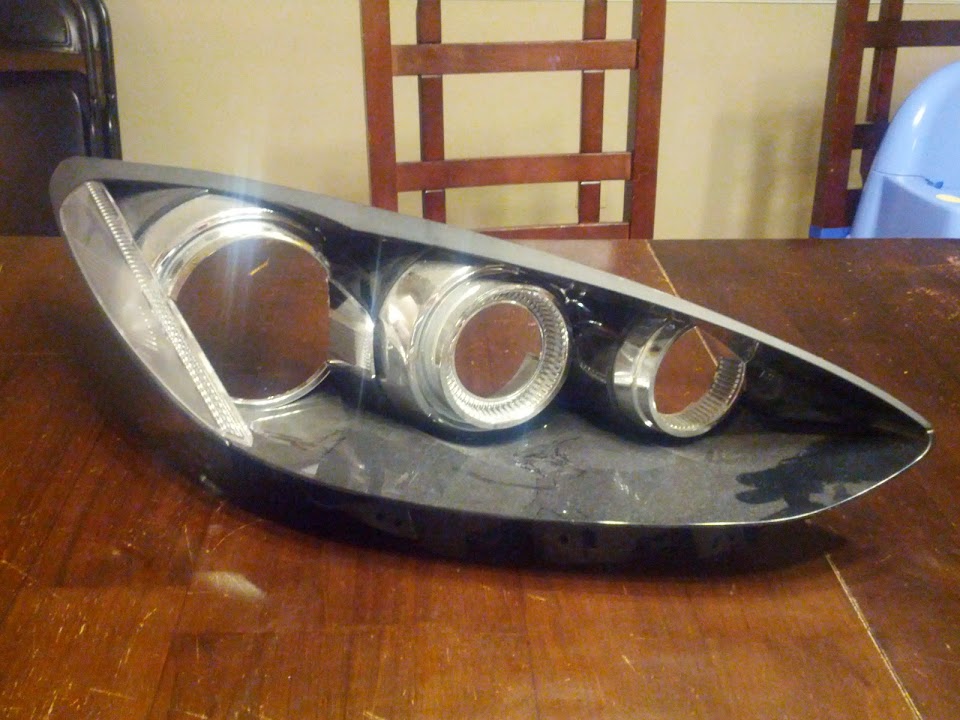
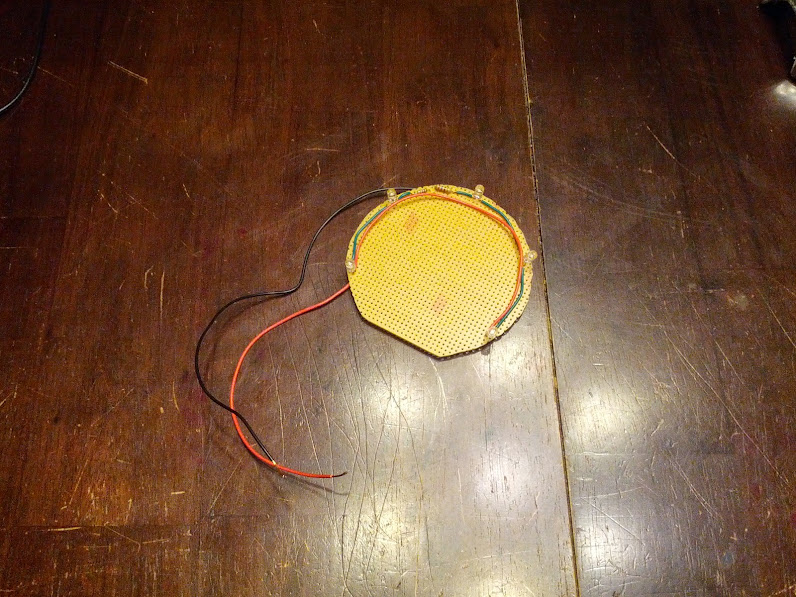
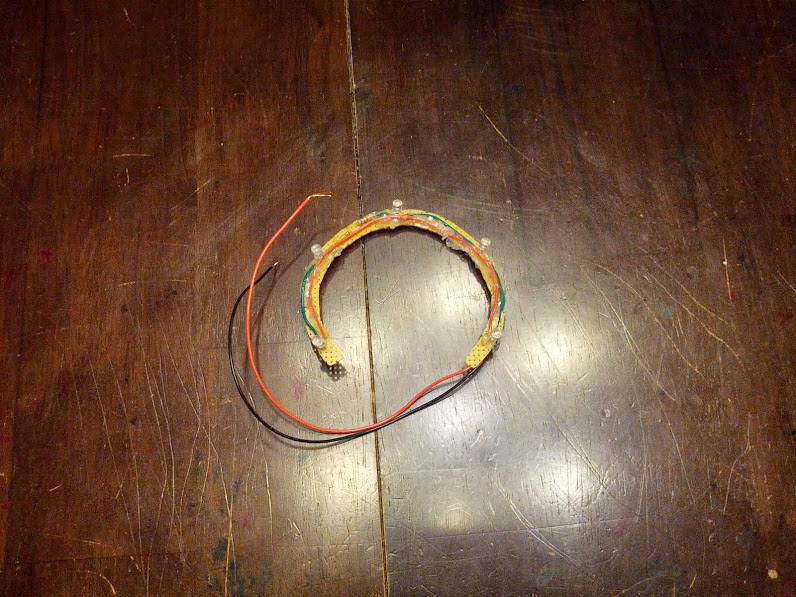
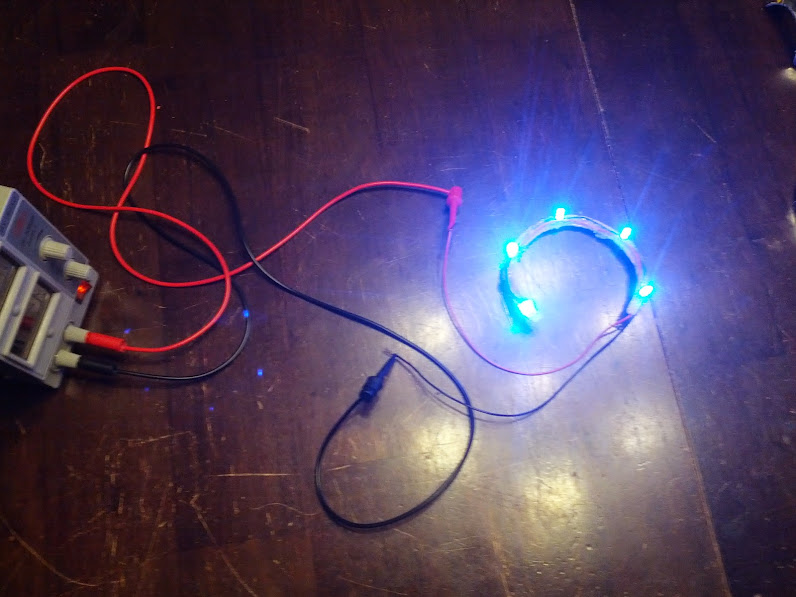
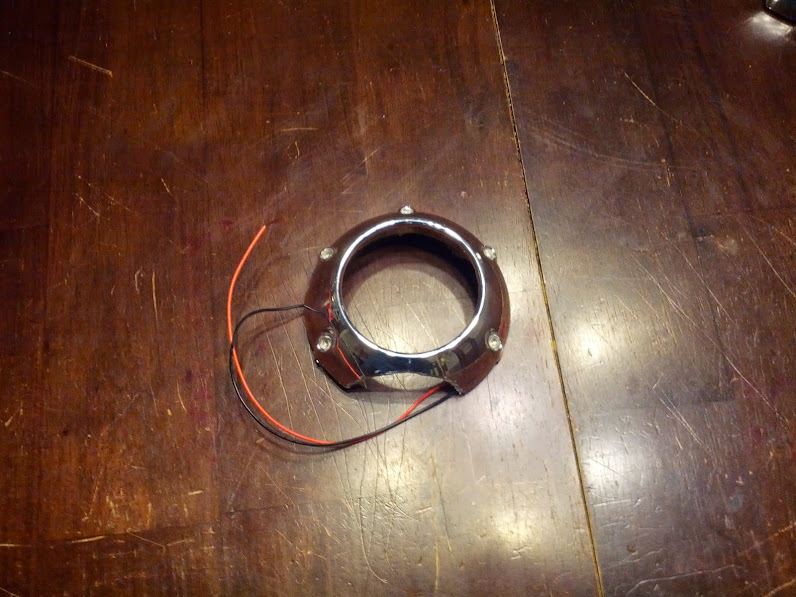
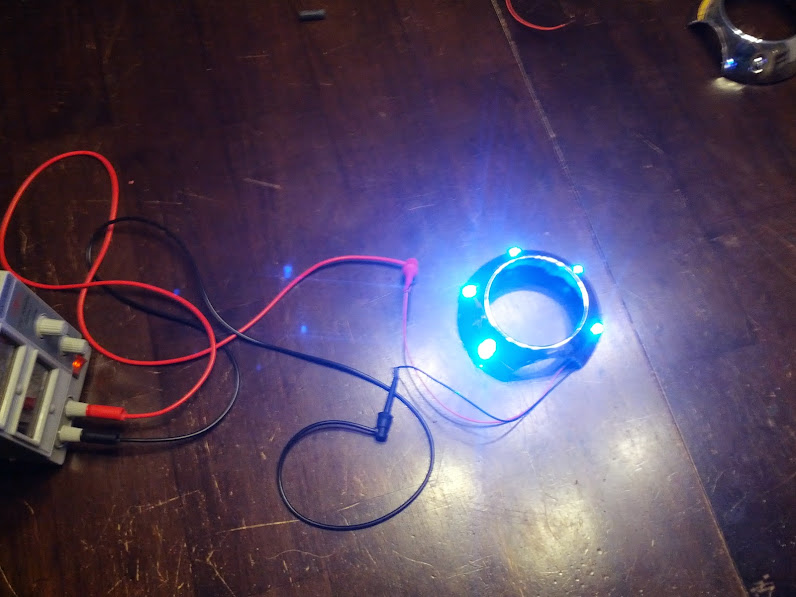
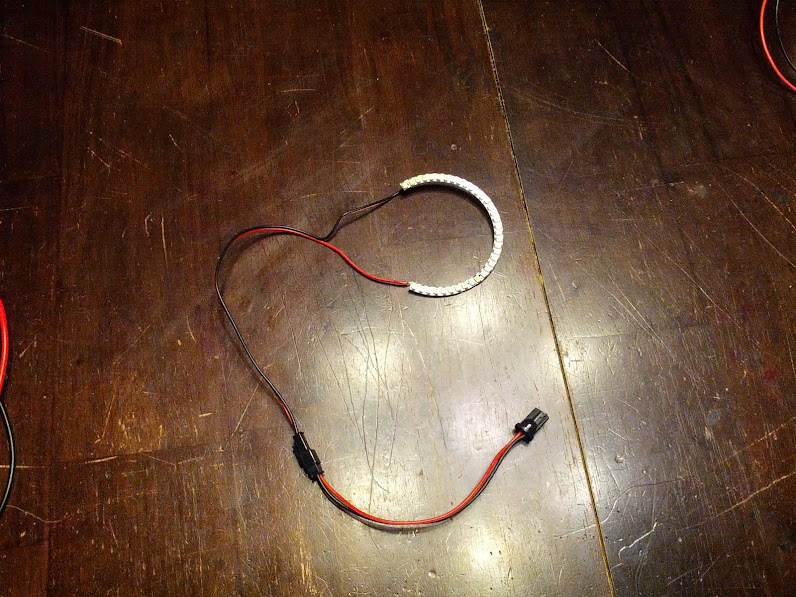
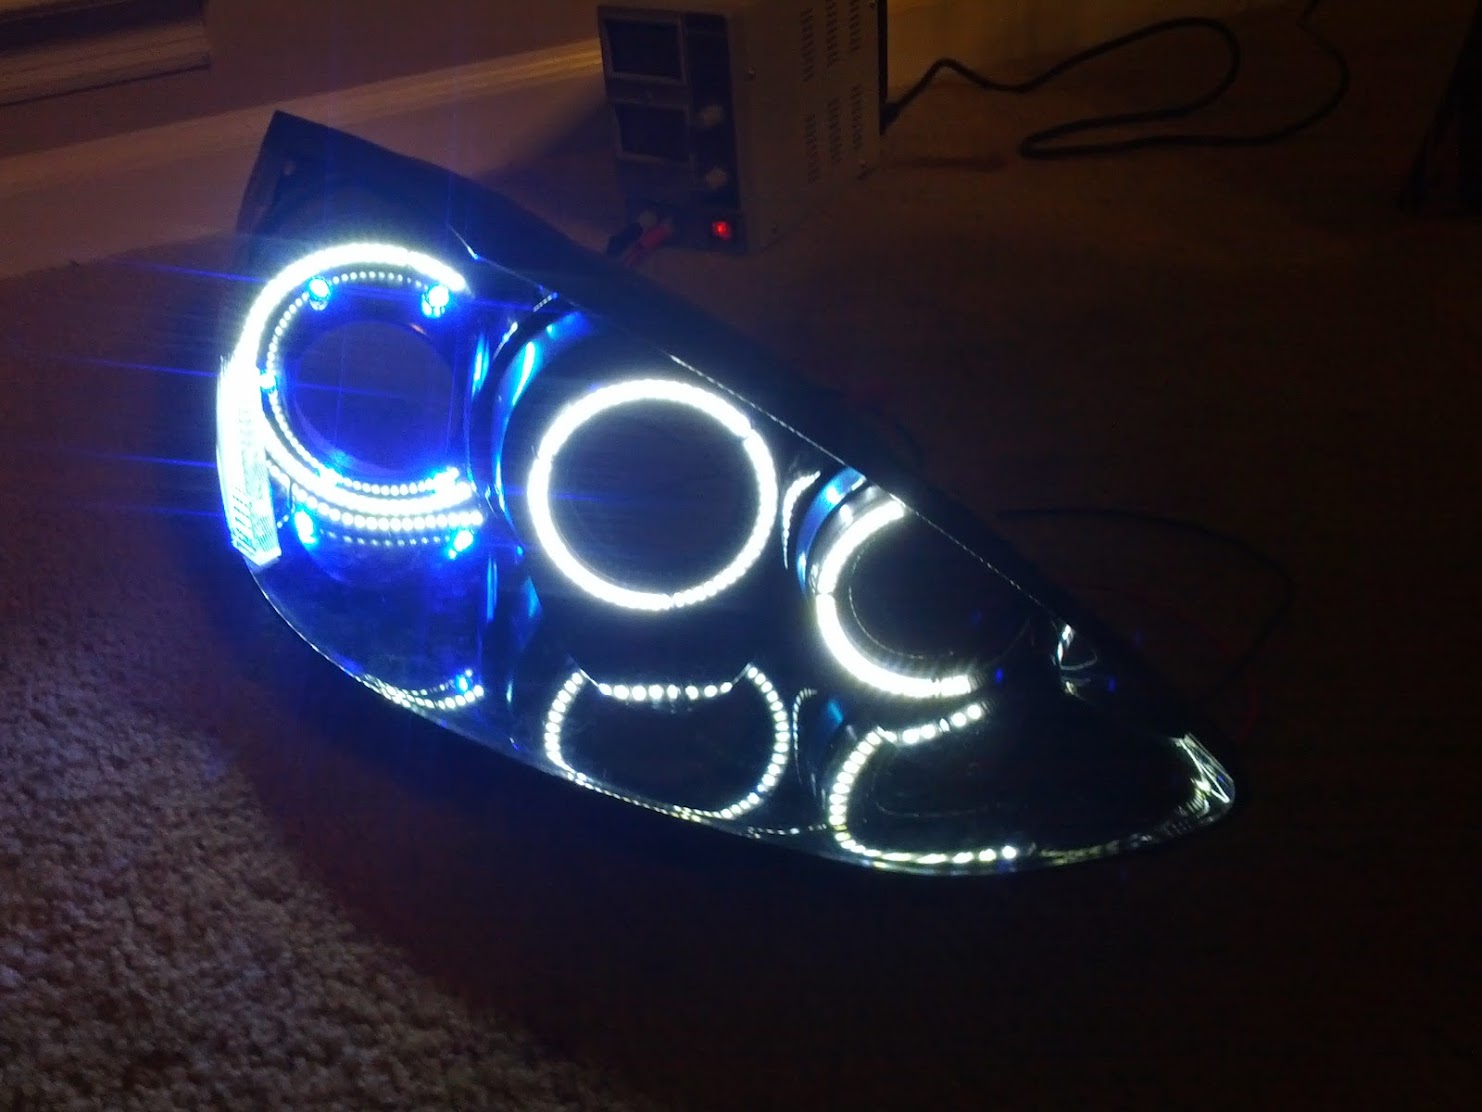
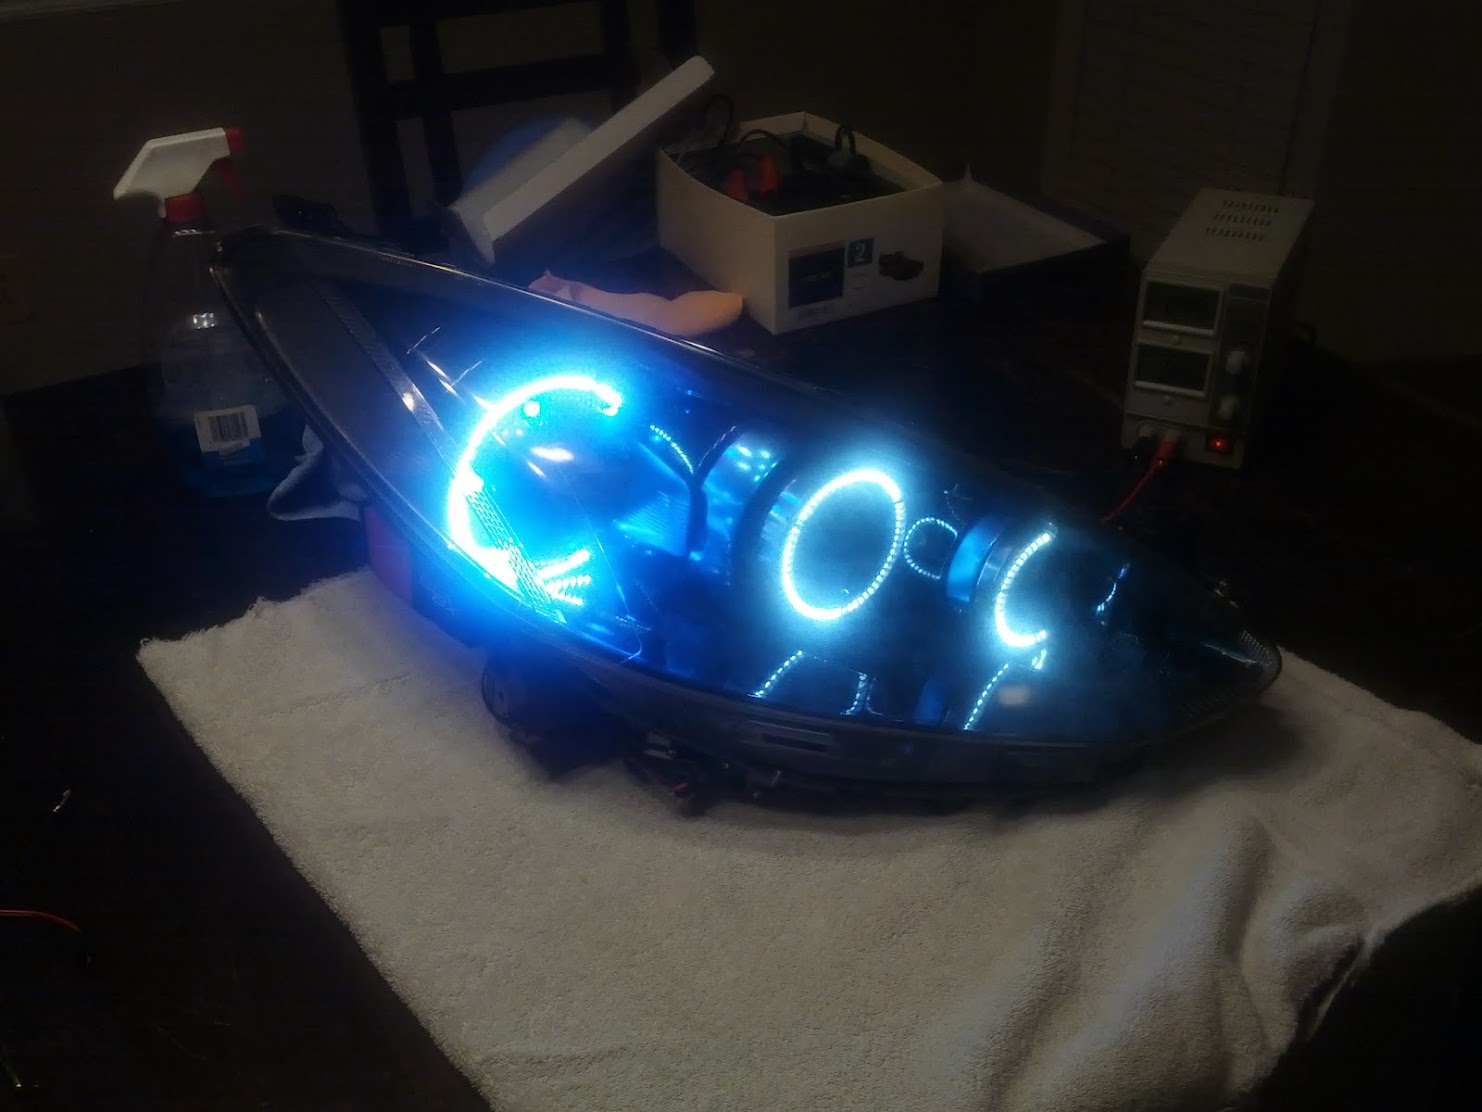
Another big part of this project is going to be the LED rings. I have rings for all three pods in the headlight unit (high-beam, low-beam, turn signal) so I should have some serious bug-eyes going on. I also am putting some blue LED's in through holes in the inner shroud of the high-beam projector. My intention is to get these all wired up as DRL's, though I don't have that completely figured out yet. I may just get them working and connected, ready to plug in once I figure out how to wire them from the ignition, or something.
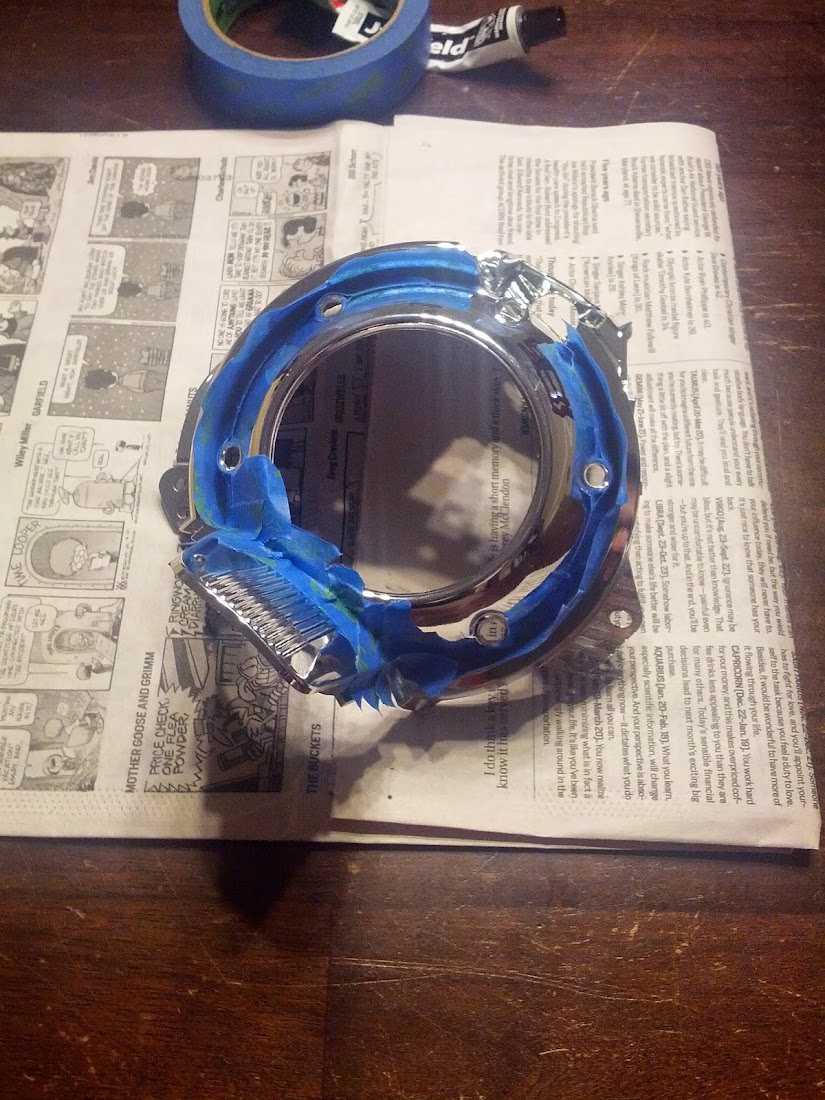
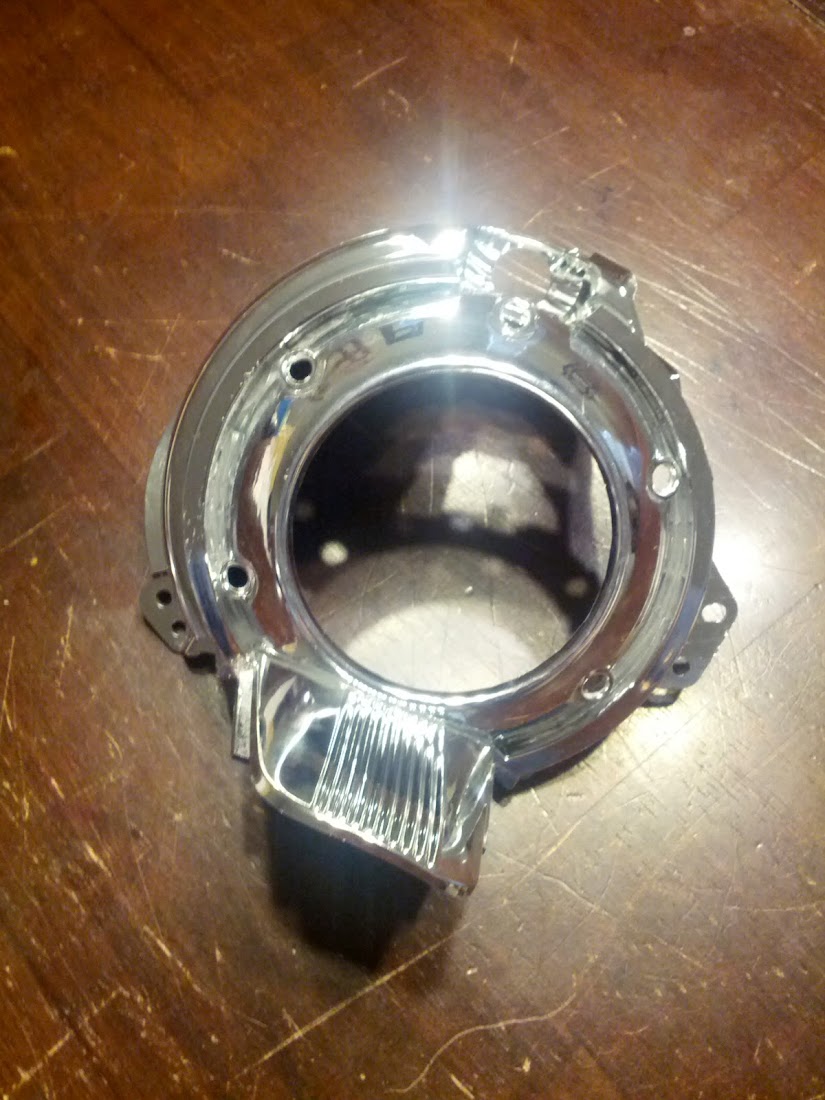
Lastly, I plan on painting all the shrouds, probably with an alternating color scheme. I'm thinking of smoking the chrome in some sections and using the Duplicolor Metalcast Blue on the others. Not 100% decided on how to do it yet, but I think I have a good idea.
Like I said, I just wanted to get the thread started. A lot of this will be better explained with pictures, which are coming soon. I promise.
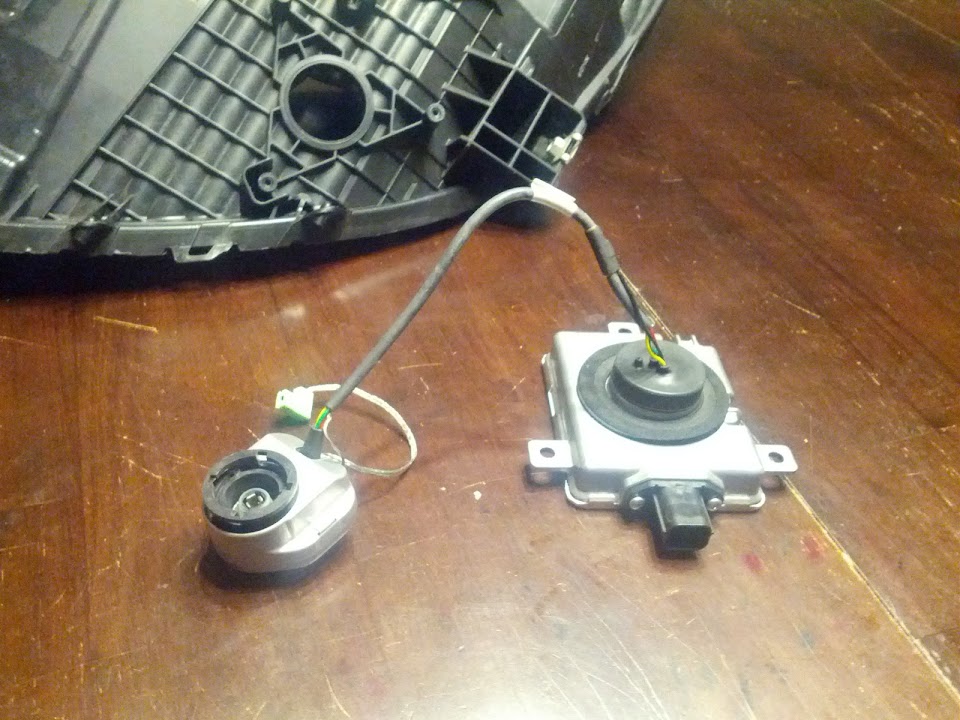
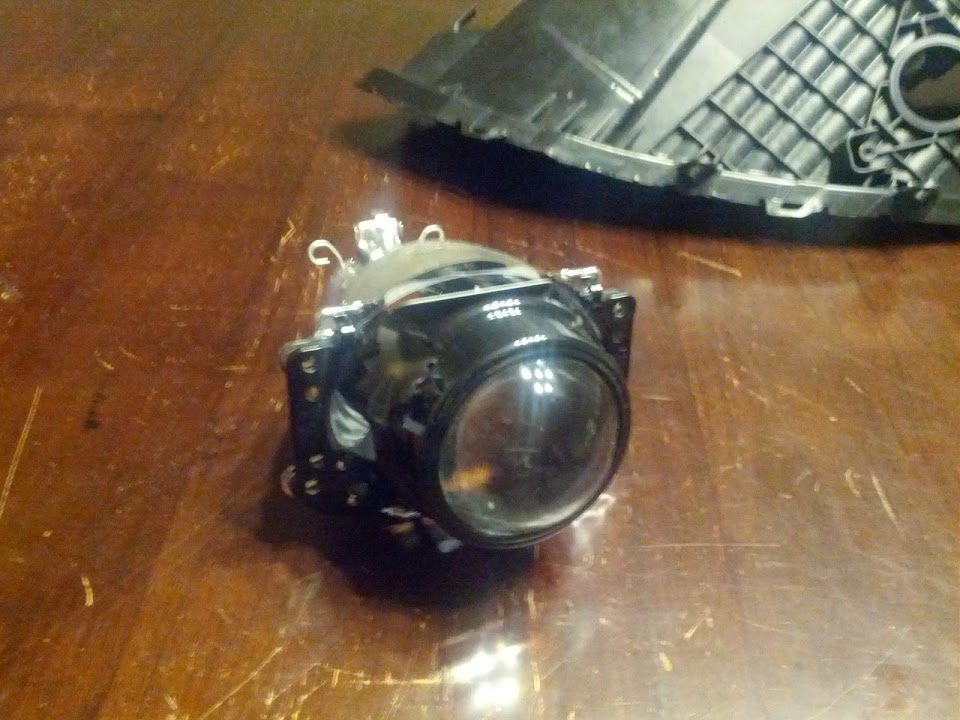
First of all I did take a few queues from Font's headlight project. Namely, I've gotten projectors for the high-beams and covers for the turn signal (same kind as Font, in fact). In my case I kept the stock low-beam projectors and will be using the stock HID setup. I picked up a pair of Mitsubishi ballasts that mount to the bottom of the headlight housing. I am getting some new optically clear lenses, though. The high-beam projectors I got are 3" Valeo halogen projectors, which I think can be found in some Volvos and a few other cars. I'm trimming the stock shrouds on the high-beam side and getting some inner shrouds to attach to the projectors. I have a pair of H7 LED headlight units (supposedly stronger than a stock halogen bulb), and I also have some clear lenses ordered for these projectors.
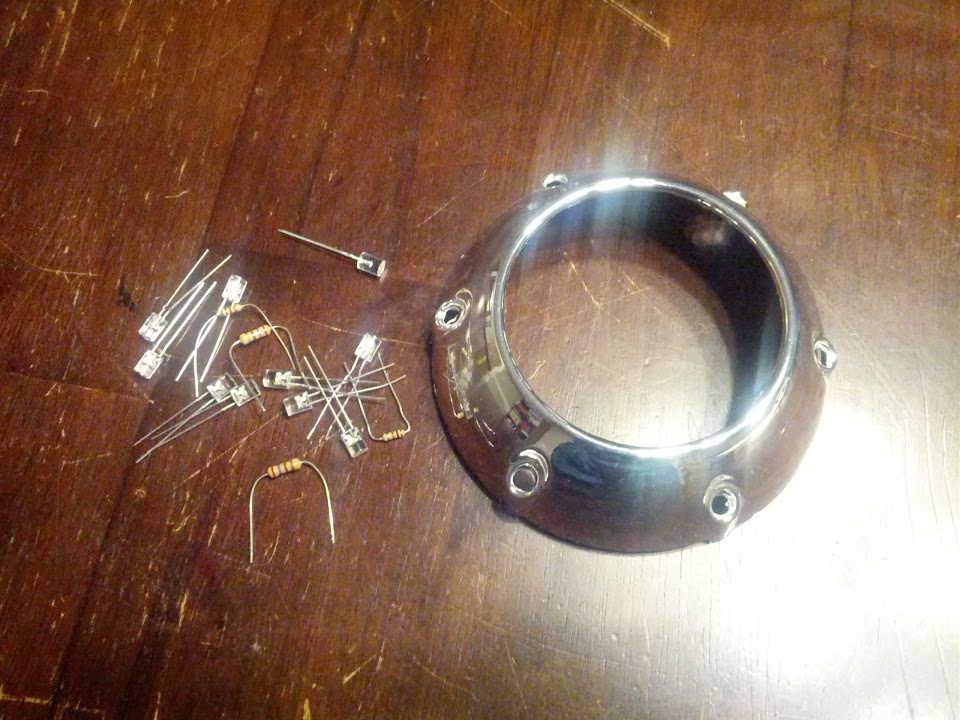
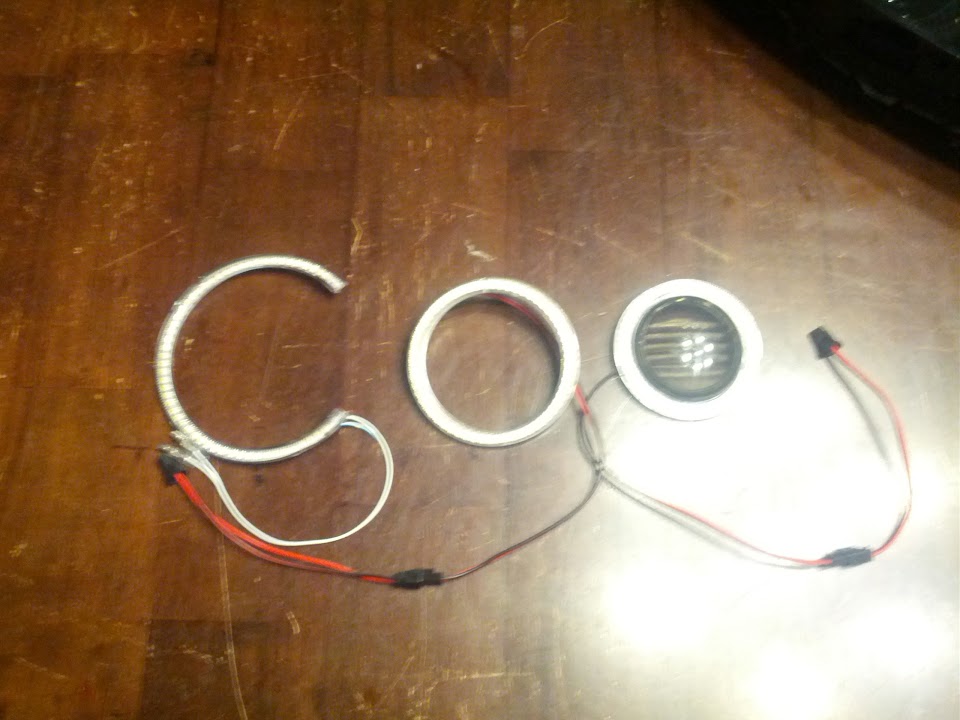
Another big part of this project is going to be the LED rings. I have rings for all three pods in the headlight unit (high-beam, low-beam, turn signal) so I should have some serious bug-eyes going on. I also am putting some blue LED's in through holes in the inner shroud of the high-beam projector. My intention is to get these all wired up as DRL's, though I don't have that completely figured out yet. I may just get them working and connected, ready to plug in once I figure out how to wire them from the ignition, or something.
Lastly, I plan on painting all the shrouds, probably with an alternating color scheme. I'm thinking of smoking the chrome in some sections and using the Duplicolor Metalcast Blue on the others. Not 100% decided on how to do it yet, but I think I have a good idea.
Like I said, I just wanted to get the thread started. A lot of this will be better explained with pictures, which are coming soon. I promise.


")
")