- :
- Canada
A little while ago, I was made aware of the fact that I had incorrectly run the rear camera wire (and the original front camera wire to the 12v socket) over the curtain airbag in the A-pillar. This is not ideal, as the wire would interfere with the curtain airbag deployment if the airbag were to go off. In light of that, I decided to remove the cable and run it properly and safely. I have edited to original instructions to reflect the proper way to run the cable down the A-pillar. Thanks Anchorman for the heads up.
This is a DIY How-To for a rear dashcam installation for the 2nd Generation Mazda CX-9. Please note that this guide is mostly just to show how I ran the power cable from the front camera to the rear camera. With this particular front and rear dashcam combo (Viofo A129 Duo), the rear camera transfers data and gets power from the front camera via a single cable. In this particular install, my front camera is hardwired to the Homelink-enabled rear view mirror using an Invisicord (more details found here).
This process was documented/photographed by myself, using my crappy cellphone camera and my 2018 Mazda CX-9 Signature as the "demo" vehicle. This DIY is provided as a learning aid and reference guide. I assume no responsibility for warranties you may void or any damages you may inflict on yourself or your vehicle.
As mentioned perviously, the camera set I installed is the Viofo A129 Duo. Both front and rear cameras record in 1080p 30 FPS (if the rear is disconnected, the front changes to 1080p 60 FPS). It takes still photos, and has a mic. Along with other standard features, it has GPS and Wi-Fi functionality, and can accept up to a 256gb microSD card. Viofo has stated that the best cards to use for their dashcams are Transcend High Endurance. Samsung Pro cards also work well, but they will not honor the 10 year warranty if the card is used for "surveillance recordings". Since both cameras write to the single card in the front camera, it makes sense to splurge for the higher capacity SD cards designed for dashcam use. I went with a 128gb card. Moving on..
What you'll need:
- Flathead screwdriver w/ rag to prevent scratches, or a pry tool
- Wire fish tool (I made my own out of BBQ skewers and duct tape lol)
- 8m extended cable from Viofo (or comparable 8m cable if your rear cam is not a Viofo)
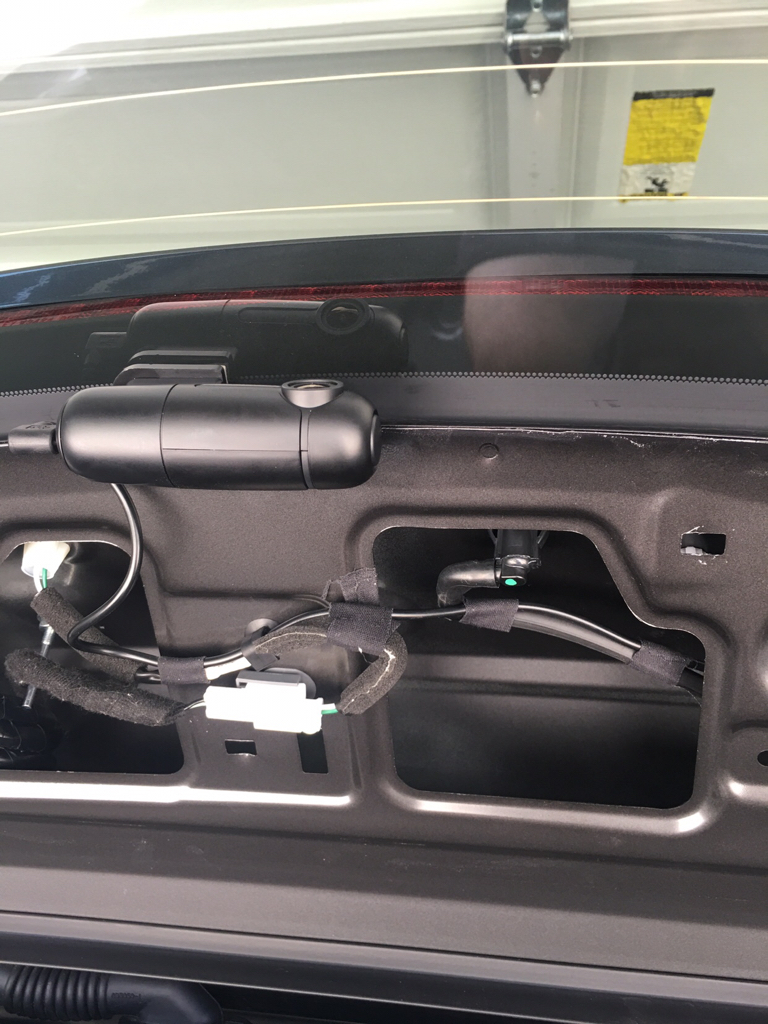
1. Figure out where you want to mount the rear dashcam on the rear windshield. Be sure that you take into account the cords that may plug into the camera and the cards that may be installed/removed, and leave adequate space around the camera to make those areas easy to access. If your camera has a video display, you can connect the power cable and turn the car on, then mount the camera using the video output as a guide. Ensure that the double-sided tape does not cover any rear-defroster lines. Covering these lines may cause issues with the defroster functionality, and removal of the double-sided tape could damage the defroster lines. After mounting the camera, turn the car off.
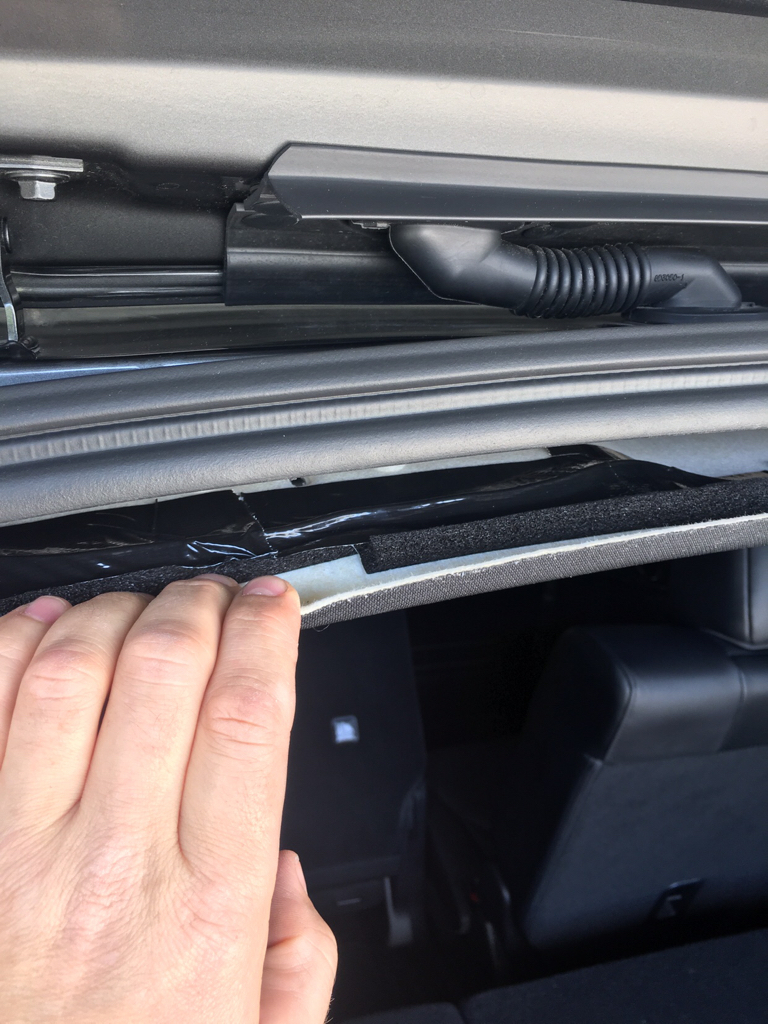
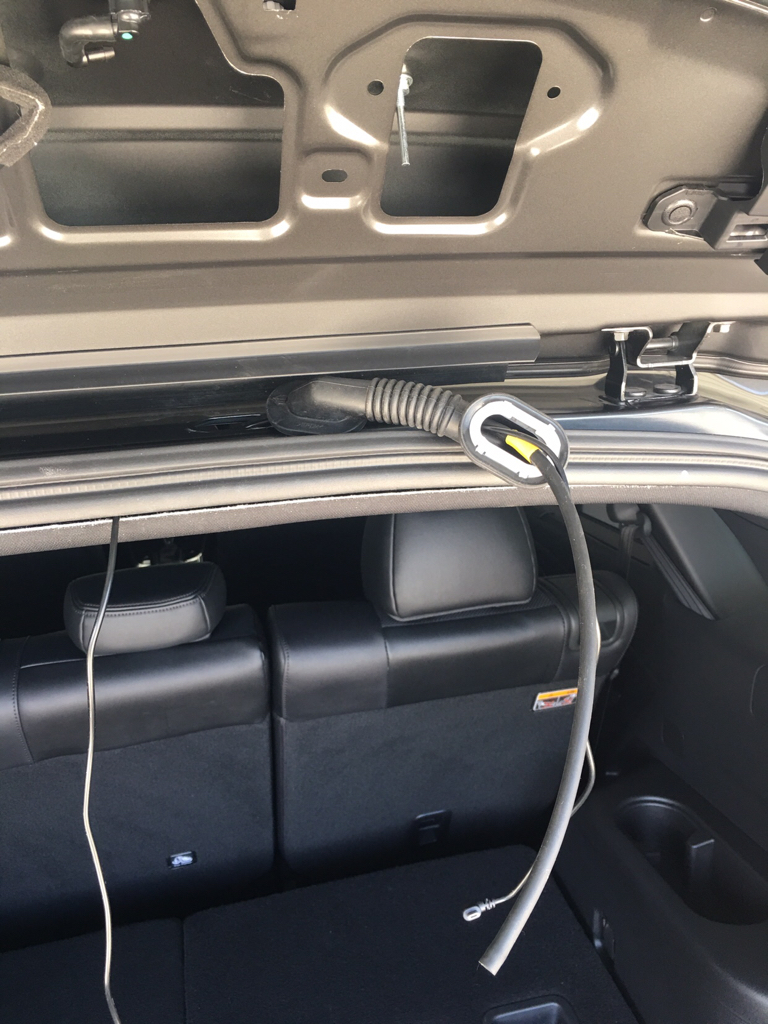
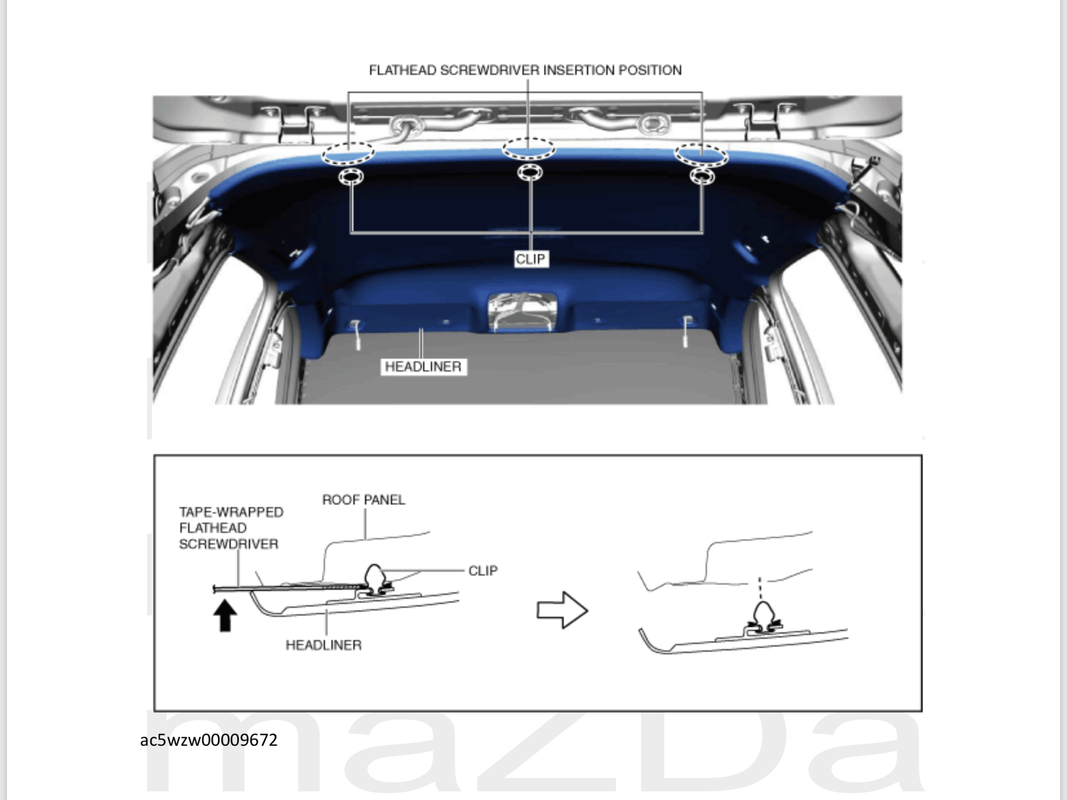
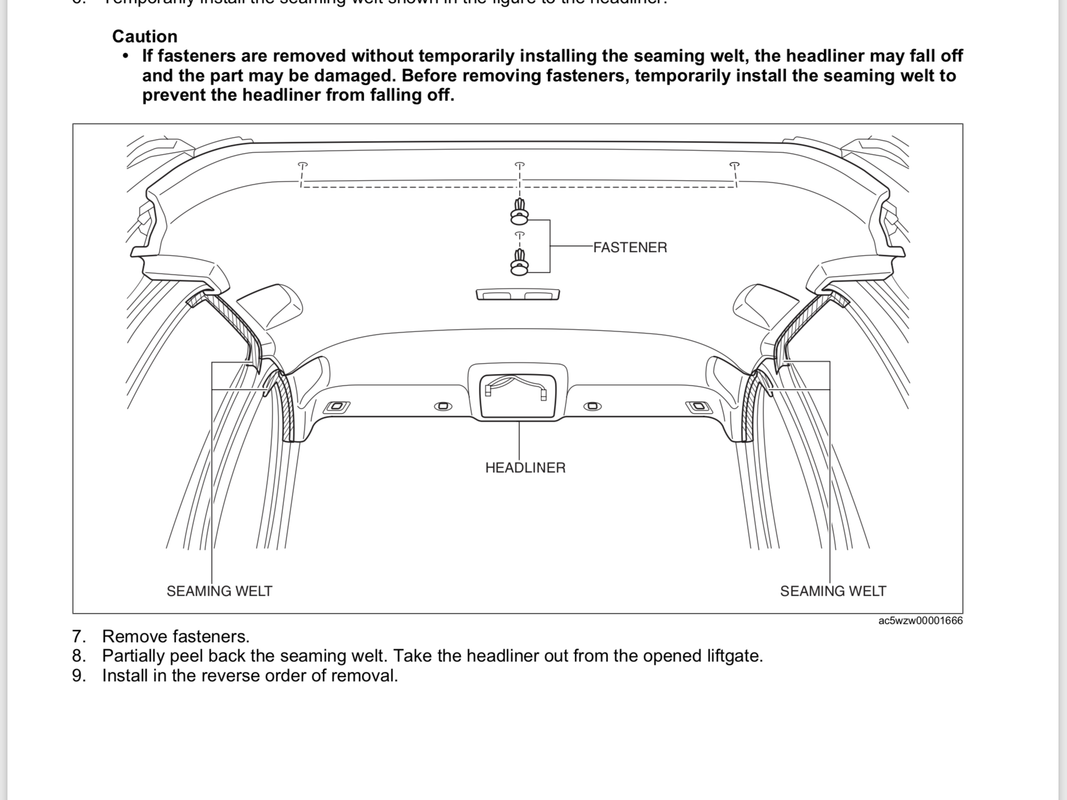
2. Since my rear cam is powered by the front cam, I ran the wire from the front camera through the headliner on the driver's side. There's plenty of room to push the cable into the headliner without removing anything.
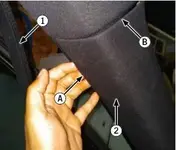
3. Pull down the weatherstripping (1) on the A-pillar, then gently pull the A-pillar cover (2) loose by gripping at points (A) and (B).

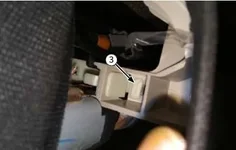
Note that the A-pillar cover will not pop off completely. This is because there is a plastic tether that holds the cover to the frame of the car. The tether is there so that if the curtain airbag deploys, the cover doesn't go flying. The tether can be removed without cutting it, but it requires some patience and some needle nose pliers. You would simply twist the clip (3) and thread it through the hole. During my install, I chose to leave the tether intact and just work around it.

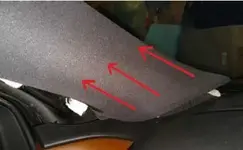
4. With the A-pillar cover loose, you'll need to pull it up and towards the back of the car to create room for the dashcam wire to run. This is much easier to do if you have removed the tether, but it can still be done with the tether still fastened. Move the cover to the side.

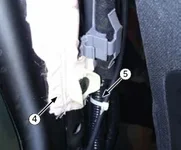
5. Run the dashcam wire from the headliner down the A-pillar, making sure that the wire does not cross over the airbag (4). I ziptied the wire to the existing wire loom (5) to make sure it didn't fall in the path of the airbag.

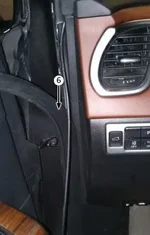
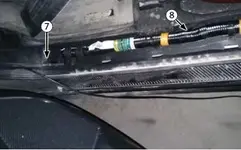
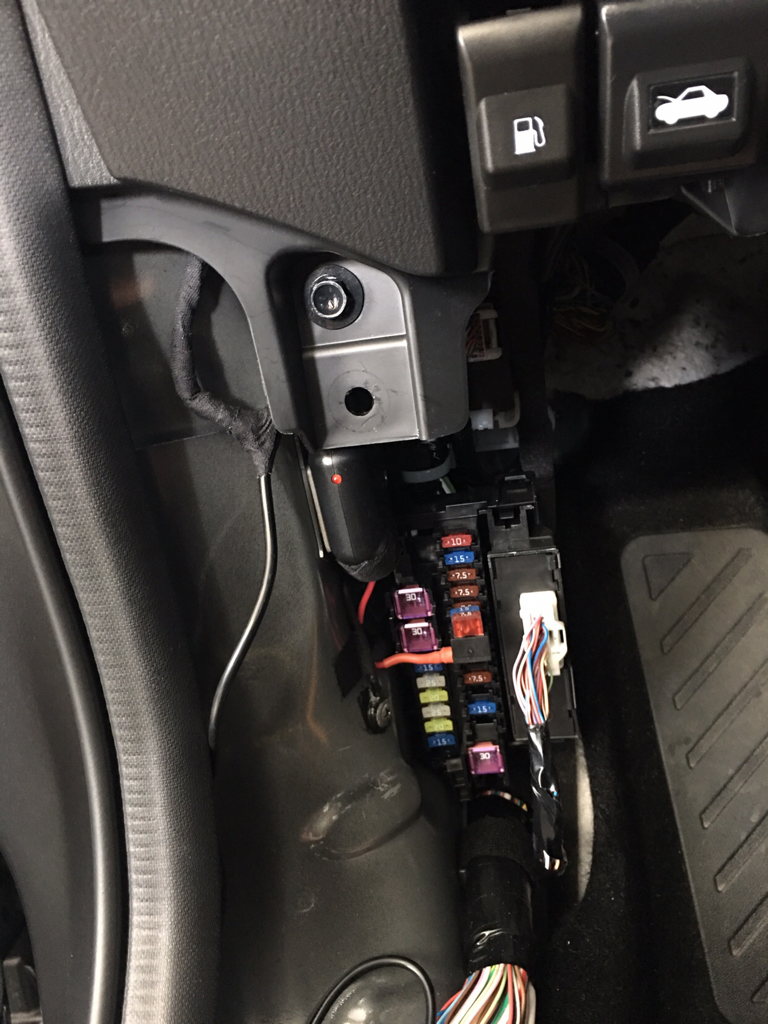
6. Replace the A-pillar cover (installation is the reverse of removal). Run the wire down to the footwell area, tucking it behind the weatherstripping (6) as you go.

This is a DIY How-To for a rear dashcam installation for the 2nd Generation Mazda CX-9. Please note that this guide is mostly just to show how I ran the power cable from the front camera to the rear camera. With this particular front and rear dashcam combo (Viofo A129 Duo), the rear camera transfers data and gets power from the front camera via a single cable. In this particular install, my front camera is hardwired to the Homelink-enabled rear view mirror using an Invisicord (more details found here).
This process was documented/photographed by myself, using my crappy cellphone camera and my 2018 Mazda CX-9 Signature as the "demo" vehicle. This DIY is provided as a learning aid and reference guide. I assume no responsibility for warranties you may void or any damages you may inflict on yourself or your vehicle.
As mentioned perviously, the camera set I installed is the Viofo A129 Duo. Both front and rear cameras record in 1080p 30 FPS (if the rear is disconnected, the front changes to 1080p 60 FPS). It takes still photos, and has a mic. Along with other standard features, it has GPS and Wi-Fi functionality, and can accept up to a 256gb microSD card. Viofo has stated that the best cards to use for their dashcams are Transcend High Endurance. Samsung Pro cards also work well, but they will not honor the 10 year warranty if the card is used for "surveillance recordings". Since both cameras write to the single card in the front camera, it makes sense to splurge for the higher capacity SD cards designed for dashcam use. I went with a 128gb card. Moving on..
What you'll need:
- Flathead screwdriver w/ rag to prevent scratches, or a pry tool
- Wire fish tool (I made my own out of BBQ skewers and duct tape lol)
- 8m extended cable from Viofo (or comparable 8m cable if your rear cam is not a Viofo)
1. Figure out where you want to mount the rear dashcam on the rear windshield. Be sure that you take into account the cords that may plug into the camera and the cards that may be installed/removed, and leave adequate space around the camera to make those areas easy to access. If your camera has a video display, you can connect the power cable and turn the car on, then mount the camera using the video output as a guide. Ensure that the double-sided tape does not cover any rear-defroster lines. Covering these lines may cause issues with the defroster functionality, and removal of the double-sided tape could damage the defroster lines. After mounting the camera, turn the car off.
2. Since my rear cam is powered by the front cam, I ran the wire from the front camera through the headliner on the driver's side. There's plenty of room to push the cable into the headliner without removing anything.
3. Pull down the weatherstripping (1) on the A-pillar, then gently pull the A-pillar cover (2) loose by gripping at points (A) and (B).
Note that the A-pillar cover will not pop off completely. This is because there is a plastic tether that holds the cover to the frame of the car. The tether is there so that if the curtain airbag deploys, the cover doesn't go flying. The tether can be removed without cutting it, but it requires some patience and some needle nose pliers. You would simply twist the clip (3) and thread it through the hole. During my install, I chose to leave the tether intact and just work around it.
4. With the A-pillar cover loose, you'll need to pull it up and towards the back of the car to create room for the dashcam wire to run. This is much easier to do if you have removed the tether, but it can still be done with the tether still fastened. Move the cover to the side.
5. Run the dashcam wire from the headliner down the A-pillar, making sure that the wire does not cross over the airbag (4). I ziptied the wire to the existing wire loom (5) to make sure it didn't fall in the path of the airbag.
6. Replace the A-pillar cover (installation is the reverse of removal). Run the wire down to the footwell area, tucking it behind the weatherstripping (6) as you go.
Attachments
Last edited:

