Disclaimer: Please do not attempt this if you aren't sure what you're doing as you may end up destroying your transmission. The below is what I've encountered and my experiences so it may/may not be similar to yours and you are performing this procedure at your own risk.
**See Google Drive link for service manual**
Transmission Manuals PDF
OEM/Part #'s:
a. Some ATF dripped onto your RTV when you were installing the pan back
b. You did not degrease the pan/transaxle surface
c. You may have a dent/bent pan lip/bolt hole so it isn't sealing properly and may need to hammer it back to make it even
d. You did not wait 24 hours or whatever the instructions says for the full cure time
e. Not all of your bolts were tightened/torqued correctly
f. You may have extra RTV on the tip of the bolts which caused there to be a gap between the pan surface/transaxle surface
g. The old RTV wasn't fully/properly cleaned off the surfaces
h. You applied too little RTV or there was a gap which caused a poor seal
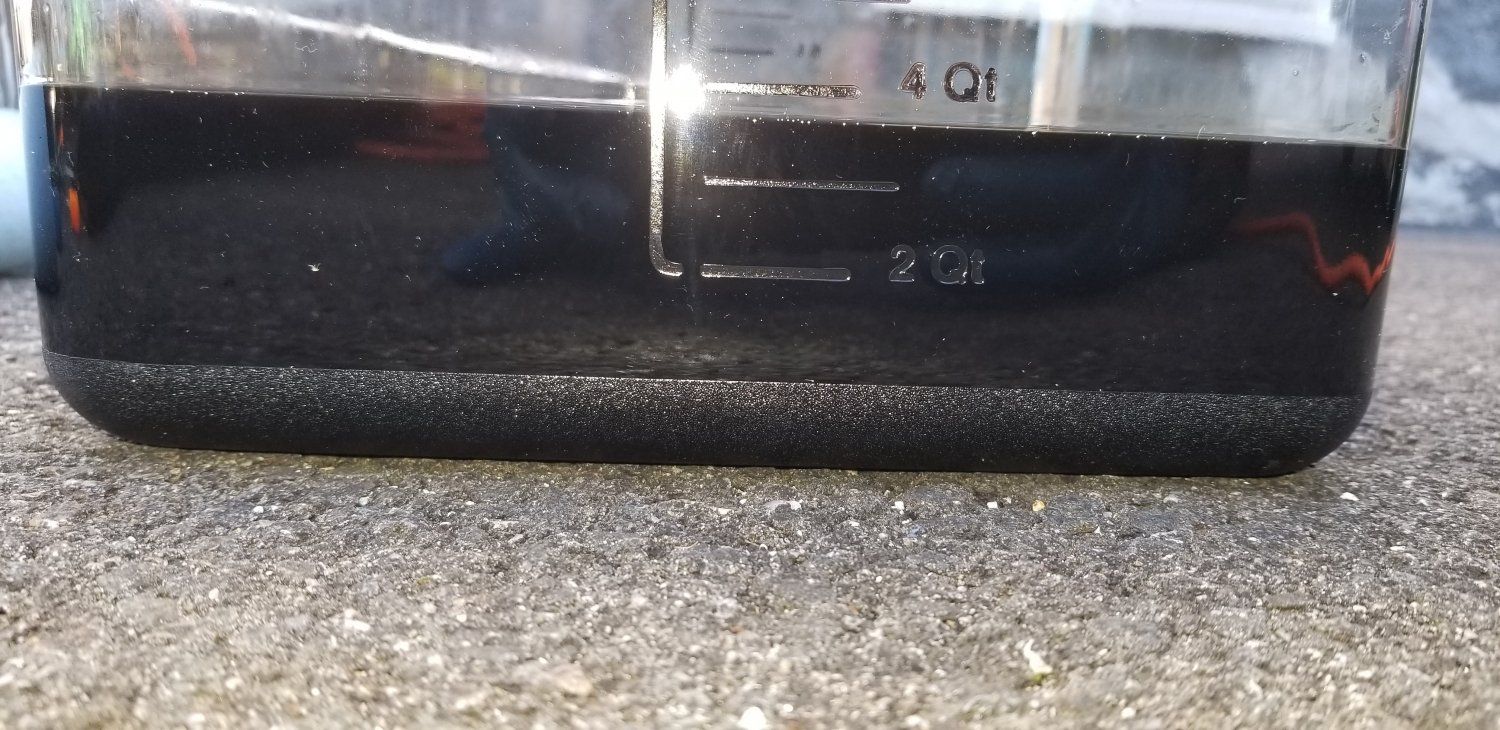
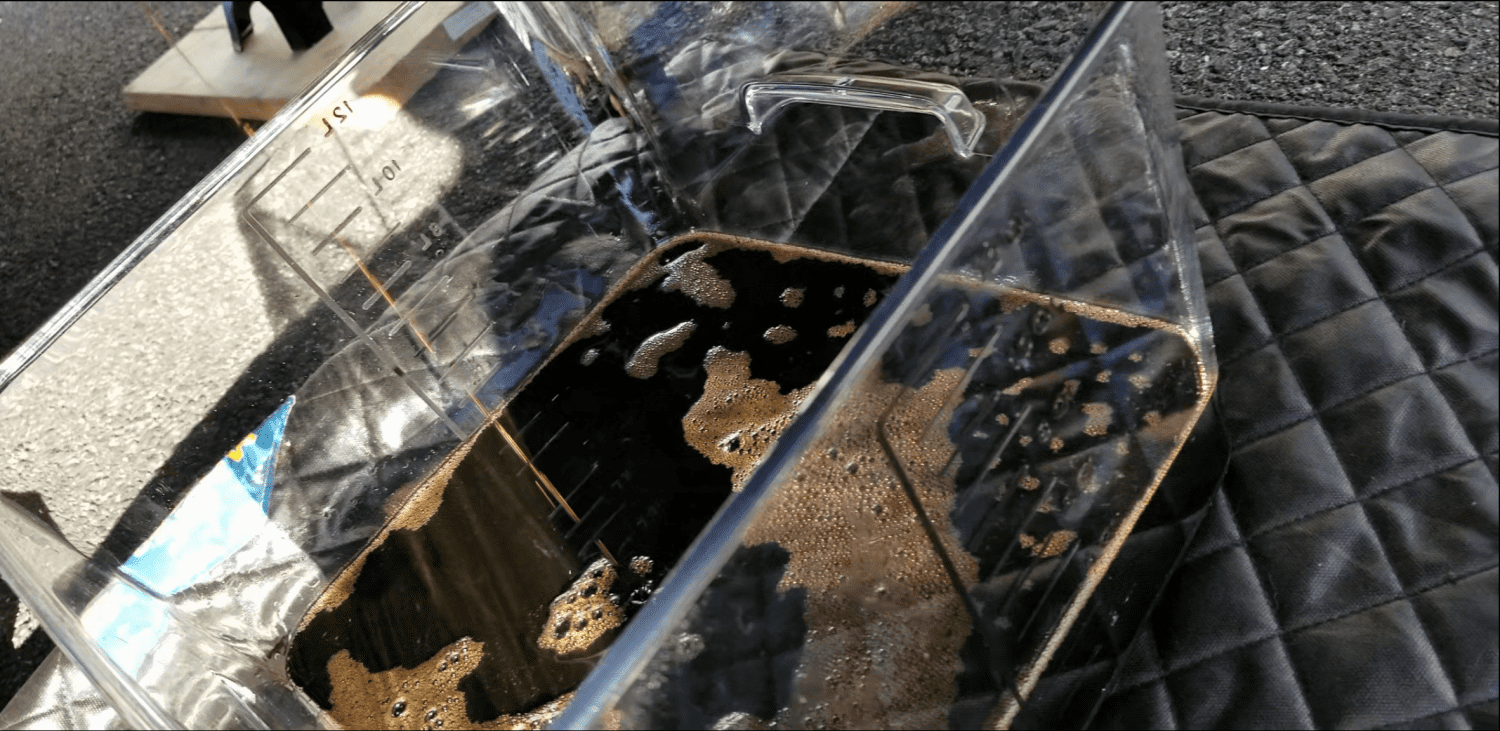
1. Drain using a 12 qt container
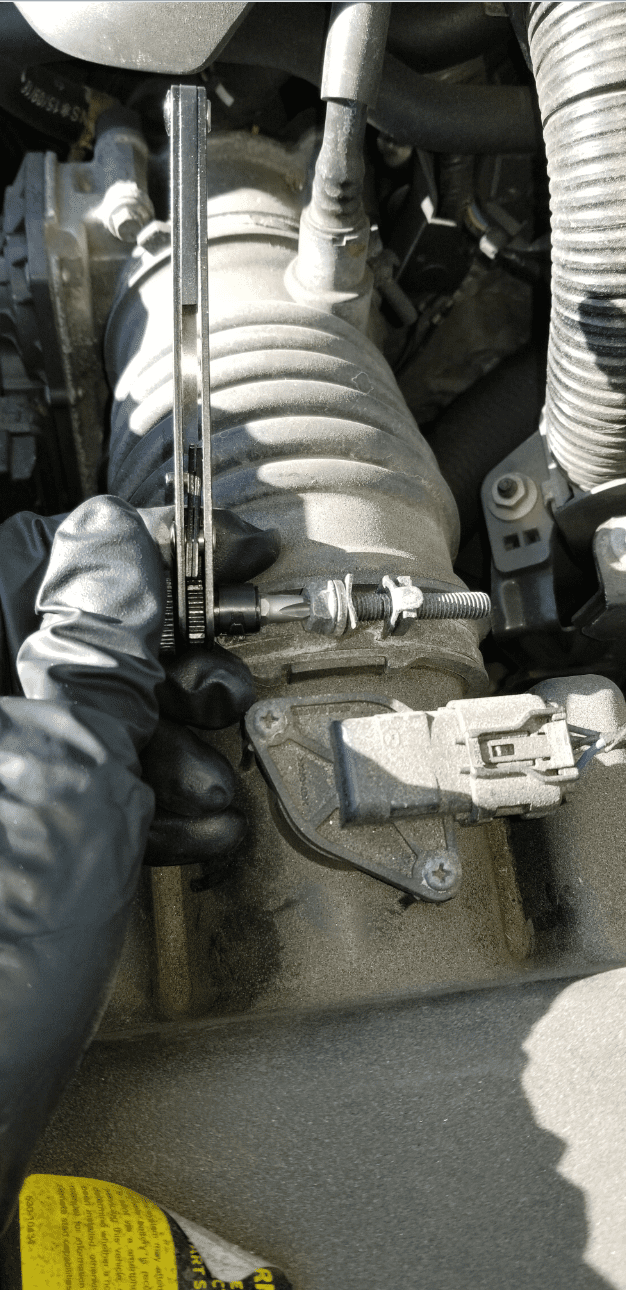
Engine Air Filter Housing:
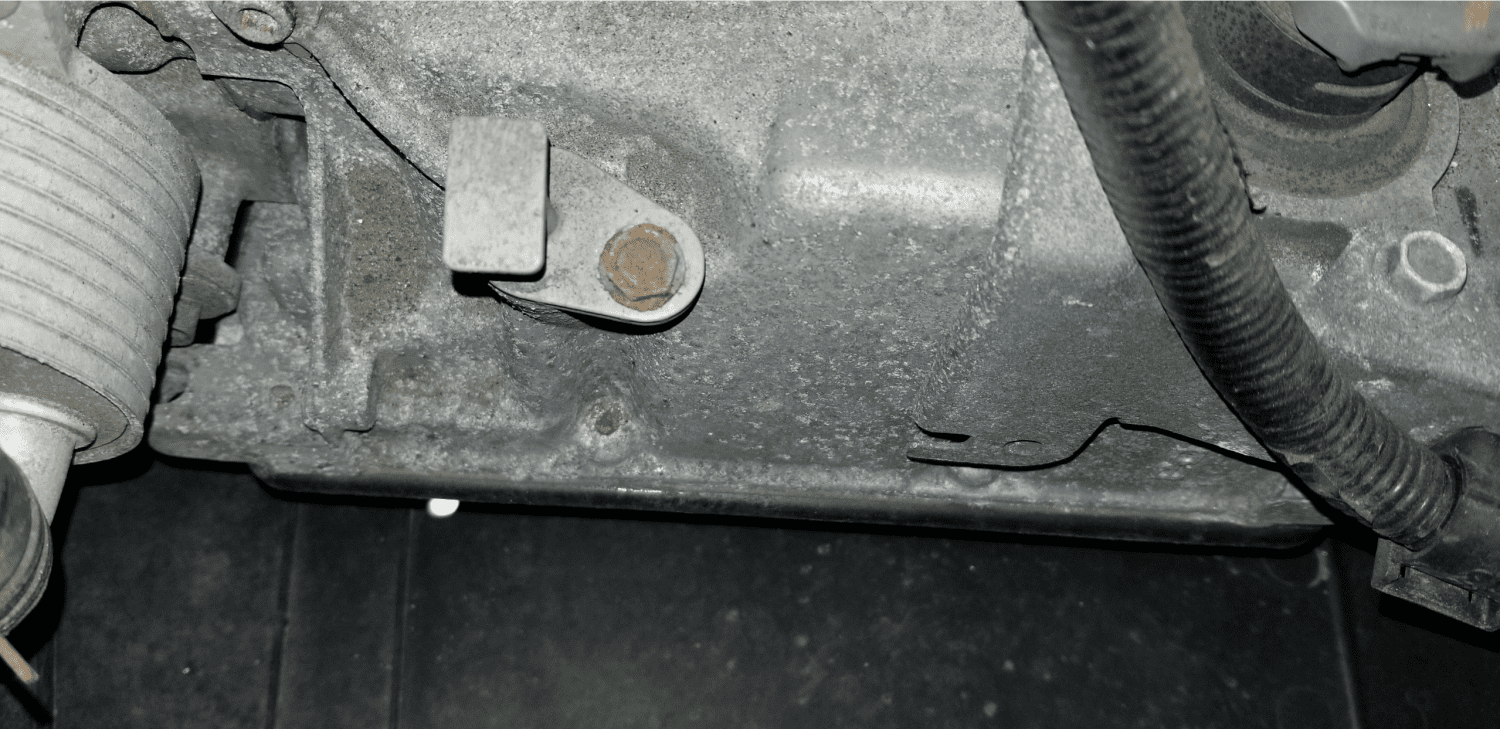
Transmission dipstick:
After removing the bolt and the dipstick from the ATF, I realized there was a lot of dirt caked between the dipstick and the mounting surface itself. I was read about this before in other posts but there was definitely dirt underneath the dipstick contact surface as well.
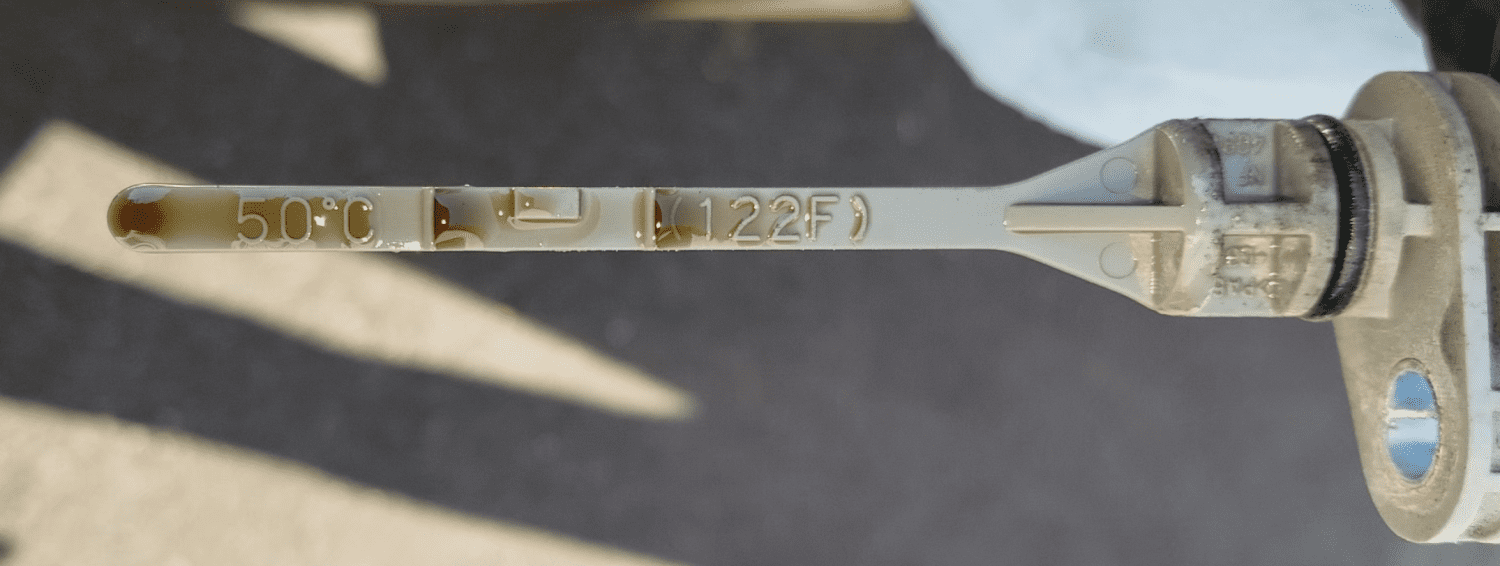
Dipstick from factory fill:

Dipstick after pouring 3.7 - 3.8 qts back
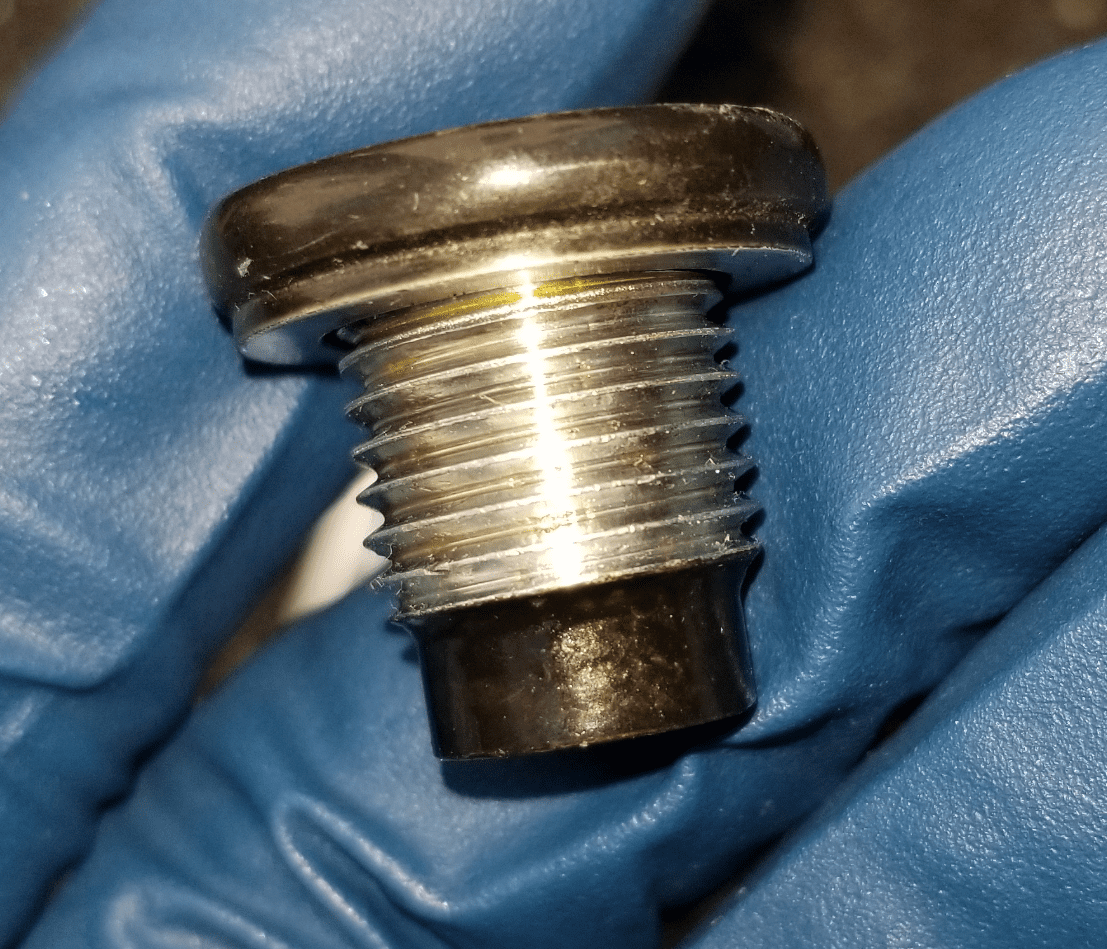
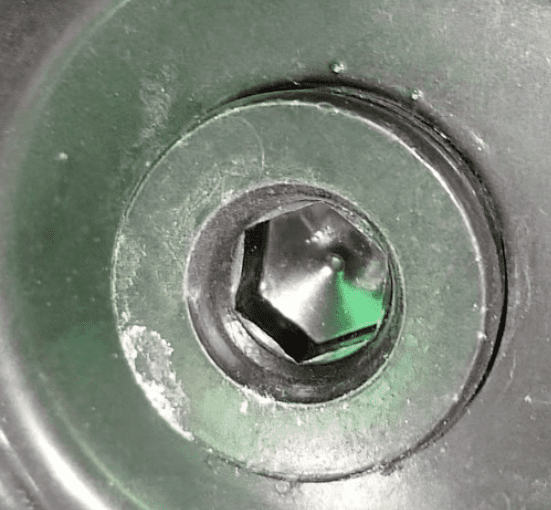
ATF Drain Bolt:
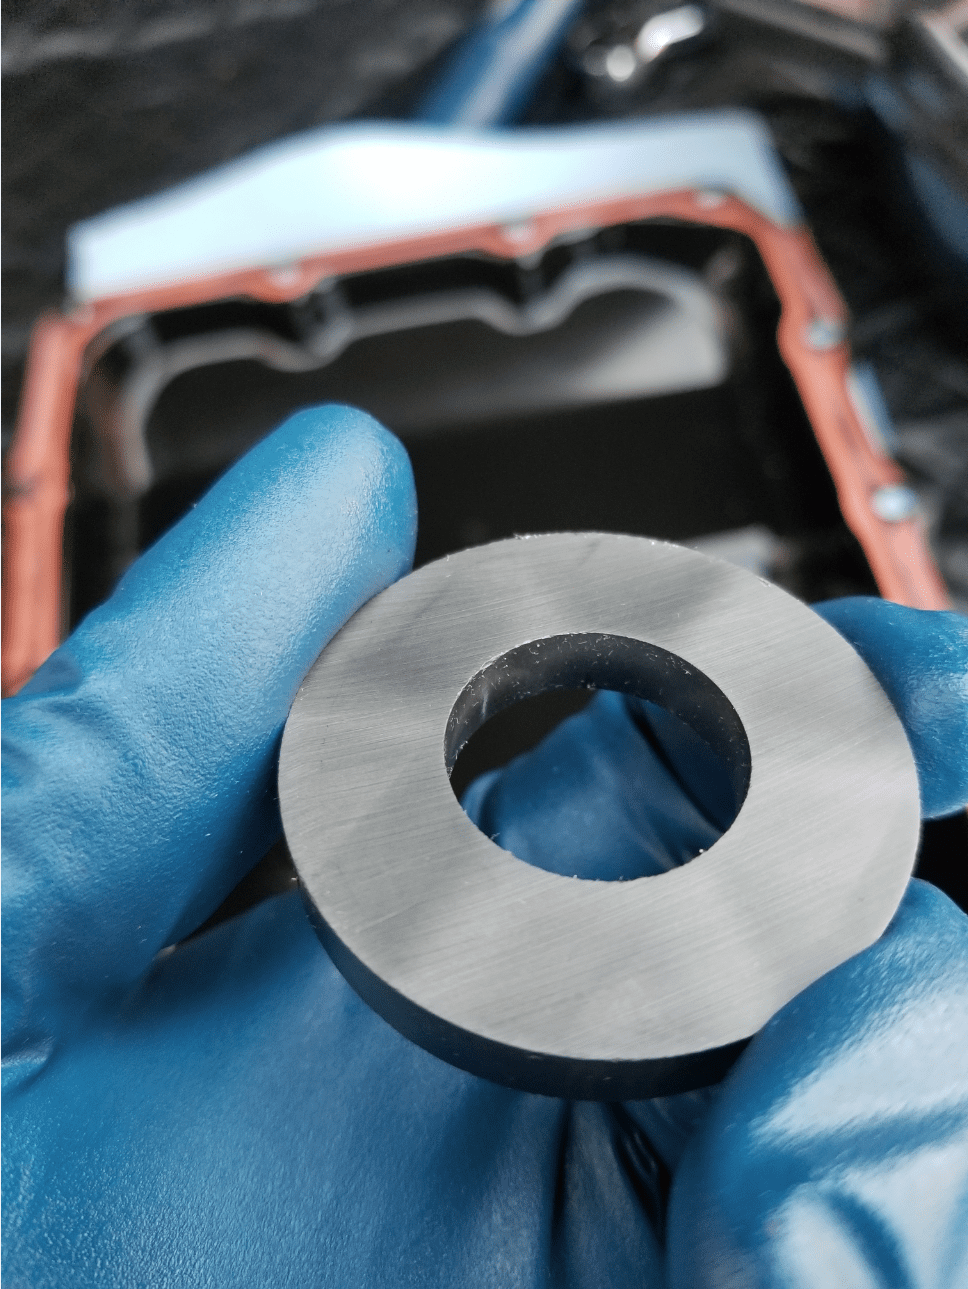
Ran into some issues removing the washer since it was pretty much stuck to the bolt and had to use a pick to pry it off.
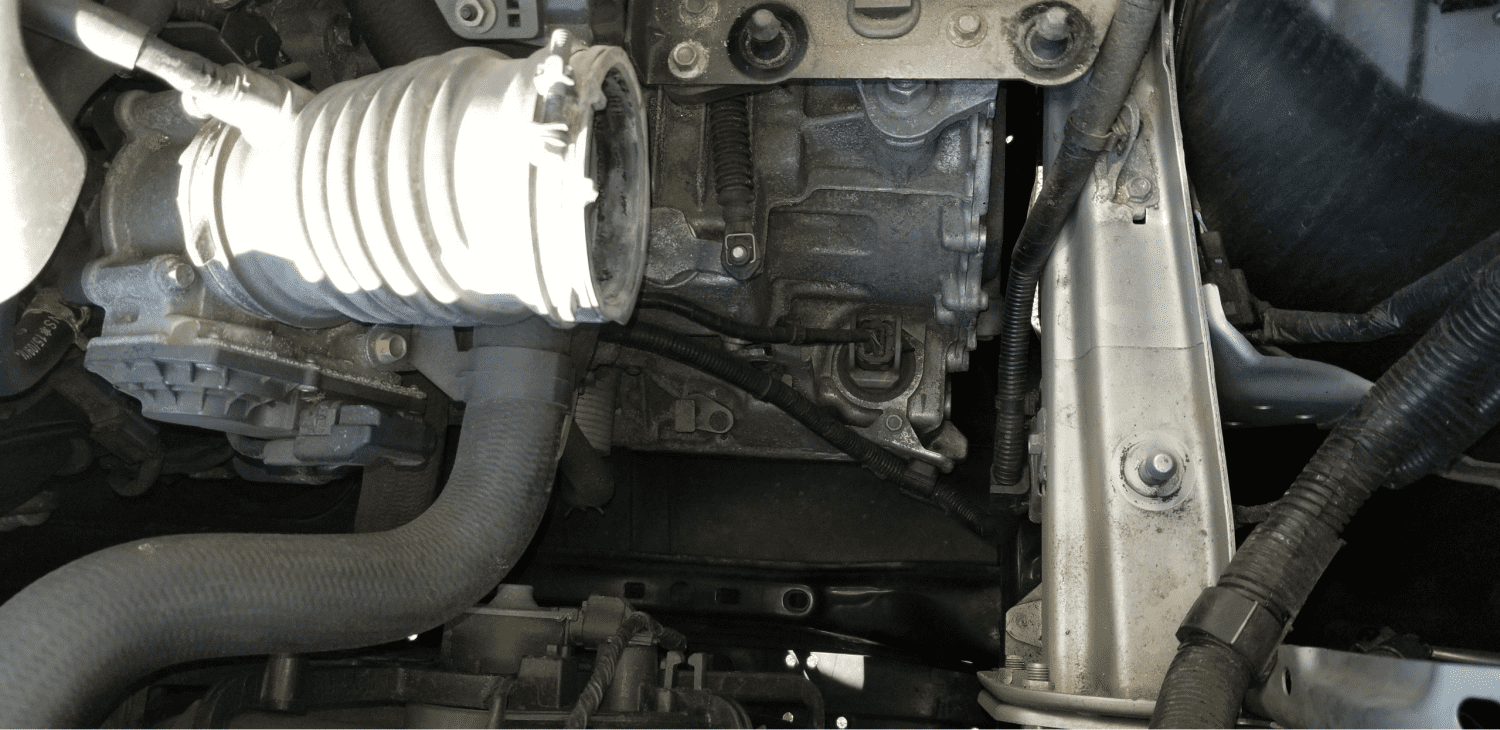
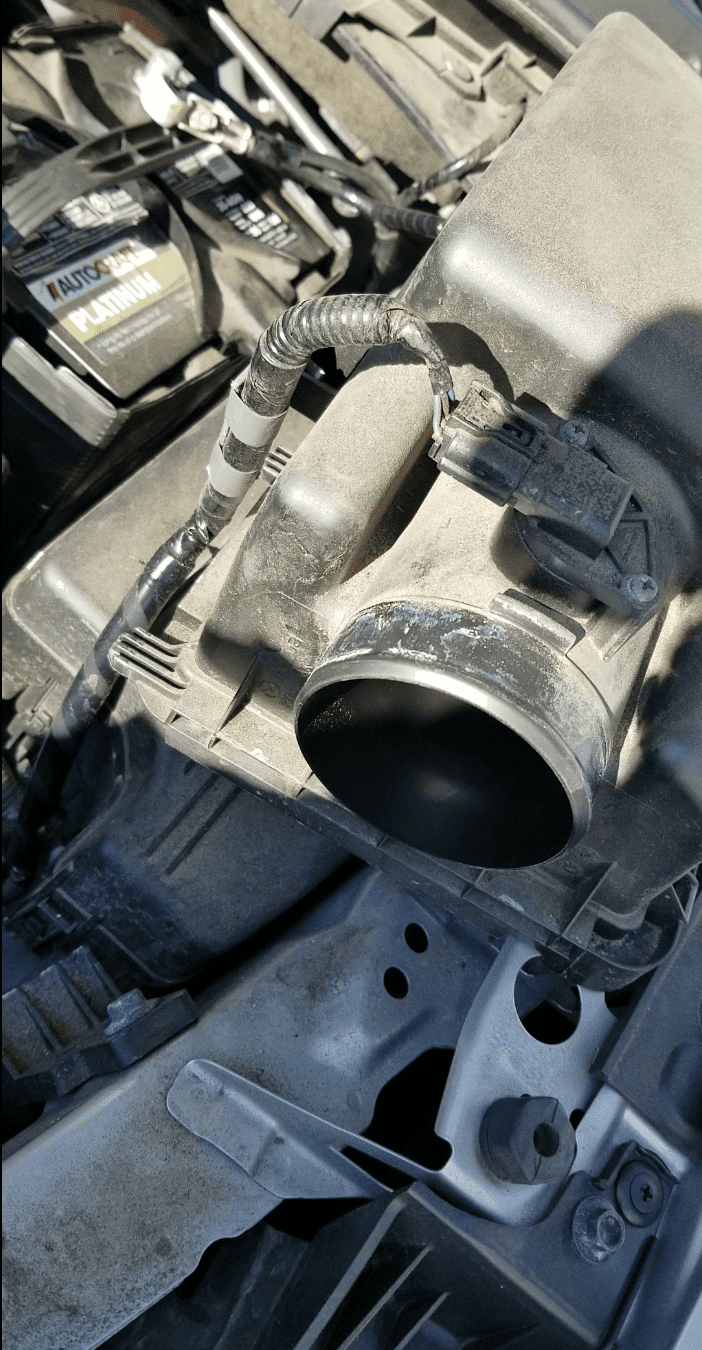
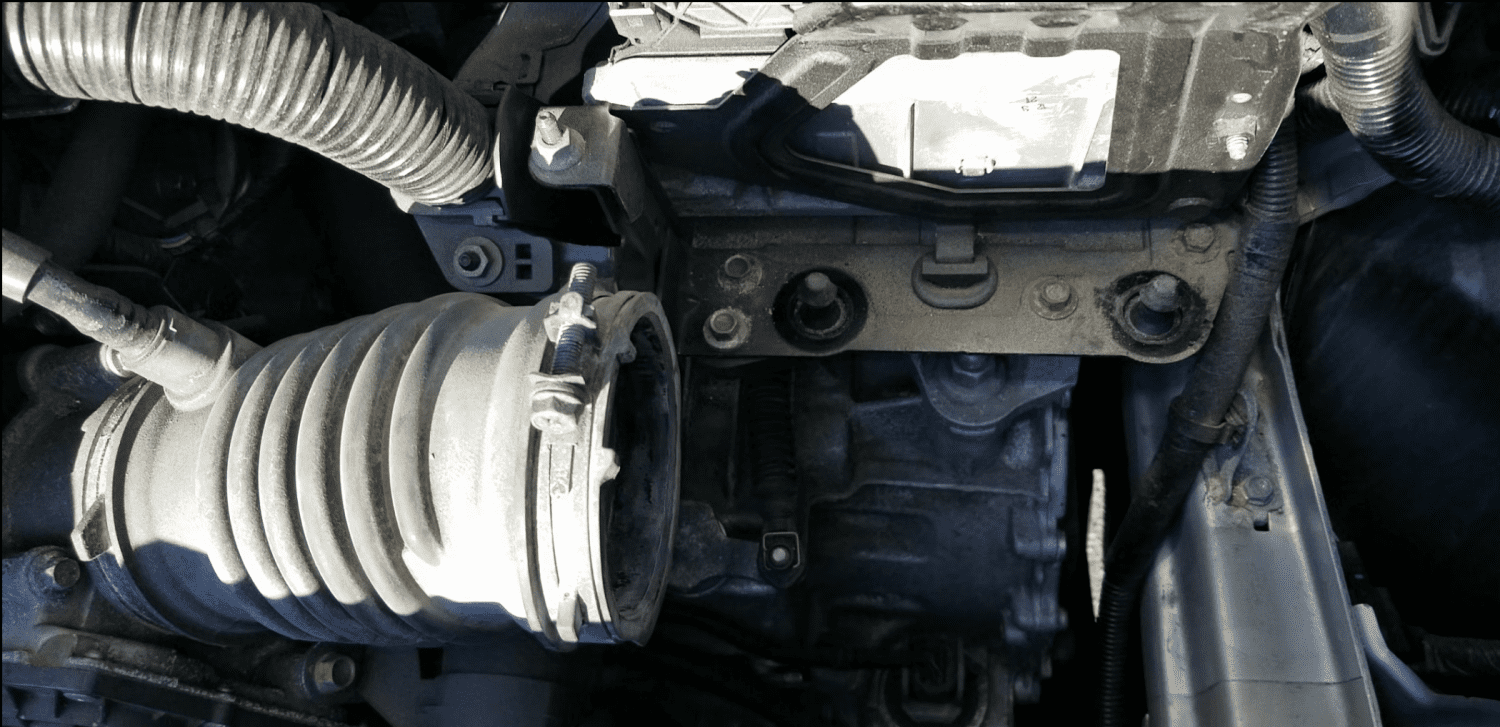
Engine Air Filter/Housing Removed
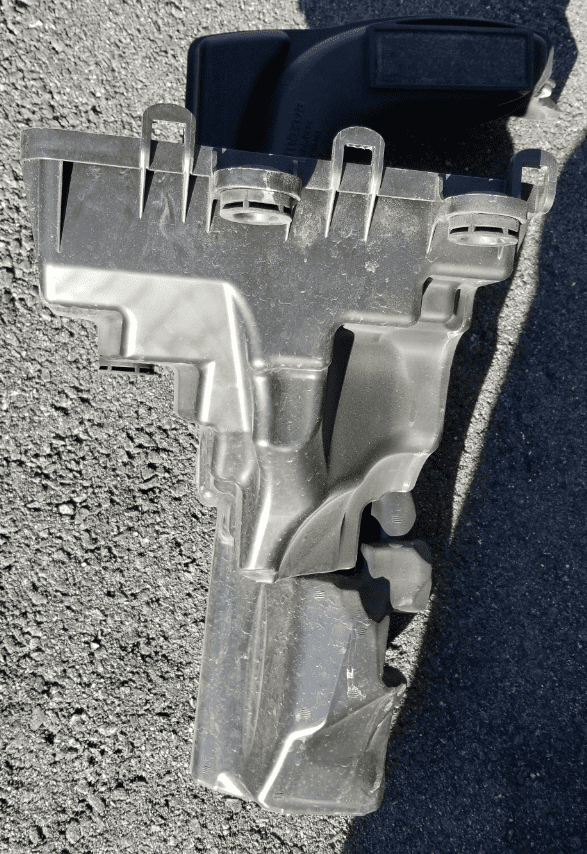
Bottom of air filter housing:
I definitely noticed the bolts that appear to be holding the ECU/ECU mount in place appear to show signs of rust
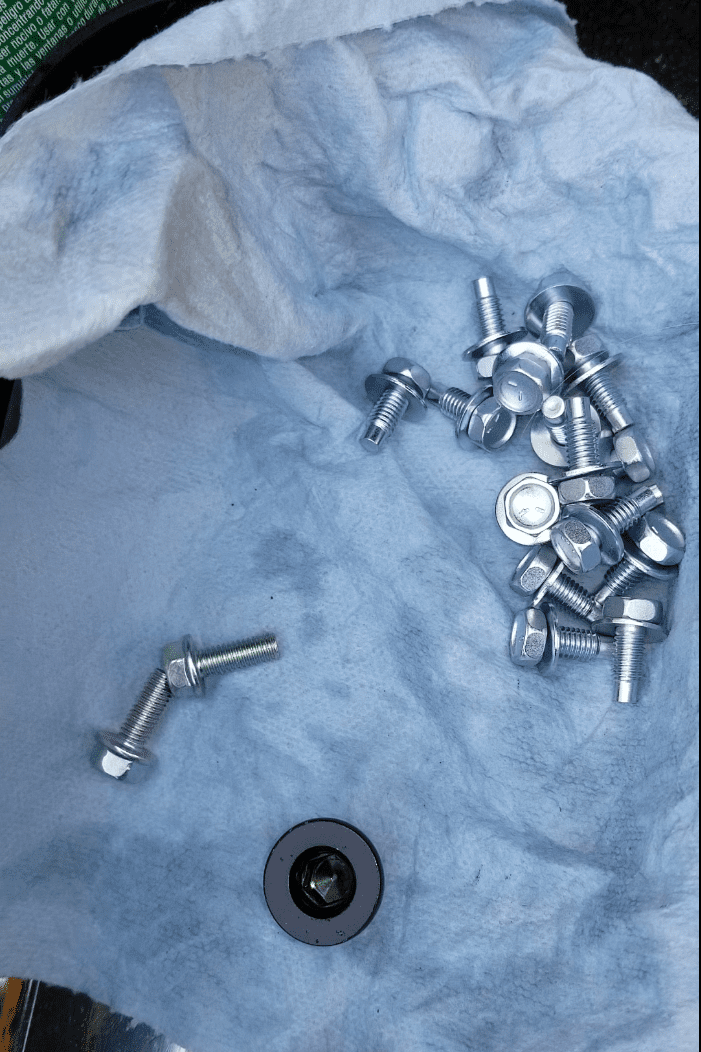
New Filter/Pan Bolts:
How to Remove the Transmission Pan from the mating surface:
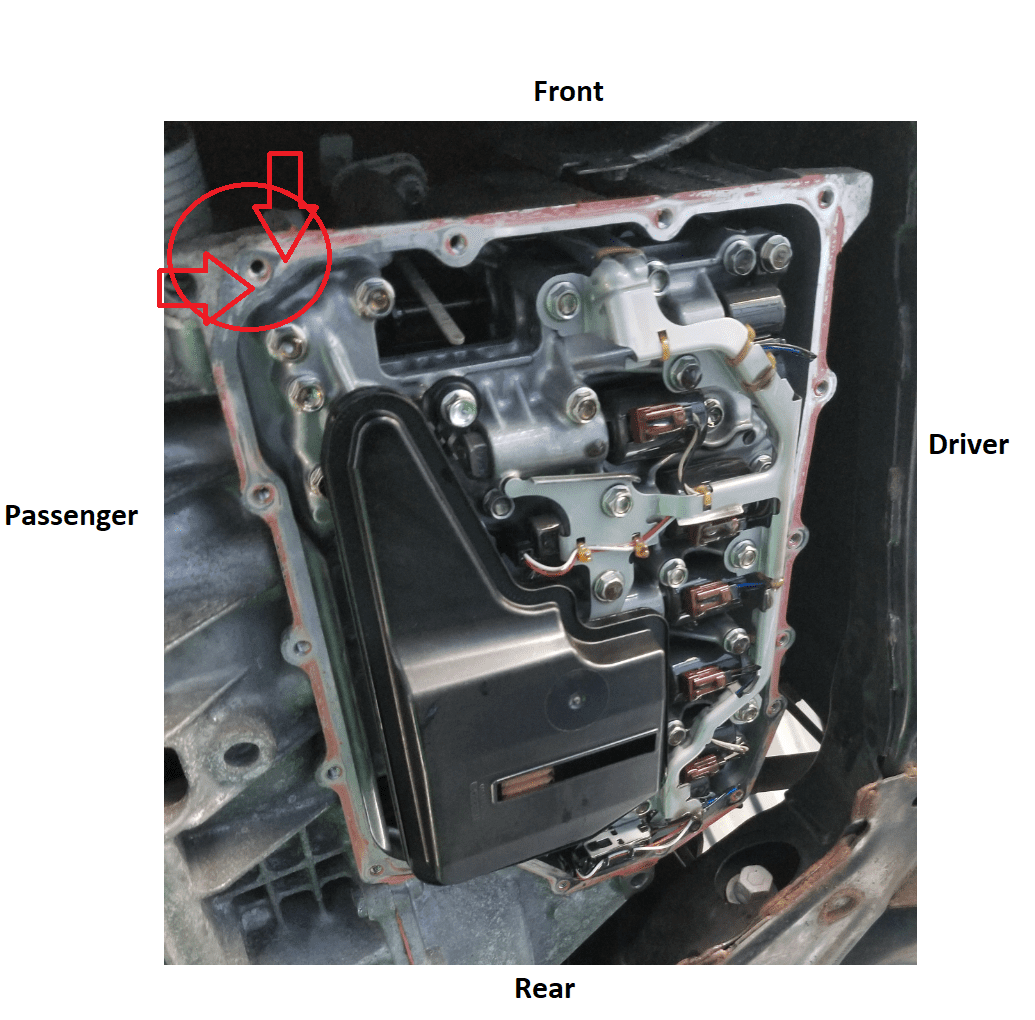
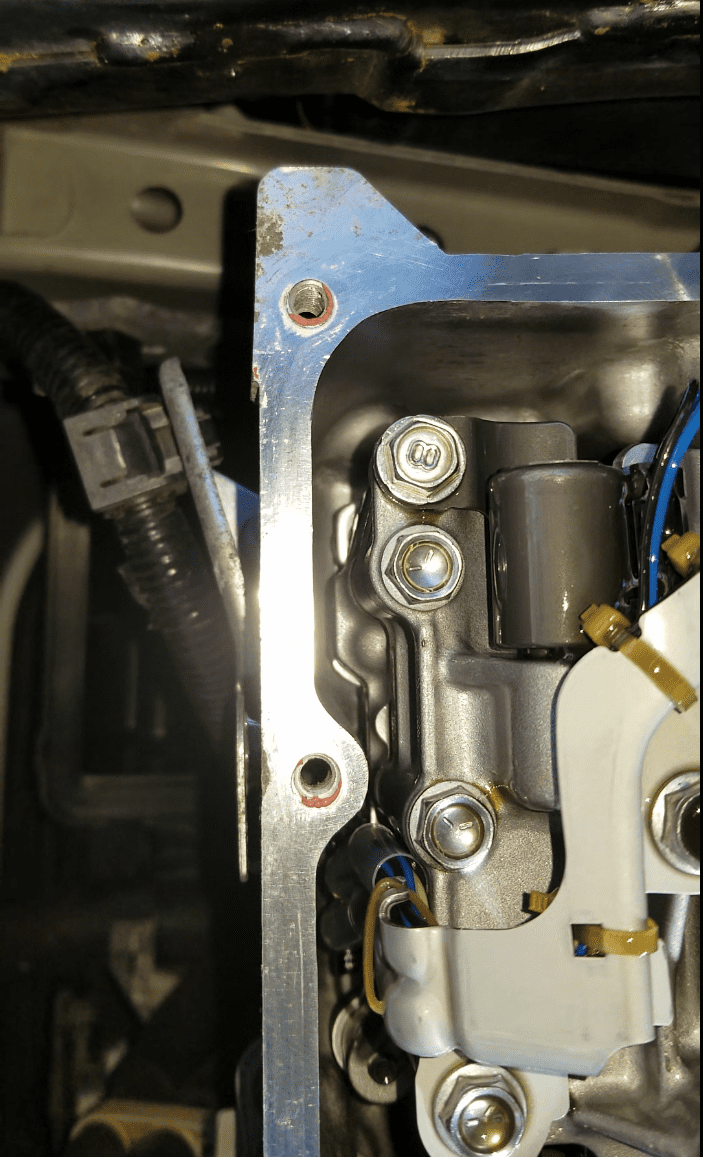
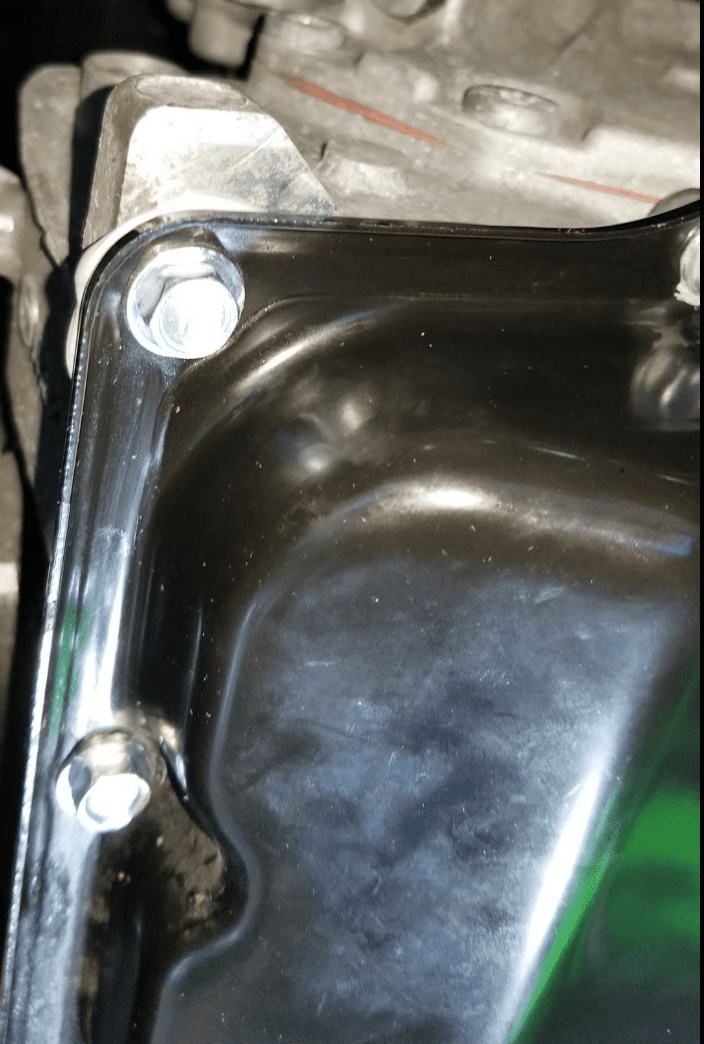
This is the best angle to hammer through using the non-marring tool.
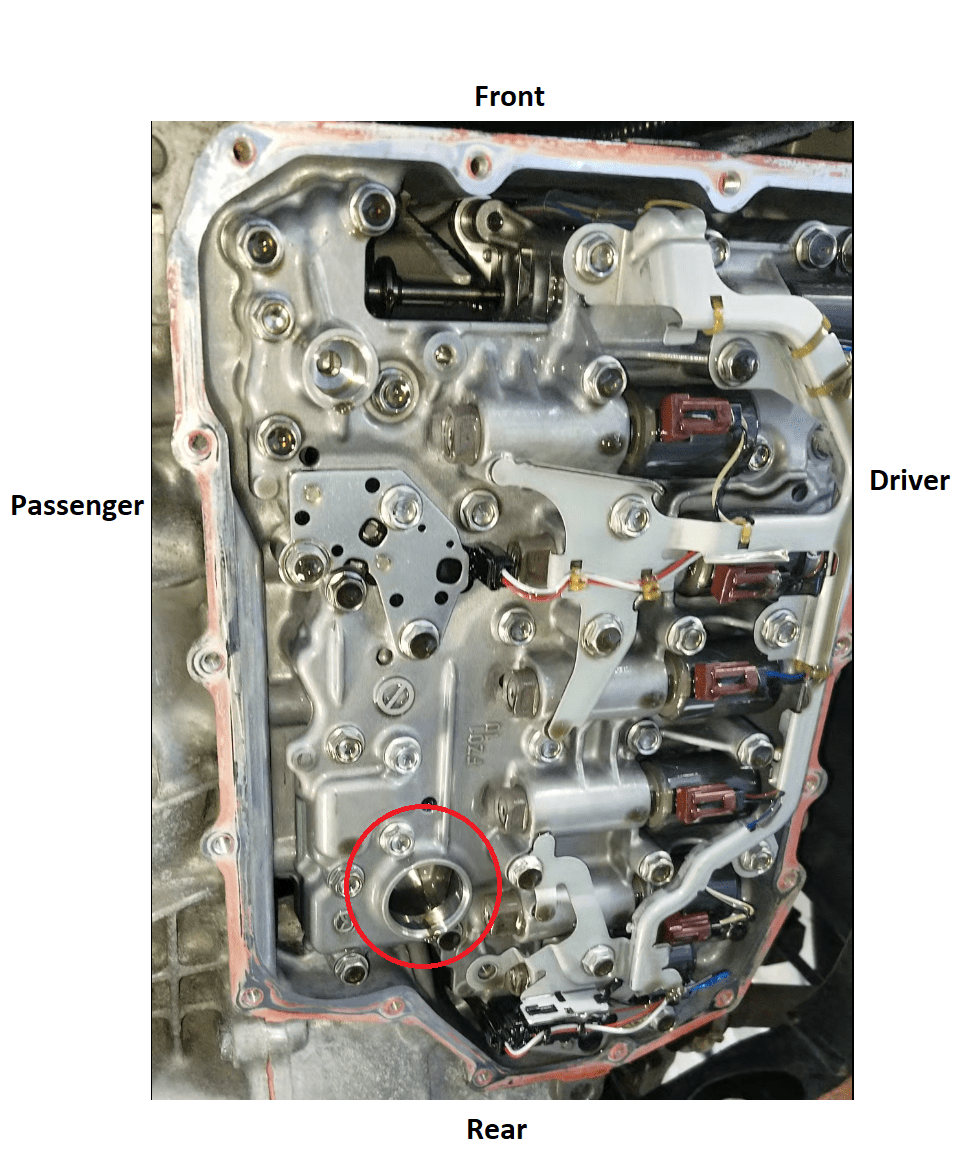
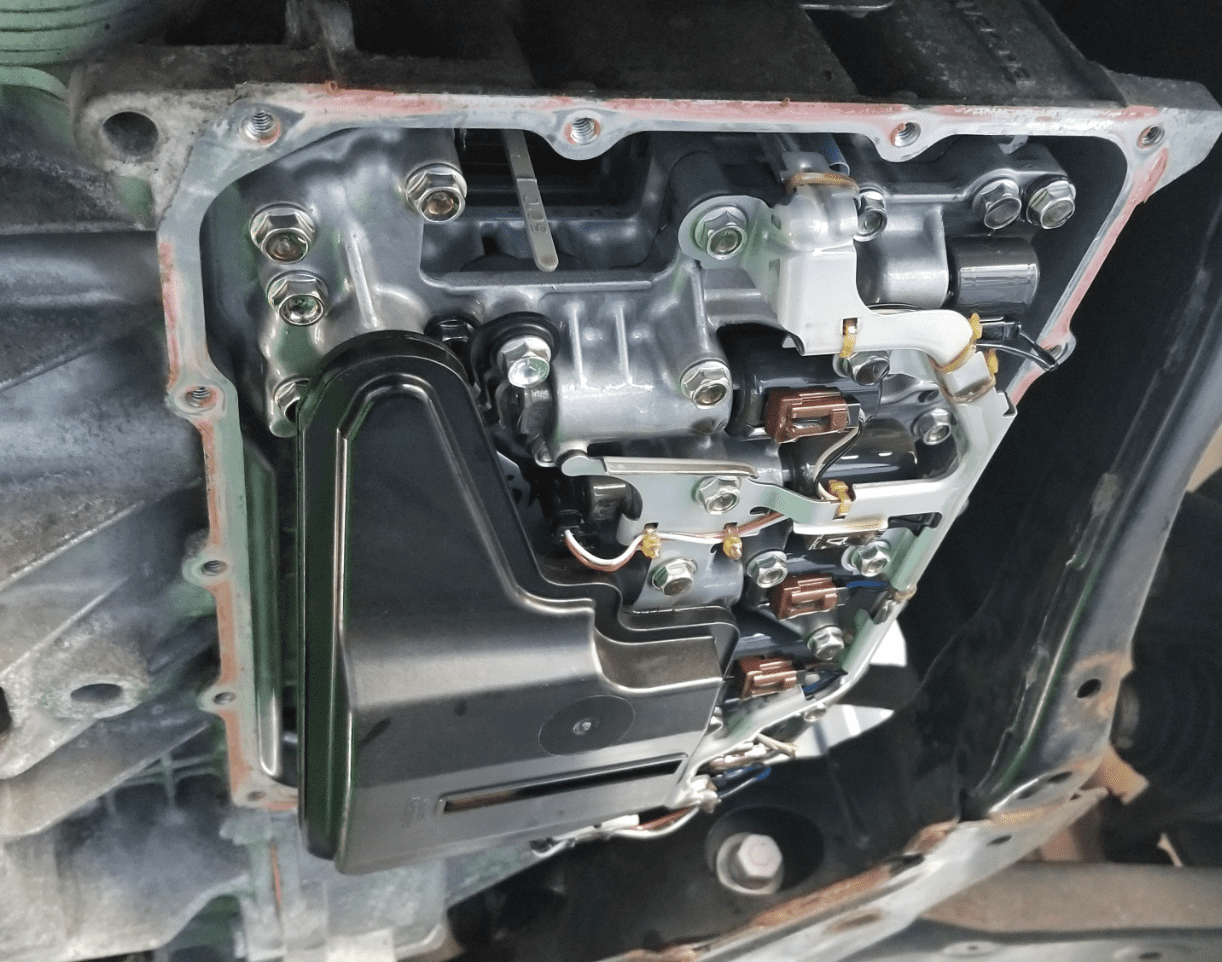
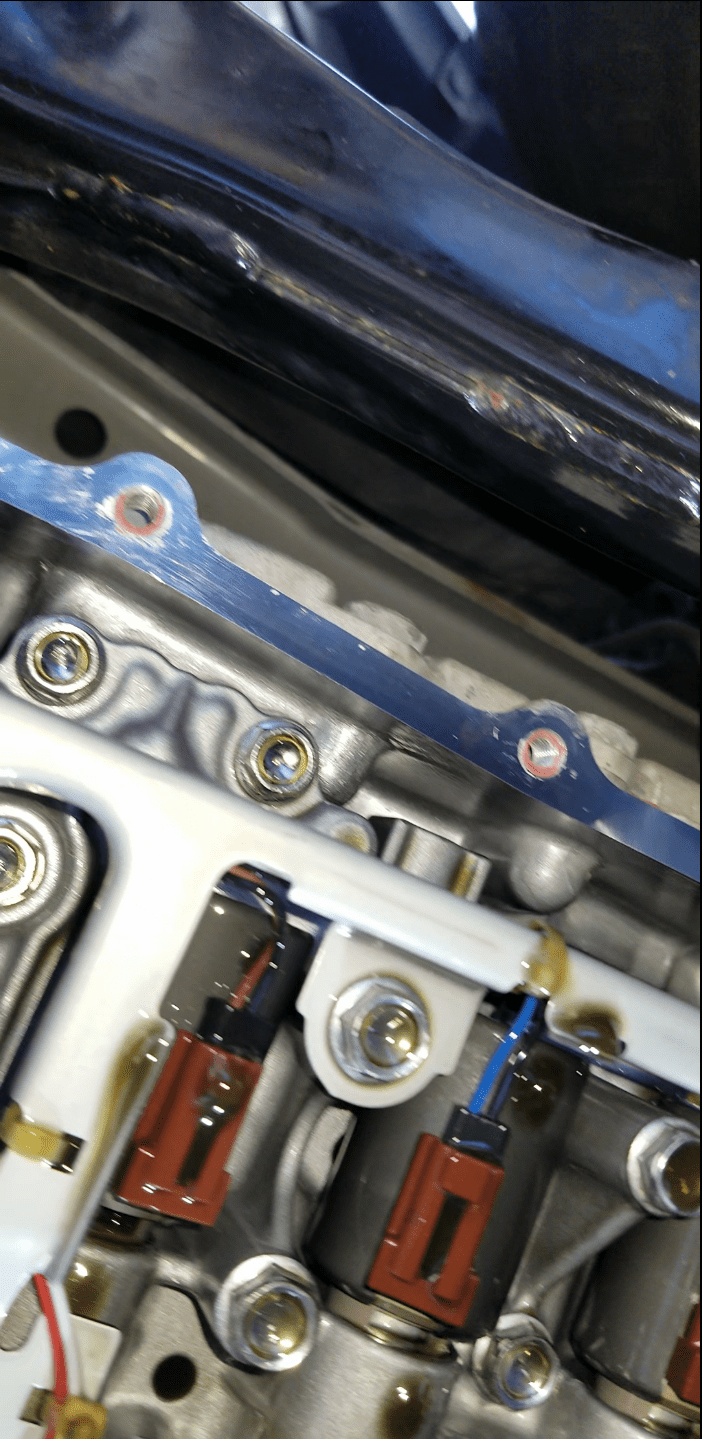
The red circle right here is where the fluid will leak out from once you pull down the filter (strainer) so make sure that you have something under here.


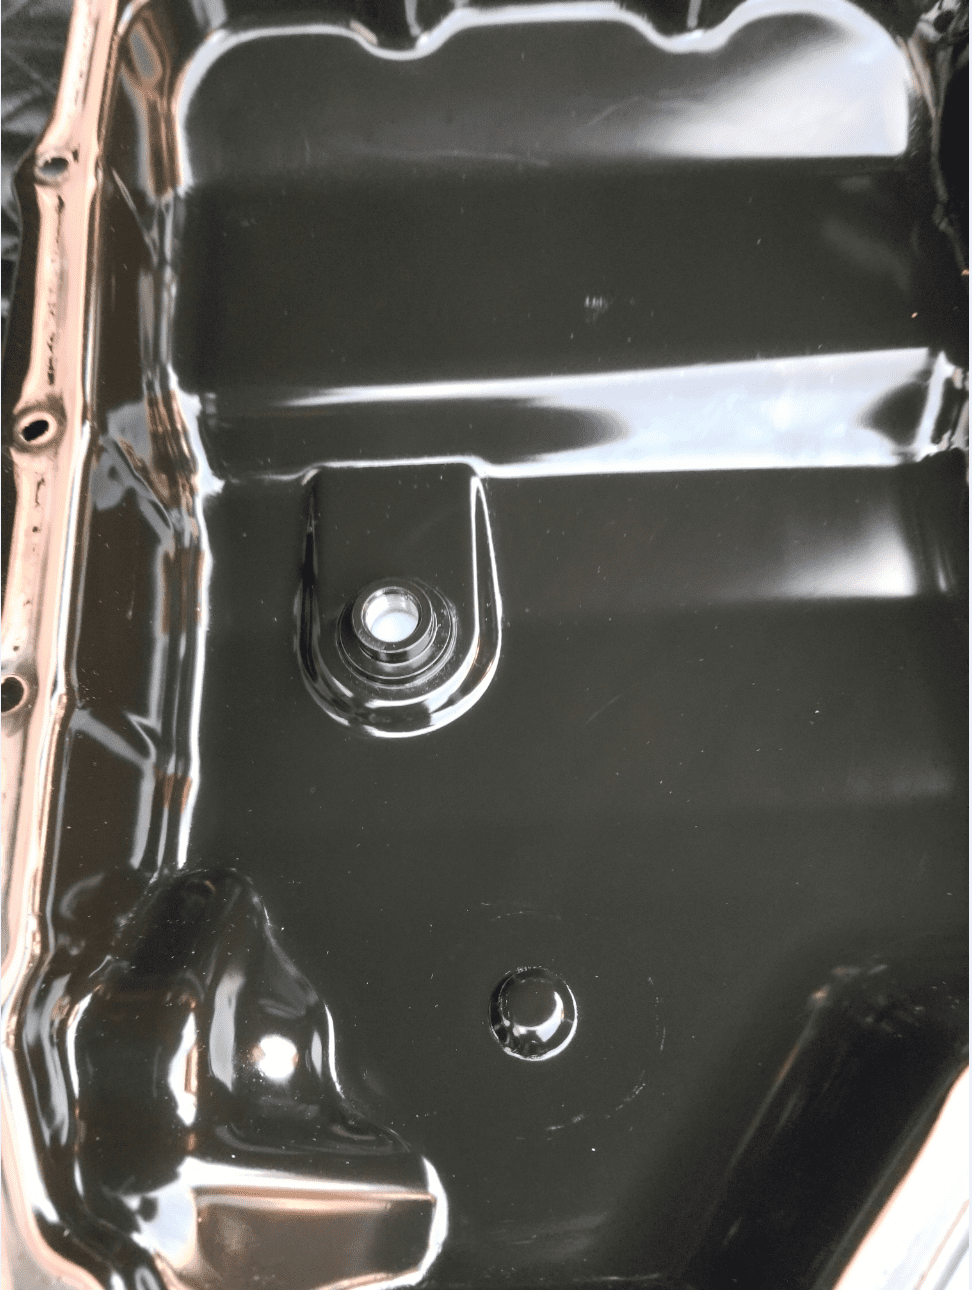
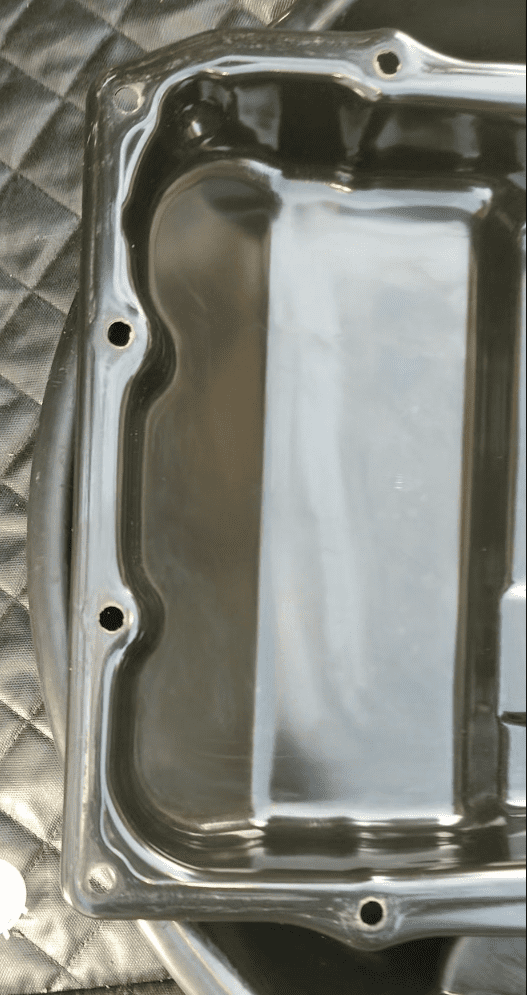
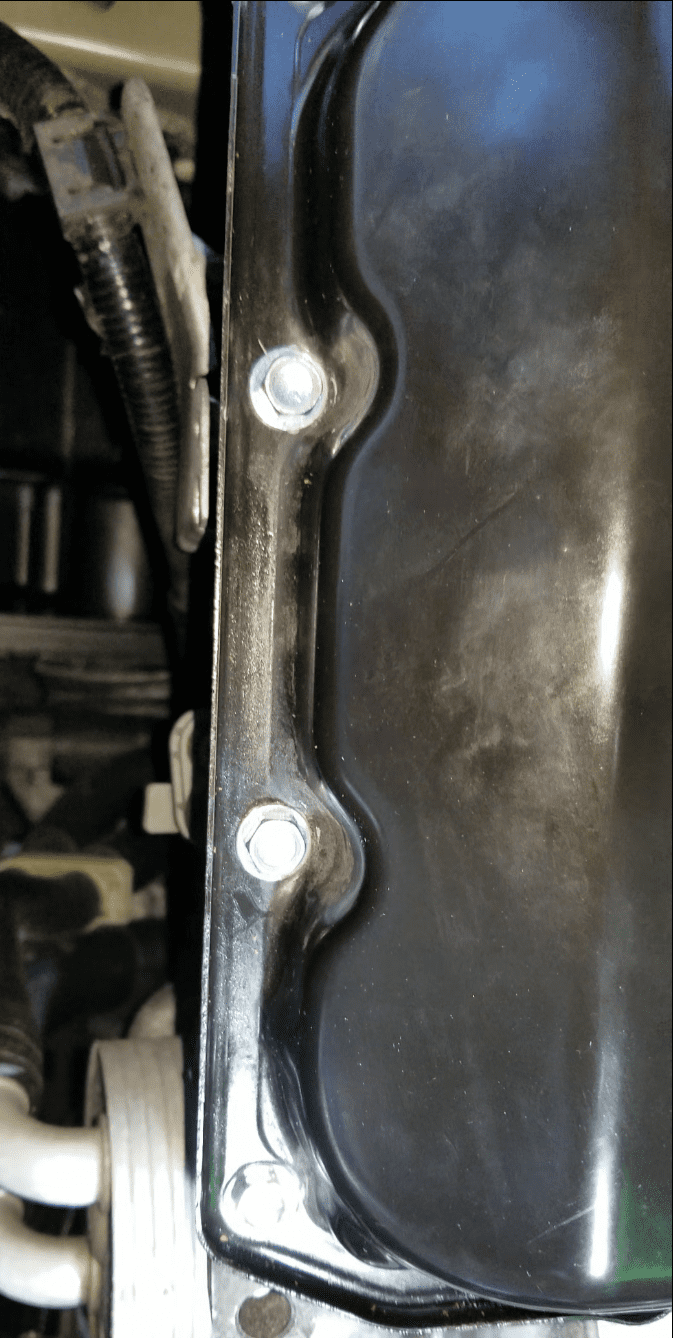
Clean Pan:
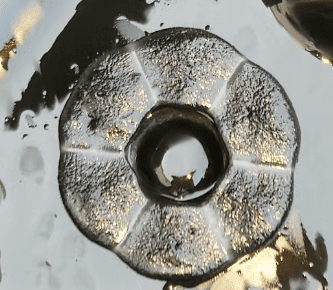
Magnet (Gunk):

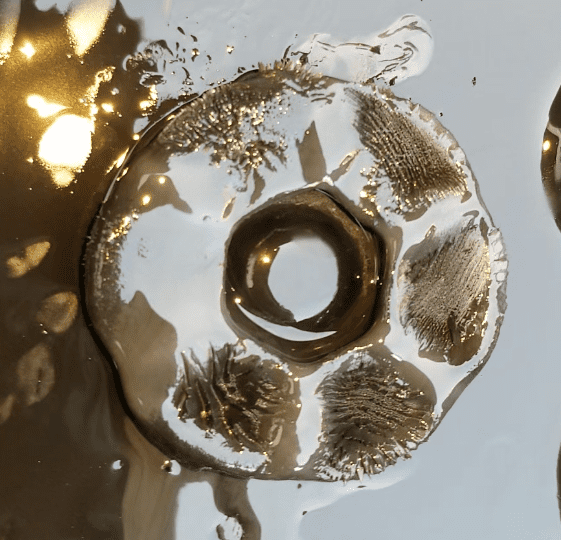
Magnet (Clean):
New Filter (Strainer):
Non-Marring Tool in Action:

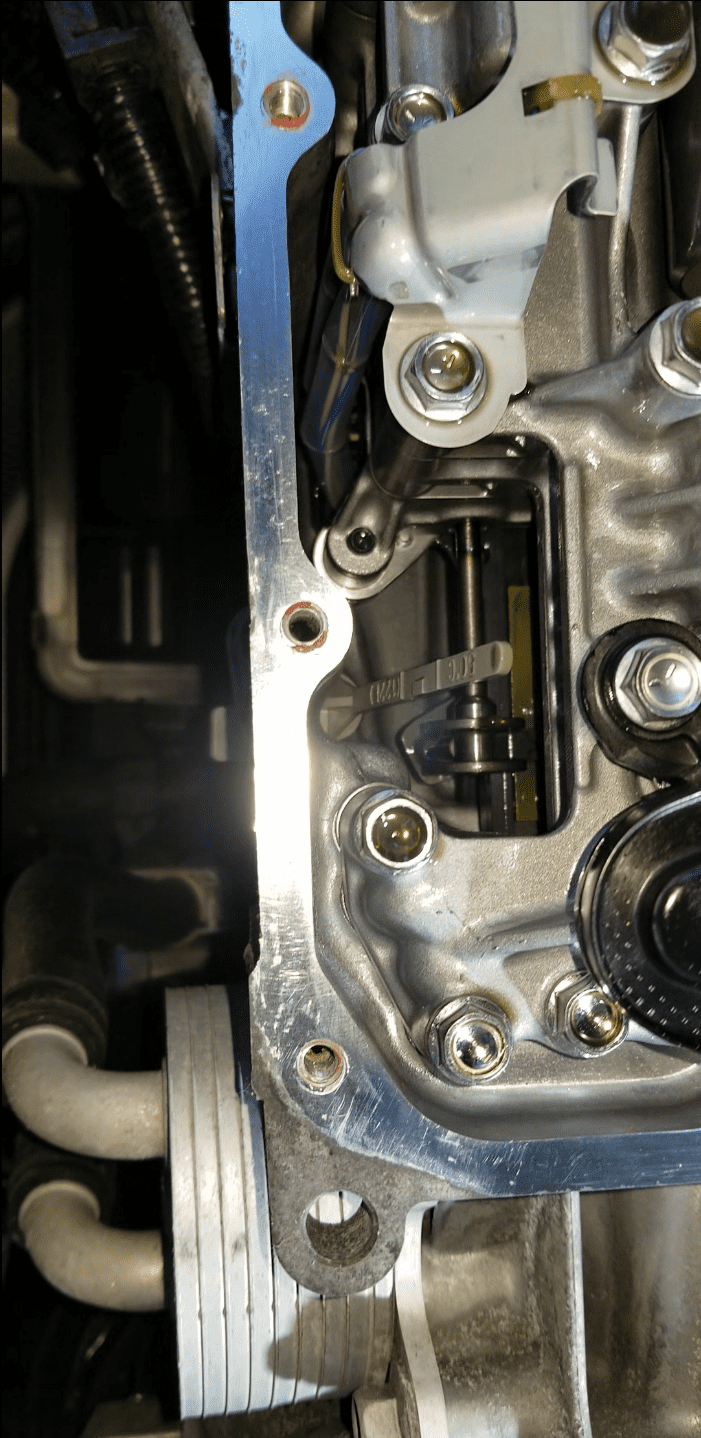
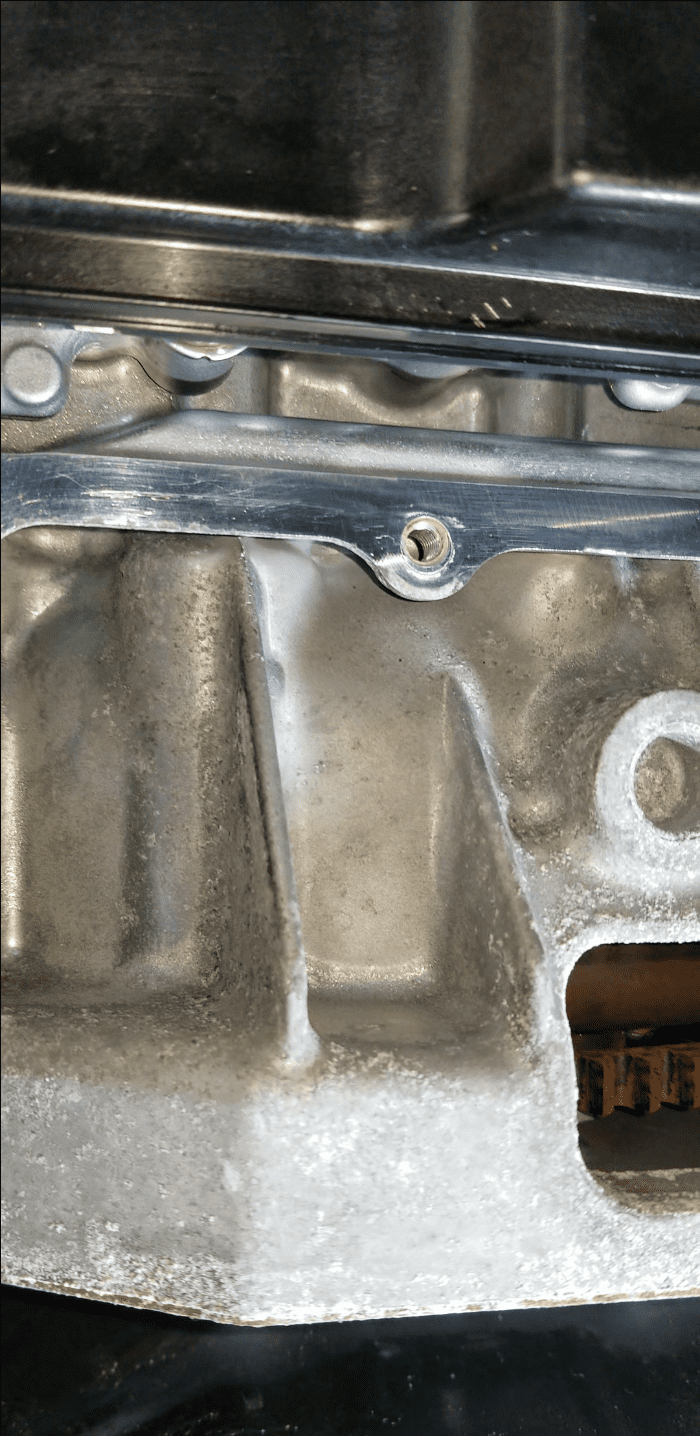
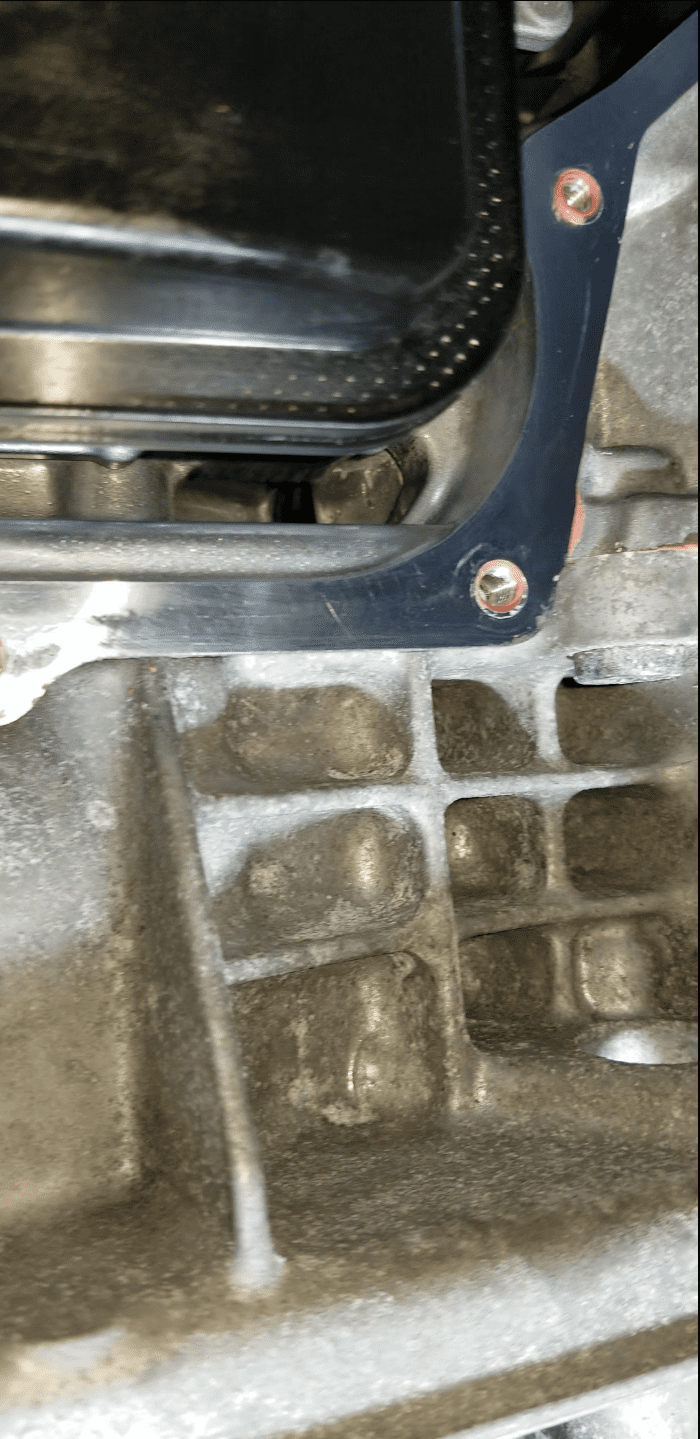
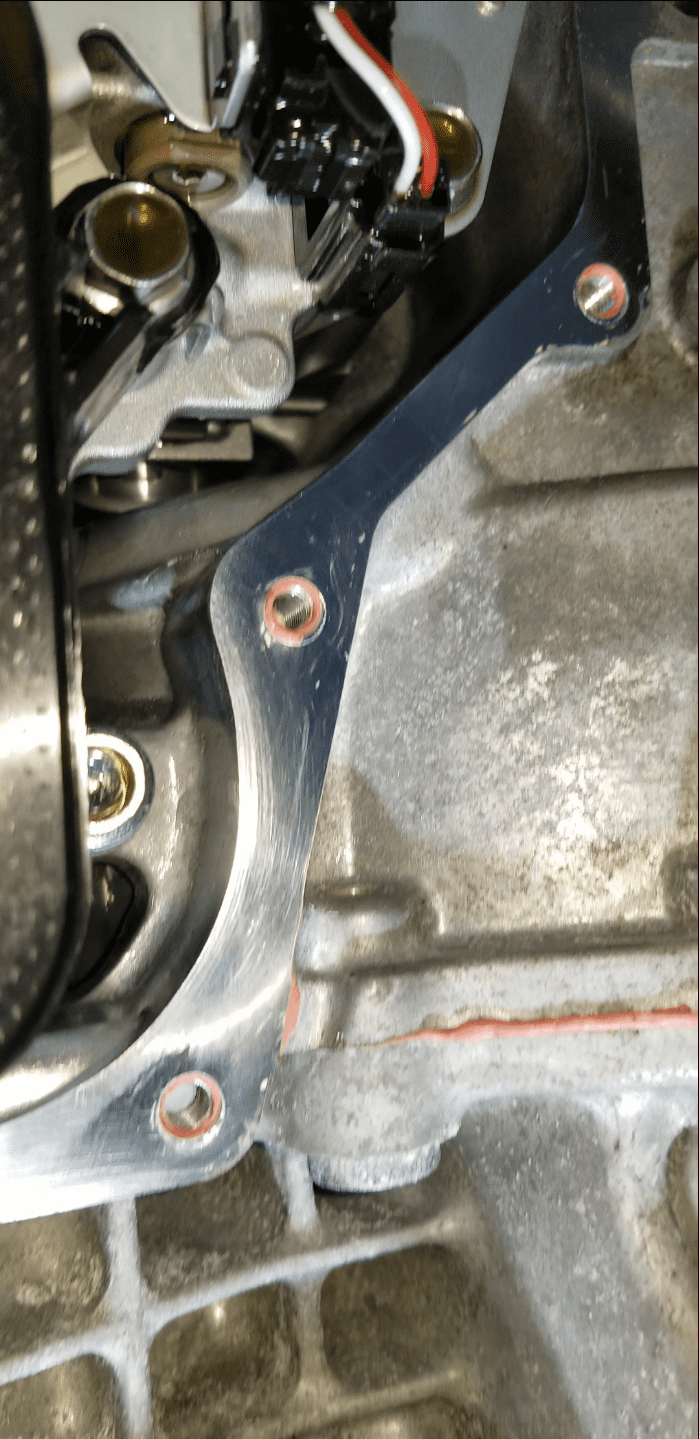
Pan RTV Removed:



Transmission Diagram
**See Google Drive link for service manual**
Transmission Manuals PDF
OEM/Part #'s:
- ATF FZ Fluid: 0000-FZ-113E-01 If you plan do do (2) Drain and Fills + (1) Pan Drop then you'll need at least 14 quarts of fluid.
- Mazda OEM Filter (Strainer): FZ01-21-500
- Transmission (Filter) Strainer Bolts: 9945-40-616
- Transmission (Pan) Bolts: 9YA0-10-615A
- Transmission/Oil Washer: 9956-41-400
- 8 mm hex bit socket for transmission drain plug
- 10 mm for transmission filter (strainer) and transmission pan bolts
- Harbor Freight Non-Marring Tool Set (4 Pieces)
- Magnetic Parts Tray
- Telescoping Magnetic Pickup Tool: In case you drop your drain bolt inside your drain pan.
- 3/8 socket extension
- Scott Shop Towels (lots of them)
- https://www.amazon.com/dp/ (commissions earned): To measure how much fluid that has been drained.
- (70%/91/99%) Isopropyl rubbing alcohol or brake cleaner (non-residue/fast drying) or grease dissolver
- Underbody cover held by (8) 10 mm screws and (6) plastic rivets that requires a screw driver or prying tool
- Engine filter housing held by (2) 10 mm bolts
- Dipstick bolt held on by (1) 10 mm bolt
- Engine Air Filter Housing Hose held on by (1) Philips/10 mm
- Engine Air Filter Housing sensor
- Transmission drain plug (8 mm hex bit socket
- Transmission Dipstick Bolt: 71 - 97 in lbf
- Transmission Drain Plug: 23 - 30 ft lbf
- Transmission Filter (Strainer) Bolts: 80 - 88 in lbf
- Transmission Pan Bolts: 71 - 88 in lbf
- Fresh Air Duct Bolts: 71 - 88 in lbf
- Take your time, if you don't have more than 8-10 hours/whole weekend free, I suggest you don't even bother because you'll be spending most of your time scraping the crap off and making sure the surfaces are clean and prepped and this includes the breaks that you take as well not including waiting for the RTV to cure before you can pour in ATF FZ fluid.
- Please make sure you clean off your socket before loosening/tightening the filter bolts to avoid contamination. I sprayed brake cleaner on my socket to clean off any old residue that may have been remaining from previous work/oil changes.
- Don't use a safety razor or a screw driver please, you will definitely scratch the pan and cause damage. If you plan to separate the transmission pan from the mating surface, use the Harbor Freight Non-Marring Tool set, put it at the corner where you can easily reach with a 4 lb hammer and keep hitting it until it goes inside. It will definitely take a bit of force to do so and once you've done that, the pan should loosen up a little bit and allow you some room to insert the tool into the other angles and separate the pan. If required, use two bolts to hold the pan together but don't tighten it all the way in, maybe 50% in so it doesn't drop on you and spill.
- Use the non-marring tool from Harbor Freight, especially the corners/edges to scrape off the RTV. It did a great job at doing what it was supposed to do, although I think the aluminum mating surface still got scratched a little. I can't really be certain that it wasn't like that from the factory. Scotch brite non-scratch was useless in my opinion, I used the non-marring tool 90% in conjunction with the scotch towels
- Use the Scott Original Shop rolls on the mating surface after you remove big chunks of the RTV. Basically, instead of having a straight line of RTV, you want to destroy the RTV so that it's in smaller pieces not in a straight line so that you can use a paper towel and then apply pressure to rub it off. I don't know how abrasive it is, but it shouldn't be abrasive enough to damage the surface like sand paper (I hope).
- Use rubbing alcohol (70%/91/99%) to clean the oil/grease off of the surfaces so that the new RTV you apply will adhere better.
- If you're planning to do multiple drain/fills + a pan drop, I would probably recommend to do the pan drop first in case you mess up the RTV process near the very end.
- I would suggest to have a syringe handy with long clear plastic tubing at least the 100-150 ML ones in case you mess up and overfill your ATF. This way you can still extract the extra amounts out.
- Make sure to use the front and the back of the dipstick as a guide to double check if the fluid level is correct as the front of the dipstick can be tricky if you have very transparent fluid like me and it touches the lip of the dipstick hole.
- If possible, keep the drain plug open and let it drain overnight so once you take the pan off, clean everything up and then get to the RTV portion, you don't have ATF still dripping down because it'll ruin the whole entire process and you'll need to start from scratch.
- Definitely get a measuring container to see how much fluid drained. Yes, I know it's expensive for a 12 quart container but it'll save you a lot of trouble.
- I would recommend to apply some RTV to the transaxle case as the RTV on the transmission pan will most likely adhere better and not slide off once it touches the bare aluminum surface and this creates a nice seal..
- Take your time with cleaning up the surfaces/prepping, it's definitely a chore and there's no time limit. It took me about 2-3 hours for each surface and I did the best I could. It's not 100% cleaned but it's good enough that there shouldn't be leaks.
- When applying the RTV around the transmission pan, apply it in a bead. I would probably recommend getting a pair of pliers and two flat pieces of wood or a hose clamp plier (Radiator Hose Pinch-Off Pliers) since you will most likely run into issues with squeezing the RTV as it is very thick. The alternative would be to purchase a CO2 powered RTV.
- The magnet was extremely dirty with so much crud and metal shavings on there, that I actually think I should've dropped the pan sooner. Honestly, this really depends on how you drive but I did drive pretty aggressively in the beginning and then moderately-aggressive afterwards. The car has 64.4k miles so far.
- I cut open the filter and I did see some metal shavings inside the filter. Don't know if this is a good thing or not but I'm still waiting for my oil analysis to be processed. I'm not sure if I'll use Wix again for an oil analysis, seems like their customer service isn't so great but for $10-11, can't really ask for much.
- Do you have a check engine light (CEL) after you removed the mass airflow box? Reset it using the OBD II scanner and it should go away.
- Even after applying the RTV, do you have a leak/puddle on the floor?
a. Some ATF dripped onto your RTV when you were installing the pan back
b. You did not degrease the pan/transaxle surface
c. You may have a dent/bent pan lip/bolt hole so it isn't sealing properly and may need to hammer it back to make it even
d. You did not wait 24 hours or whatever the instructions says for the full cure time
e. Not all of your bolts were tightened/torqued correctly
f. You may have extra RTV on the tip of the bolts which caused there to be a gap between the pan surface/transaxle surface
g. The old RTV wasn't fully/properly cleaned off the surfaces
h. You applied too little RTV or there was a gap which caused a poor seal
1. Drain using a 12 qt container
Engine Air Filter Housing:
Transmission dipstick:
After removing the bolt and the dipstick from the ATF, I realized there was a lot of dirt caked between the dipstick and the mounting surface itself. I was read about this before in other posts but there was definitely dirt underneath the dipstick contact surface as well.
Dipstick from factory fill:
Dipstick after pouring 3.7 - 3.8 qts back
ATF Drain Bolt:
Ran into some issues removing the washer since it was pretty much stuck to the bolt and had to use a pick to pry it off.
Engine Air Filter/Housing Removed
Bottom of air filter housing:
I definitely noticed the bolts that appear to be holding the ECU/ECU mount in place appear to show signs of rust
New Filter/Pan Bolts:
How to Remove the Transmission Pan from the mating surface:
This is the best angle to hammer through using the non-marring tool.
The red circle right here is where the fluid will leak out from once you pull down the filter (strainer) so make sure that you have something under here.
Clean Pan:
Magnet (Gunk):
Magnet (Clean):
New Filter (Strainer):
Non-Marring Tool in Action:
Pan RTV Removed:
Transmission Diagram
