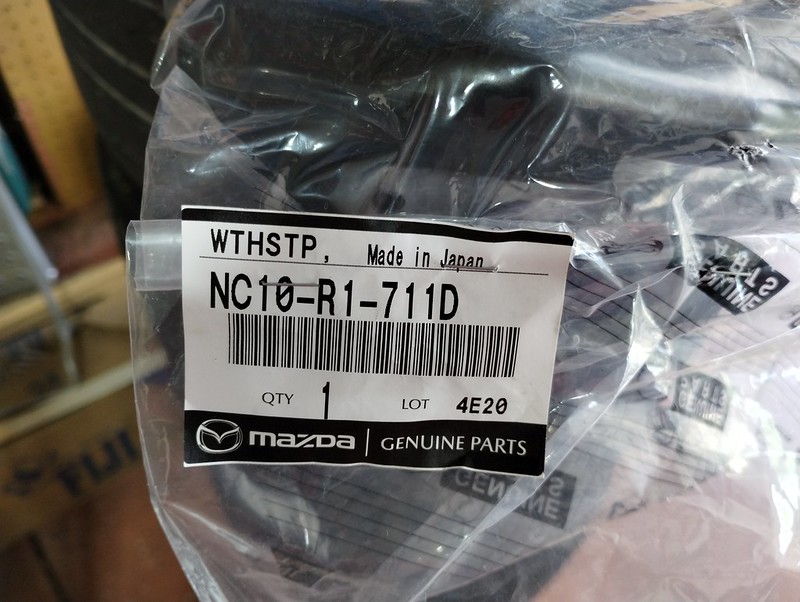
At that point I decided to take a little break to work on something simpler. My windshield header weatherstrip was showing signs of wear so I decided to replace that. Here is the part number for it:

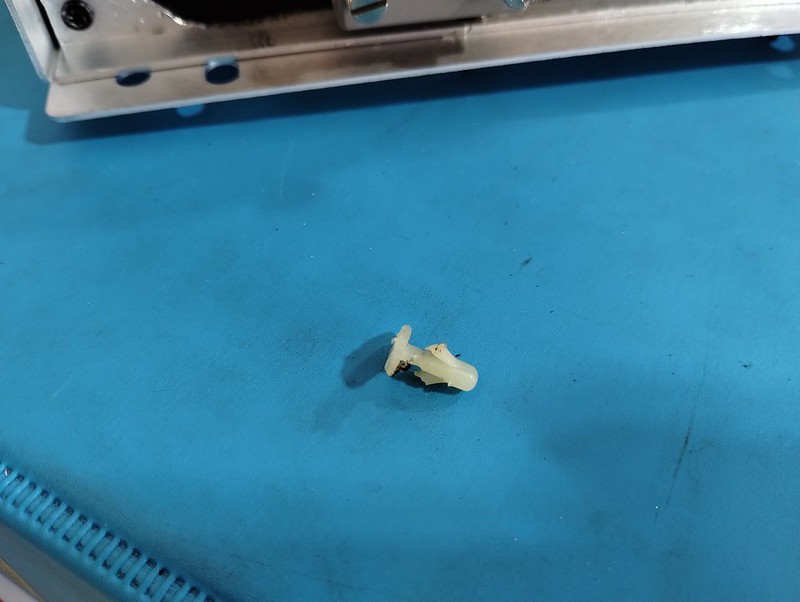
I bought it online from a dealer near me and picked it up in person. With that in hand I proceeded to remove the old part. It’s pretty easy to pull the strip off the seam it attaches to, there are two fasteners located at either side of the top. One is a black serrated pin, and the other a white T-shaped post. The white post is similar to those used for the weatherstripping around the door perimeter. I removed those the same way as I did the others by pulling it up slightly and then slipping a small screwdriver underneath to depress the fingers. Here is how it looks removed:

Pull up the scuff plate on the door opening to remove the front part of the strip. Once you remove the strip, you will have some adhesive to remove before proceeding. The new strip has adhesive inside the slit that fits over the seams so you don’t have to add any. Here is a view of a seam once the strip is removed:

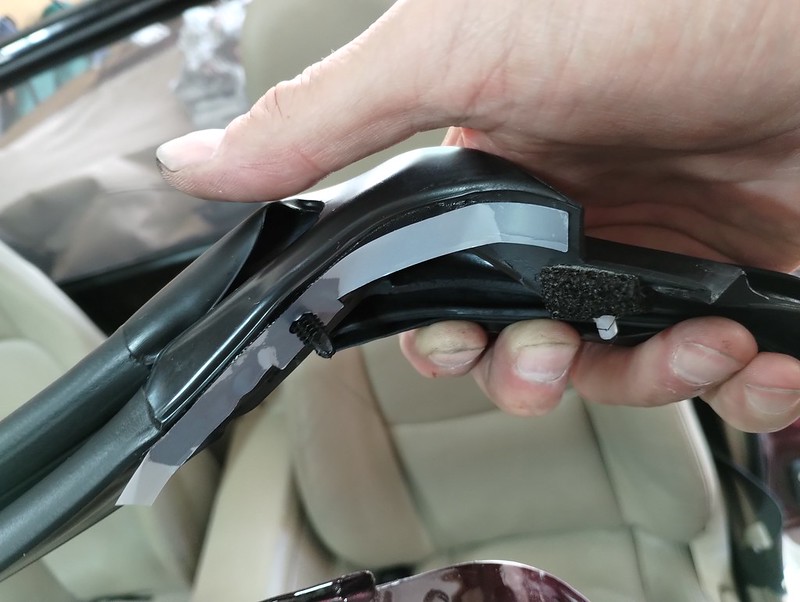
Once I had the cleaning done I started at one side (I chose the passenger side) to put the fasteners in place and then worked my way down the door opening. At the edge where the fasteners are you will see some strips that need to be removed to expose double-sided tape before putting that edge on. Here is what to look for:

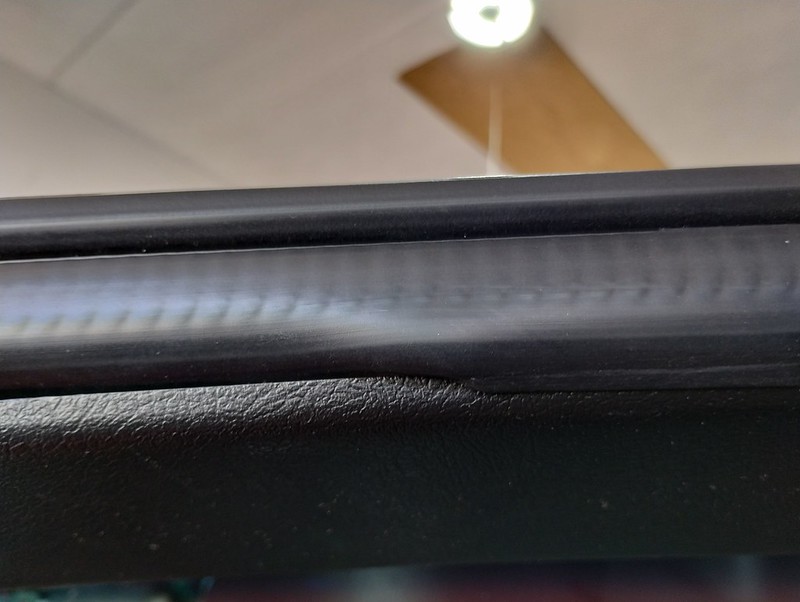
You then work your way around the weatherstrip making sure the slot fits over the seams correctly. Once done you will have some of the strip trapped under the trim so will have to work your way along to free that up. Here is what you will see:

Note, you can remove that header trim completely and avoid having the work the edge out, but I was already deep into things so decided it was just was easy to work the edge until it was where it needed to be.

I bought it online from a dealer near me and picked it up in person. With that in hand I proceeded to remove the old part. It’s pretty easy to pull the strip off the seam it attaches to, there are two fasteners located at either side of the top. One is a black serrated pin, and the other a white T-shaped post. The white post is similar to those used for the weatherstripping around the door perimeter. I removed those the same way as I did the others by pulling it up slightly and then slipping a small screwdriver underneath to depress the fingers. Here is how it looks removed:

Pull up the scuff plate on the door opening to remove the front part of the strip. Once you remove the strip, you will have some adhesive to remove before proceeding. The new strip has adhesive inside the slit that fits over the seams so you don’t have to add any. Here is a view of a seam once the strip is removed:

Once I had the cleaning done I started at one side (I chose the passenger side) to put the fasteners in place and then worked my way down the door opening. At the edge where the fasteners are you will see some strips that need to be removed to expose double-sided tape before putting that edge on. Here is what to look for:

You then work your way around the weatherstrip making sure the slot fits over the seams correctly. Once done you will have some of the strip trapped under the trim so will have to work your way along to free that up. Here is what you will see:

Note, you can remove that header trim completely and avoid having the work the edge out, but I was already deep into things so decided it was just was easy to work the edge until it was where it needed to be.


