May I suggest an easy mod for the cargo area lighting?
Just wanted to share mine:
Got a silicone led strip (12v) from aliexpress for really cheap, like $5-6 including delivery.
link
Then, soldered a wire directly to the strip, added some connectors, and soldered receiving connectors to the cargo light bulb (so that the switch would work). Removed the original light bulb (I also had LED there and it was not very convenient).
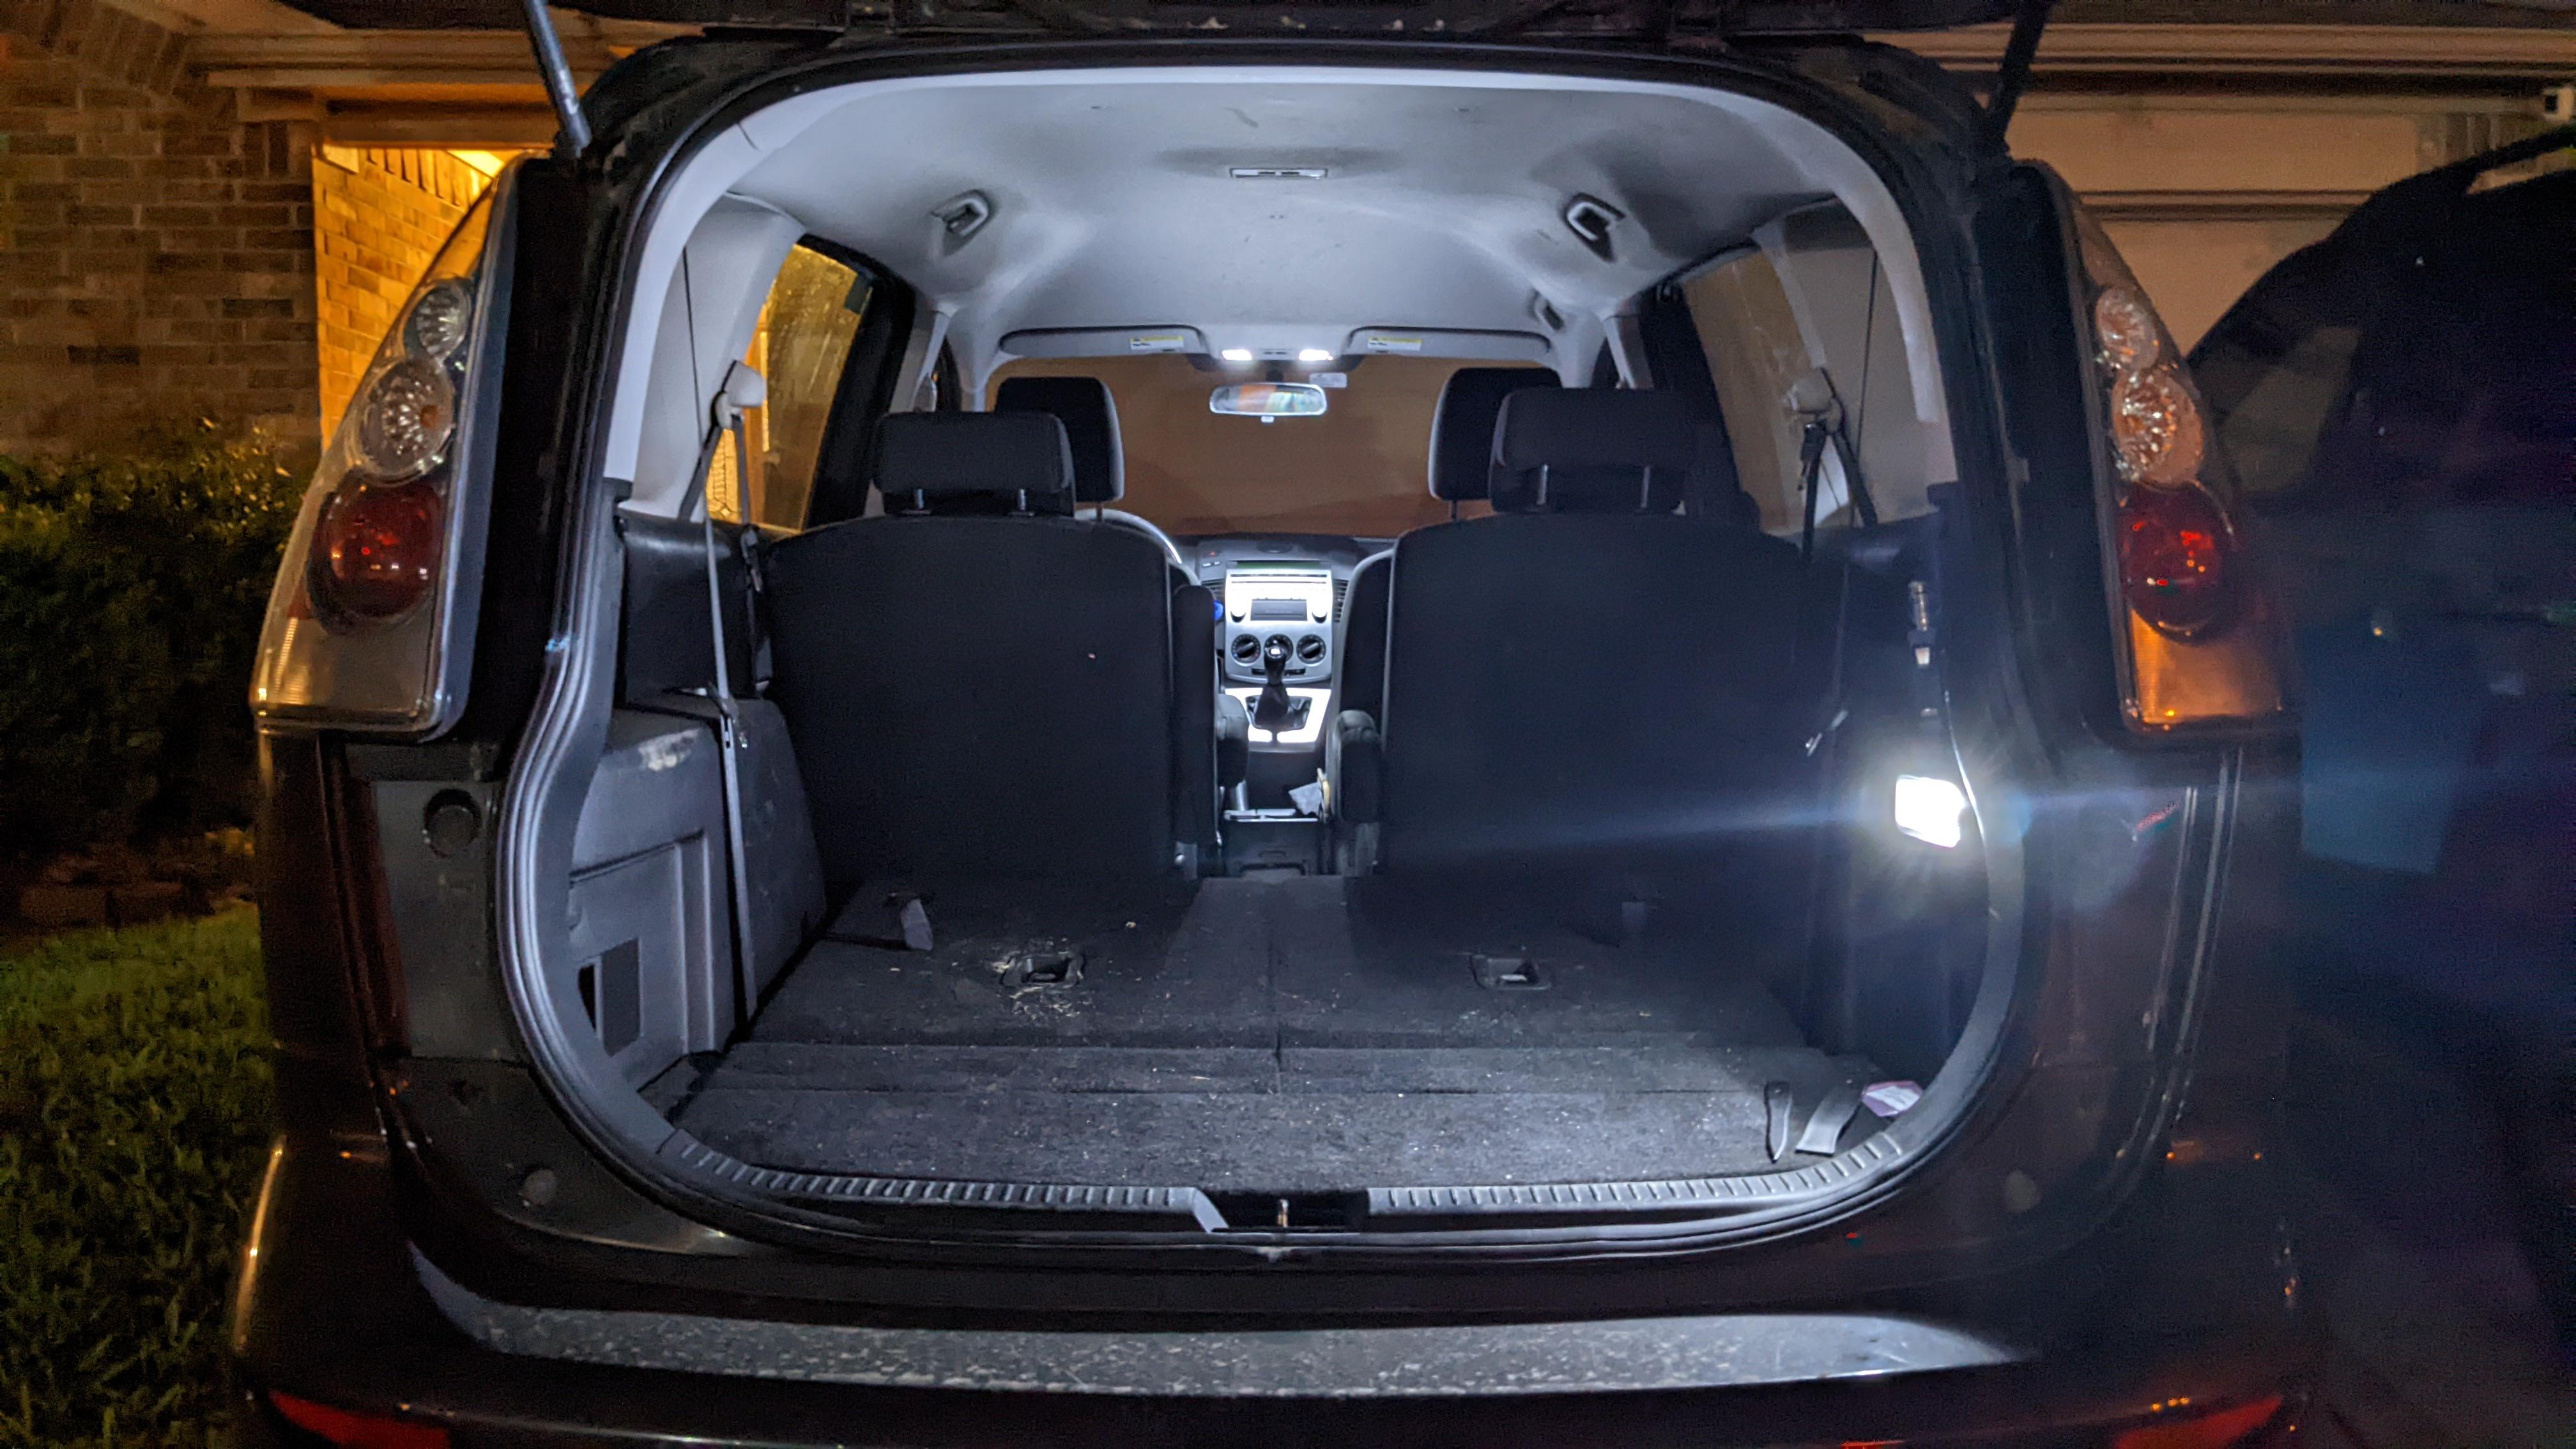
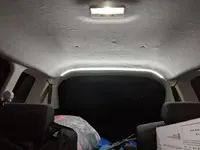
Installation is quite easy - just carefully tuck the led strip under the trim, it has a kind of groove for that. Use double-sided sticky tape if you wish, but in my case, it was not even necessary. Fish the wire to the connectors at the original light bulb section. You don't even need to remove the plastic trim for that, you can do this by wiggling the wire carefully.
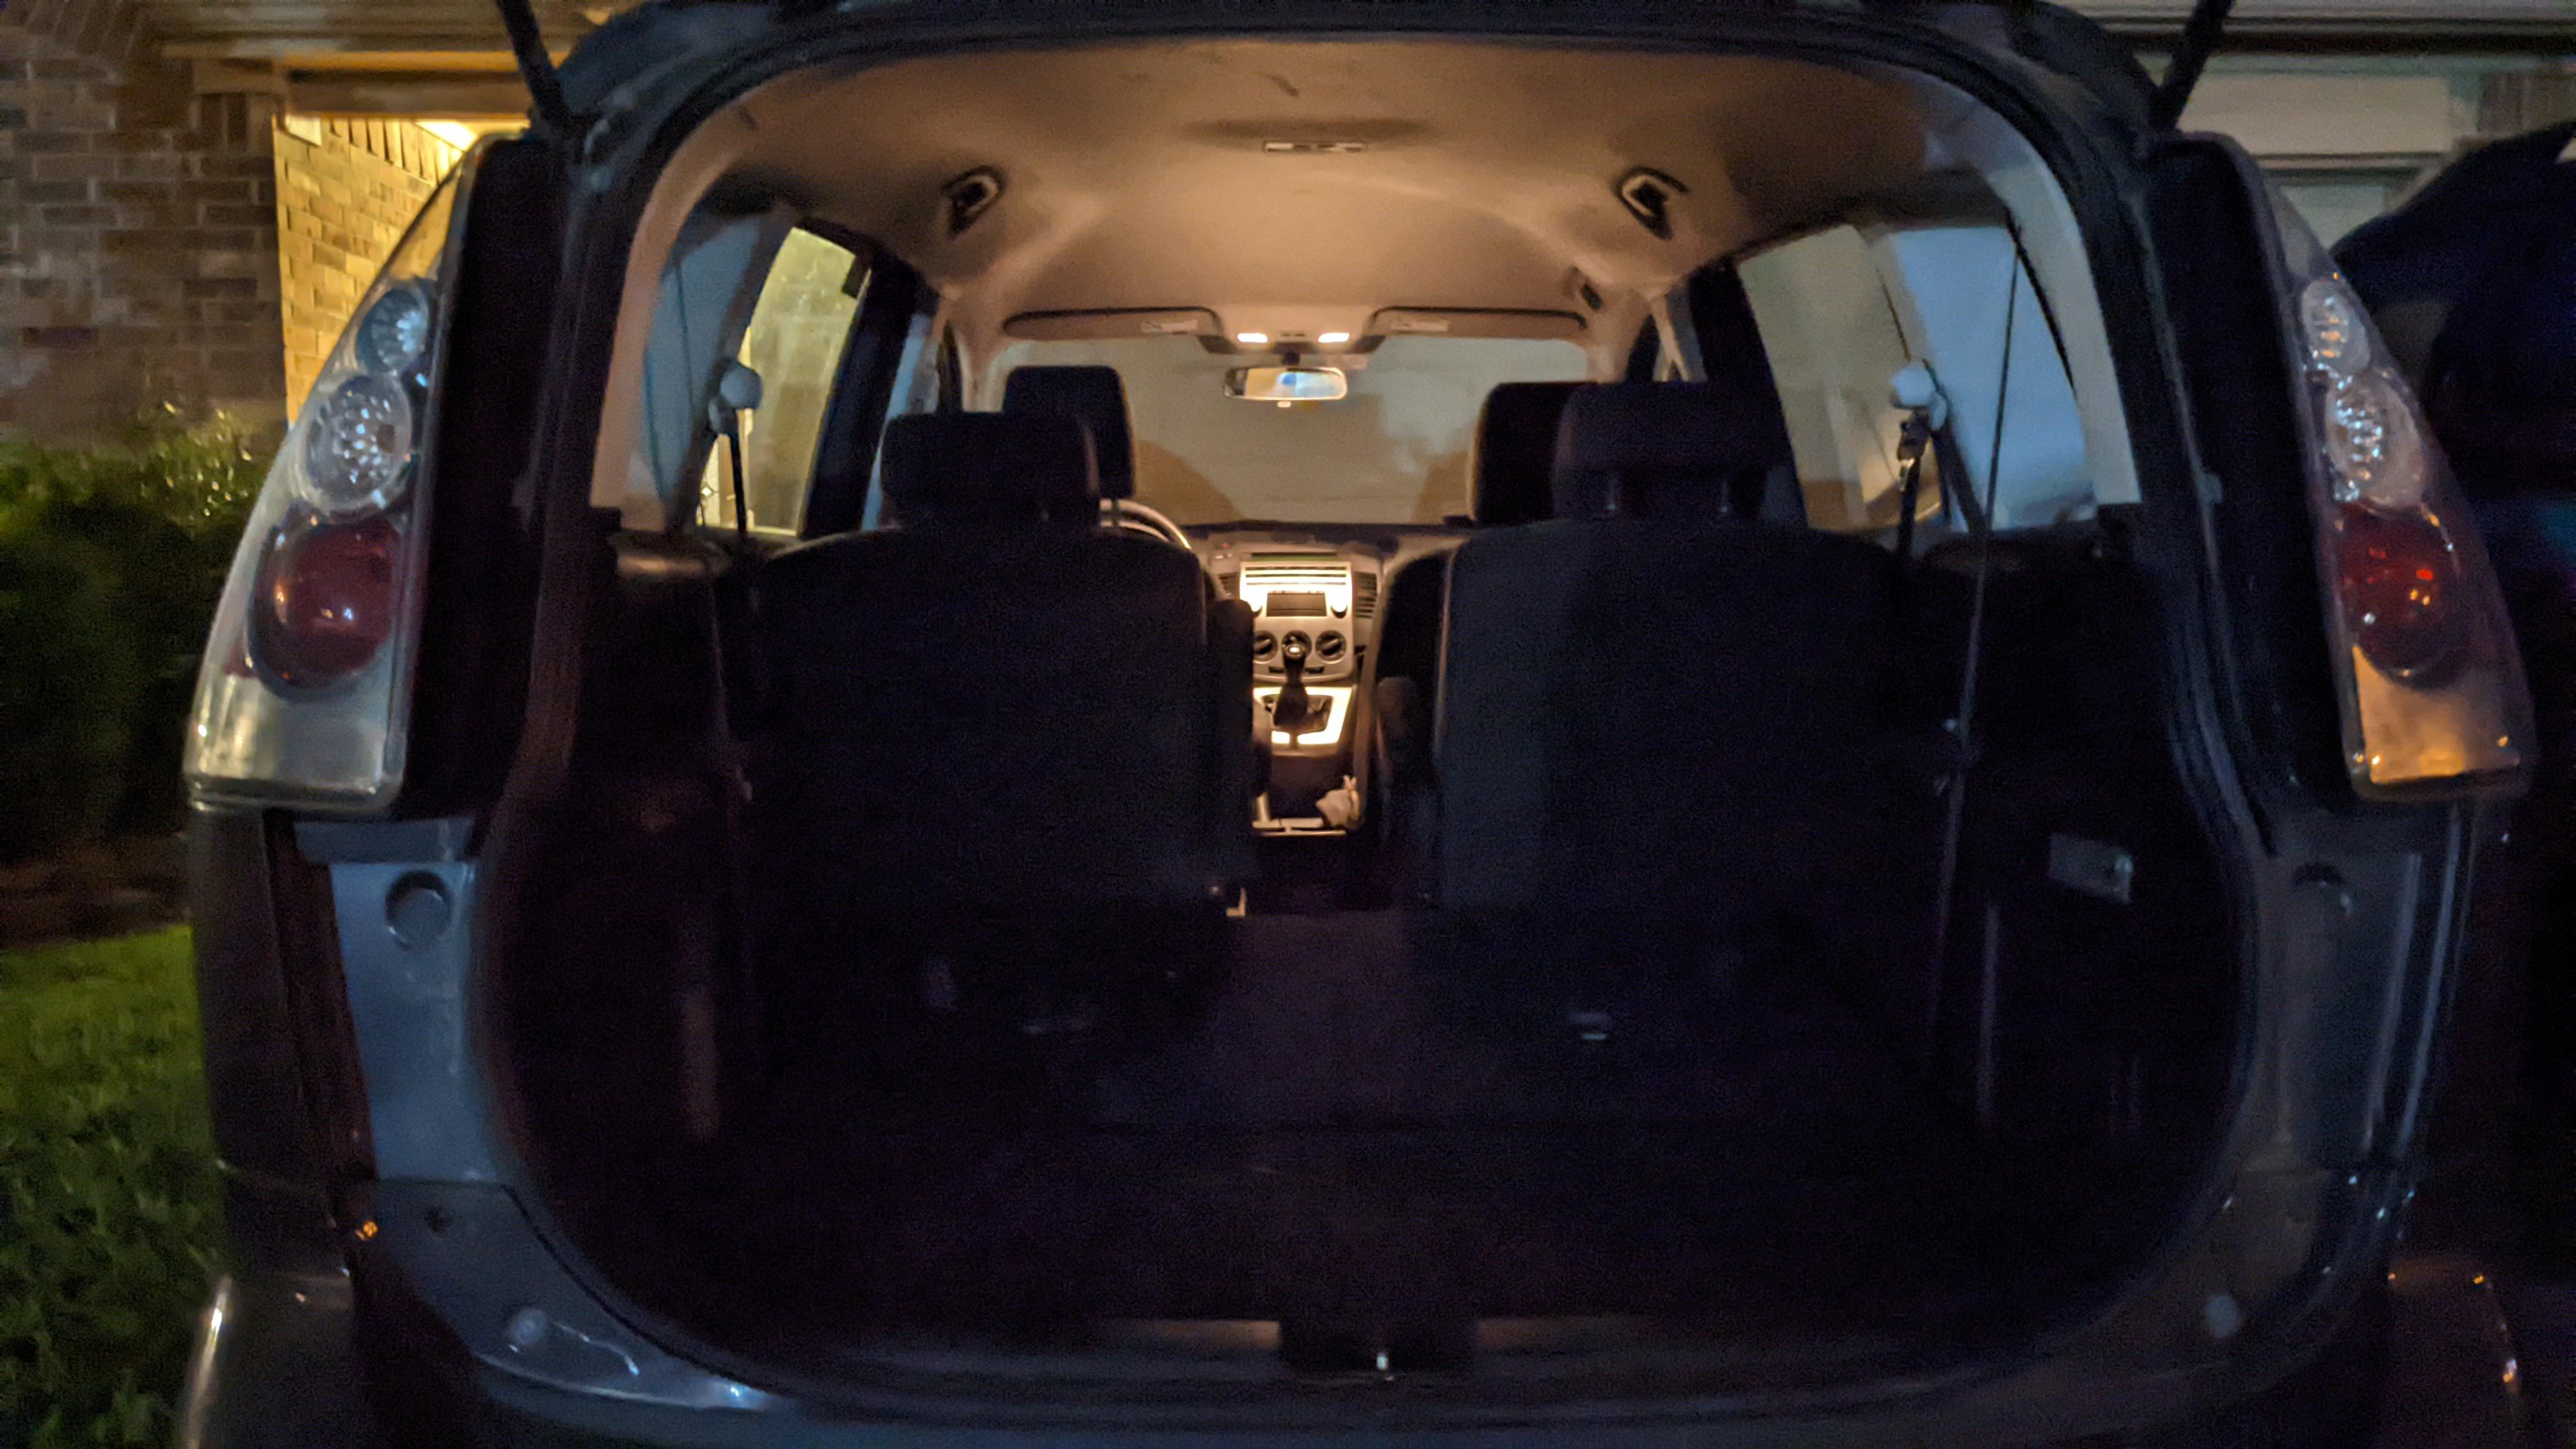
As a result, when I open the cargo hatch at night, I don't have this super bright light shining into my eyes, but rather a soft white light covering more area. See attached pictures.