
MP3Night
MS3,Mazda3,MSP
How to upholster your Protg/MP3/MSP
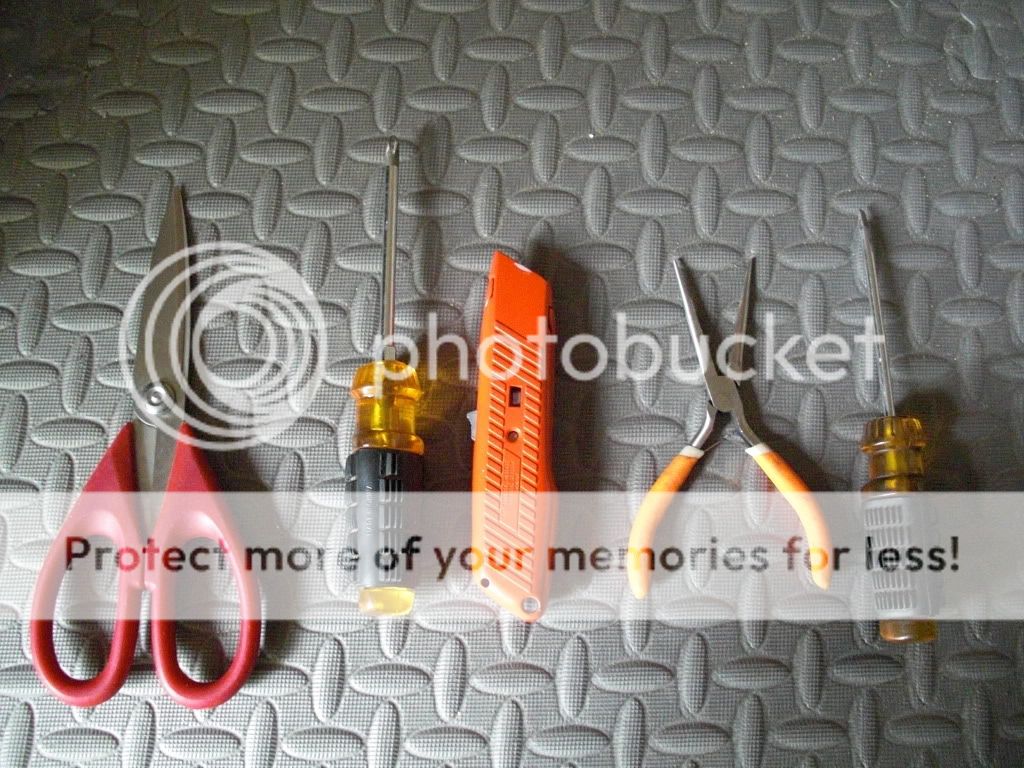
Tools that will be needed
1. fillips and flat head screw Drivers
2. Scissors
3. Box Cutter
4. Needle Nose Pliers
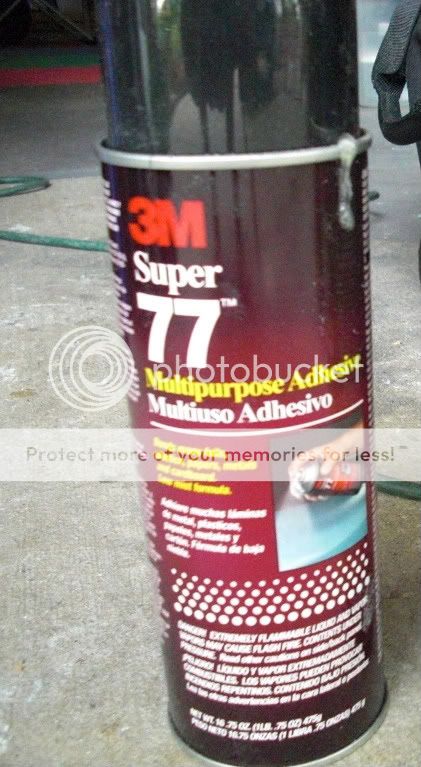
5. 3M Super 77 Spray Adhesive or Max Professional headliner adhesive
6. Construction paper or copier paper
7. Tape for copier paper
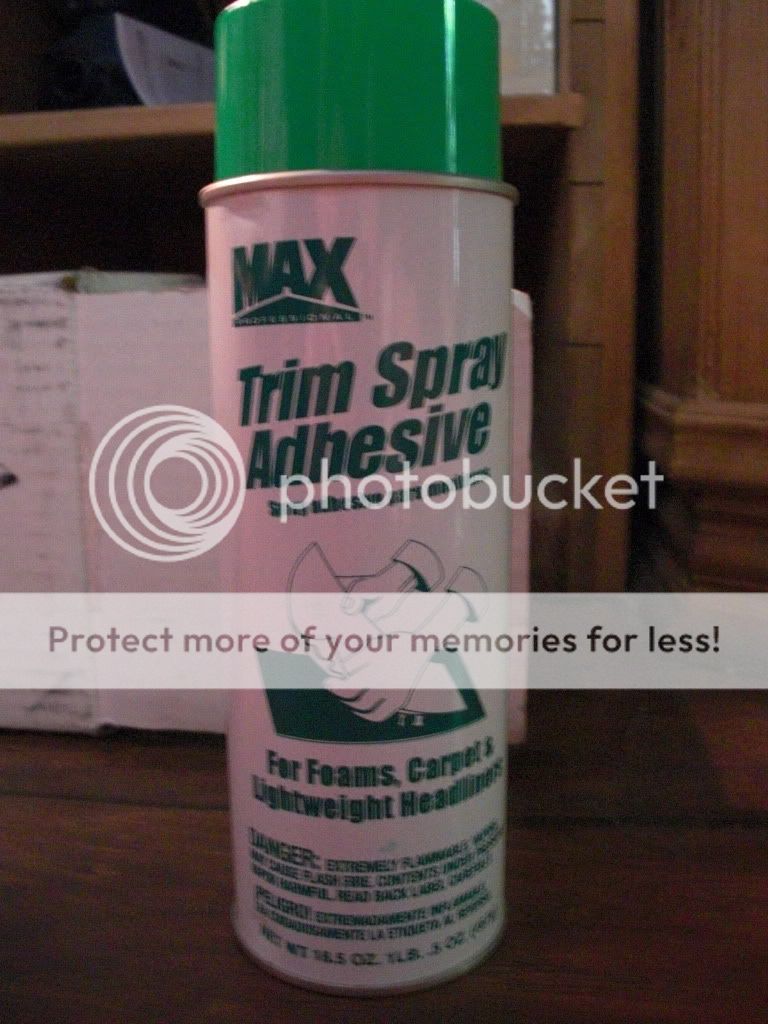
I used this Max Professional headliner adhesive and found this worked the best...car could probably be on fire and the headliner would hold
Heres where I got it http://www.wlsheadliners.com/max-pr...9.html?zenid=b04c16291d80571fcb567b0493c544d0
Before starting on the doors you will need to remove the hardware/parts. First take the door handle off, there is one fillips screw behind the handle,
 after unscrewing it pull the handle as if you would be opening the door this will allow the handle to come out because there is a hook that goes into the door to hold it in.
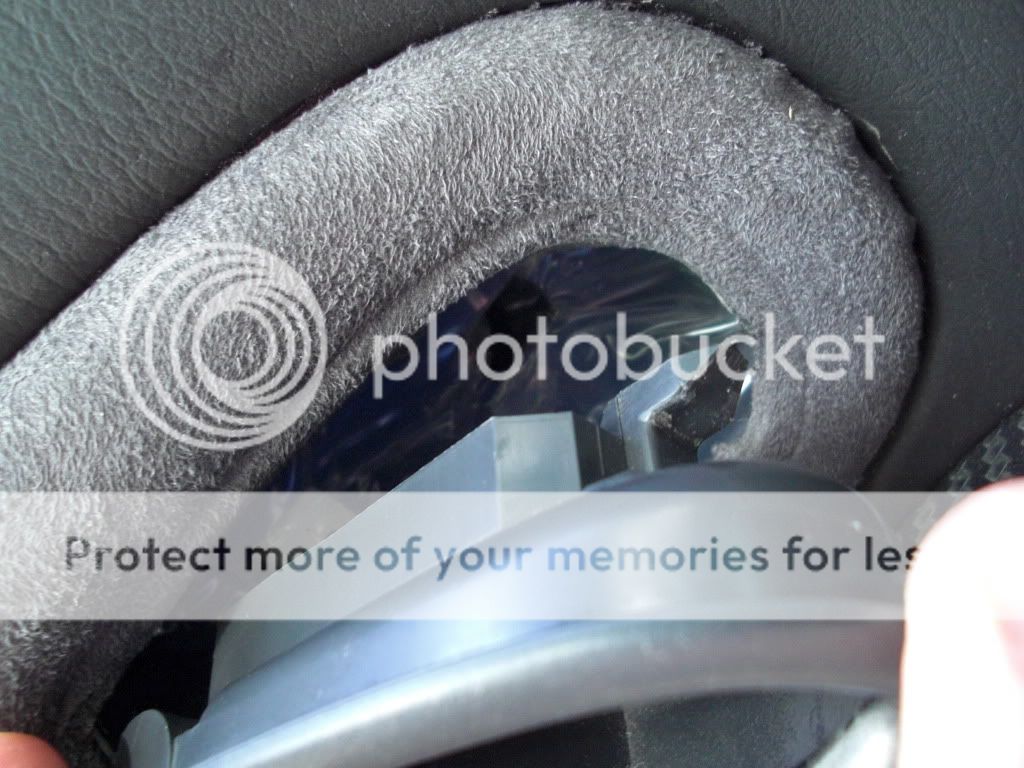
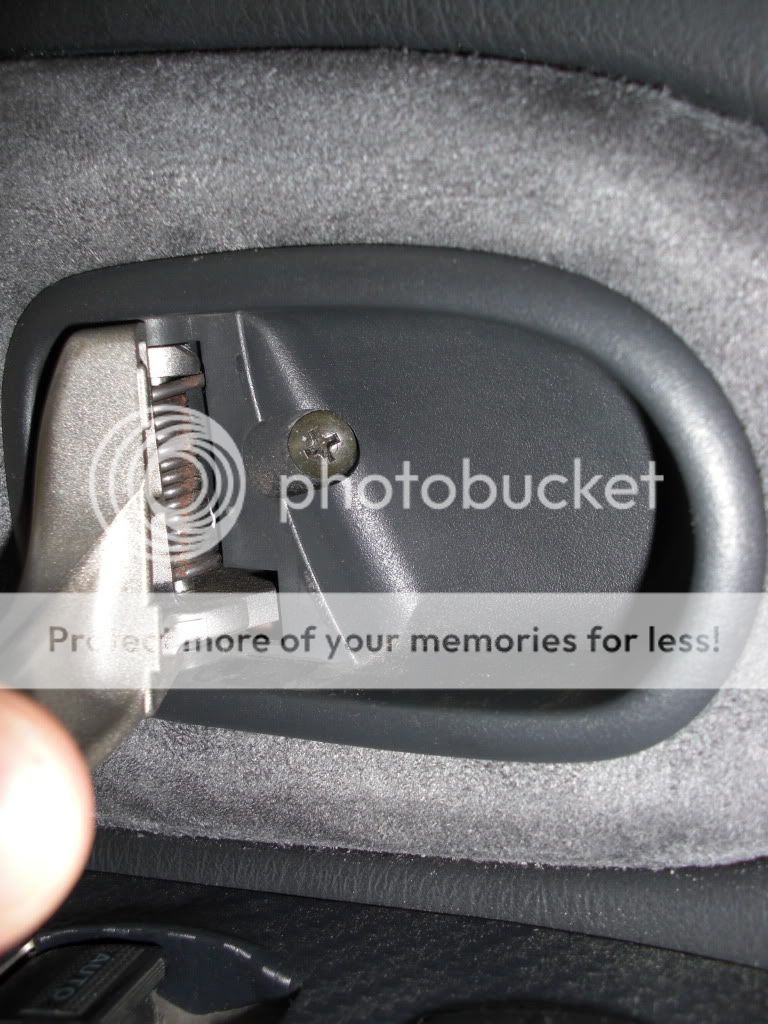
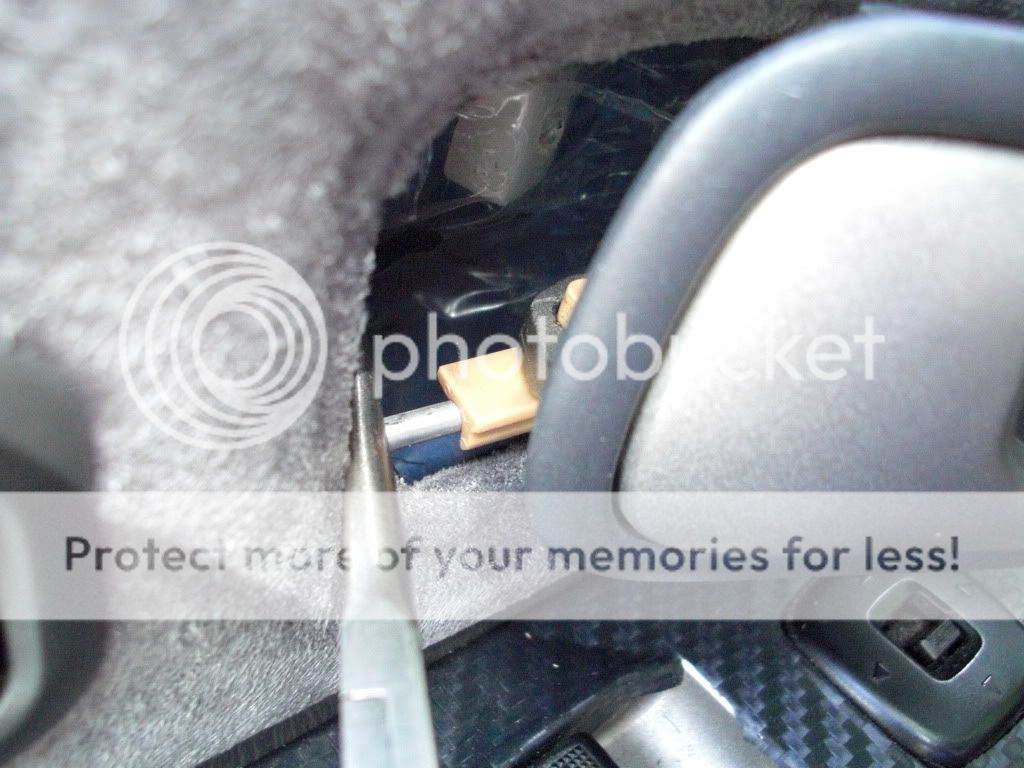
Now take your needle nose head pliers and carefully hold the metal rod in place while you take your flat head screw driver to pop the plastic clip off the metal rod after you do this pull the handle towards you and pull up, but be careful not to brake the clip.
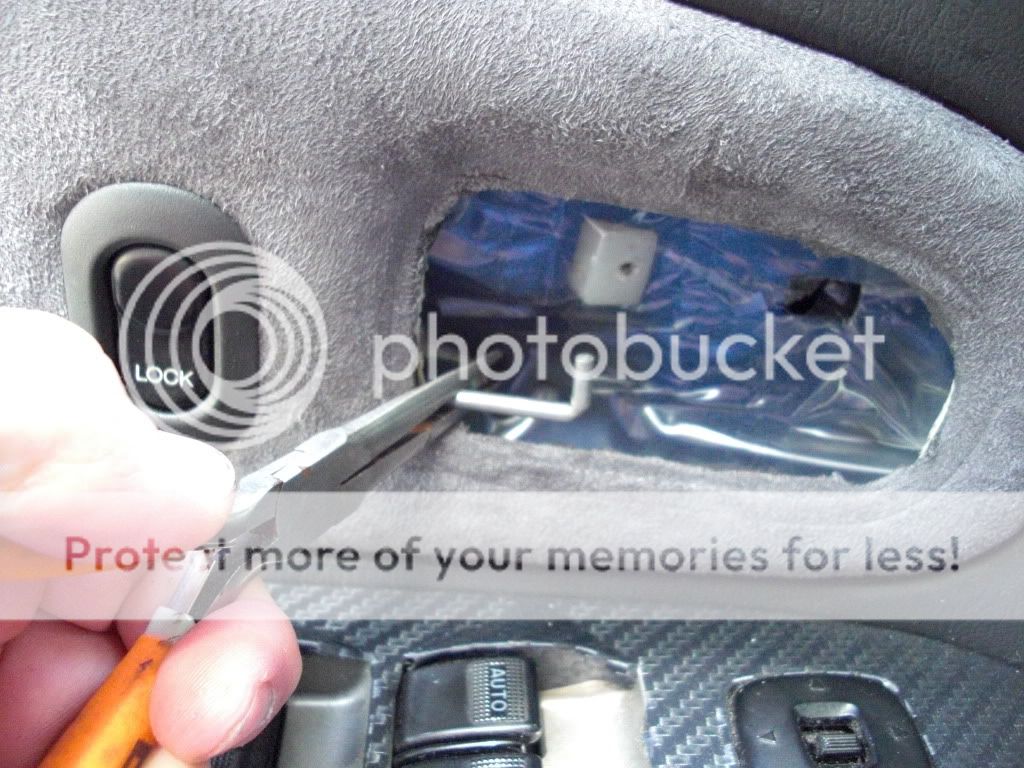
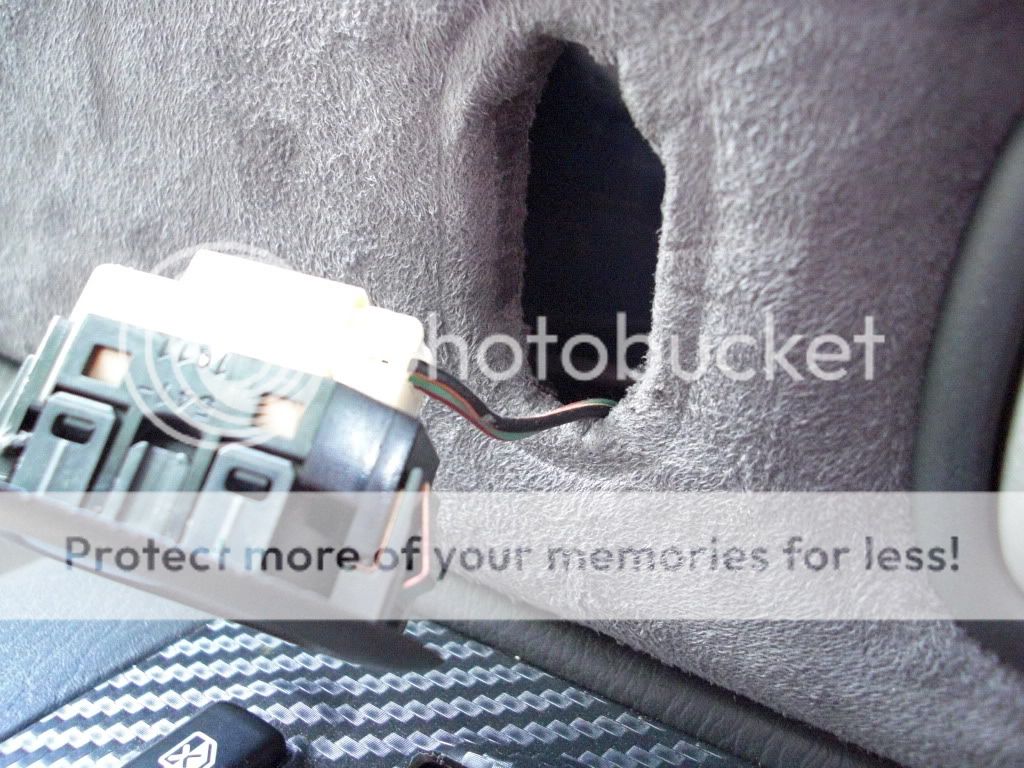
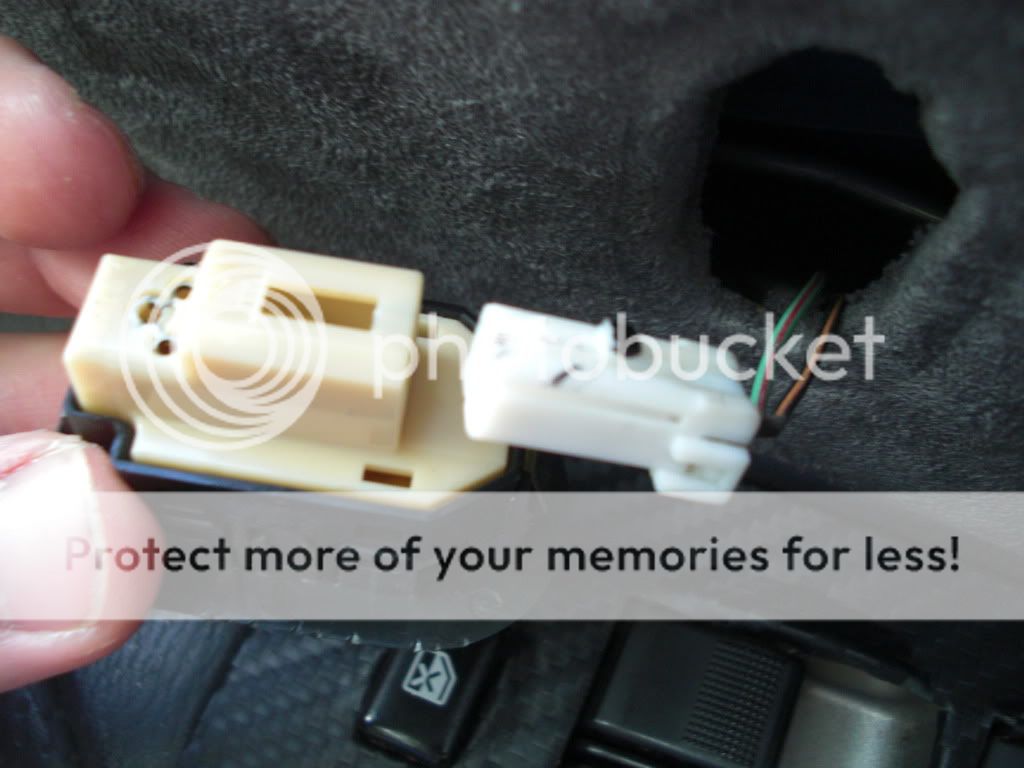
Now pop the car lock switch out with you flat head screw driver and unclip it.
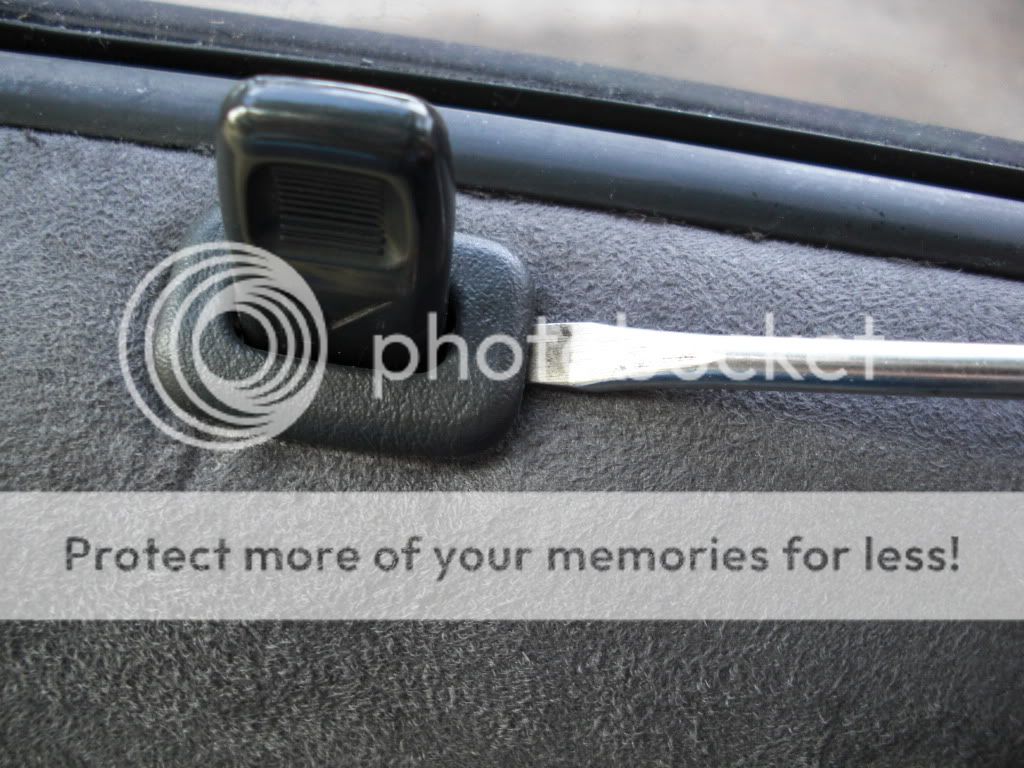
Going over to your trim part that goes around the lock use the flat head once more and slowly work around the trim to work it out, this you will have to take your time because the clips can break easily.
Repeat this process on every door.
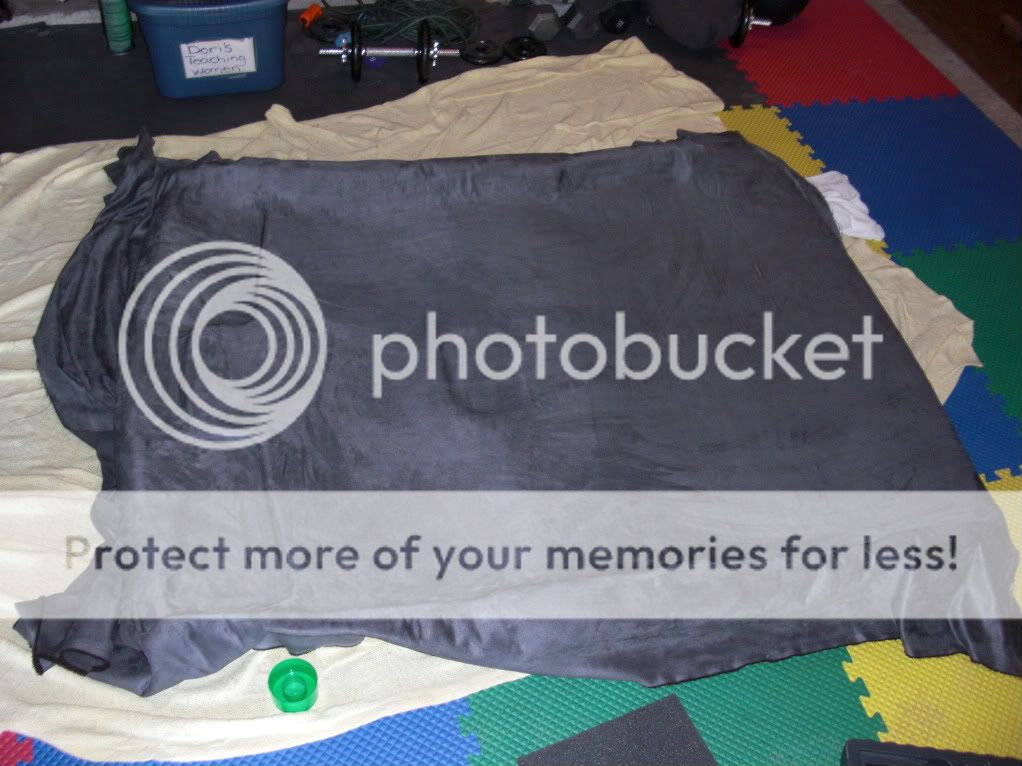
We're ready to start with the fabric now. Take your large piece of construction paper or copier paper, whichever one works for you or you have, tape the back side of the copier paper to make it big enough to lay on the door this is going to be a template for you when you go to cut your fabric. Place your paper on the door, I used the box cutter to cut the outline of my door, but be careful so you don't cut your door you can use a pencil or some other object if you would like. Assuming you have your template now, lay it on the fabric and pull the fabric taught to cut around it with the box cutting allowing a half inch extra around your template. Take your cut out and place it on the door and center it. The door lock will be in the way so find where the fabric fit best and pinch the fabric where the door lock is and cut a little hole in it so the lock slips right through, this will help you find your placement when you go to spray the adhesive on the back of the fabric.
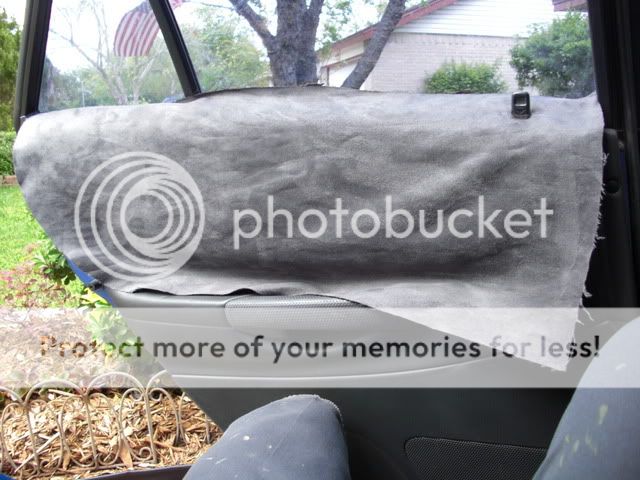
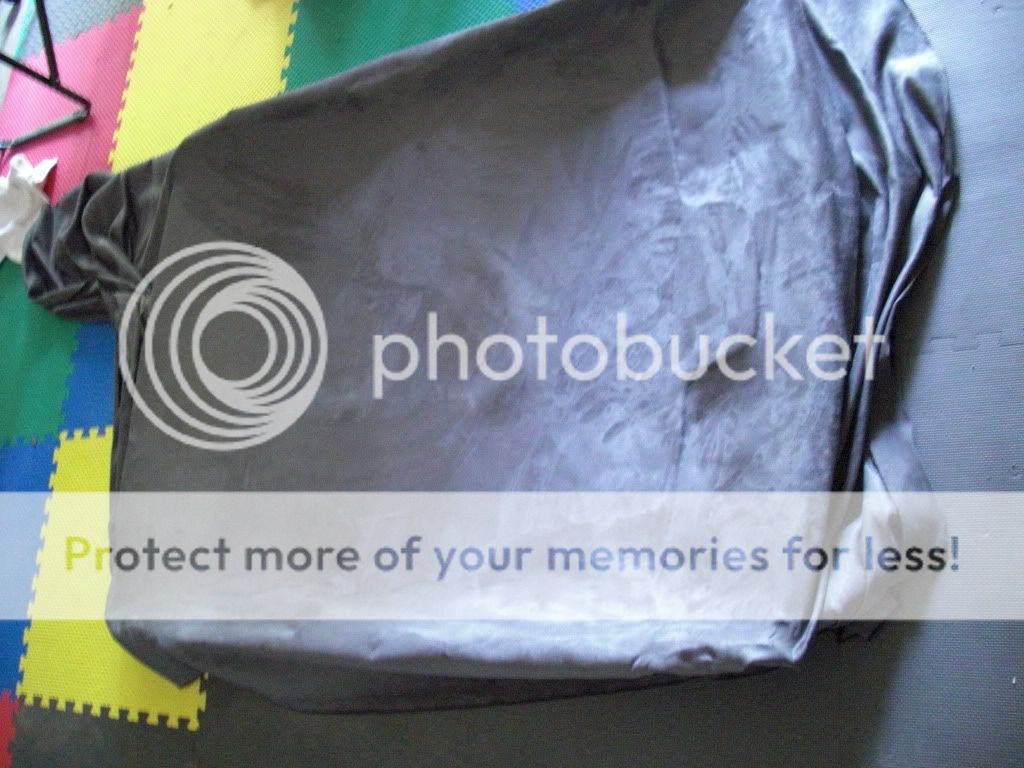
Lay your fabric on a clean surface and spray the adhesive on the back, don't spray to much or it will soak through and will mess up the front side. Let it set for about 30sec or a minute then place it on the door slipping the lock through first then working the fabric against your door taking your fingers to push the edges of the fabric in on the sides. Now that you have left that extra half inch of fabric you may have to trim a little off, I did this just to make sure it would fit all around. Take your flat head screw driver or something that can push the fabric in and tuck the sides of the fabric into the door, this will assure that it will stay on there good. The top window trim you will not have to cut it will all slide in on the top. Repeat this process on all the doors.
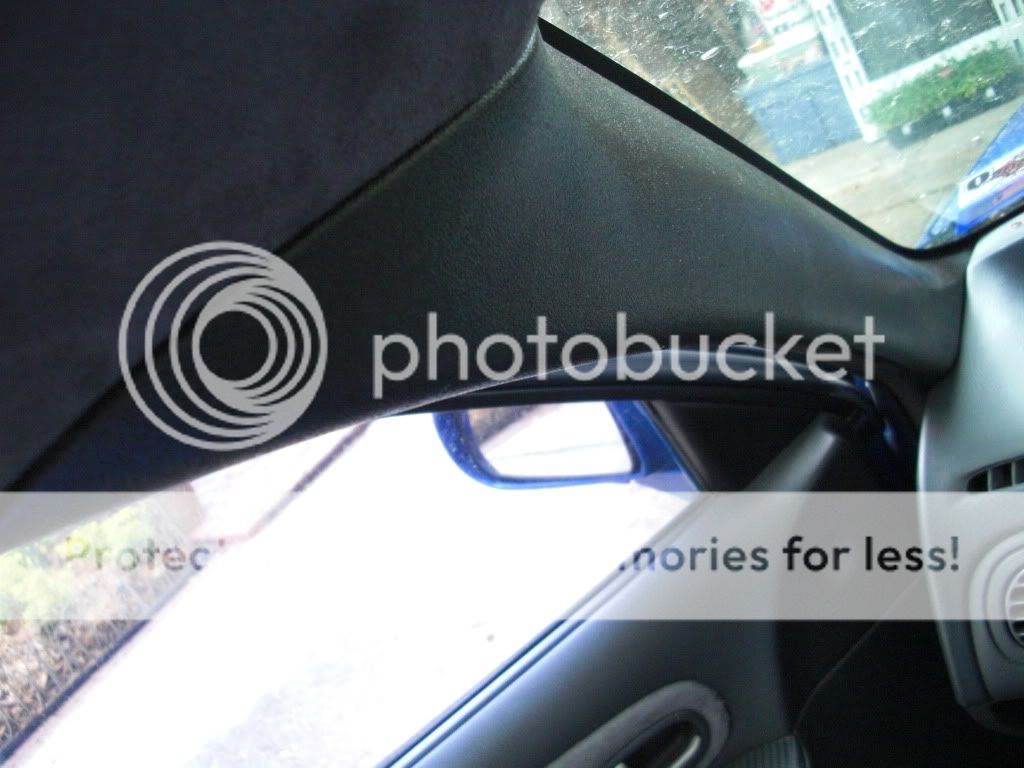
The headliner is the easiest so I didn't take to many pictures of this because there is already a write up on the removing the headliner, but here we go. Take the A-pillars, B-pillars, and rear pillars off.
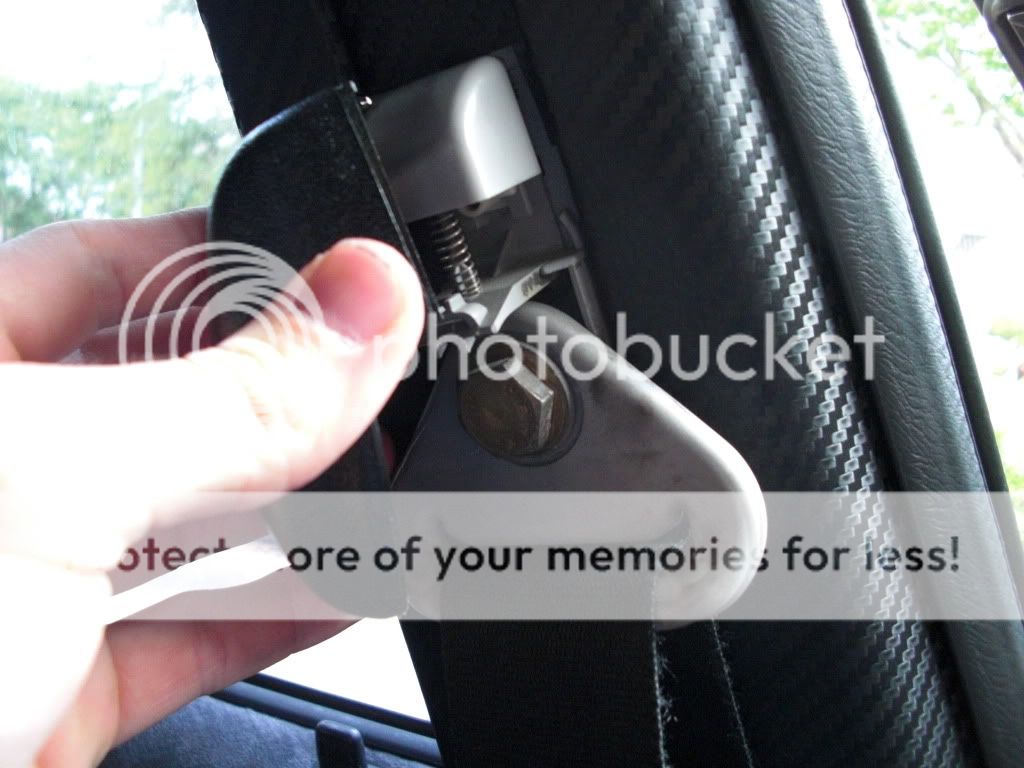
Take this bolt out and then pop the B-pillar out
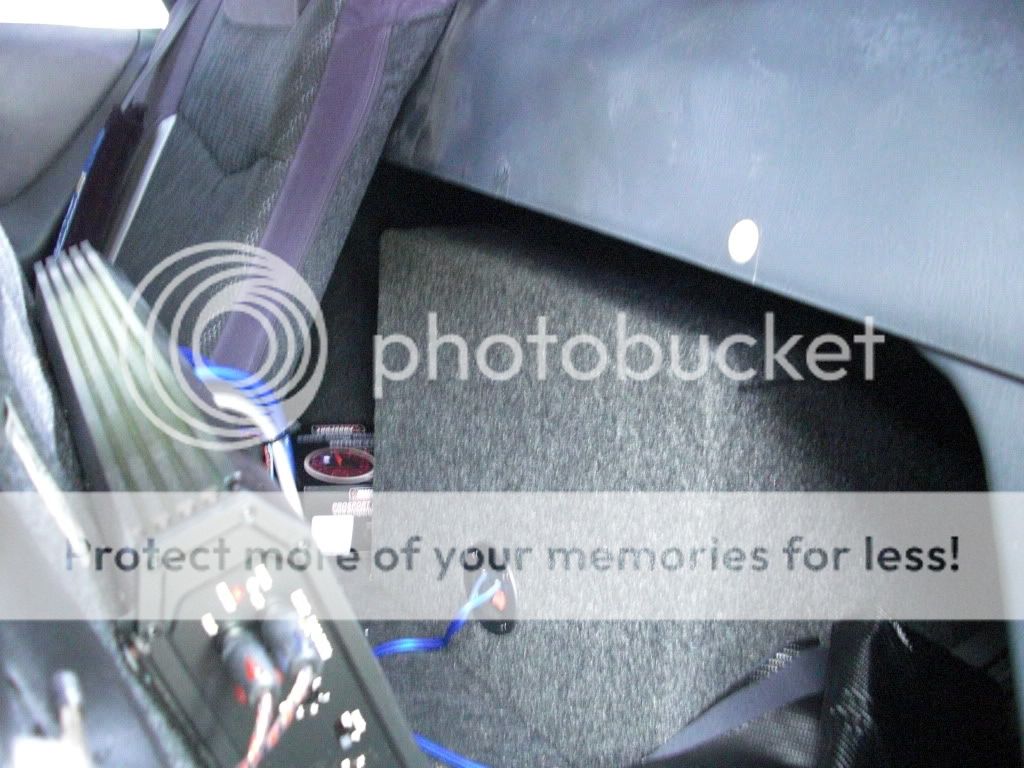
The rear you will need to lay the seats down and take the clips out of the rear dash and on the side holding the pillars in. Now ;ay the rear dash on the seats and take the rear pillars out

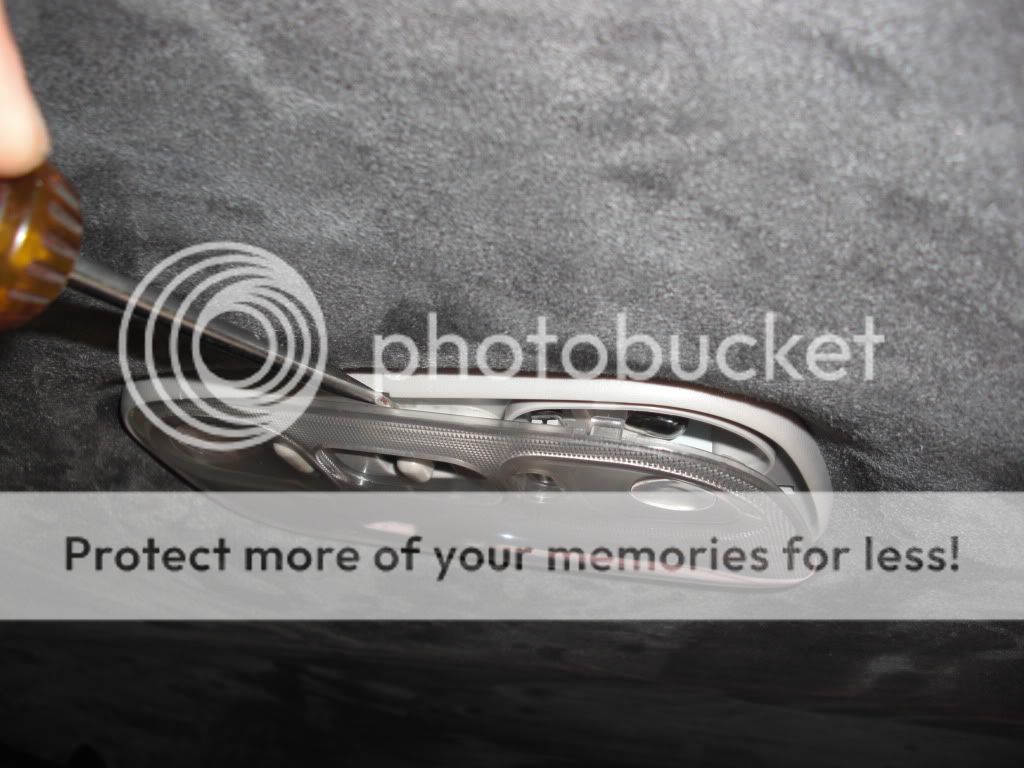
Take all the handles out with the fillips screw driver then take the dome light out there are two fillips screws and one clip.
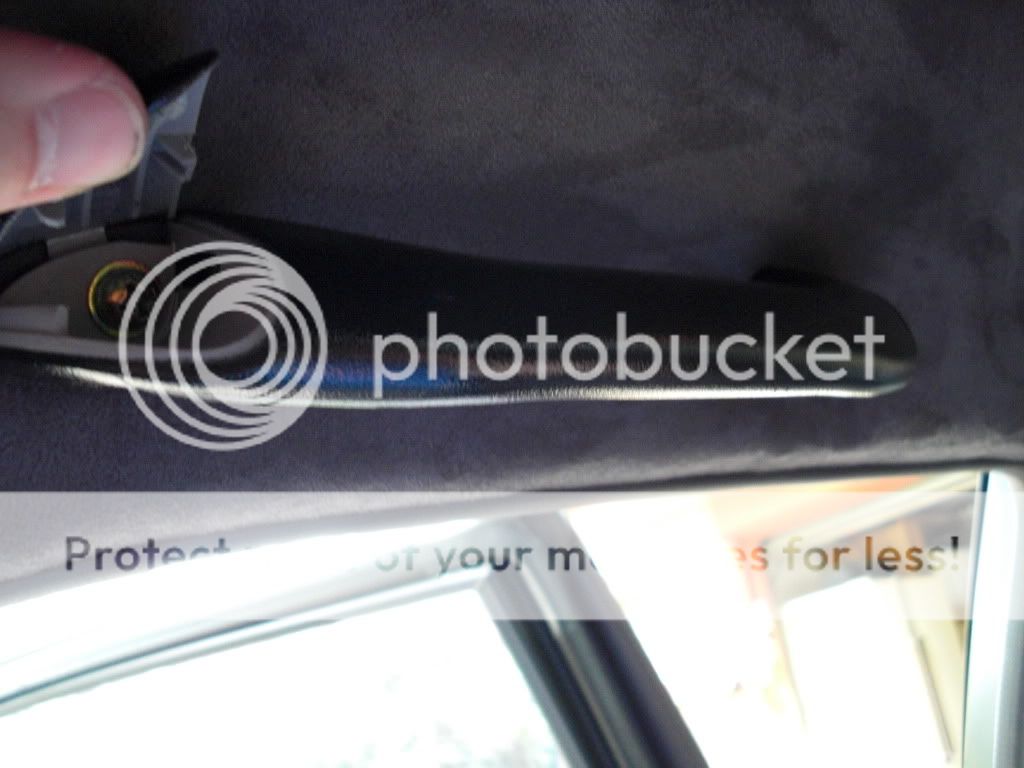

Take the visors off and your set to take the headliner out. Lay the headliner down on a clean surface and take your adhesive and make sure you spray the entire thing well and as soon as you finish put your fabric of choice on smoothing it all out with your hand, now trim and tuck the sides of the fabric then cut the hole for your visors and dome light.
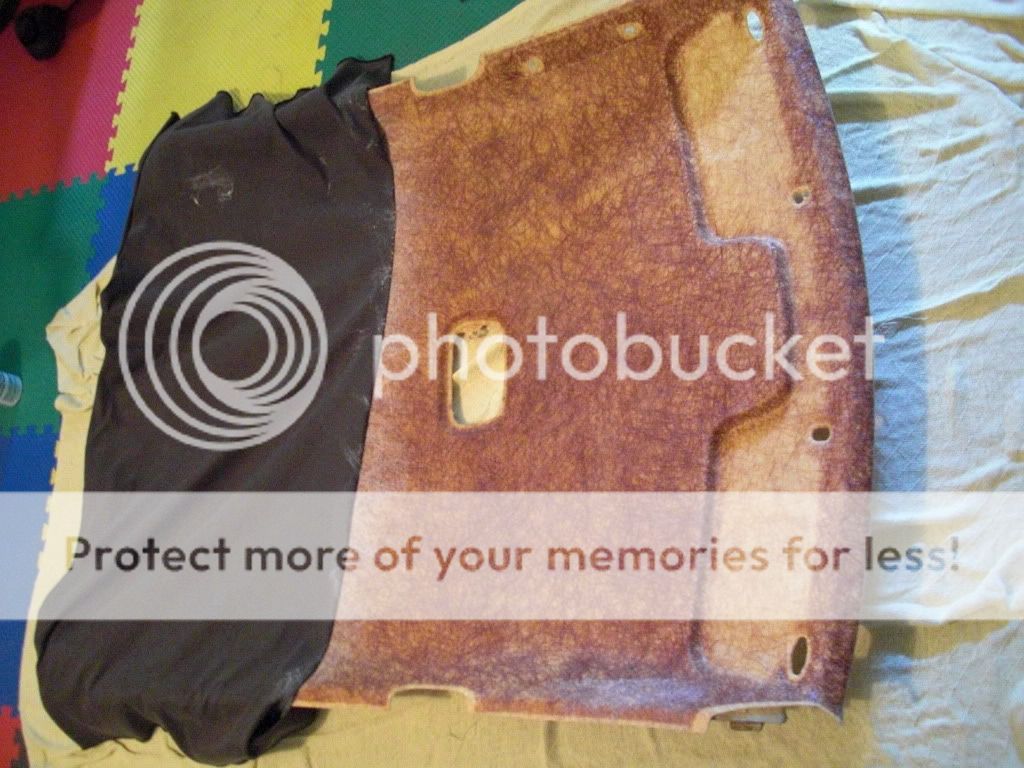
The visors are very tricky to lay the fabric on if you can do it then go for it or just paint them with a vinyl paint. Now put the headliner back on in reveres of how you took it off.
Good Luck and I hope this helps...If you have any questions you can comment or Pm me.
Tools that will be needed
1. fillips and flat head screw Drivers
2. Scissors
3. Box Cutter
4. Needle Nose Pliers
5. 3M Super 77 Spray Adhesive or Max Professional headliner adhesive
6. Construction paper or copier paper
7. Tape for copier paper
I used this Max Professional headliner adhesive and found this worked the best...car could probably be on fire and the headliner would hold
Heres where I got it http://www.wlsheadliners.com/max-pr...9.html?zenid=b04c16291d80571fcb567b0493c544d0
Before starting on the doors you will need to remove the hardware/parts. First take the door handle off, there is one fillips screw behind the handle,
Now take your needle nose head pliers and carefully hold the metal rod in place while you take your flat head screw driver to pop the plastic clip off the metal rod after you do this pull the handle towards you and pull up, but be careful not to brake the clip.
Now pop the car lock switch out with you flat head screw driver and unclip it.
Going over to your trim part that goes around the lock use the flat head once more and slowly work around the trim to work it out, this you will have to take your time because the clips can break easily.
Repeat this process on every door.
We're ready to start with the fabric now. Take your large piece of construction paper or copier paper, whichever one works for you or you have, tape the back side of the copier paper to make it big enough to lay on the door this is going to be a template for you when you go to cut your fabric. Place your paper on the door, I used the box cutter to cut the outline of my door, but be careful so you don't cut your door you can use a pencil or some other object if you would like. Assuming you have your template now, lay it on the fabric and pull the fabric taught to cut around it with the box cutting allowing a half inch extra around your template. Take your cut out and place it on the door and center it. The door lock will be in the way so find where the fabric fit best and pinch the fabric where the door lock is and cut a little hole in it so the lock slips right through, this will help you find your placement when you go to spray the adhesive on the back of the fabric.
Lay your fabric on a clean surface and spray the adhesive on the back, don't spray to much or it will soak through and will mess up the front side. Let it set for about 30sec or a minute then place it on the door slipping the lock through first then working the fabric against your door taking your fingers to push the edges of the fabric in on the sides. Now that you have left that extra half inch of fabric you may have to trim a little off, I did this just to make sure it would fit all around. Take your flat head screw driver or something that can push the fabric in and tuck the sides of the fabric into the door, this will assure that it will stay on there good. The top window trim you will not have to cut it will all slide in on the top. Repeat this process on all the doors.
The headliner is the easiest so I didn't take to many pictures of this because there is already a write up on the removing the headliner, but here we go. Take the A-pillars, B-pillars, and rear pillars off.
Take this bolt out and then pop the B-pillar out
The rear you will need to lay the seats down and take the clips out of the rear dash and on the side holding the pillars in. Now ;ay the rear dash on the seats and take the rear pillars out
Take all the handles out with the fillips screw driver then take the dome light out there are two fillips screws and one clip.
Take the visors off and your set to take the headliner out. Lay the headliner down on a clean surface and take your adhesive and make sure you spray the entire thing well and as soon as you finish put your fabric of choice on smoothing it all out with your hand, now trim and tuck the sides of the fabric then cut the hole for your visors and dome light.
The visors are very tricky to lay the fabric on if you can do it then go for it or just paint them with a vinyl paint. Now put the headliner back on in reveres of how you took it off.
Good Luck and I hope this helps...If you have any questions you can comment or Pm me.
Last edited:

