Maxx Mazda
Contributor
- :
- Stock P5
Well, the car is undergoing a major transformation this summer. I just picked up my brand new Spool kit from another member here, Glen (FunkyBuddha) and I'm going to be keeping a diary of the transformation process that the car will undergo. Much like some of the other journals you've seen here, only I will not post everything on the front page, but add stuff along as I go, so be sure to check back!
Here's a brief breakdown of a few things you might see here:
- Spool kit installation, w Corksport FMIC and hopefully MAM pipes
- Full compliment of Autometer gauges (in addition to the 3 I already have, Fuel Pressure, EGT, Boost, and their all new wideband O2 gauge...
- Custom home made "Leadfoot" gauge pod
- SPEC stage 2 clutch and flywheel
- Mazdaspeed LSD
- Nology Hotwires
- And if I have time for it, a new sound system
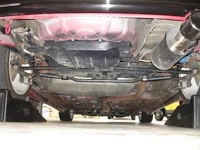
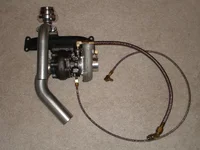
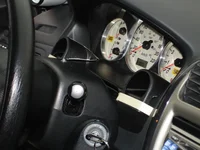
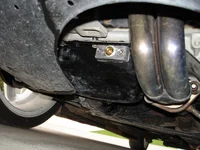
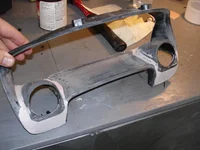
Well, to start off, I just installed the AWR front and rear motor mounts, 95 surometer. CRAZY stiff, but I hope I'l lget used to it. Picked up the Spool kit, mocked everything up and looked at what had to be done. (Pic 1) Yes, I know I have to flip the bearing house so that the return line is on the bottom, but that will be done once it's back from ceramic...
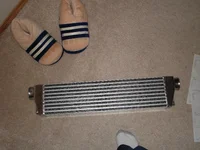
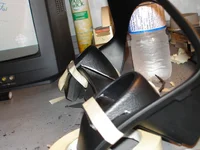
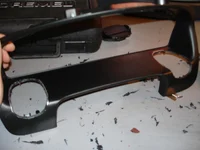
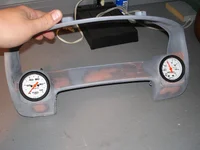
Corksport FMIC came in today, check teh hotness! (Along with my FAVE slippers! They RULE!!!) (Pic 2)
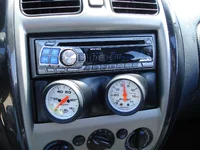
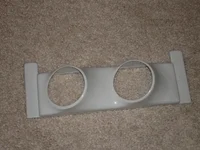
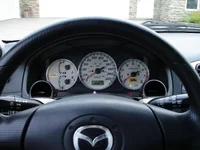
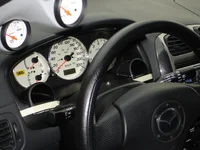
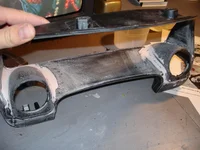
Sport20's custom single DIN gauge bezel also showed up today. (Fast shipping!) (Pic 3)
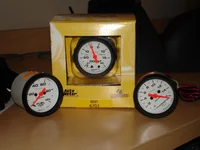
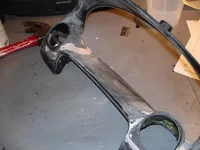
And a quick look at the new gauges... The Wideband is on orde since it's so new. (Pic 4) And you can see the pod I'll be using for the leadfoot bezel in the background.
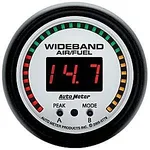
And Pic 5 is the Wideband gauge that's on it's way... SO sexy...
As soon as the clutch/flywheel and LSD get here, it's off to Mazda to get them all put in. Still waiting on the Nology wires and my FM voltage clamp (which I found out the kit already came with... Grrr!) Will be placing an order for MAM hardpipes tomorrow once they're open, and then this build can really get off the ground...
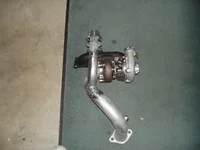
Turbo assembly is at my local performance shop getting a custom downpipe made, so I can get it off to cveramic by next week. I'll keep you guys posted, so please keep checking back! Thanks!
Here's a brief breakdown of a few things you might see here:
- Spool kit installation, w Corksport FMIC and hopefully MAM pipes
- Full compliment of Autometer gauges (in addition to the 3 I already have, Fuel Pressure, EGT, Boost, and their all new wideband O2 gauge...
- Custom home made "Leadfoot" gauge pod
- SPEC stage 2 clutch and flywheel
- Mazdaspeed LSD
- Nology Hotwires
- And if I have time for it, a new sound system
Well, to start off, I just installed the AWR front and rear motor mounts, 95 surometer. CRAZY stiff, but I hope I'l lget used to it. Picked up the Spool kit, mocked everything up and looked at what had to be done. (Pic 1) Yes, I know I have to flip the bearing house so that the return line is on the bottom, but that will be done once it's back from ceramic...
Corksport FMIC came in today, check teh hotness! (Along with my FAVE slippers! They RULE!!!) (Pic 2)
Sport20's custom single DIN gauge bezel also showed up today. (Fast shipping!) (Pic 3)
And a quick look at the new gauges... The Wideband is on orde since it's so new. (Pic 4) And you can see the pod I'll be using for the leadfoot bezel in the background.
And Pic 5 is the Wideband gauge that's on it's way... SO sexy...
As soon as the clutch/flywheel and LSD get here, it's off to Mazda to get them all put in. Still waiting on the Nology wires and my FM voltage clamp (which I found out the kit already came with... Grrr!) Will be placing an order for MAM hardpipes tomorrow once they're open, and then this build can really get off the ground...
Turbo assembly is at my local performance shop getting a custom downpipe made, so I can get it off to cveramic by next week. I'll keep you guys posted, so please keep checking back! Thanks!

 _ SOLID
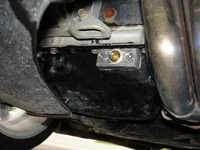


")