Suddueth13
Member
- :
- 2011 Mazda 2 Sport, 1987 Mazda RX-7 Turbo II
Okay guys, here's a write up on how to retrofit your Mazda 2's headlights with Bi-Xenon projectors. The projectors I'm using are Morimoto Mini D2S from TheRetrofitSource.com. This process works just the same for the Morimoto Mini H1 projectors as they use the same mounting method. This is what I'm starting out with minus the E55 shrouds. This time around I'm using E46-R shrouds.

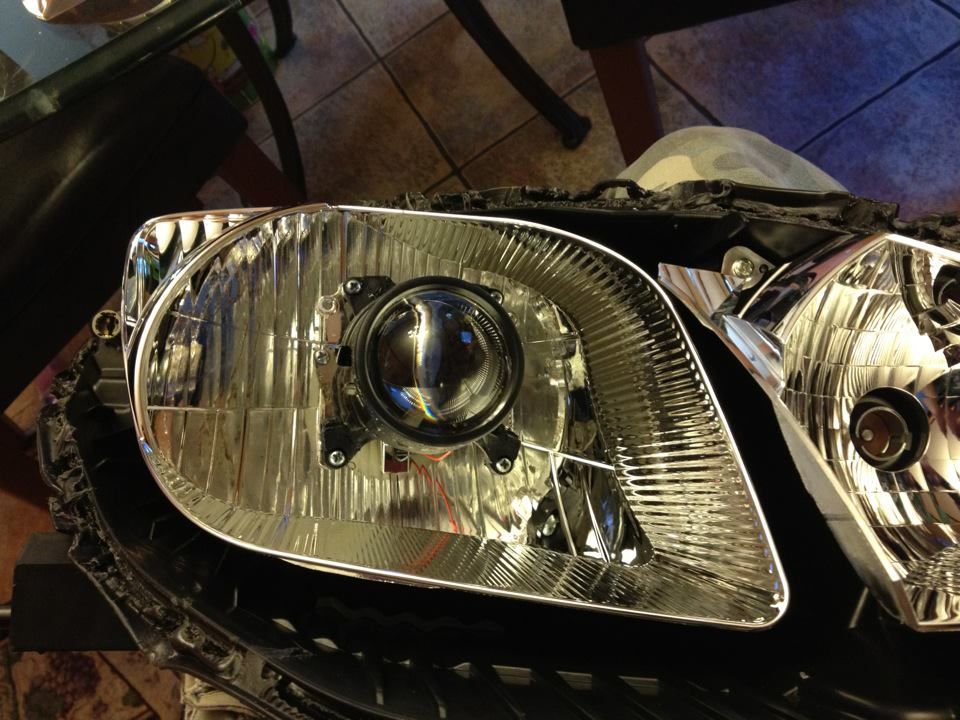
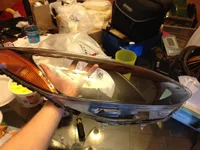
Now the first step to the retrofit is to get the lights apart. There's two ways to go about this, either the bake method using an oven, or a heat gun. Unfortunately, our headlights are huge and wouldn't fit in my oven so I had to resort to the heat gun method. There are 4 screws helping secure the lens to the housing. Remove these first before seperating. It took a little longer than the oven would but still works none-the-less. Just take your time and gently put the heat at the seam where then lens meets the housing and slowly go around. Once the butyl sealant is pliable, go around the edges with either a wide screwdriver or flat putty knife and gently pry without forcing starting at the corner where the turn signal is. Once the lens starts to seperate, you can pull it apart with your hands working down to the corner where the parking light is. Make sure to not get the butyl sealant on the lens as it is very difficult to get off. Here will be your finished product.


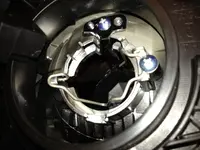
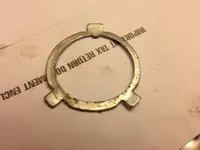
Now that the lights are apart you can start prepping them for the projectors. You need to remove the factory bulb retainer and shield.
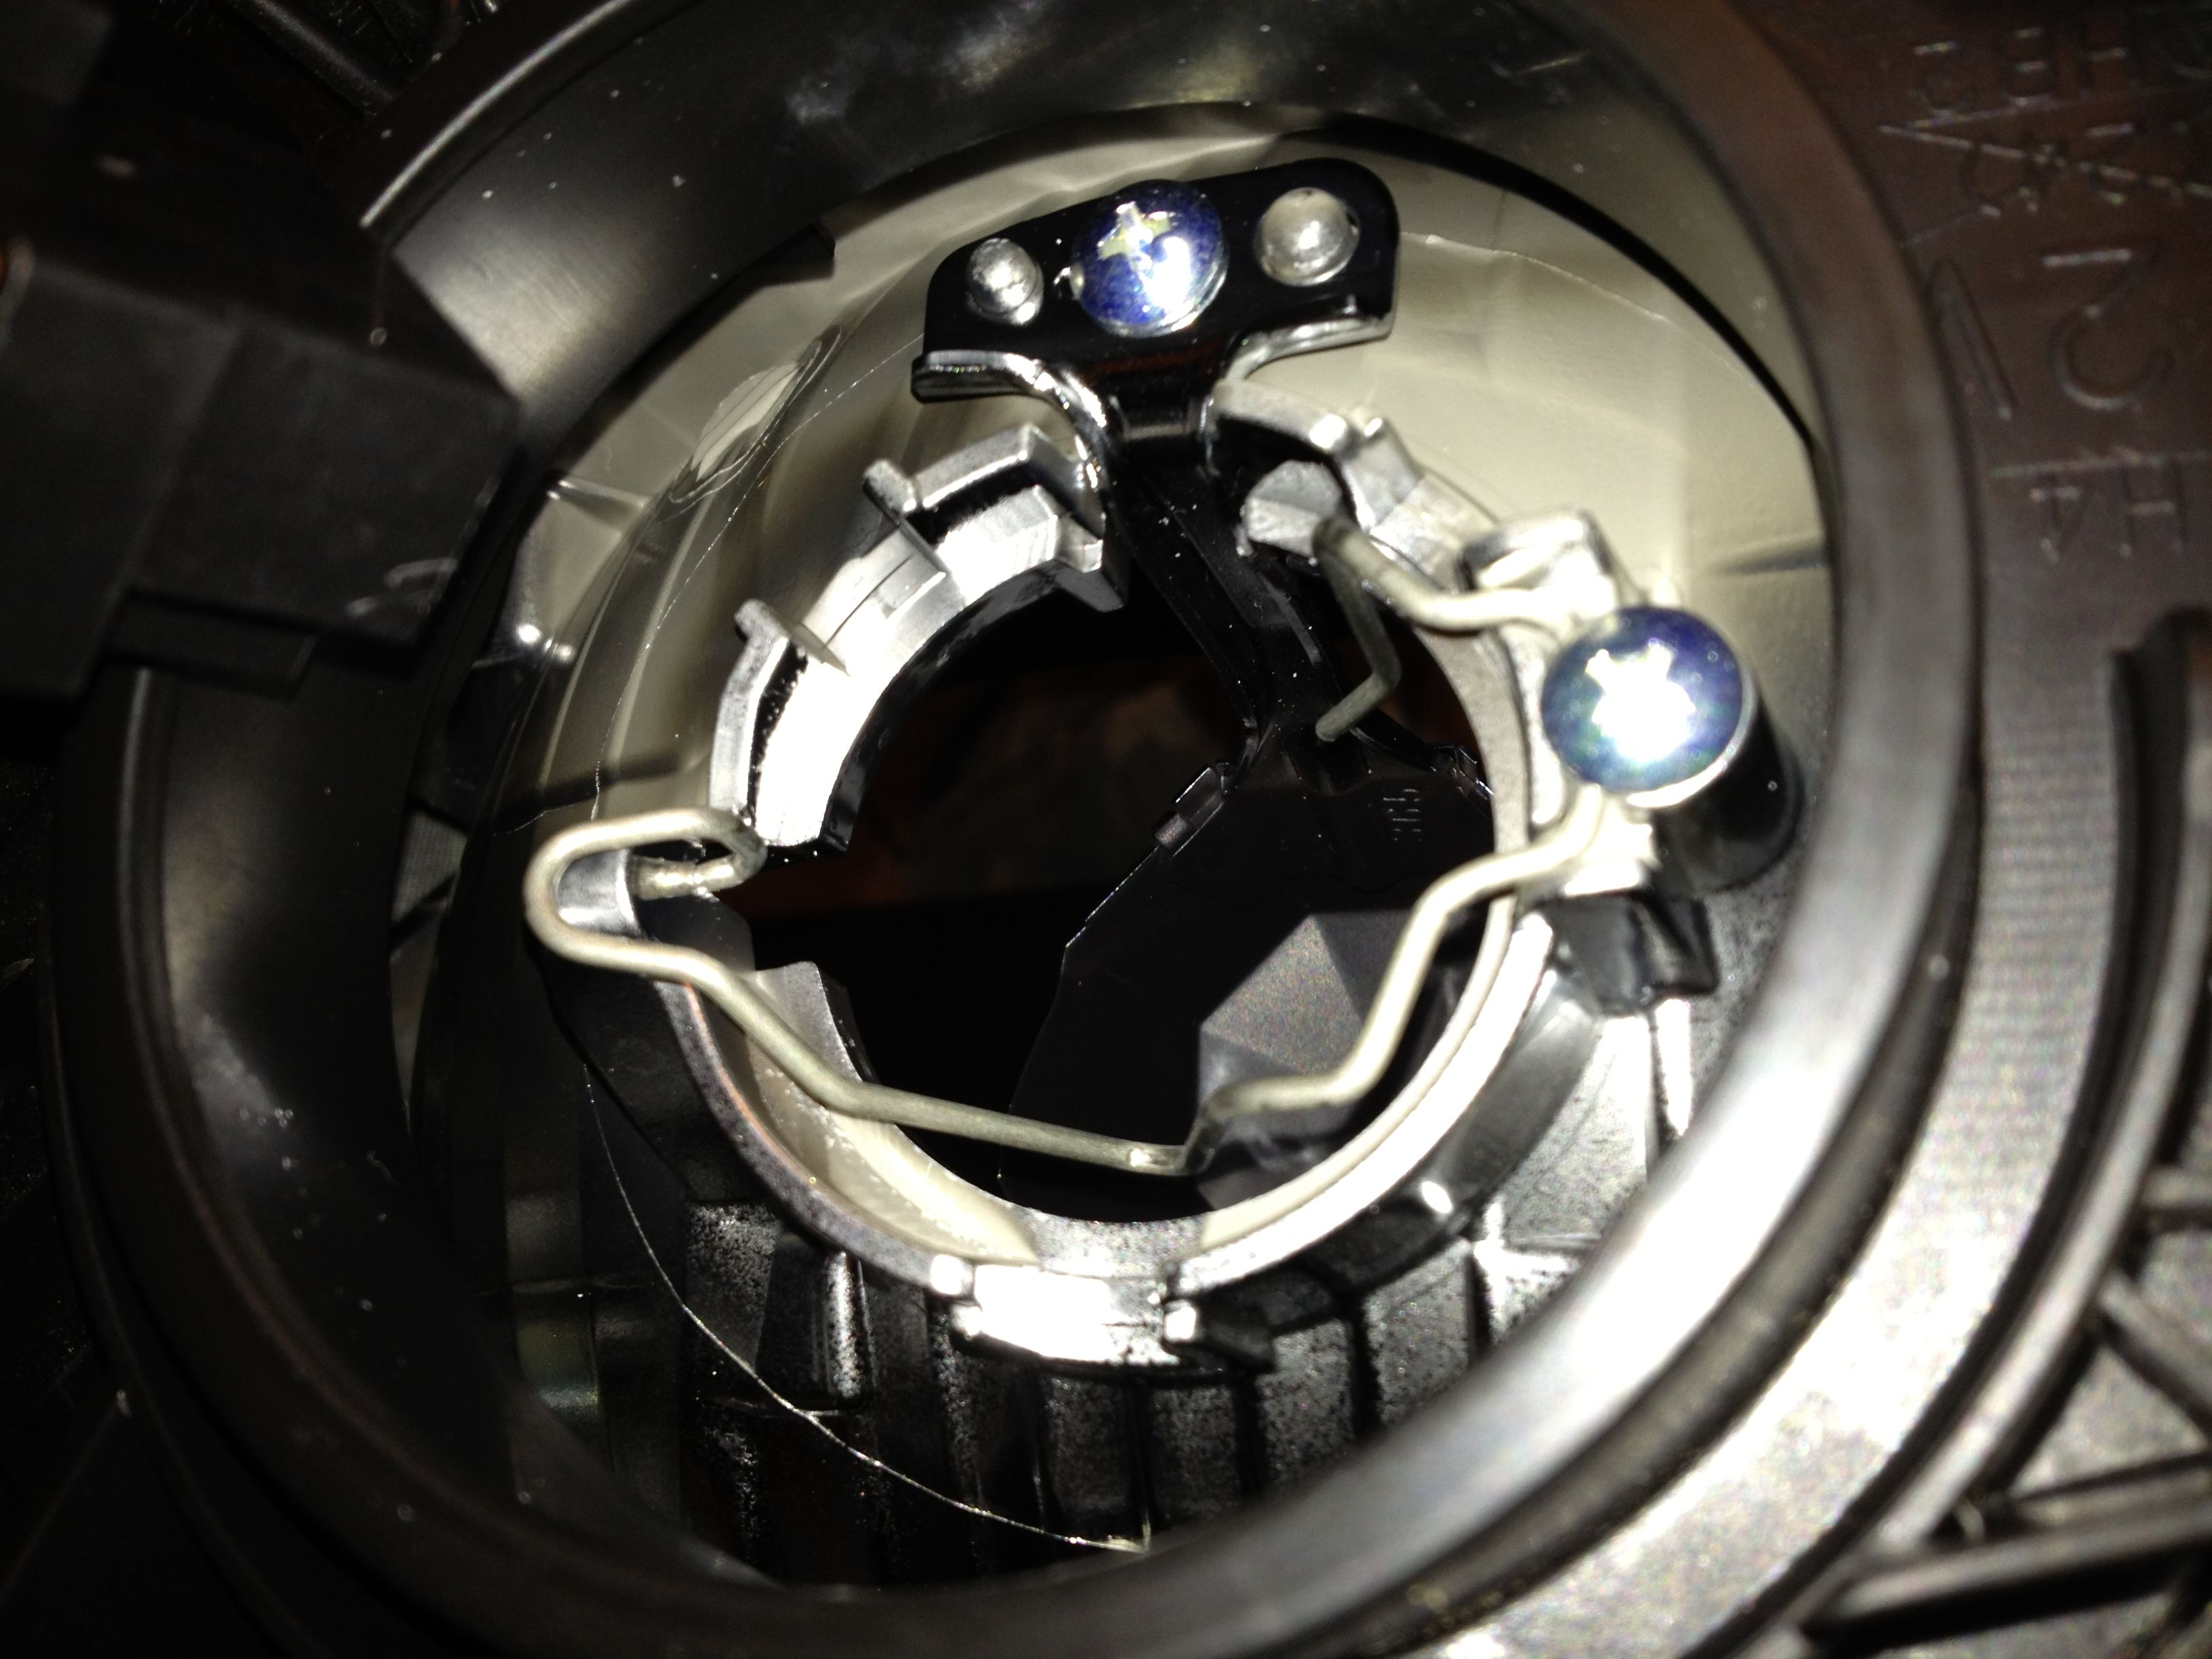
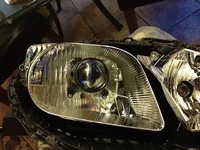
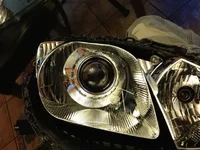
Once these are removed you can insert the threaded back of the projector into the opening. Make sure to feed the solenoid wire through the bulb opening as well. You can tuck it into the bottom where the sheild used to sit. Now place the 9003/H4 adapter plate on the back side and line it up with the factory tabs and place the o-ring. Now simply tighten the lock nut down. This is how it will sit in the hosuing.
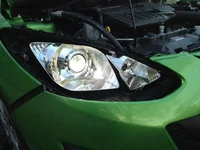
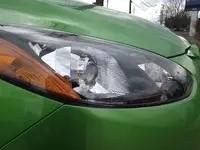
Now you should place the light back into the car to test the rotational aim. For best results the car should be pointed towards a flat wall while being on relatively level ground. Turn the light on and look at the cutoff. It should be parallel to the ground. If it is not, adjust the projector so that it is.
Now the first step to the retrofit is to get the lights apart. There's two ways to go about this, either the bake method using an oven, or a heat gun. Unfortunately, our headlights are huge and wouldn't fit in my oven so I had to resort to the heat gun method. There are 4 screws helping secure the lens to the housing. Remove these first before seperating. It took a little longer than the oven would but still works none-the-less. Just take your time and gently put the heat at the seam where then lens meets the housing and slowly go around. Once the butyl sealant is pliable, go around the edges with either a wide screwdriver or flat putty knife and gently pry without forcing starting at the corner where the turn signal is. Once the lens starts to seperate, you can pull it apart with your hands working down to the corner where the parking light is. Make sure to not get the butyl sealant on the lens as it is very difficult to get off. Here will be your finished product.
Now that the lights are apart you can start prepping them for the projectors. You need to remove the factory bulb retainer and shield.
Once these are removed you can insert the threaded back of the projector into the opening. Make sure to feed the solenoid wire through the bulb opening as well. You can tuck it into the bottom where the sheild used to sit. Now place the 9003/H4 adapter plate on the back side and line it up with the factory tabs and place the o-ring. Now simply tighten the lock nut down. This is how it will sit in the hosuing.
Now you should place the light back into the car to test the rotational aim. For best results the car should be pointed towards a flat wall while being on relatively level ground. Turn the light on and look at the cutoff. It should be parallel to the ground. If it is not, adjust the projector so that it is.
Attachments
-
 166387_182436901785514_100000576156709_542488_1185117_n.webp54 KB · Views: 9,604
 -
 422178_358214524207750_100000576156709_1261689_1098296995_n.webp67.3 KB · Views: 8,703
 -
 425921_358222057540330_100000576156709_1261692_955765107_n.webp57.4 KB · Views: 8,639
 -
 IMG_0323.webp274.1 KB · Views: 15,999
 -
 418071_358222497540286_100000576156709_1261693_182165151_n.webp88.9 KB · Views: 8,647


")