
- :
- USA
- :
- 2023 CX-50 PPT
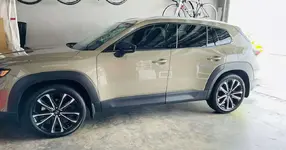
For anyone thinking about the Mazda splash guards, I installed them this morning and it was pretty easy--maybe 45 minutes total which included some brief interruptions. The process was less complicated than the Mazda ones for my previous CX-5, or so I recollect. You do have to drill one hole underneath each edge, but Mazda smartly placed factory dimples in the proper locations on the vehicle so that simplifies things. Also, definitely follow the instructions to graduate upwards in the 3 drill bit sizes--3, 6 and then the final 9mm. I tried skipping the 6 on the first hole and the 9 meandered too much. After the drilling, it is a mix of using the existing trim clips plus new ones included with the guards and then fully removing the inner 3M tape cover and then pressing on that to ensure a tight outer edge fit. The factory trim clips have cutouts which makes them much easier to open than past versions. You may have some trouble with the 9mm drill bit on the front as that plus my drill length barely fit height-wise from the garage floor--I had to go in slightly off vertical.
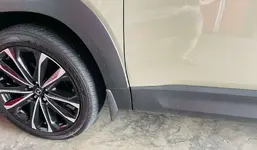
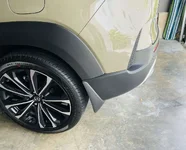
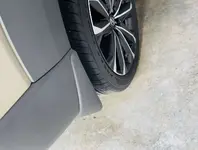
Snapped a few quick pics. There is a slight color difference, but not as pronounced as the lighting in the pics makes it seem. The fit is also very good--much closer than my last CX-5s, although that may have been installer error.") . The one negative is that the guards still have a scooped-out design and that always trapped a lot of mud & dirt on my CX-5, so I'm sure that will be the case here too.
. The one negative is that the guards still have a scooped-out design and that always trapped a lot of mud & dirt on my CX-5, so I'm sure that will be the case here too.
Still strange to have a vehicle that doesn't yet have a robust aftermarket accessory selection...heck, any at all other than roof crossbars it seems.
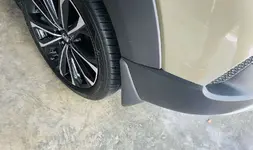
Snapped a few quick pics. There is a slight color difference, but not as pronounced as the lighting in the pics makes it seem. The fit is also very good--much closer than my last CX-5s, although that may have been installer error.
. The one negative is that the guards still have a scooped-out design and that always trapped a lot of mud & dirt on my CX-5, so I'm sure that will be the case here too.Still strange to have a vehicle that doesn't yet have a robust aftermarket accessory selection...heck, any at all other than roof crossbars it seems.
Attachments
Last edited:

