
Do you have the part number for the JB sway bar bushings bracket you used?This is how far down the studs I lowered mine.
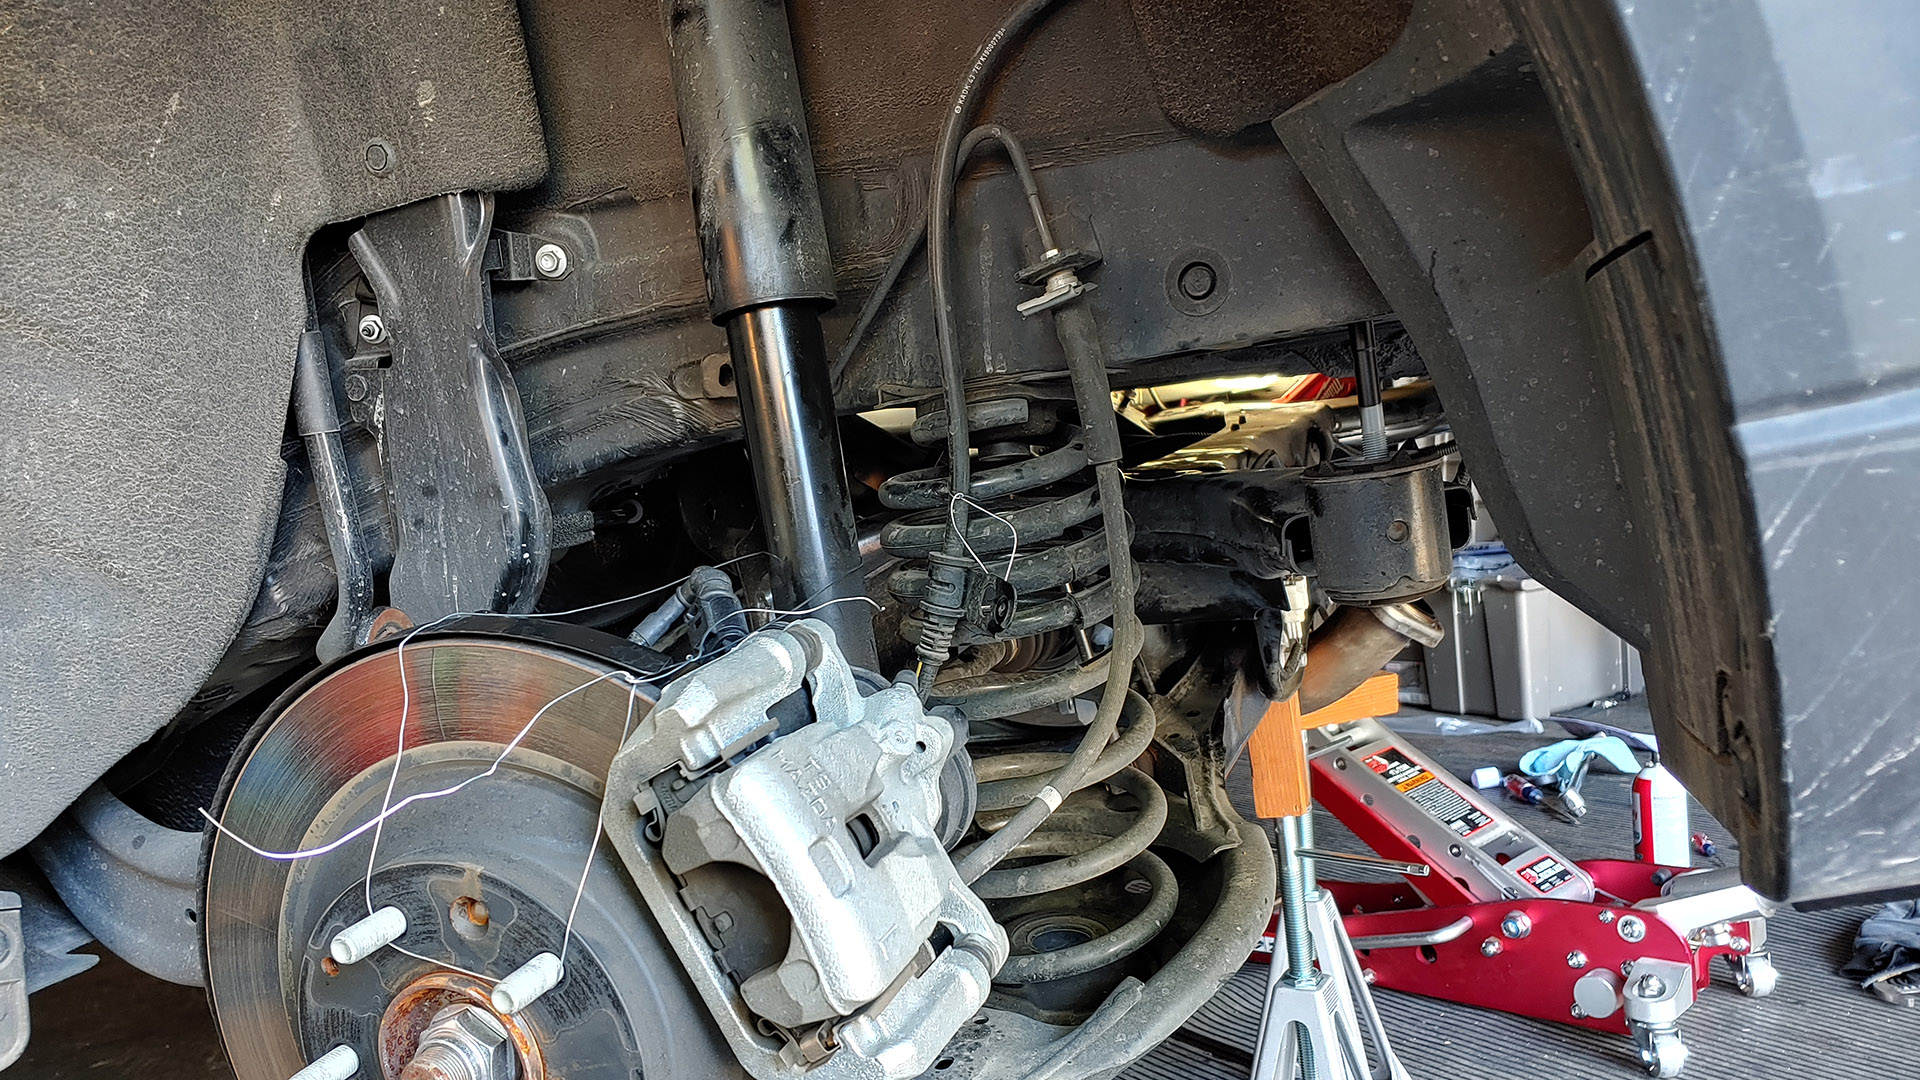
I bailing wired the hub to keep it from flopping forward once the UCA is removed.
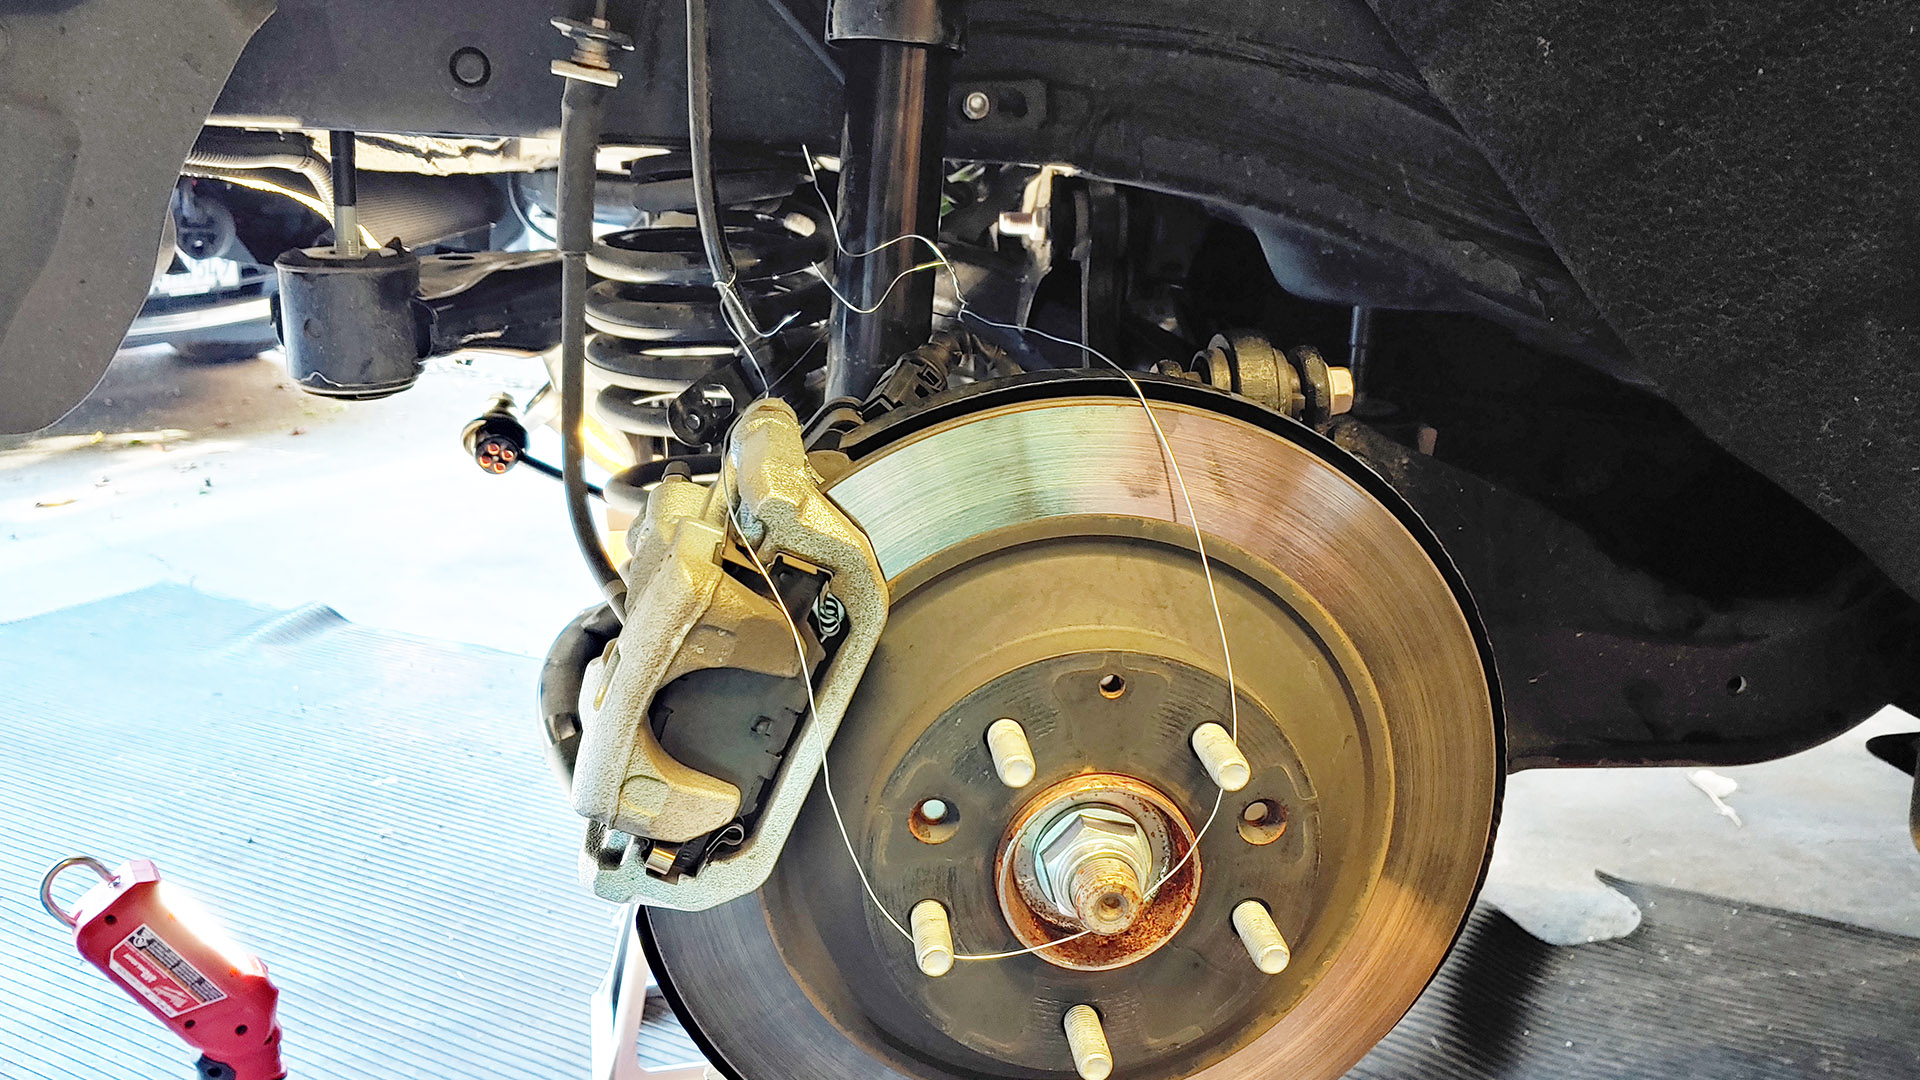
Remove the inboard UCA bolt. This can be tough to break, After removing a plastic guard piece (10mm) attached to the lower rod (lateral link?) I was able to break it with the help of a pvc cheater.
Eventually:
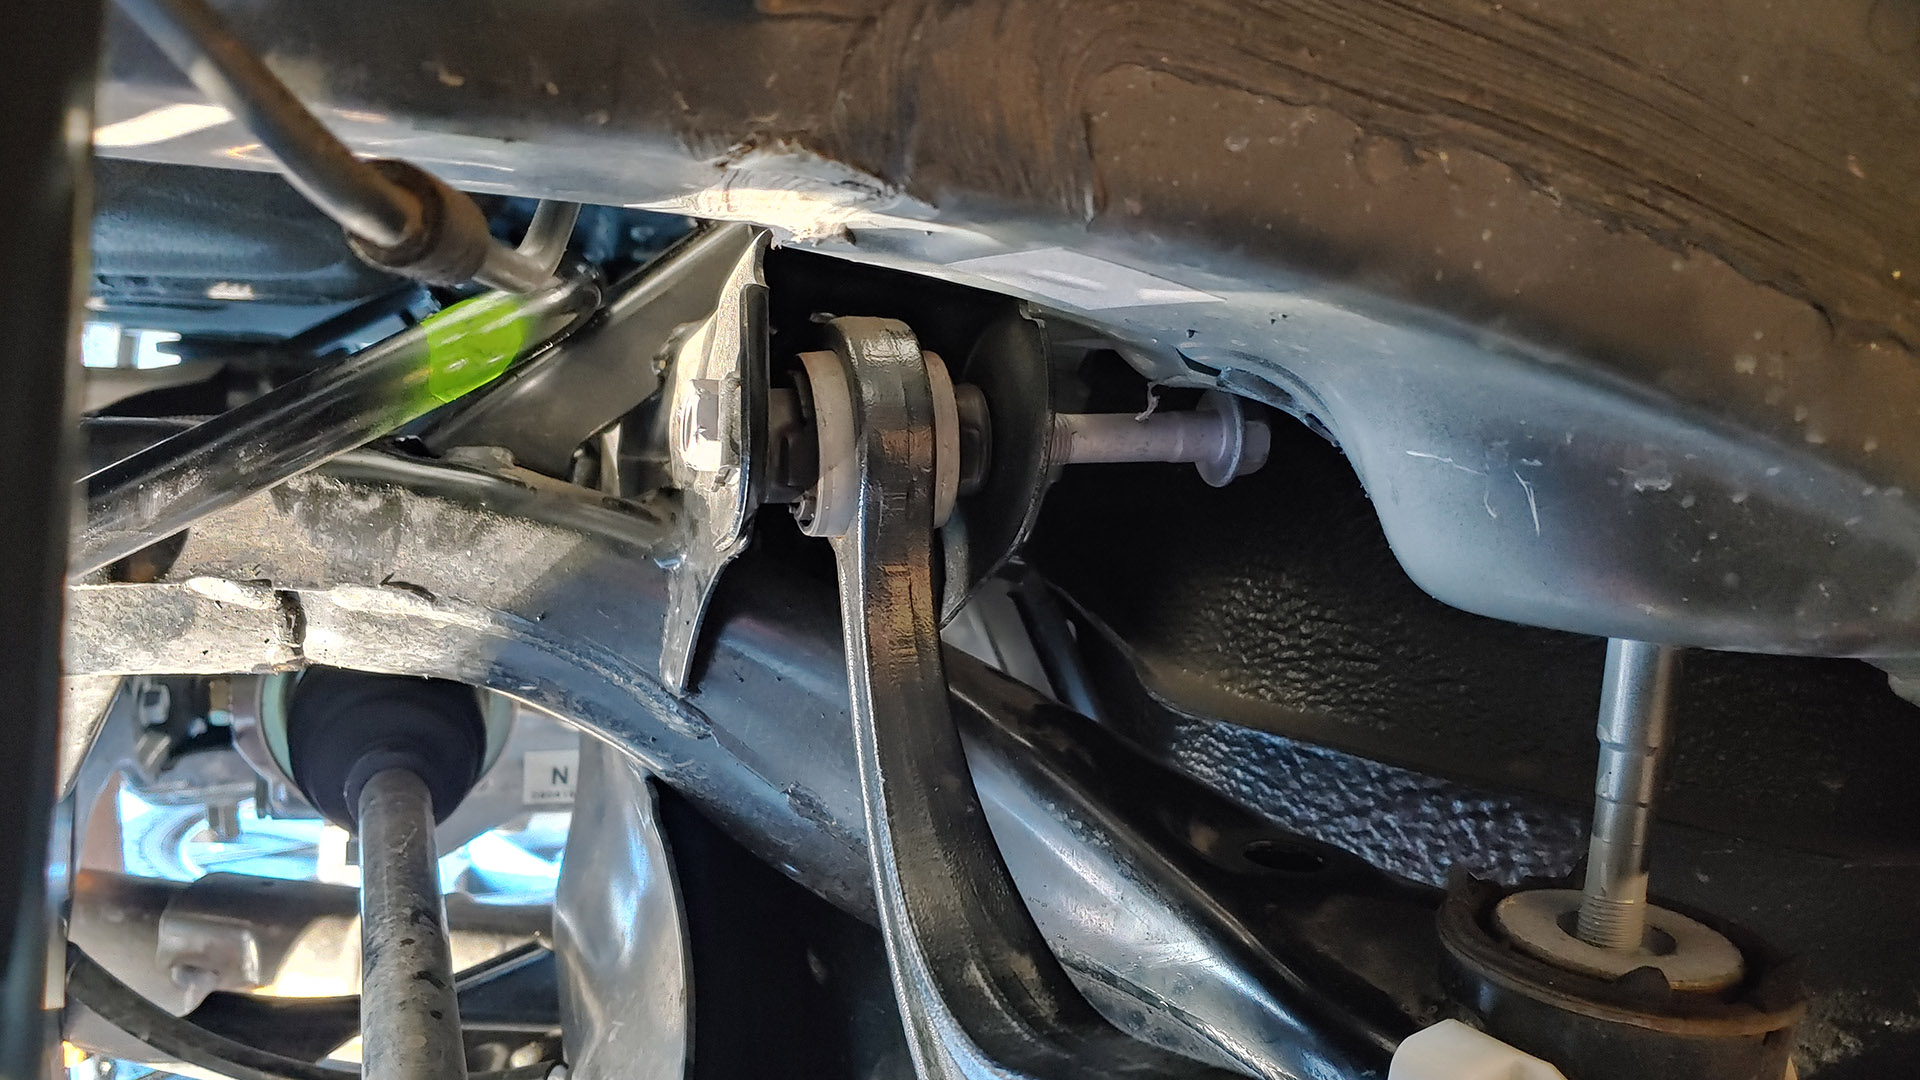
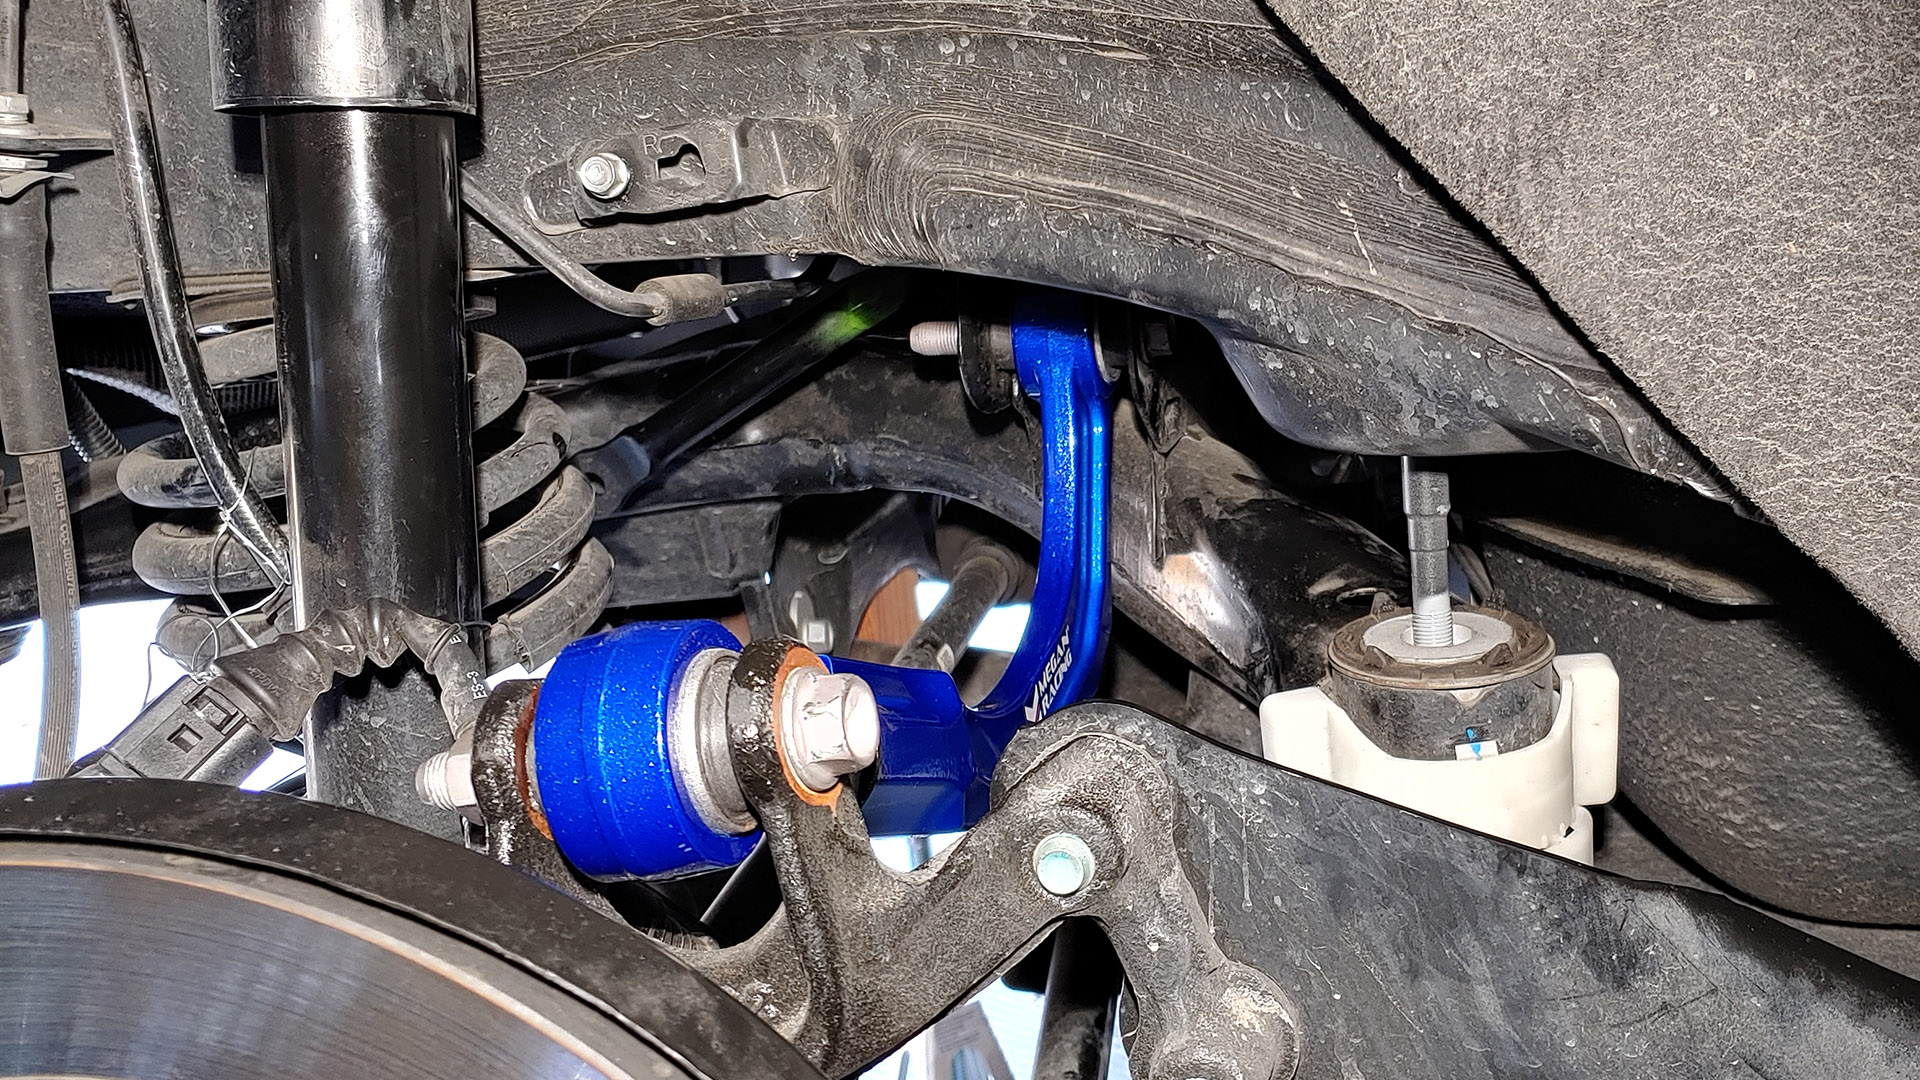
Remove the outboard UCA bolt, and the UCA.
Adjust your camber arm to the same length as the stock arm.
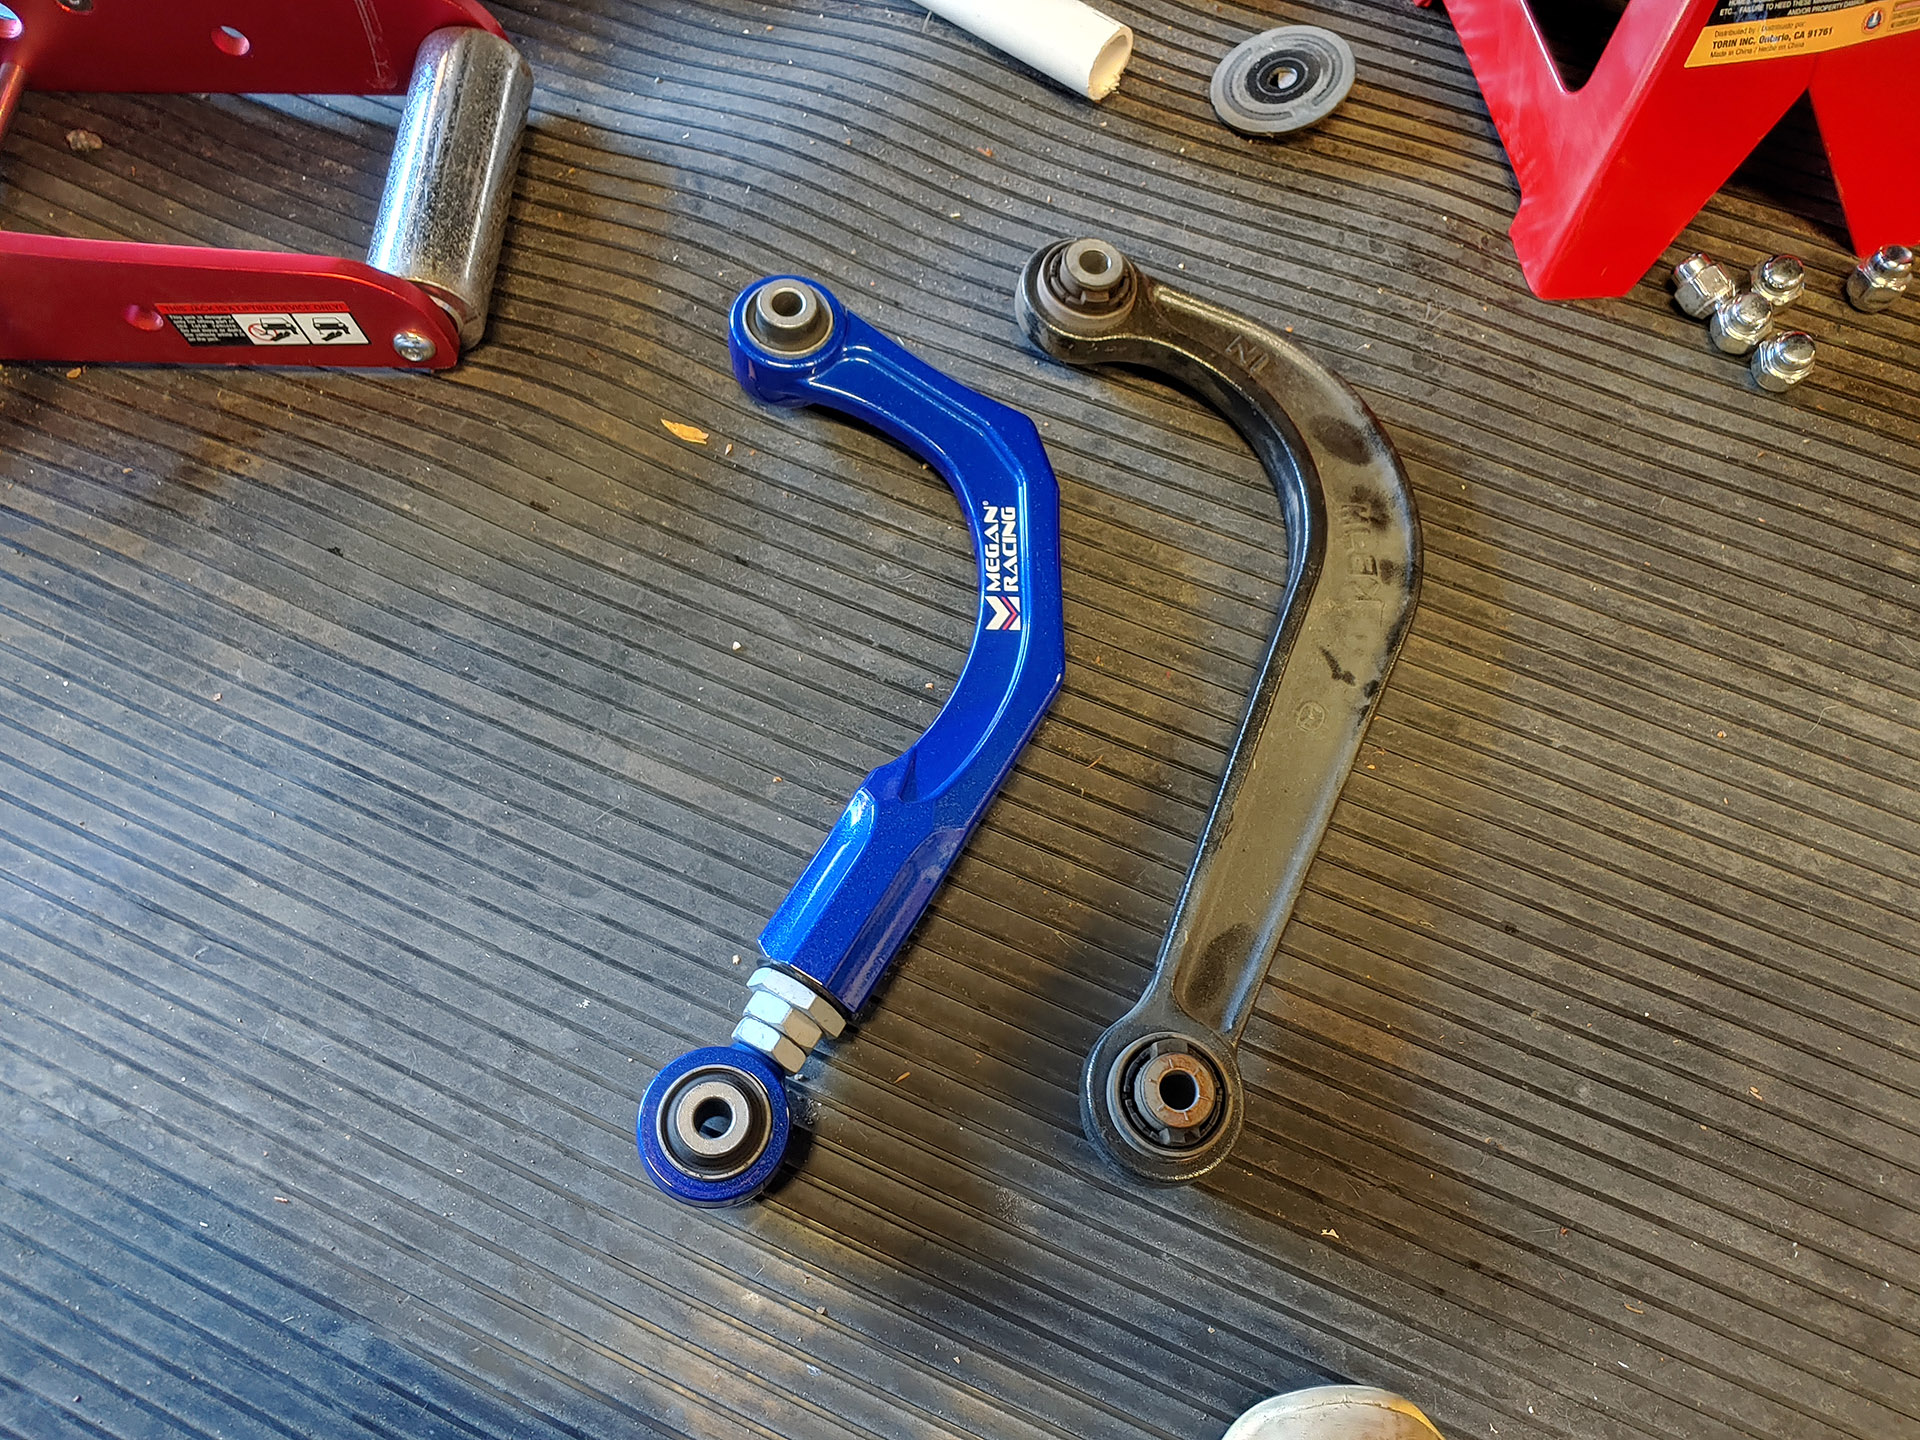
Corksport gives 58-77 ft-lb, and 64-778 ft-lb for the inboard and outboard camber arm bolts, respectively.
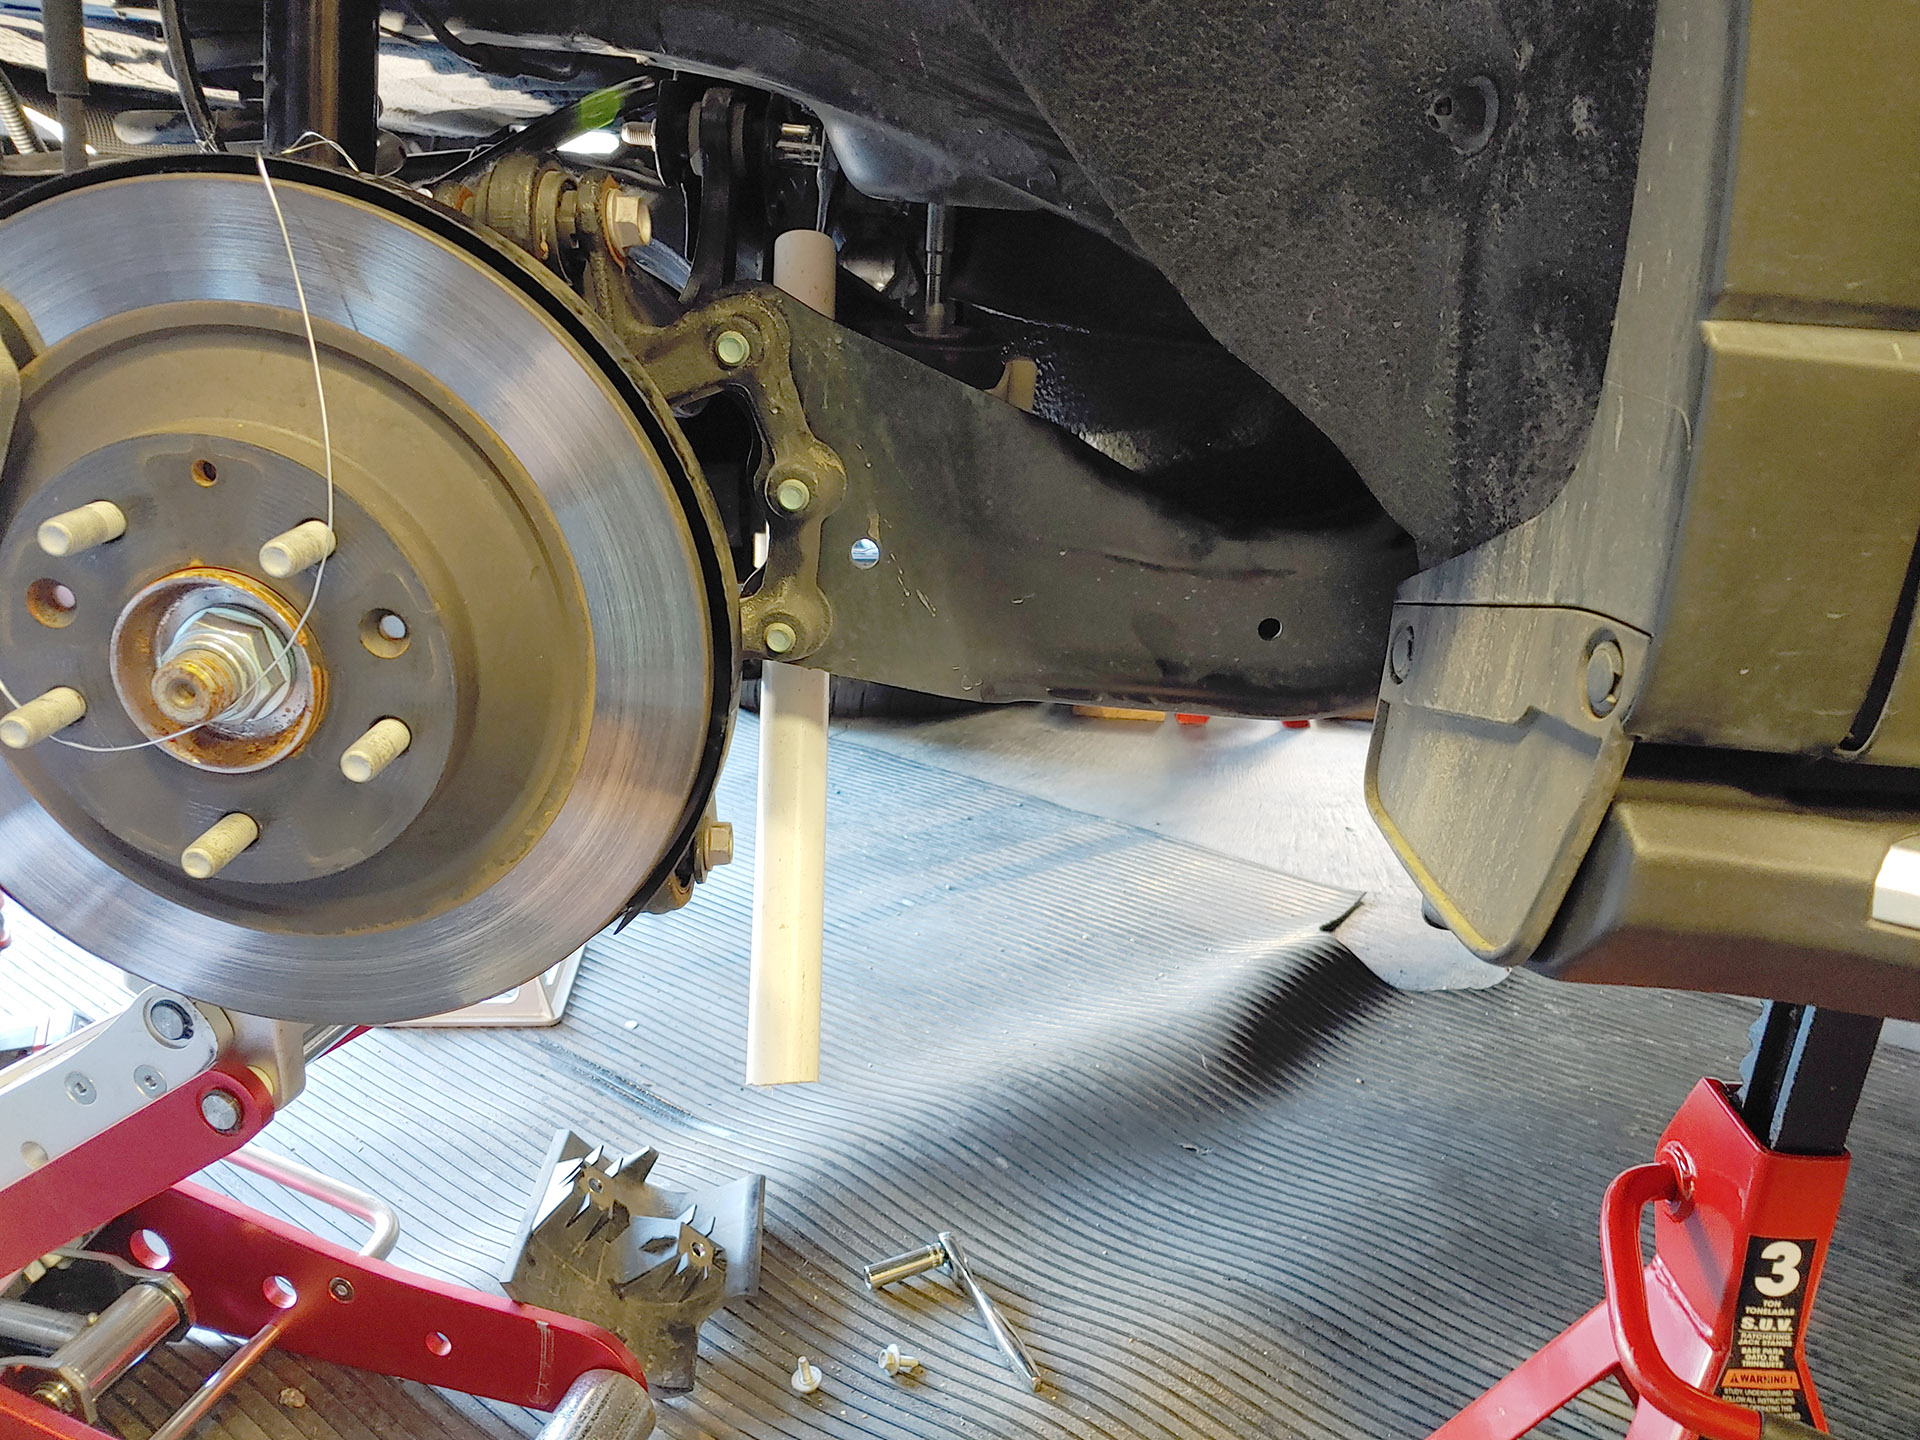
Now, lift the passenger side of the subframe back up enough to get the subframe nuts fully threaded.
Repeat on the driver side to lower the driver side subframe, remove the sway bar bracket and bushing, and swap in the camber arm for the upper control arm.
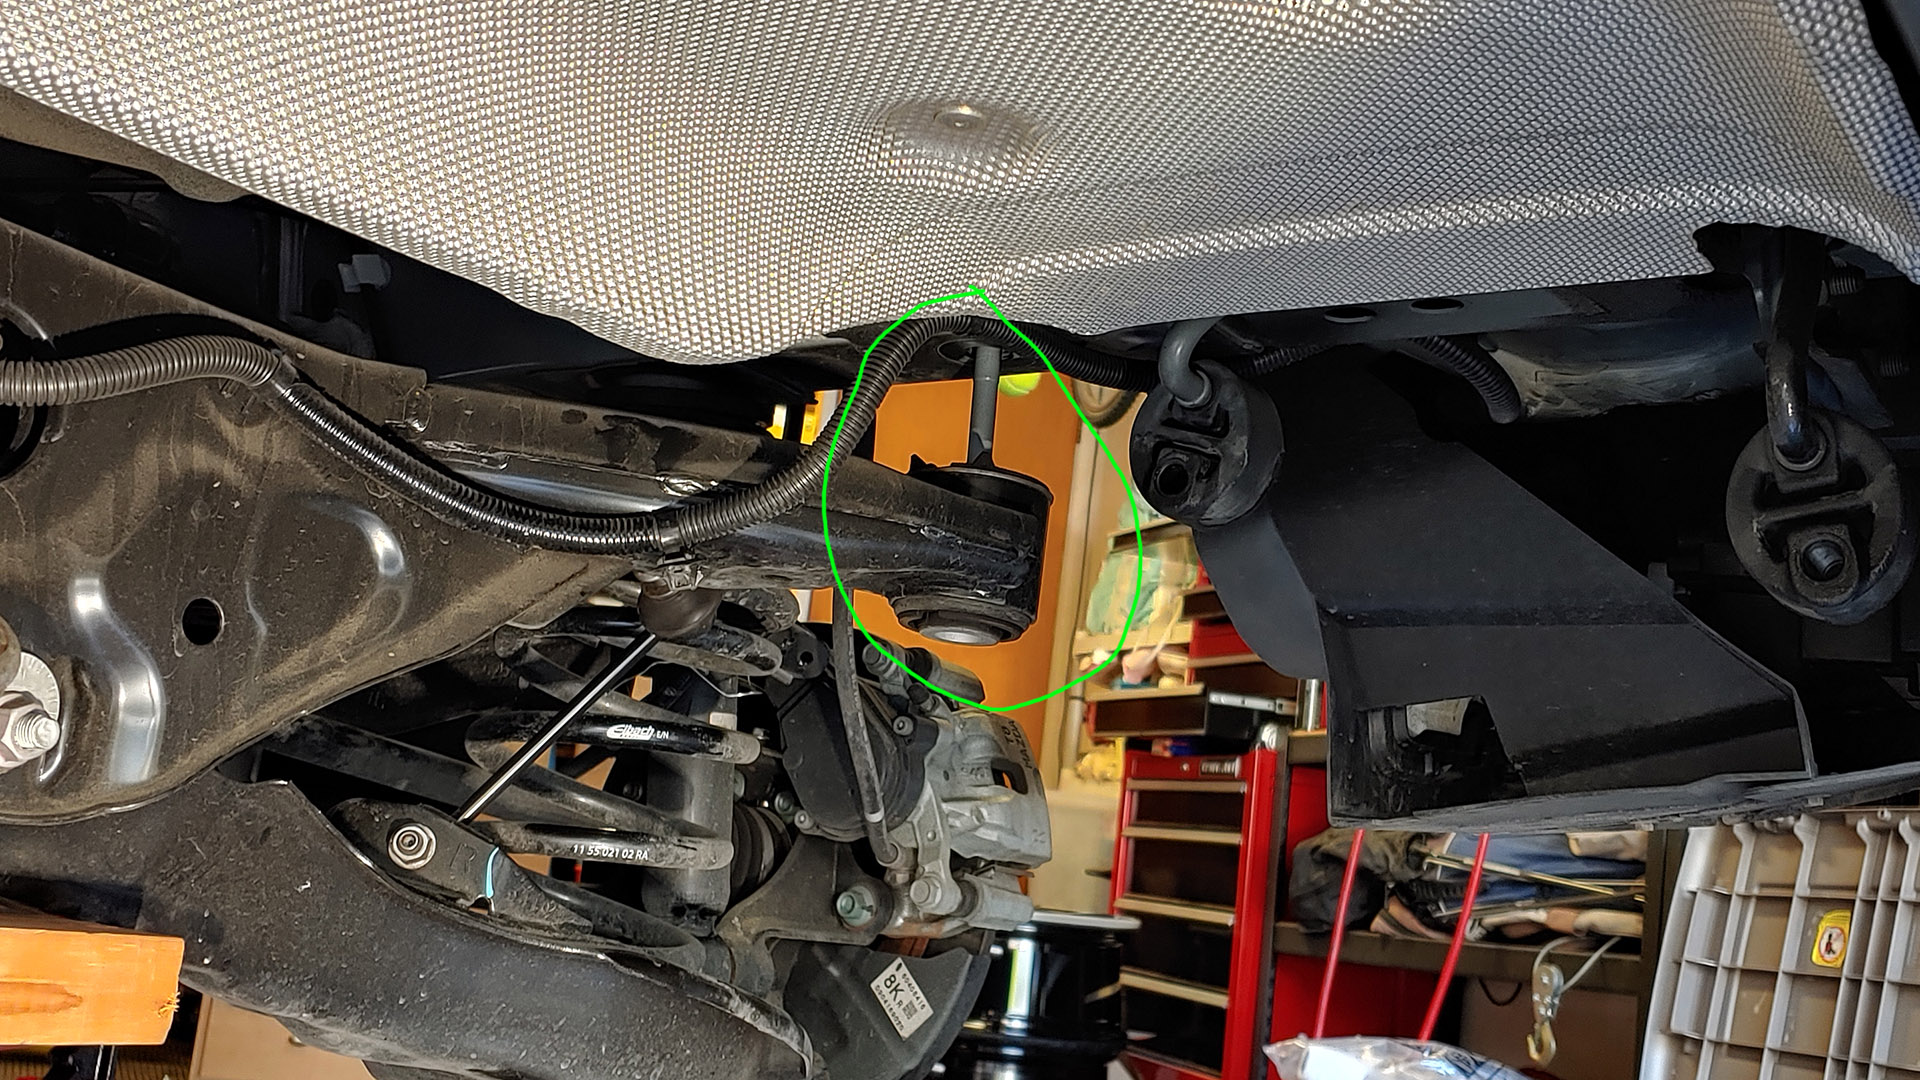
Once you have both sway brackets and bushings removed. you should be able to finagle the bar out through the back, over the subframe, through the lighted crevice in the picture below.
Lube up the driver side bushing on the new bar, and sneak it over the subframe, into place between the mounting studs on each side. At this point, with the passenger side subframe nuts on, I couldn't fit the passenger side bushing in with the bar.

Install the driver side sway bar bracket. I got the stainless brackets and poly bushings from JB, and swapped out the straight zerks with 1/4" 90 degree grease fittings. Torque the nuts...good and tight? I added more grease here to make sure they're packed. Side note: I read silicone grease is a little better, but I hit three parts stores and couldn't find any. So I'm using a lithium-based grease.

Next, lift back up the subframe driver side, and drop the passenger side back down, so you can install the passenger side sway bushing and bracket.
Then lift the subframe back up and torque all 4 bolts to 68-81 ft-lb.
Reconnect the end links to the sway bar at 34-40 ft-lb.
Clip back the wire harnesses, put the abs line back.
Reinstall the muffler (optional), replace wheels, lower back onto the ground, torque lugs, and go get an alignment.
Took me a day and a half, taking my time, including naps.
I think that's it. Let me know if I missed/messed anything and I'll correct it.
Getting mine done now and the shop says the JB brackets do not fit. I got the ones listed for the CX-5 oem front and rear.


