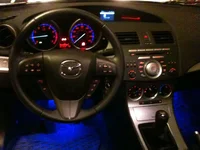
Did this some time ago and this was extremely easy, but do agree with fateexceeds that the driver side plastic removal was a pain, but when you decide to destroy it, very little time was wasted.
I did take a little extra time and painted the chicken pox plates at the same time.
Z


")
